Easter Bunny Drawing Is Created In 8 Easy Steps
Creating a cute Easter Bunny drawing in just 8 easy steps
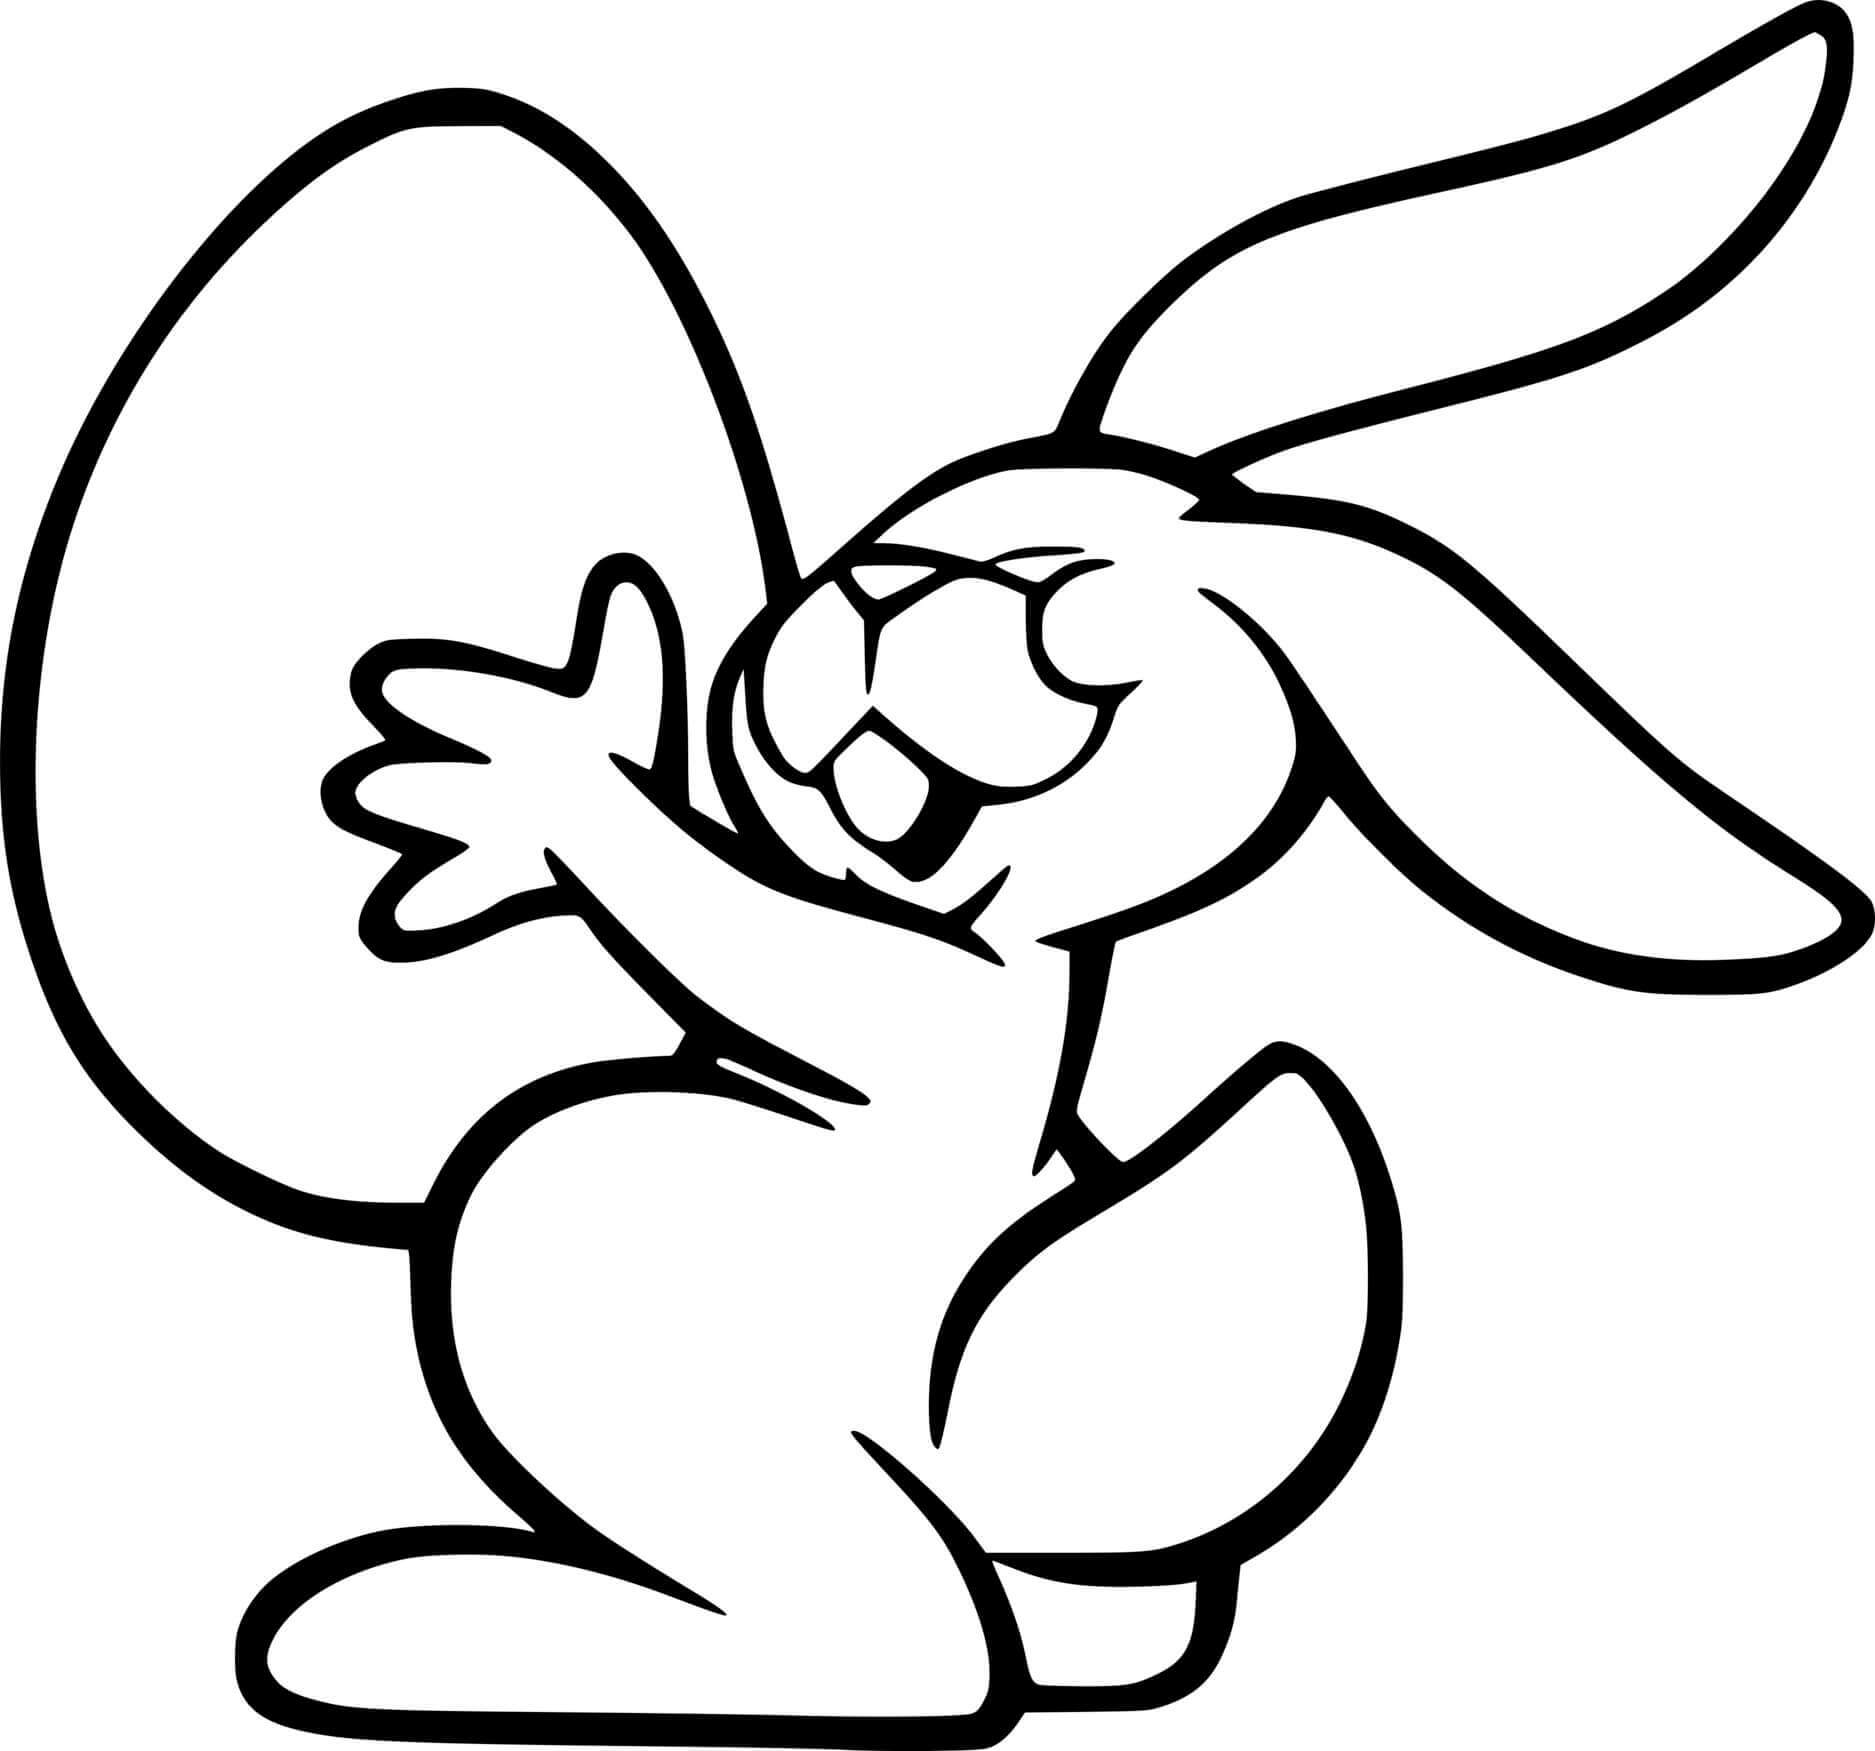
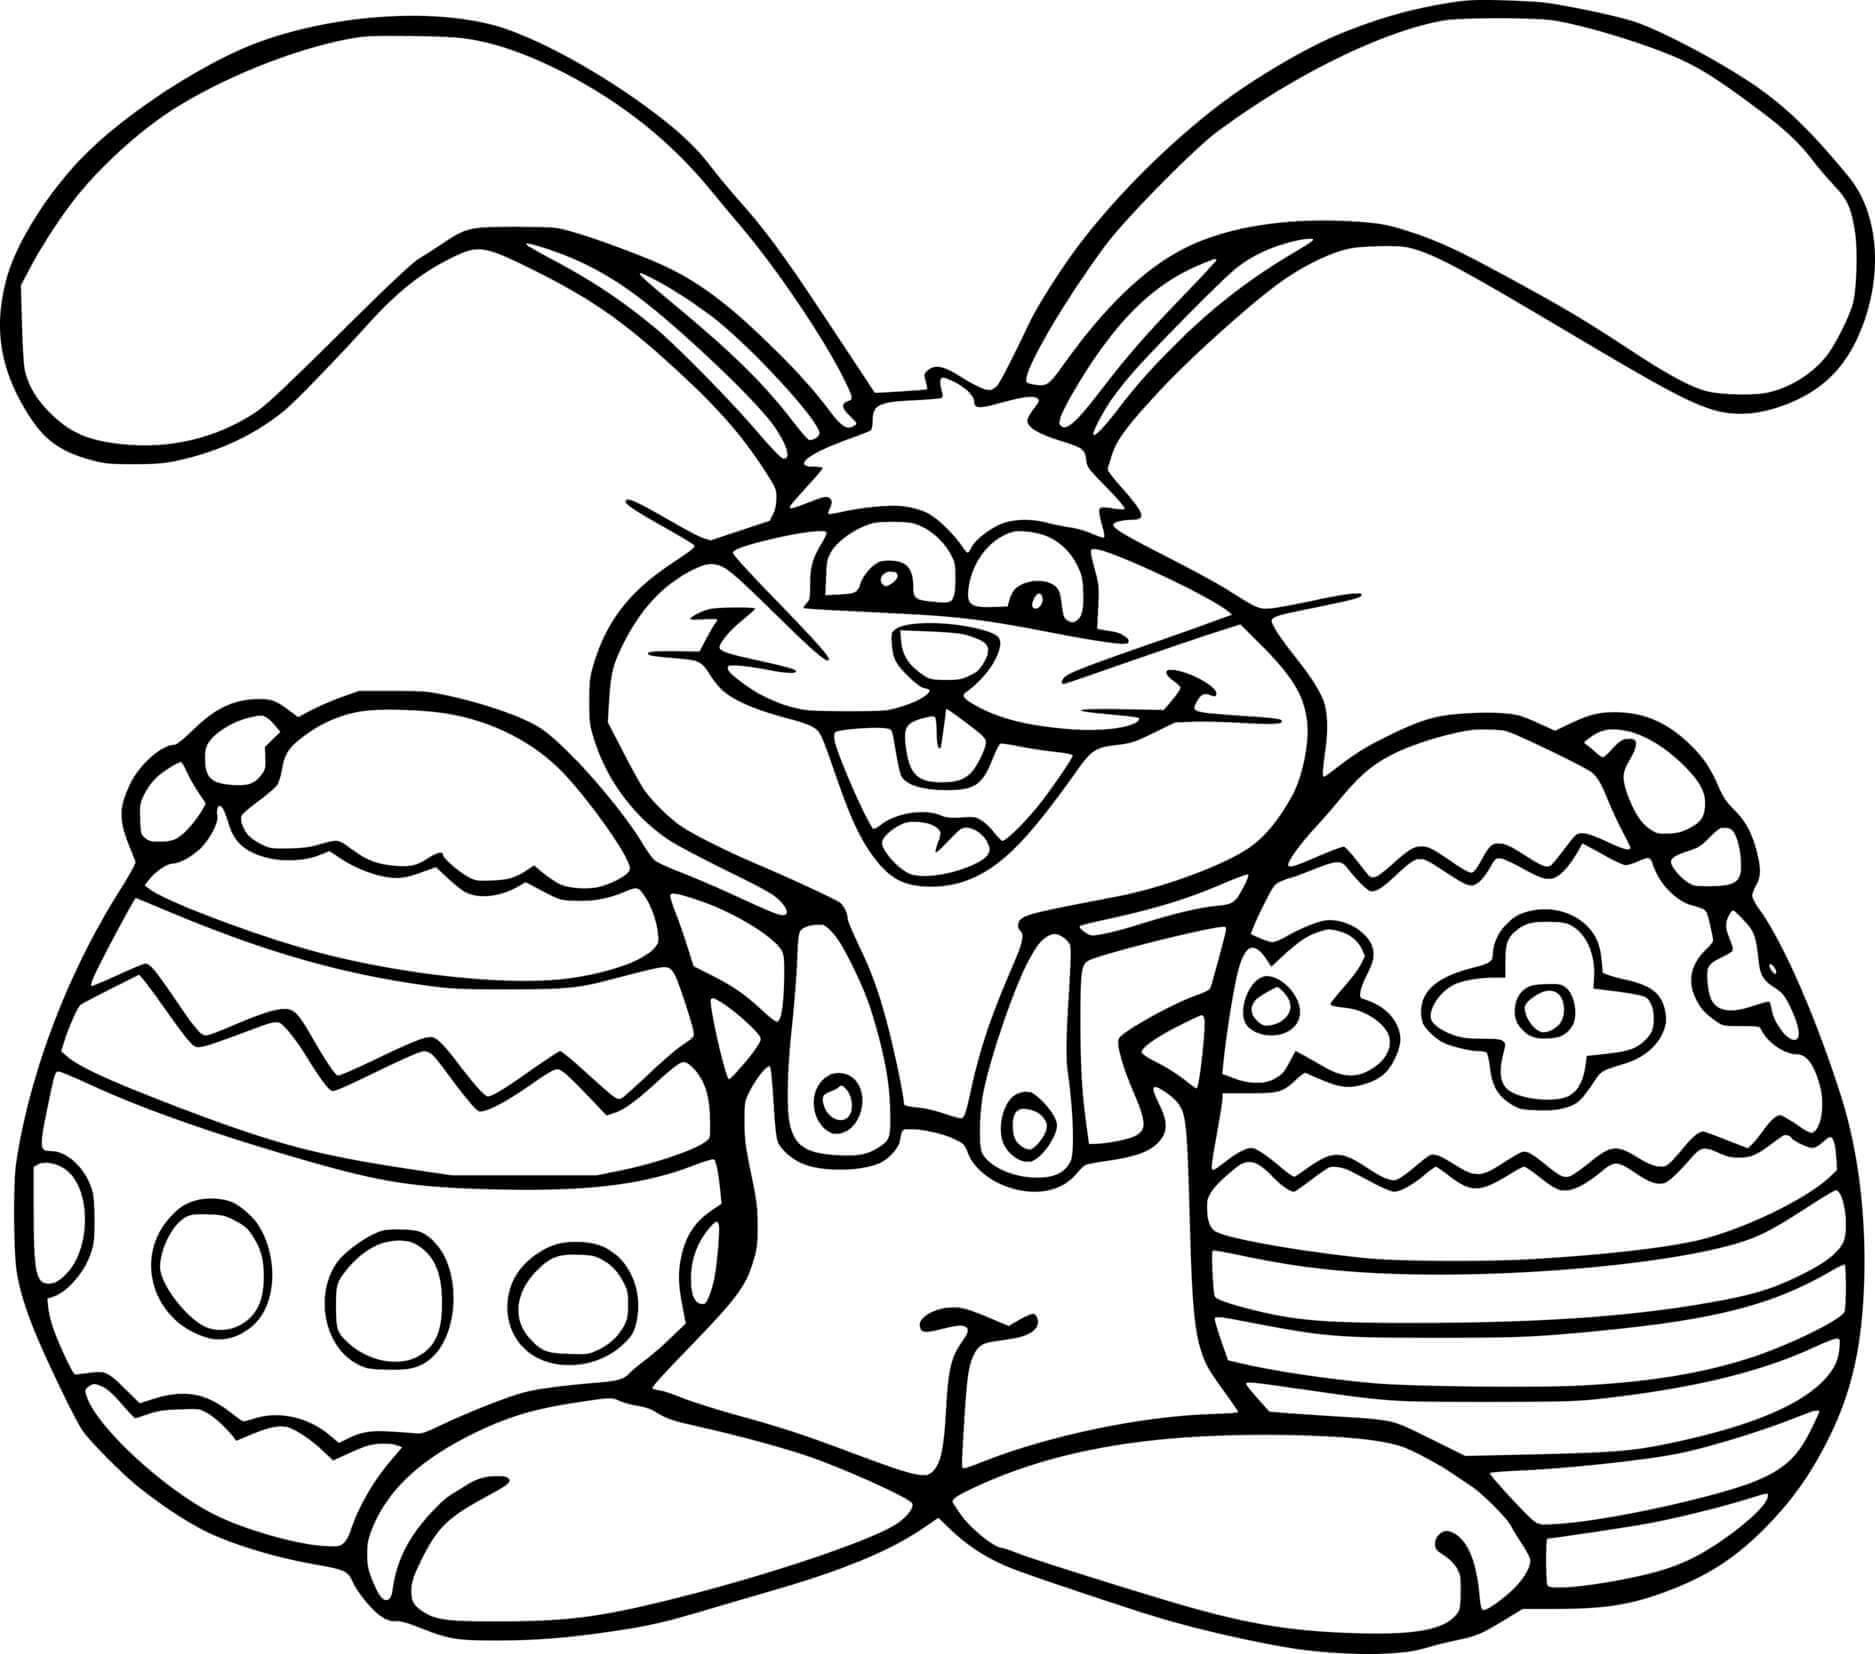
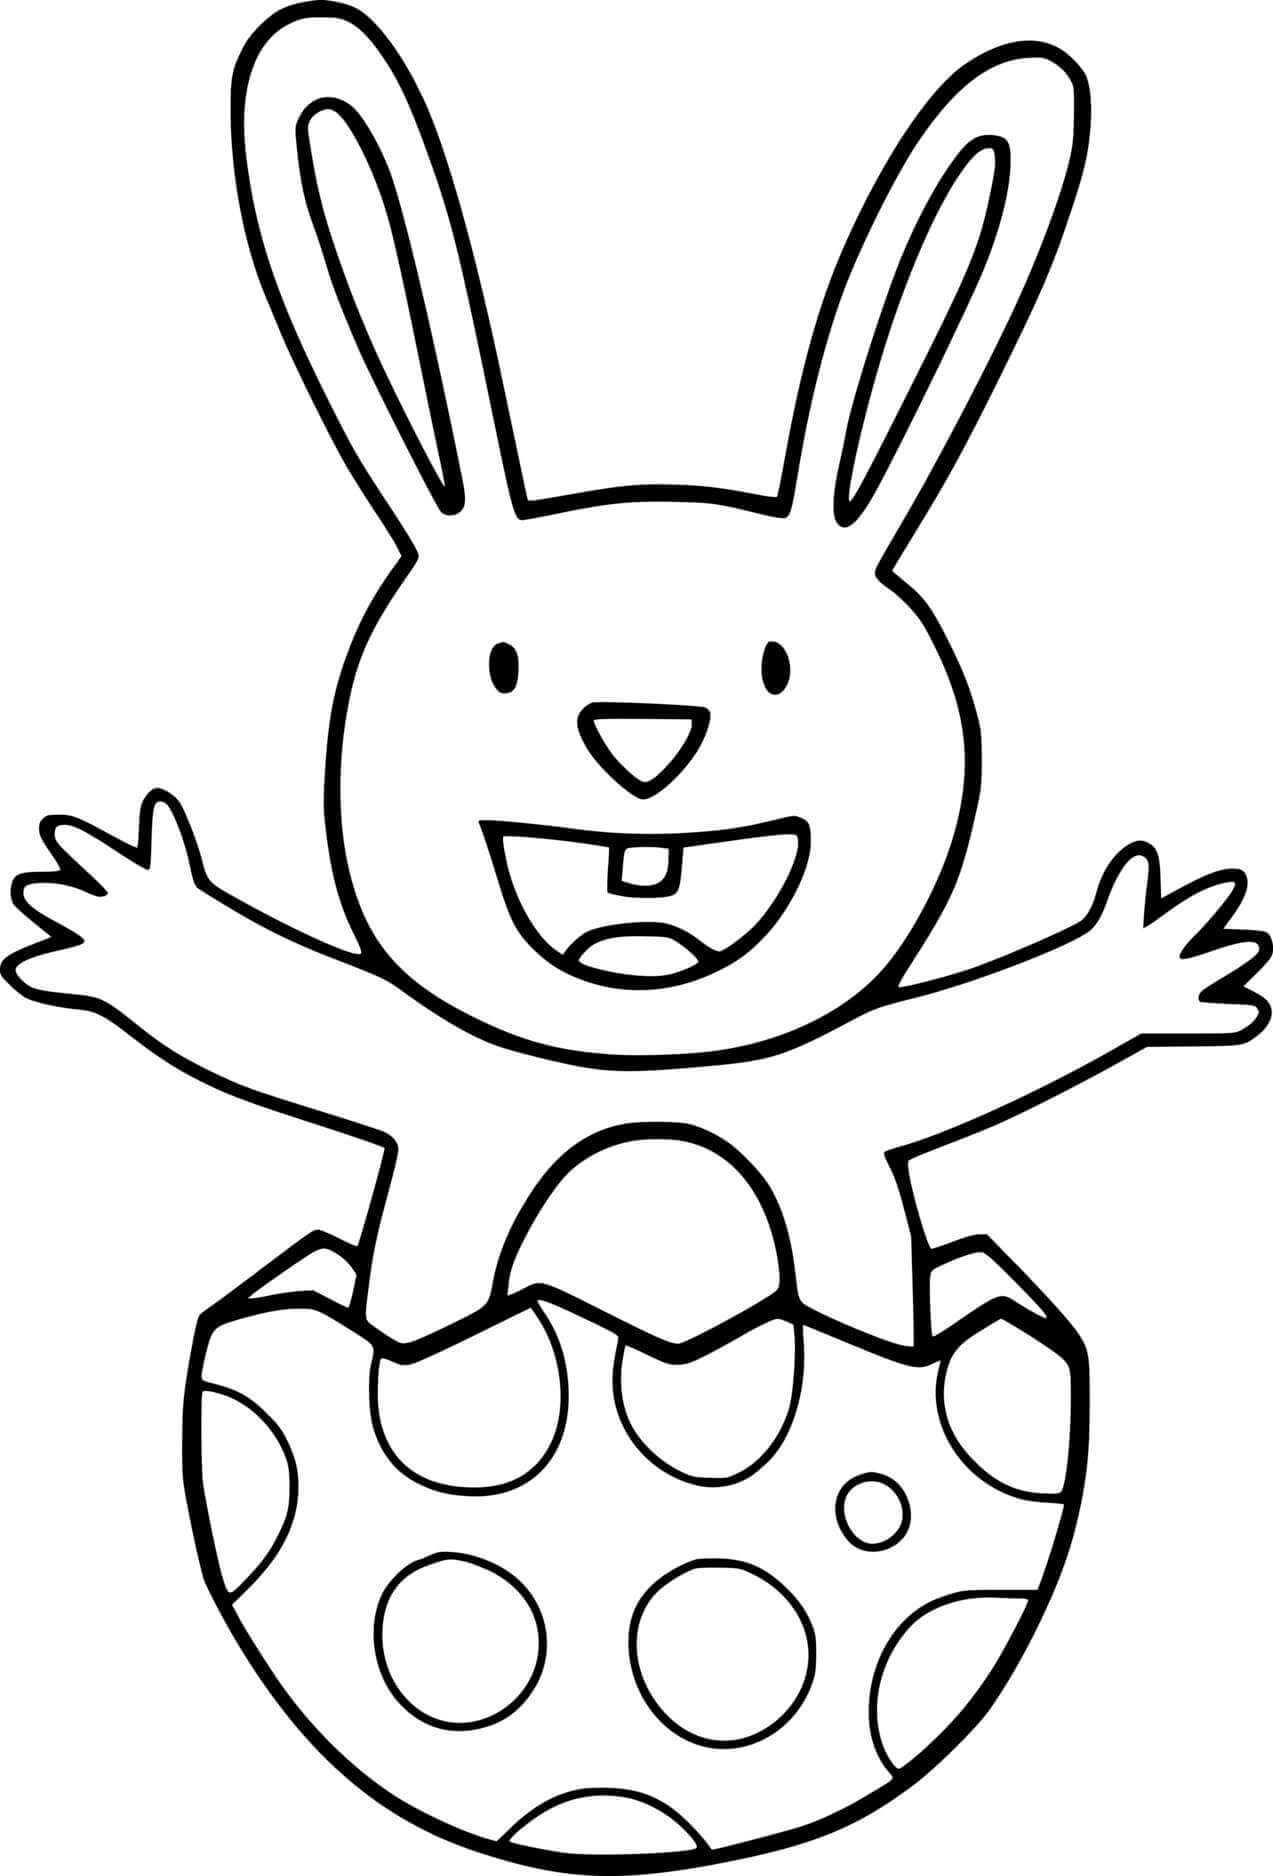
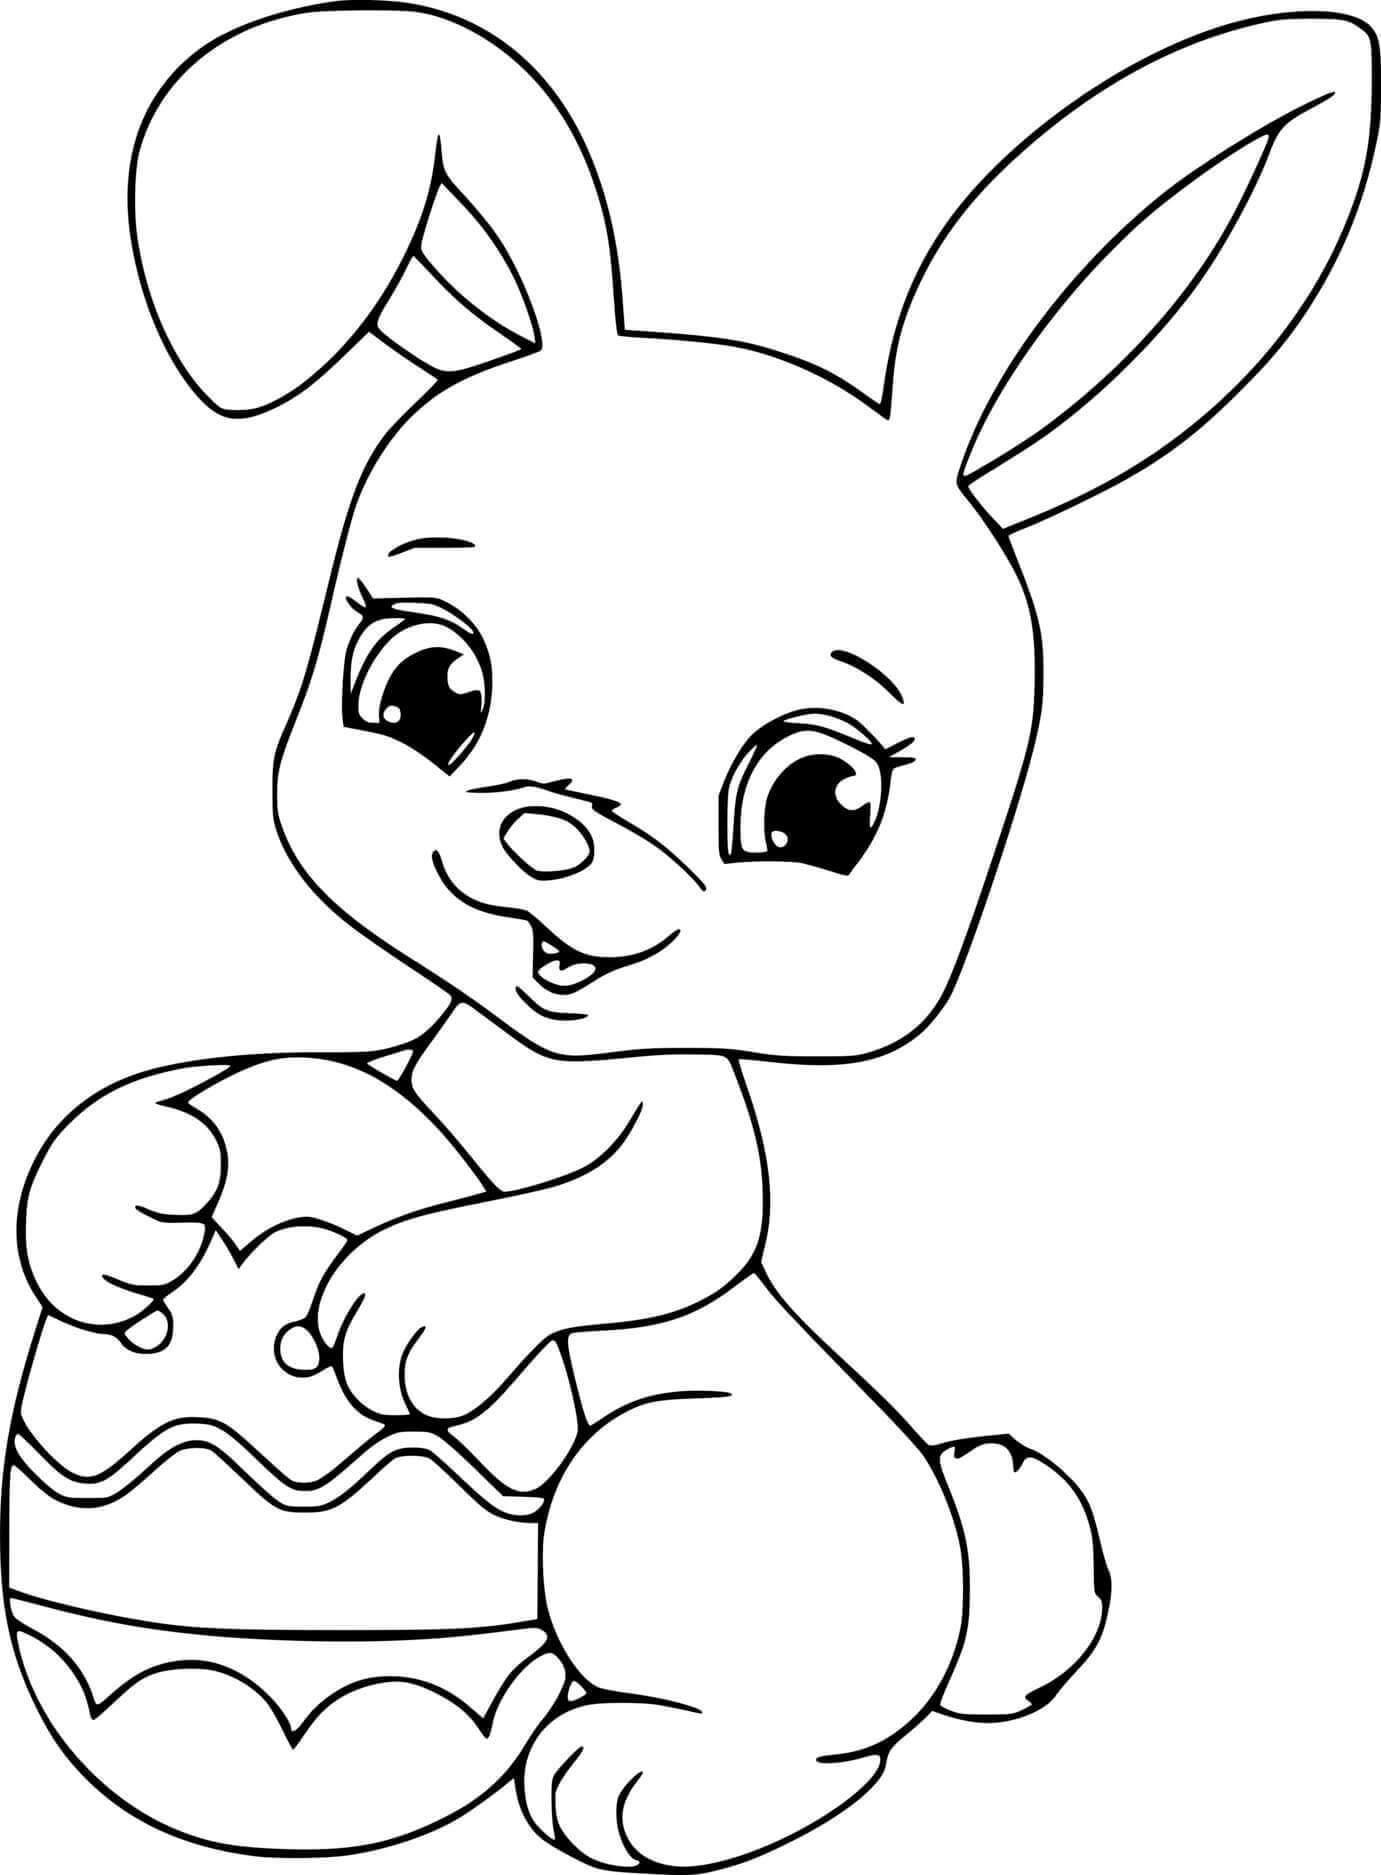
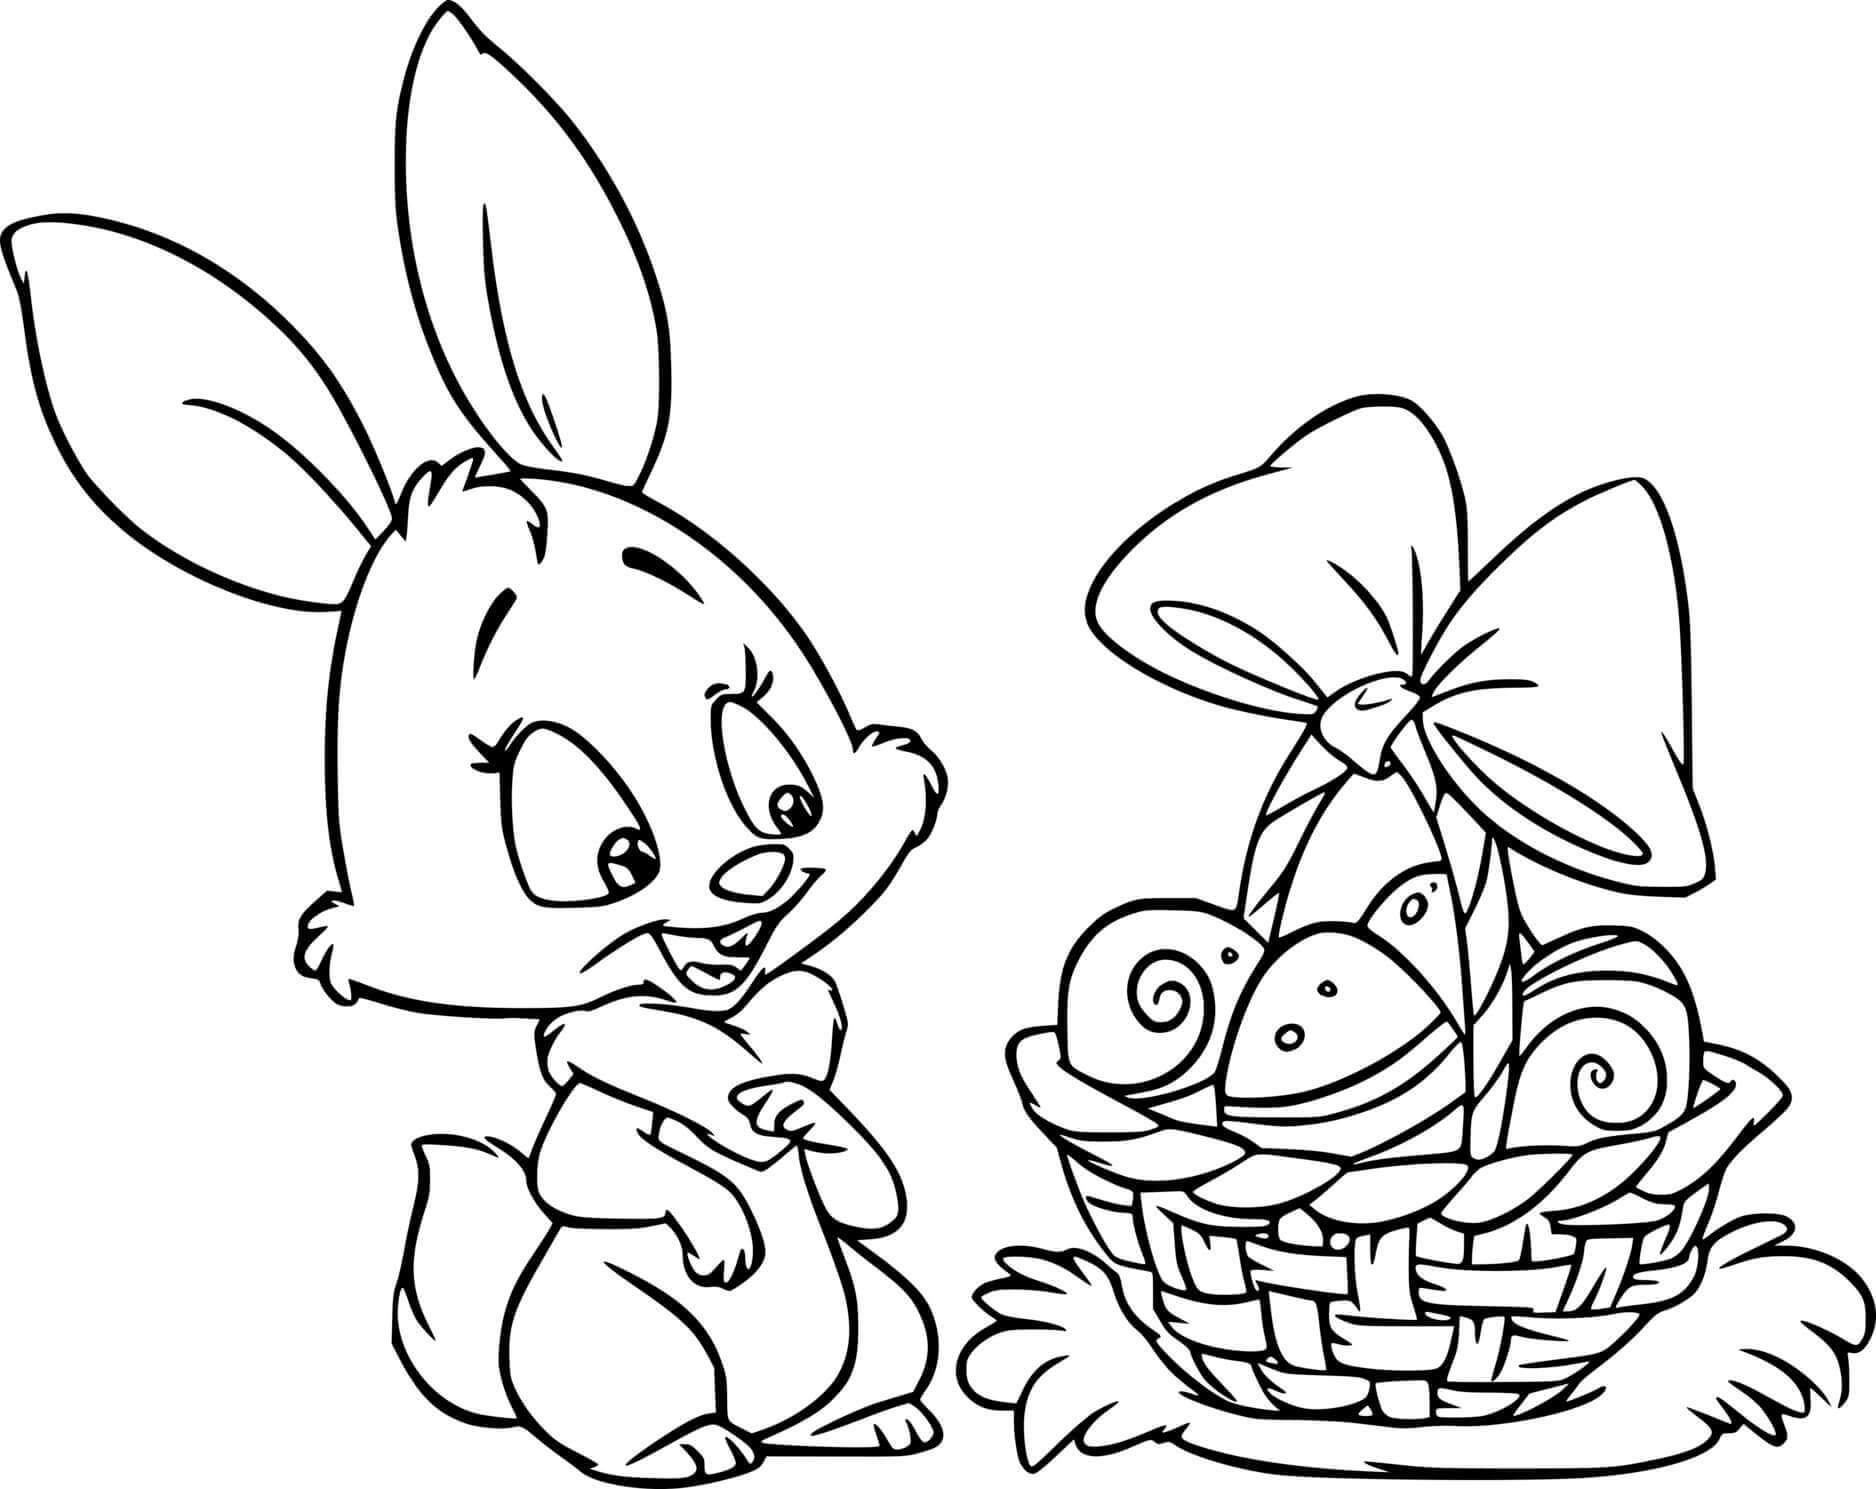
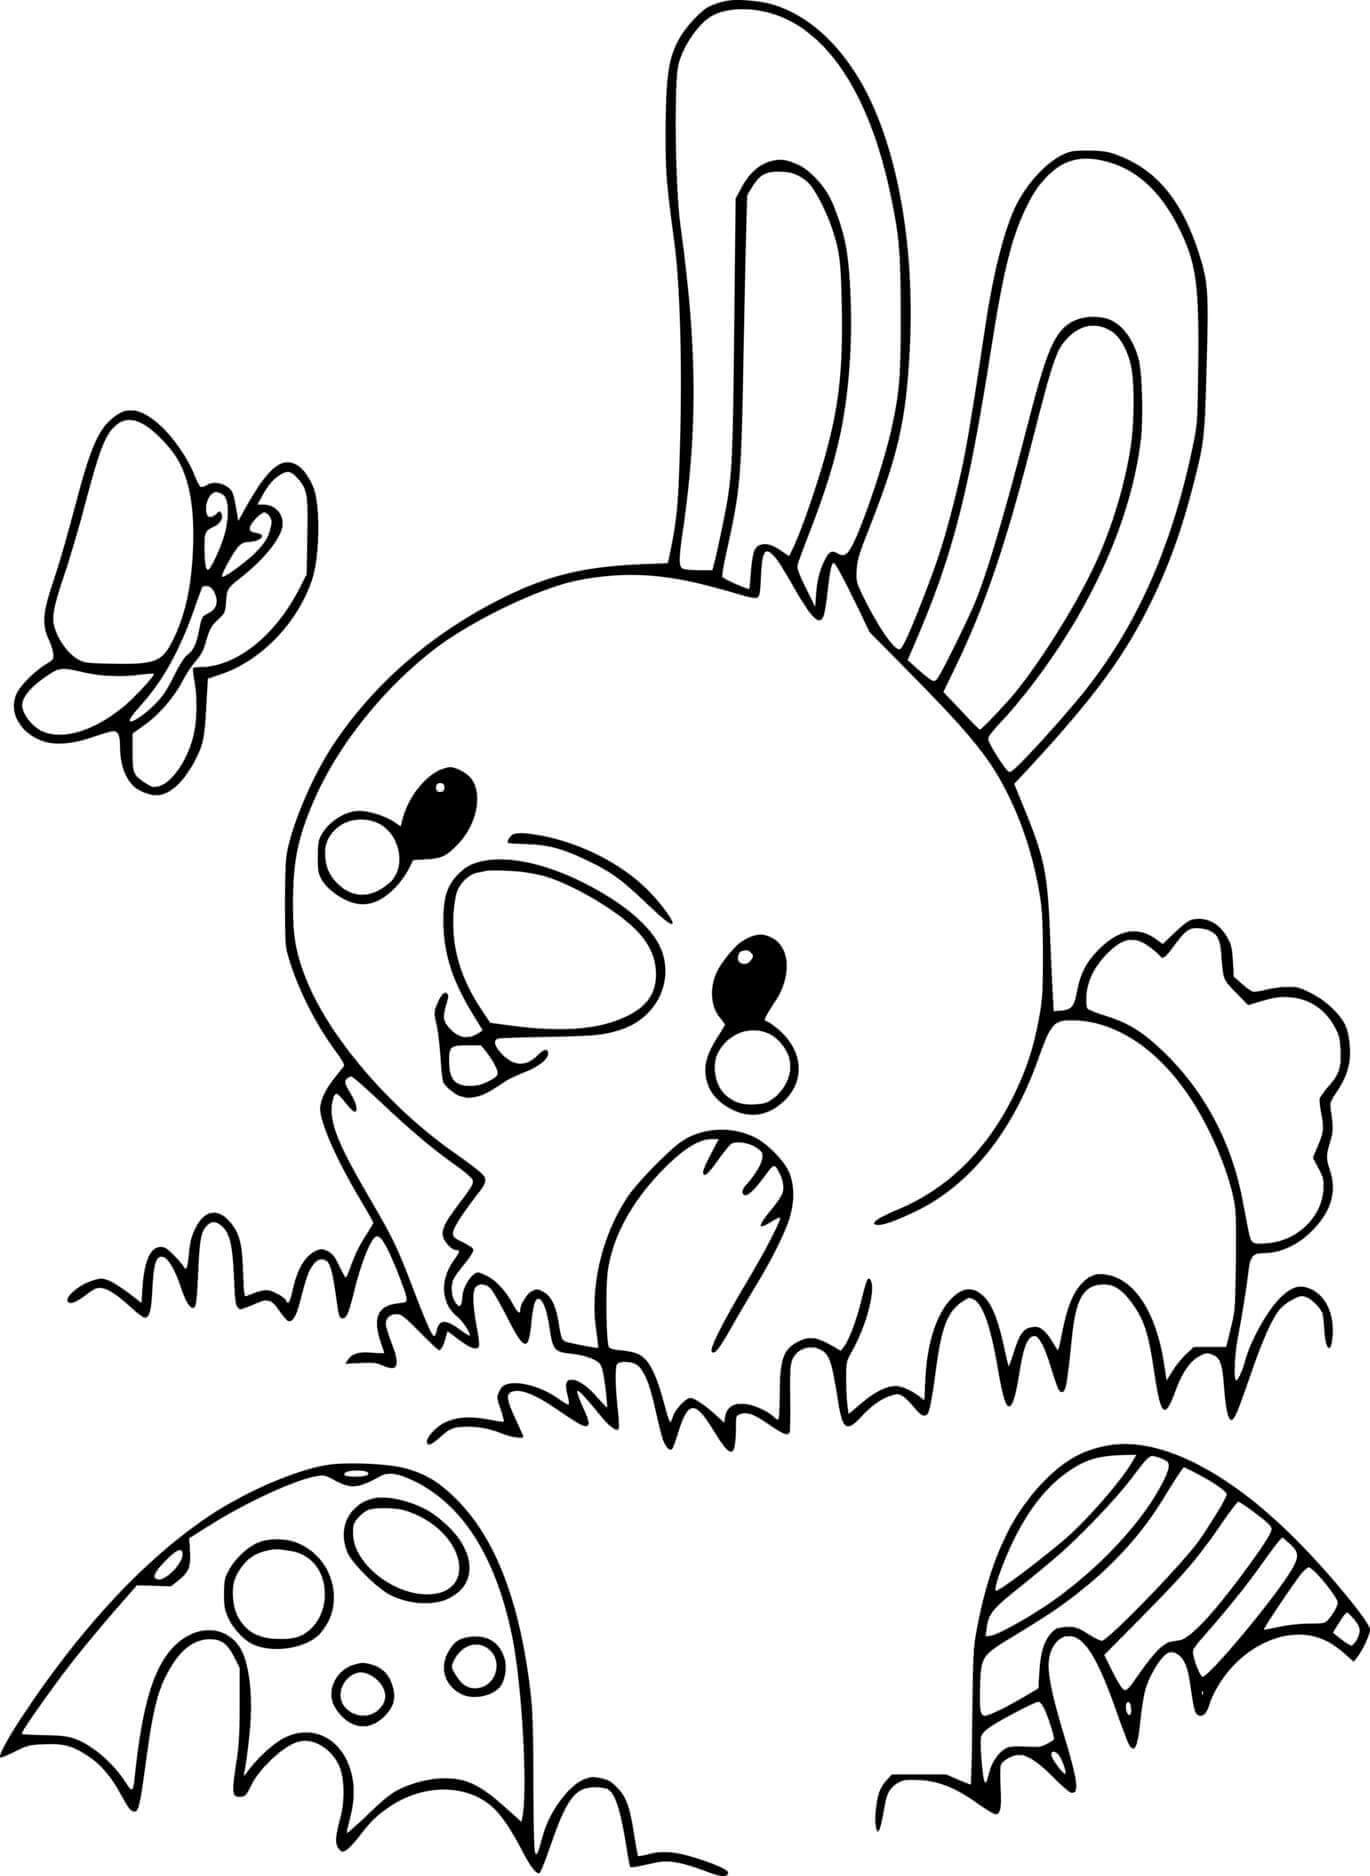
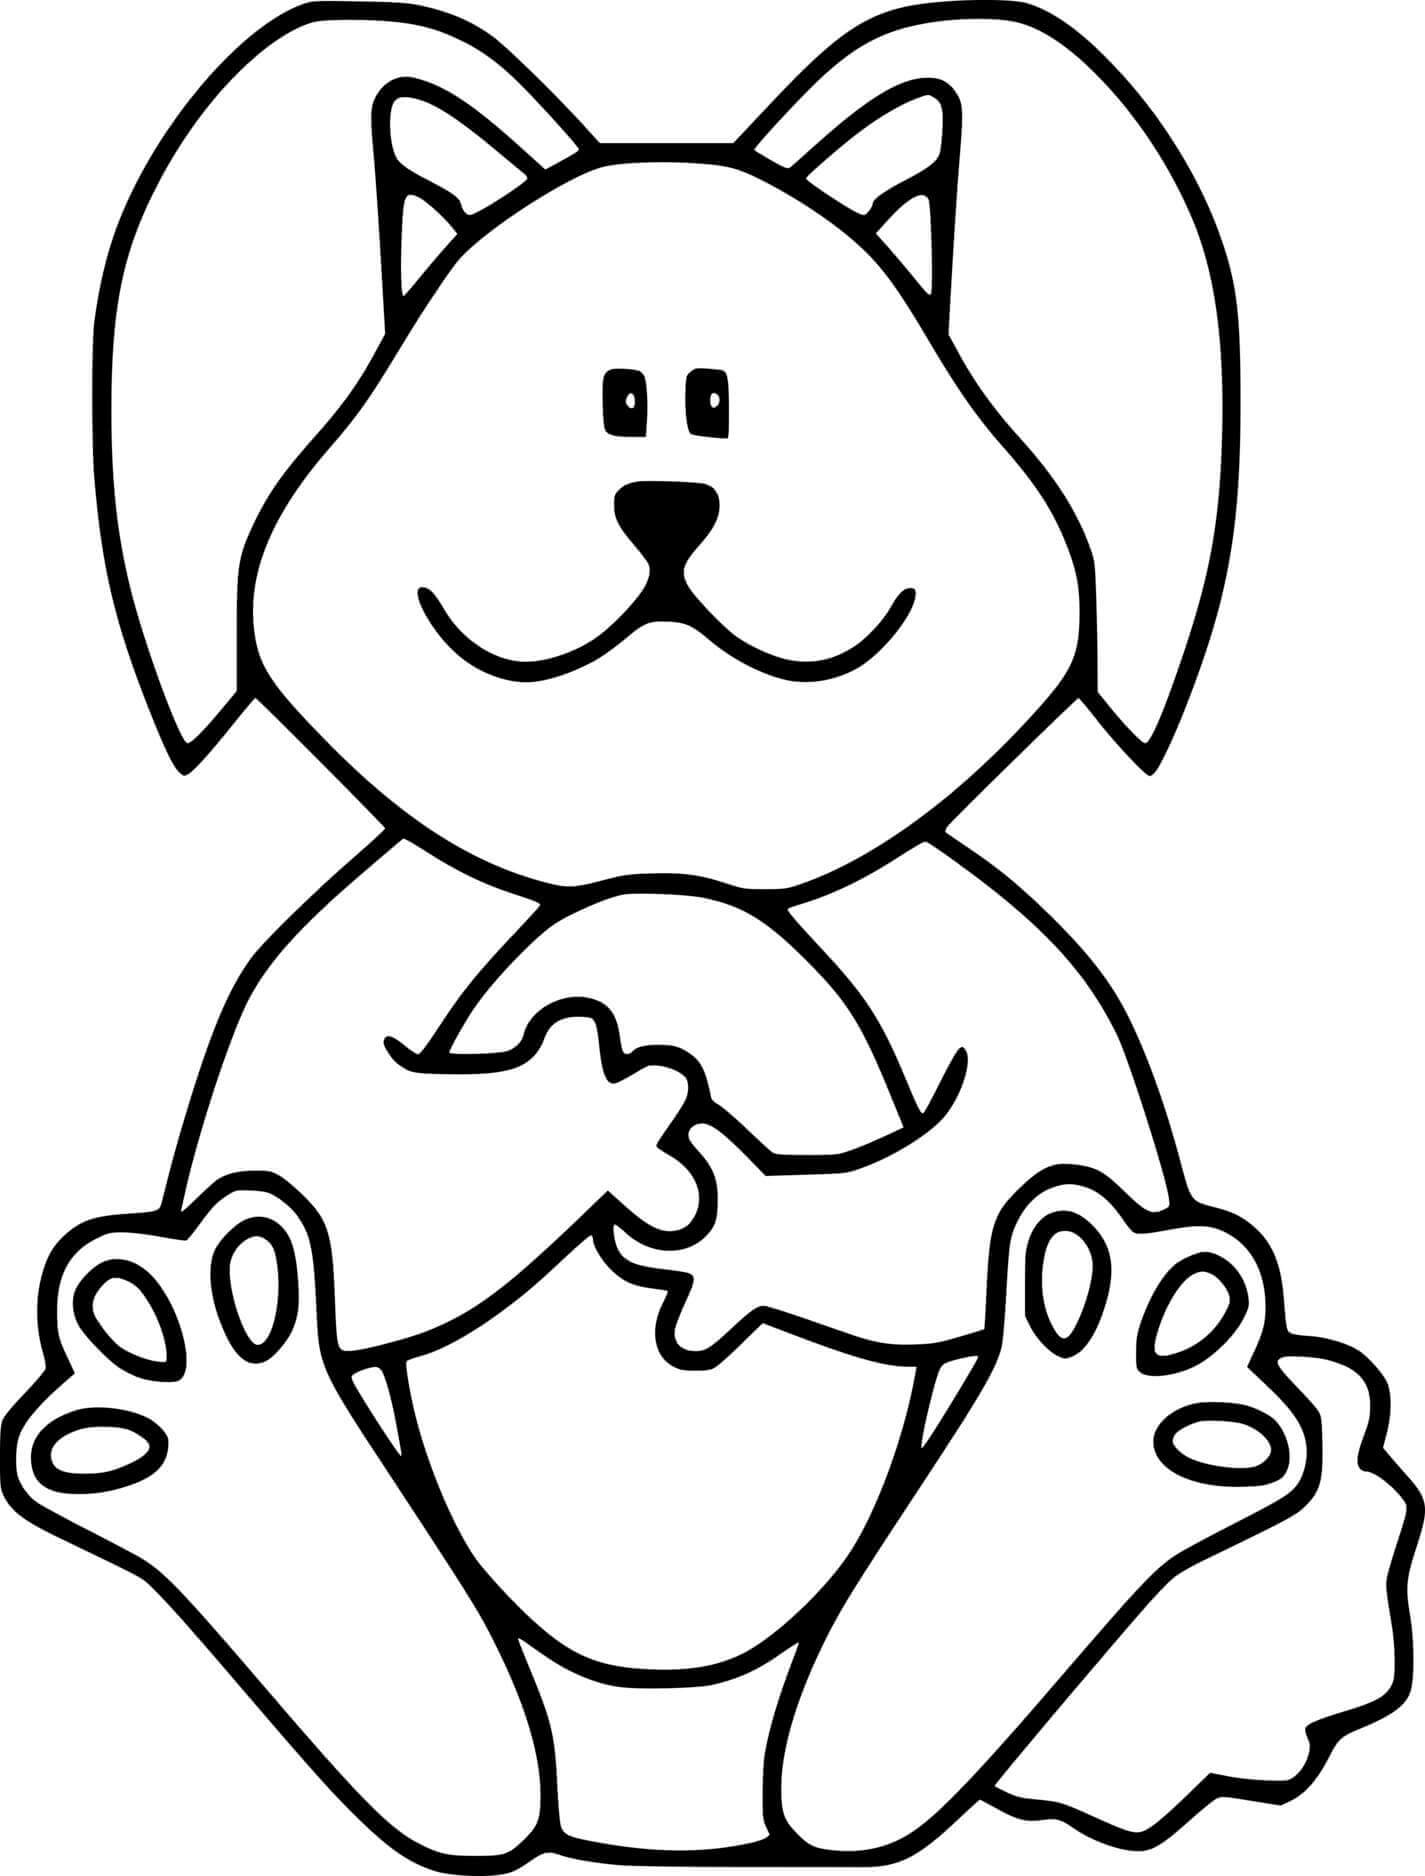
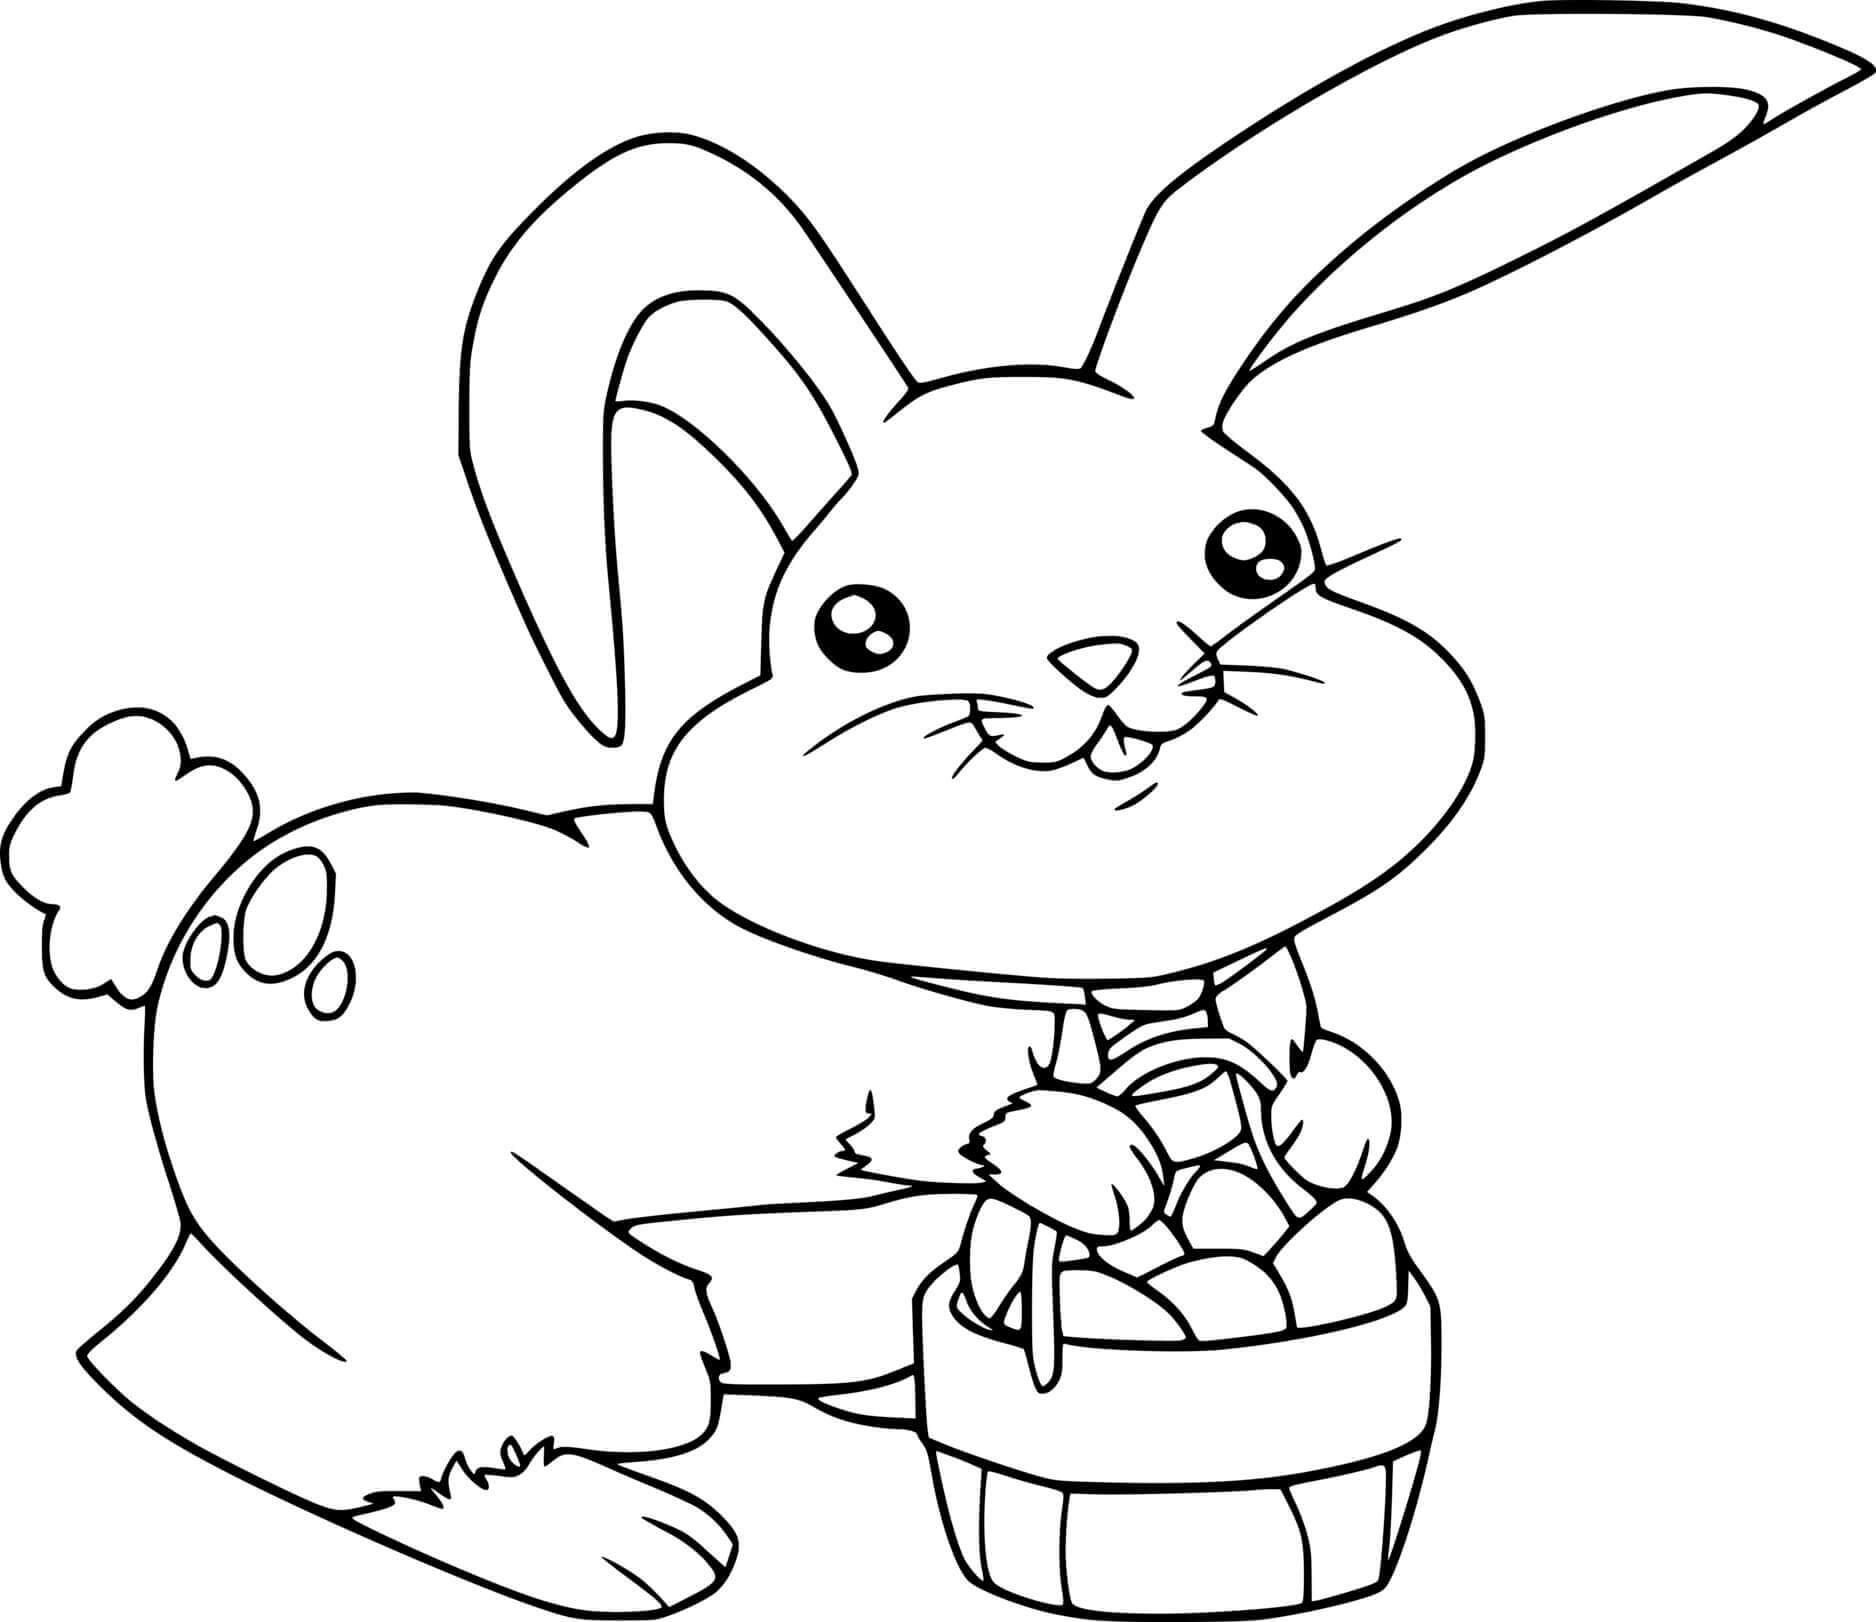
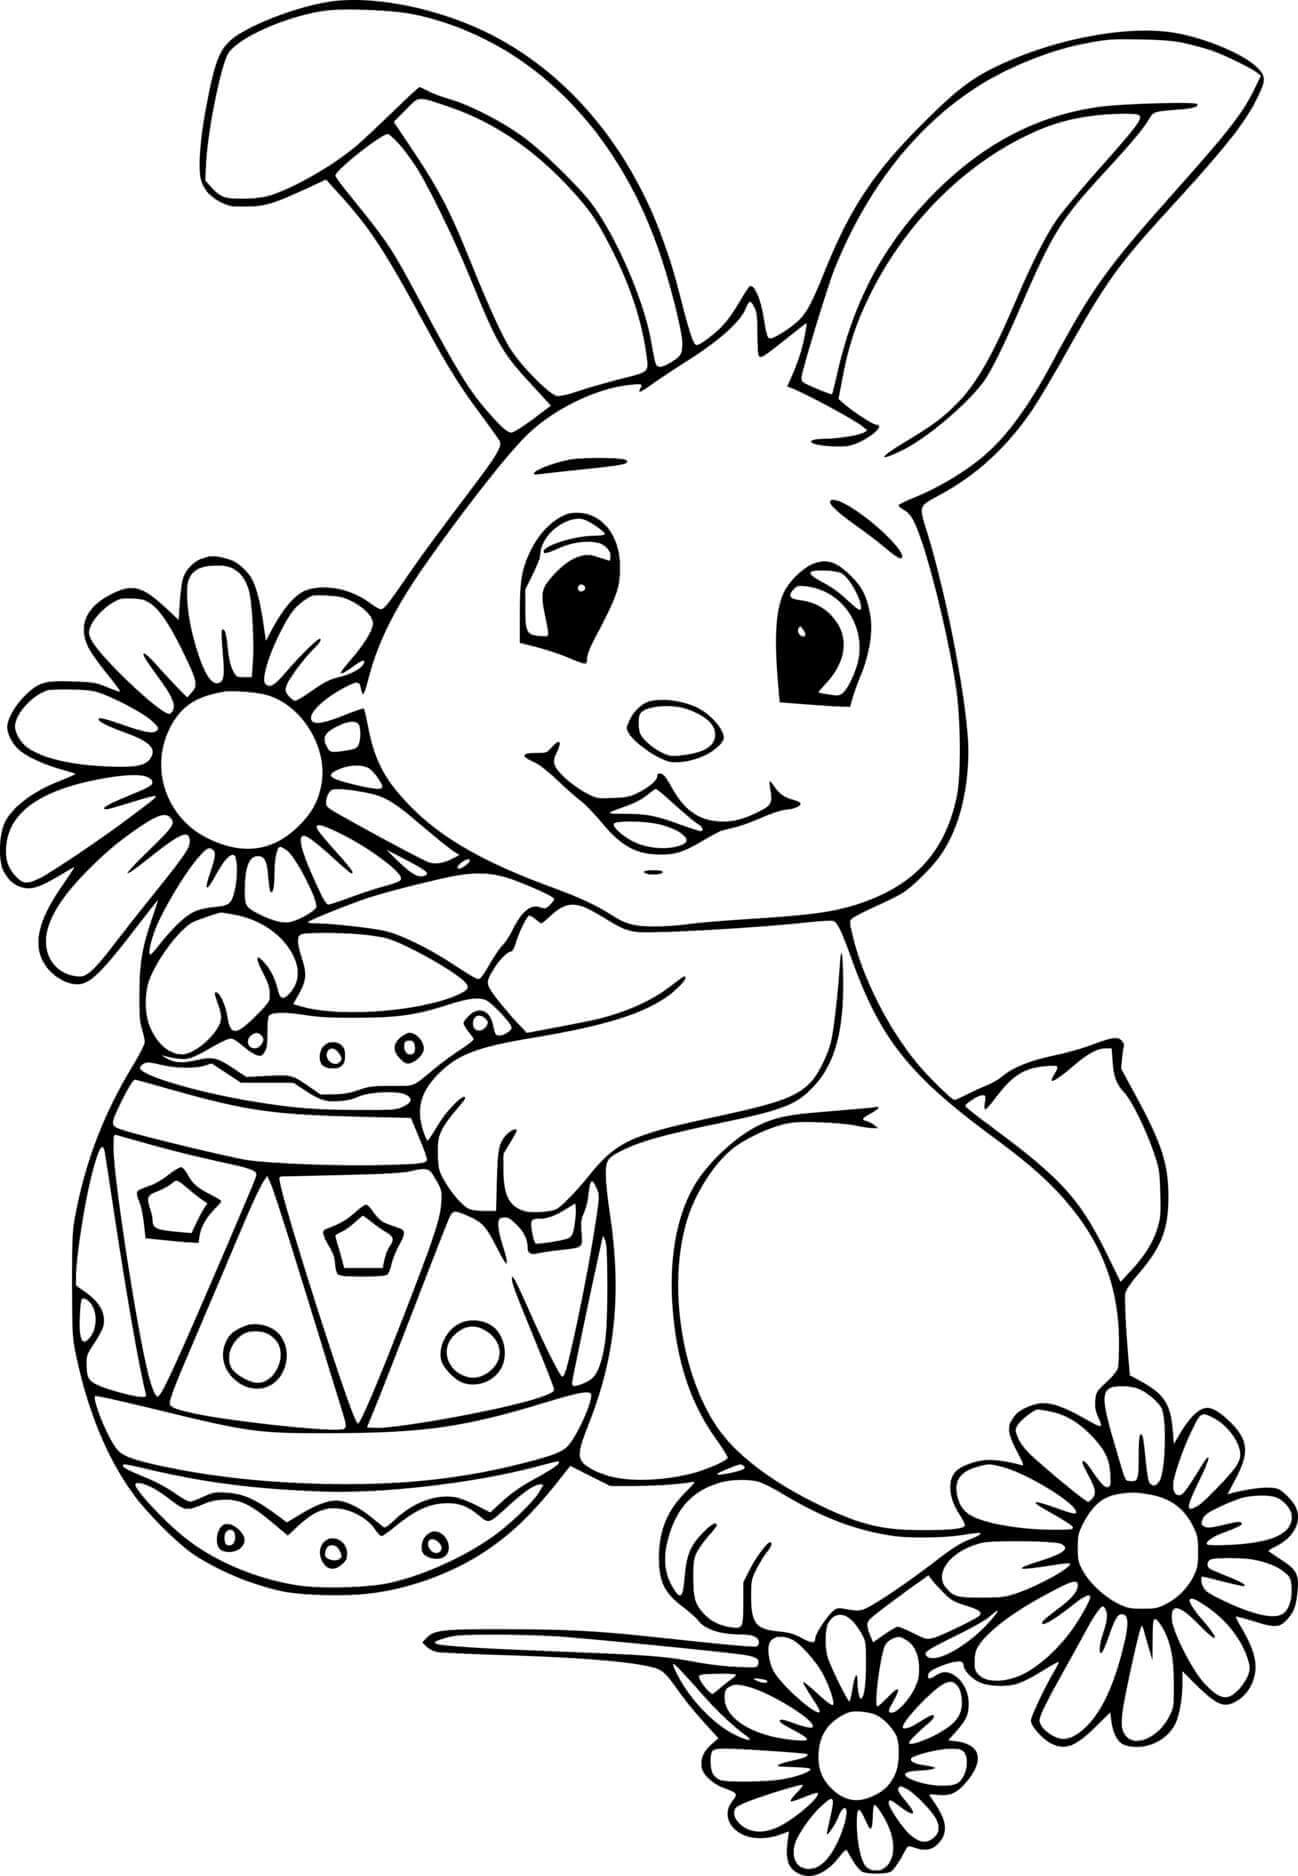
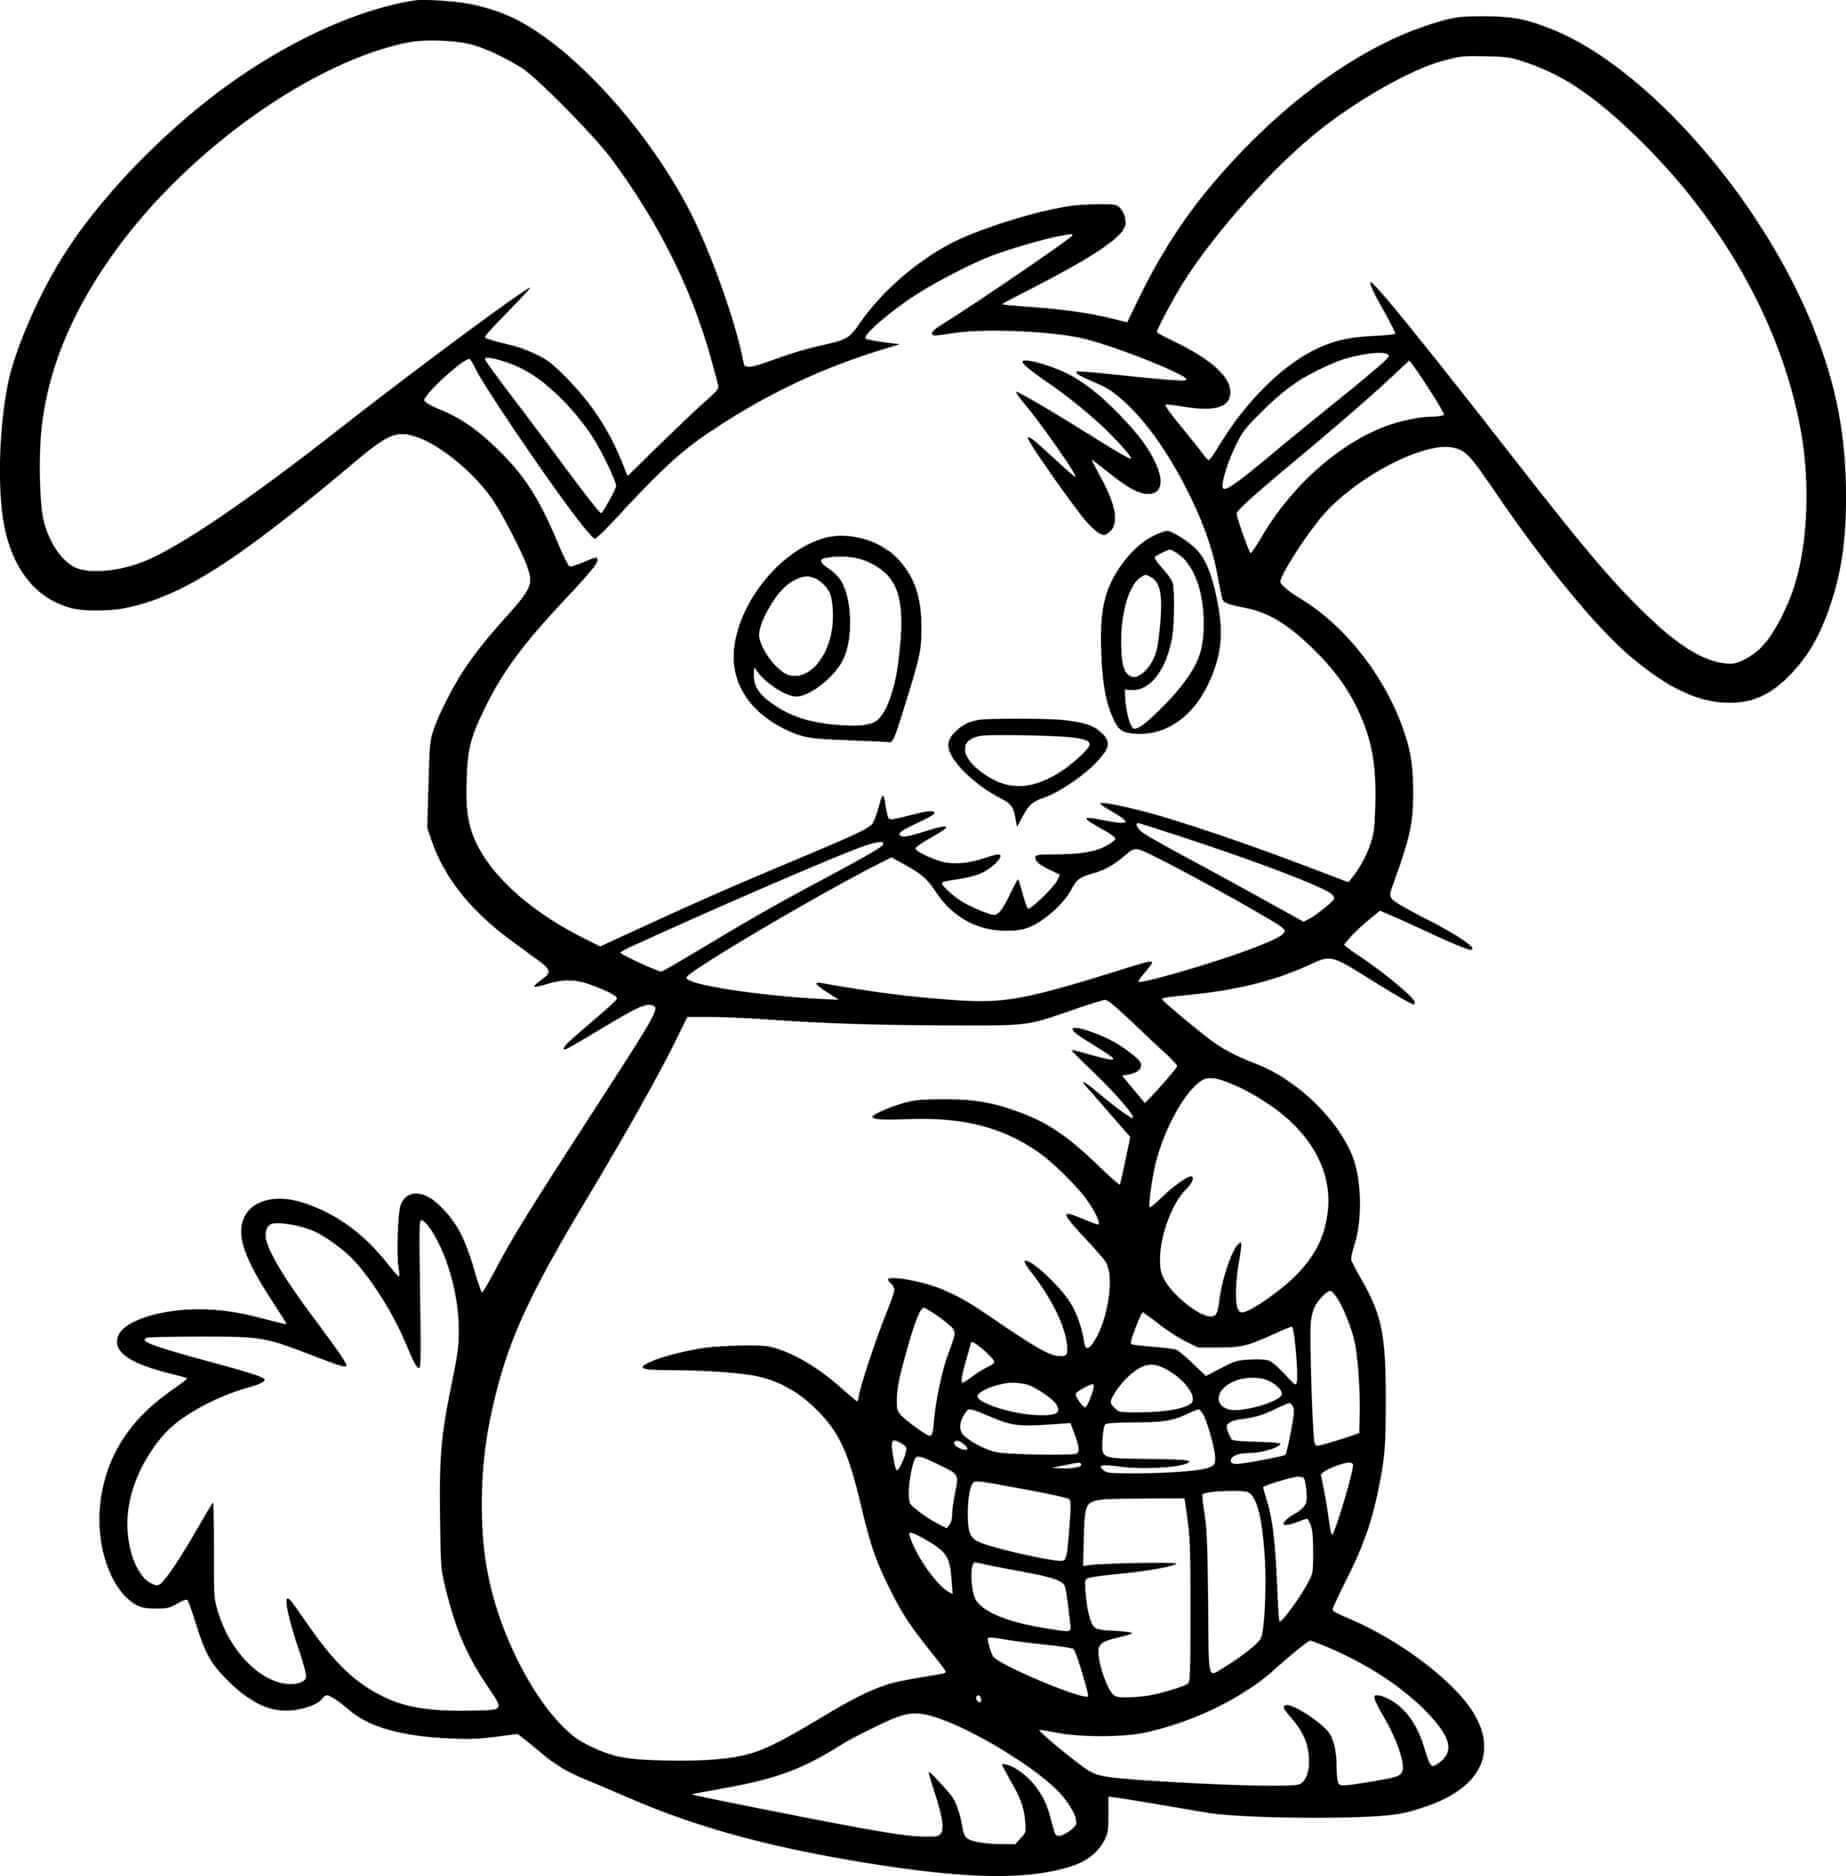
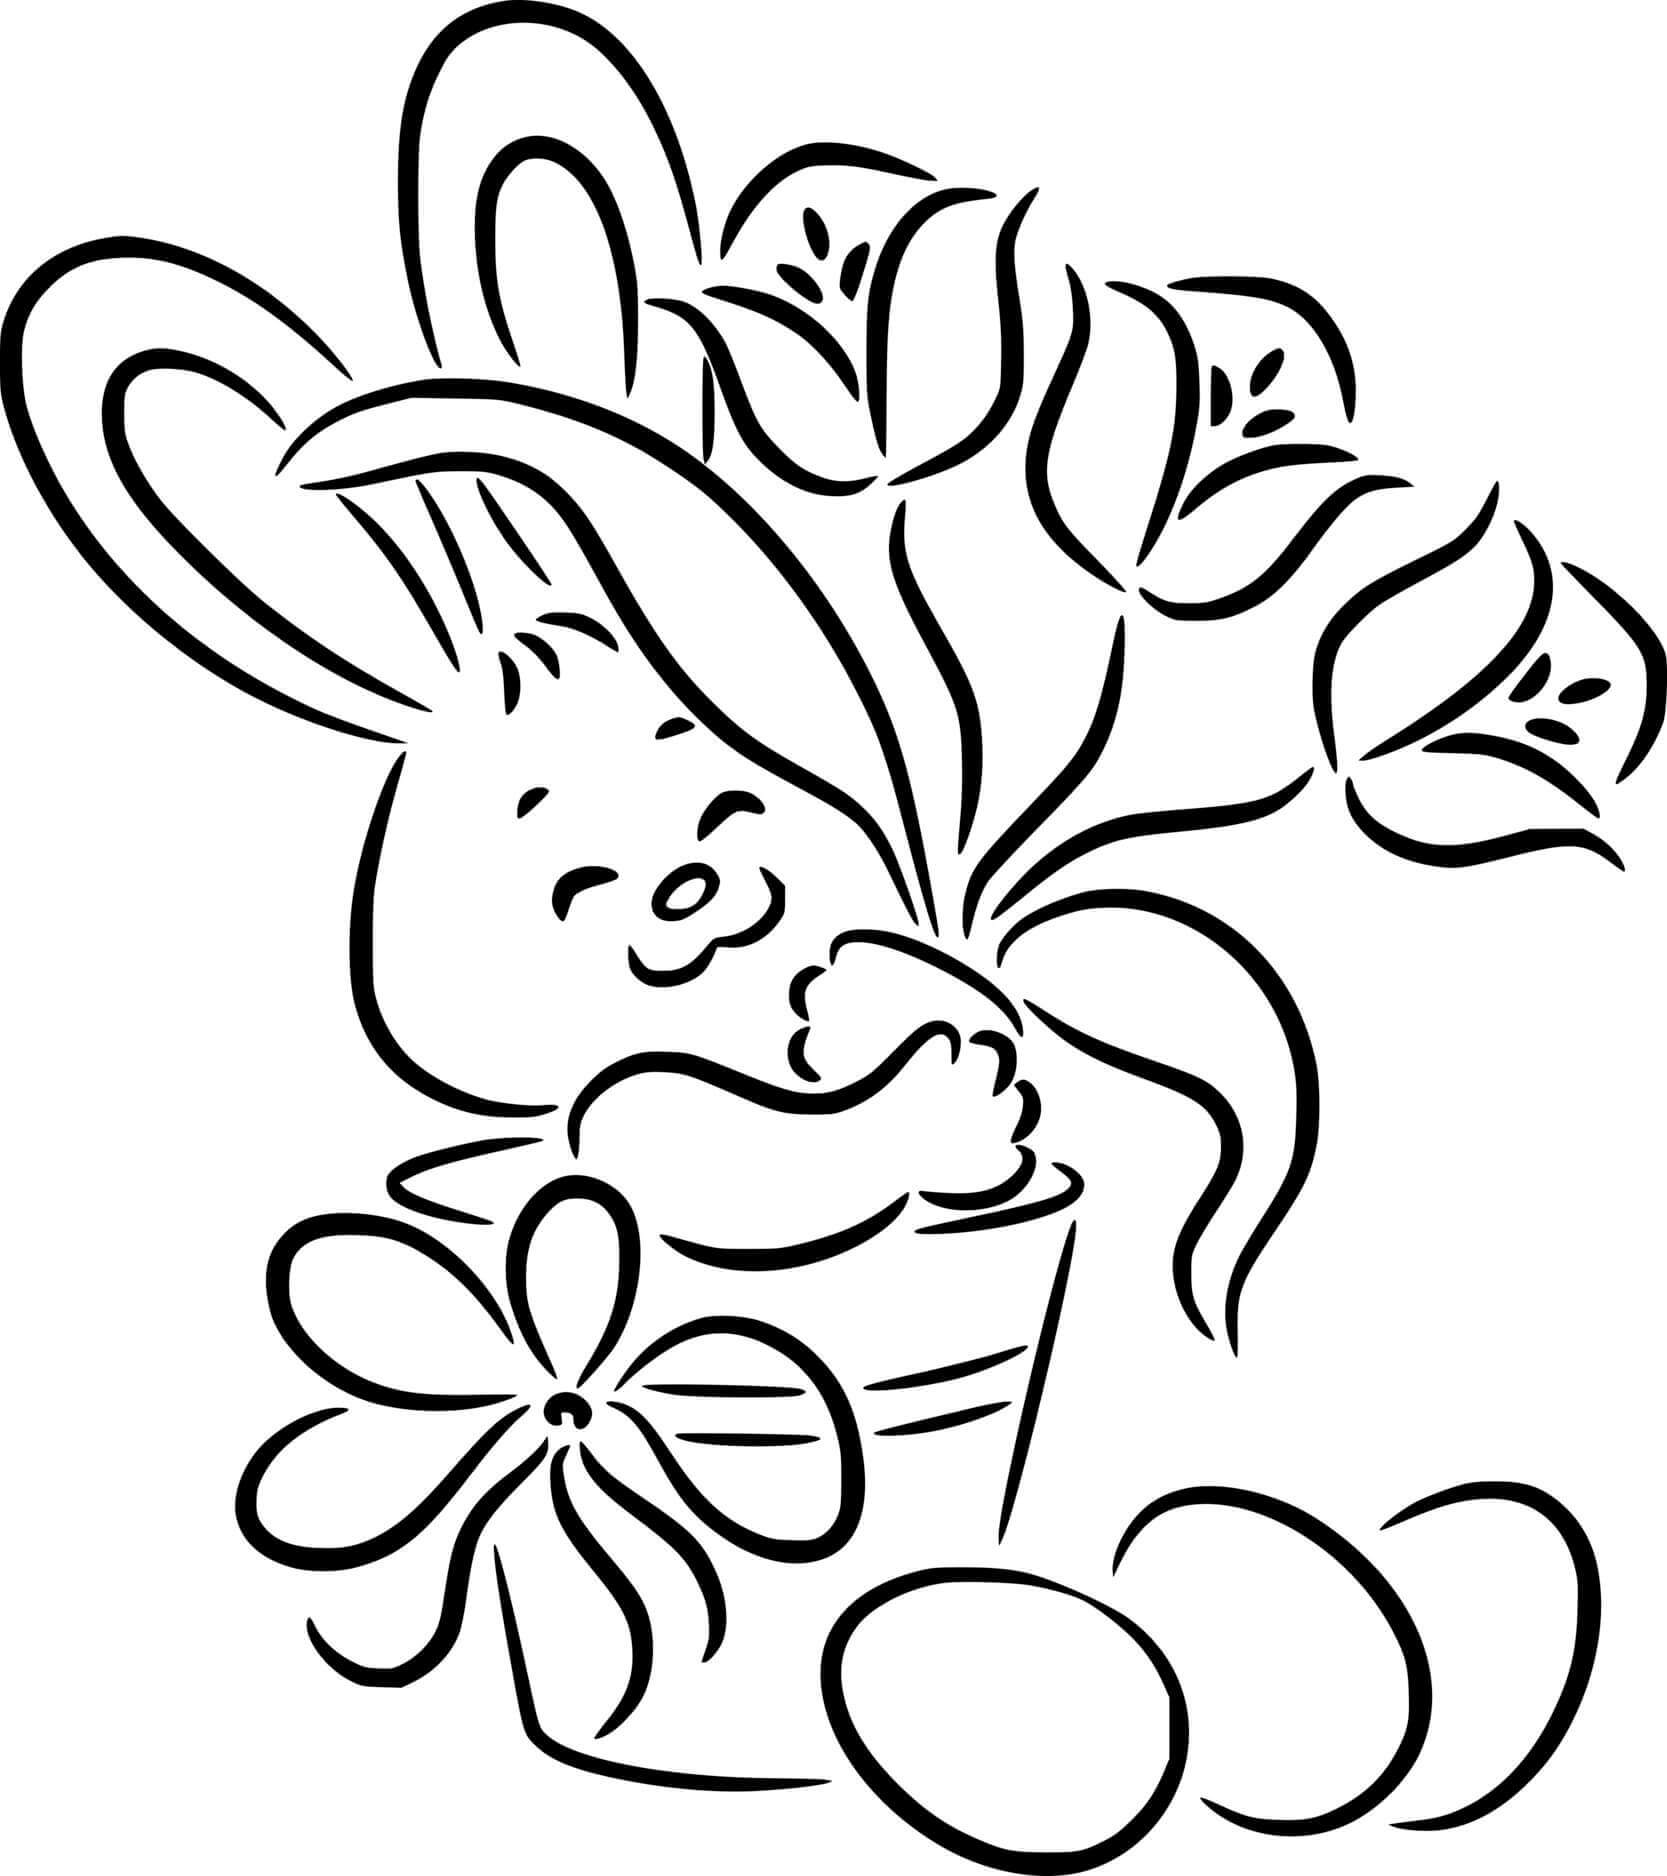
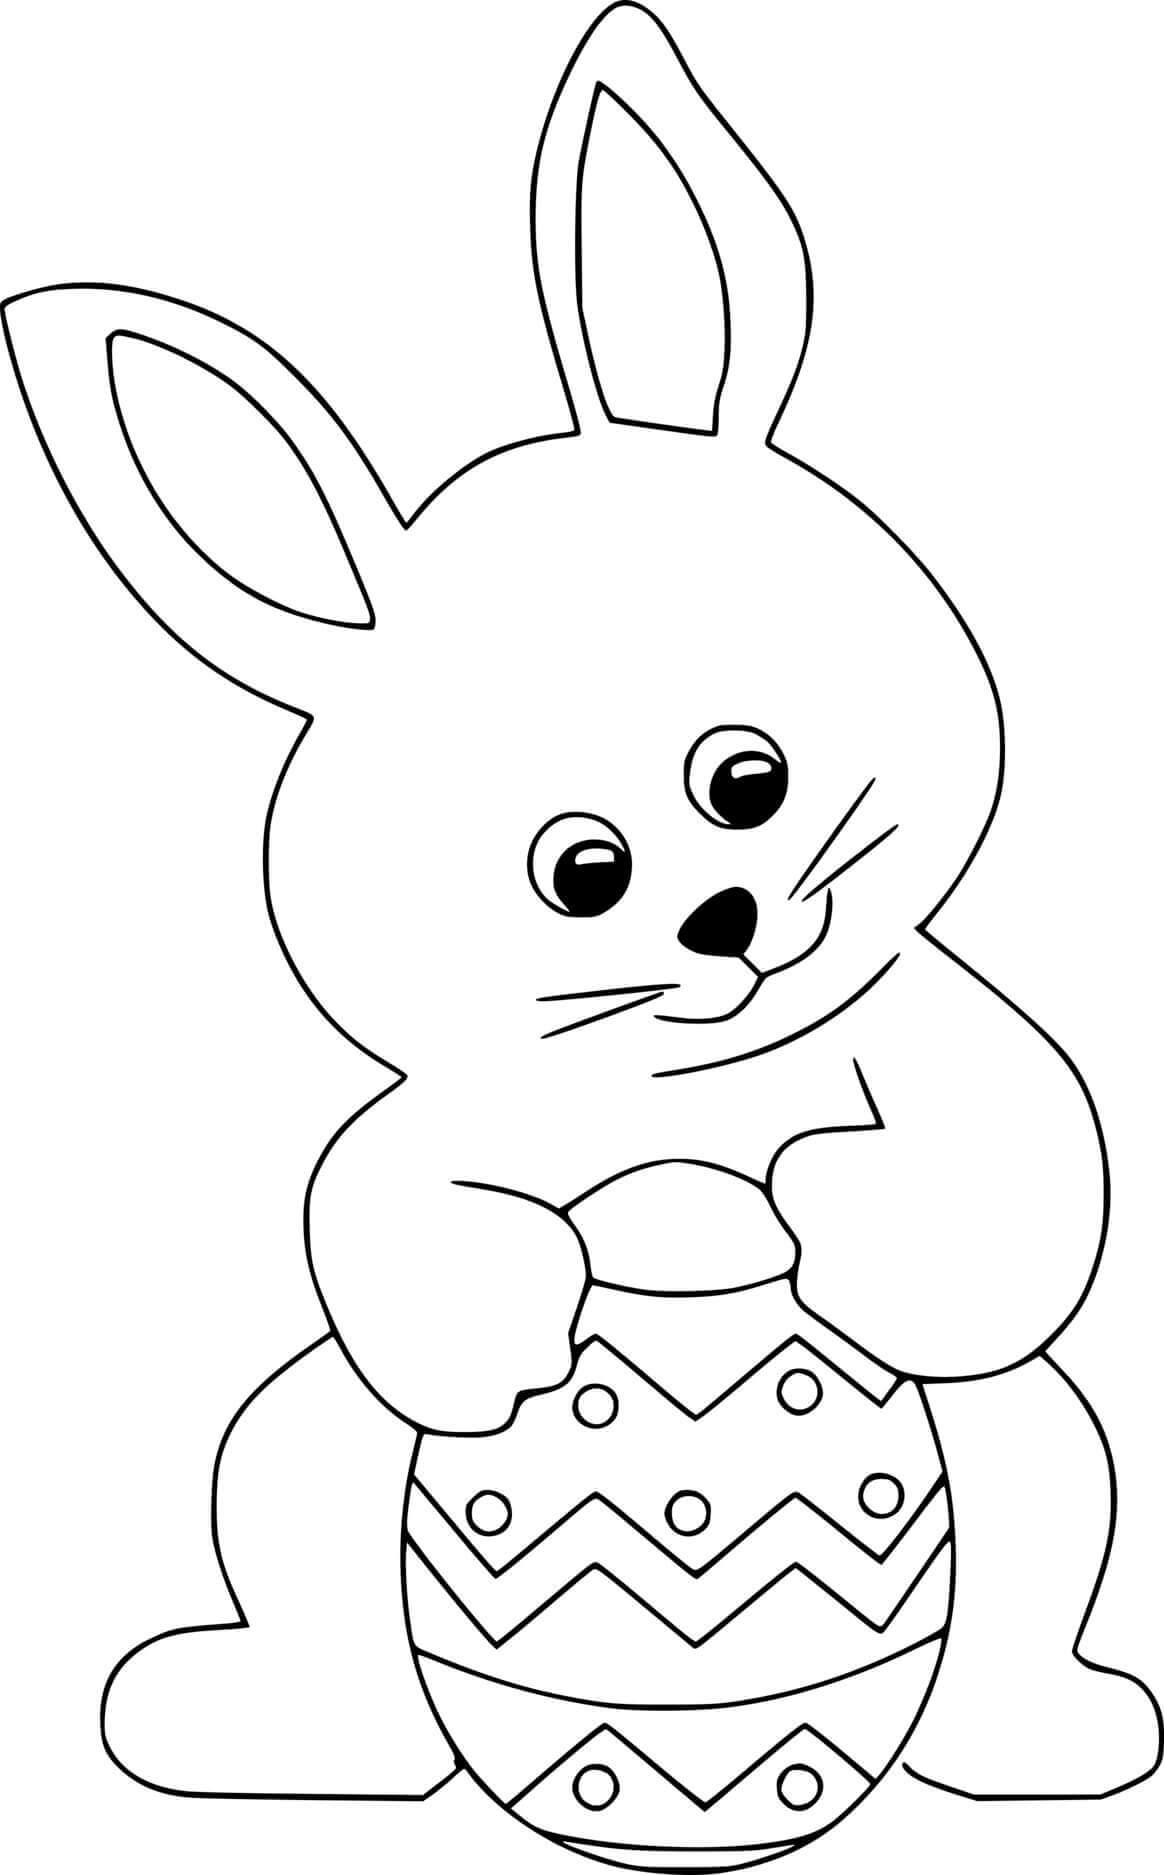
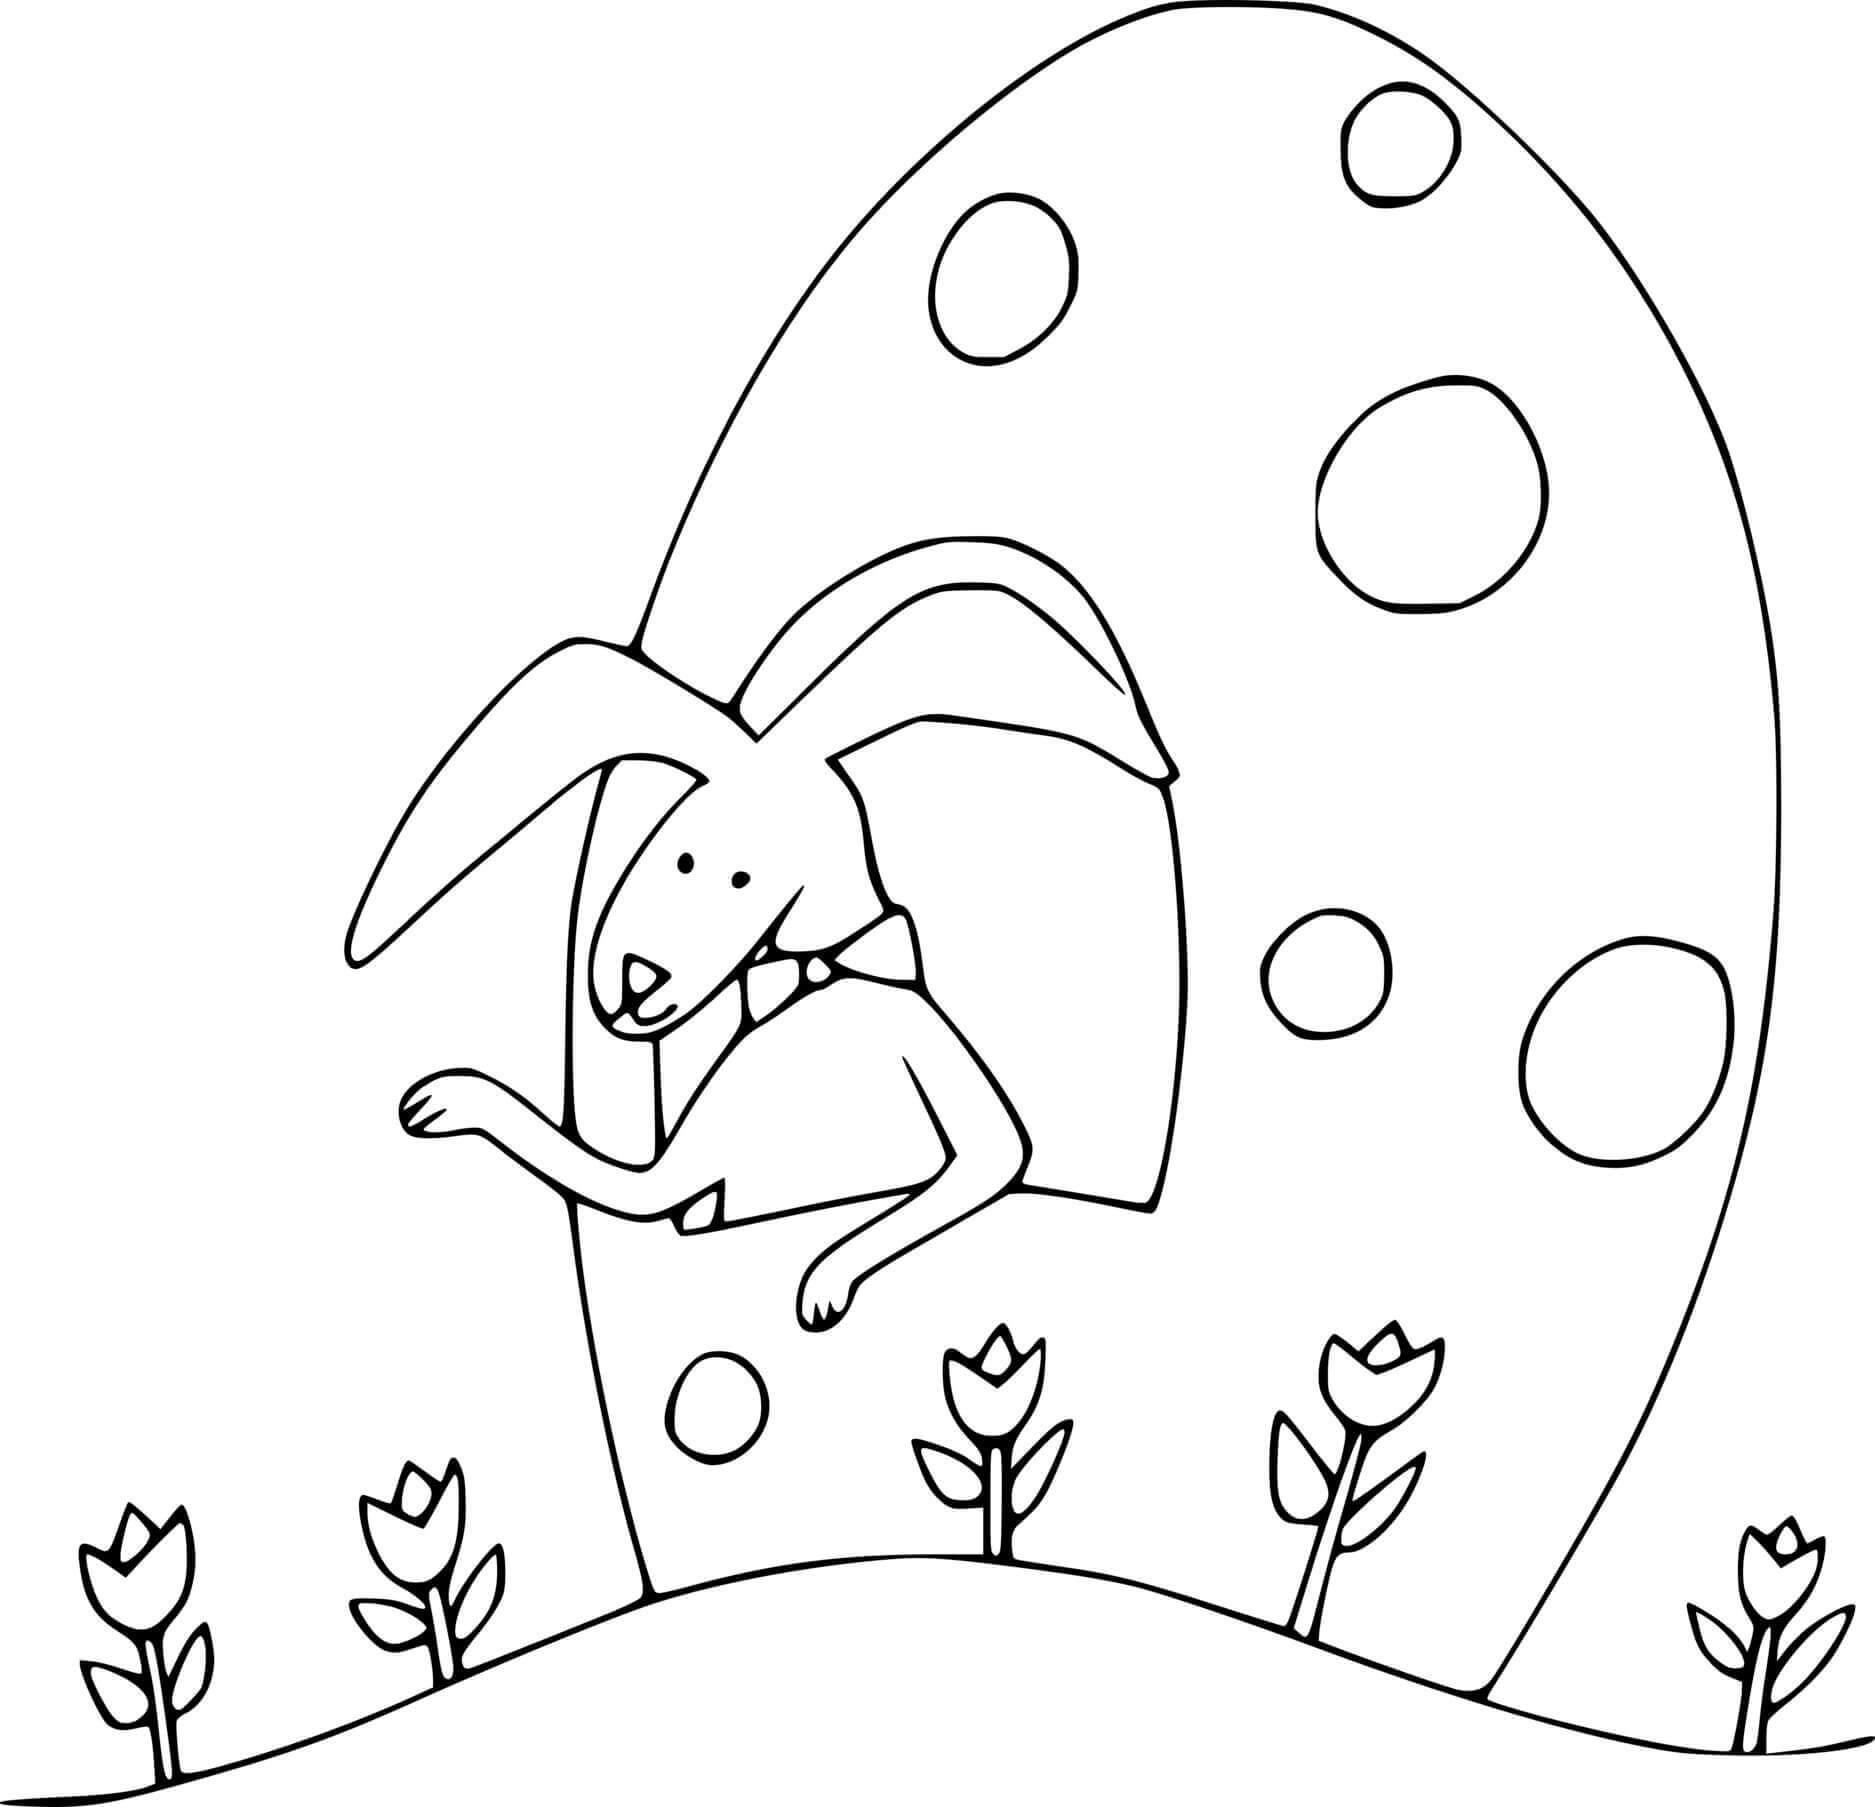
Follow this easy how to draw an Easter Bunny step by step tutorial, and you will have your Easter Bunny drawing finished in no time. We provide the instructions and illustrations to help you create a complete Easter Bunny. Today, we give the guide to learn drawing an Easter Bunny with a cute face and a side view to allow all critical tails to be on full display. The bunny shapes are big and simple, making this a good project for everyone, even preschoolers. Whether you are a beginner or an expert in drawing, you can finish your mission quickly. You will go step by step in the guide and complete an Easter Bunny. With our simple instructions, I am sure you can realize your task and like our activity. Along with the tutorial, we have also included a couple of free Easter Bunny coloring pages that you can print off and give to your kids to color!
How To Draw An Easter Bunny – Let’s Get Started!

As you know, Easter is one of the most colorful and widely celebrated holidays globally. Every year children all over the world look forward to this festival so that they have a chance to enjoy a variety of chocolate cakes and colorful egg hunts that make them very excited. And these eggs are all brought to a busy prison rabbit which we call An Easter Bunny. Our step-by-step guide on drawing the Easter Bunny in just eight easy steps will show you how fun and easy drawing this jolly rodent can be! Before drawing, you must prepare some things such as a pencil, pen, color, and paper. You can take advantage of available materials such as A4 paper and cardboard and learn to draw comfortably. Drawing is a good activity and suitable for everyone, from children to adults. After the hard-working hours, you need to relax, and this activity is the best choice for everyone. If you are a parent, you can learn draw with your children; they will like this activity and can void to using technical devices like smartphones, tablets, and television,..they are not suitable for their eyes and evolution. Now, let’s get started drawing an Easter Bunny with us!
Step 1 – Draw The Easter Bunny’s Eyes

We will begin this guide on how to draw the Easter Bunny with the eyes of the Easter Bunny. The eyes are then made of two small circles with a dot inside each one. You use black to color your eyes. Of course, you also leave a little white space for the eyes to make them eyes look more realistic and lively with the pupils. Once you finish the eyes task, you move to step 2.
Step 2 – Draw Head Outline, Mouth, And Nose For Easter Bunny

For the second step on your Easter Bunny Drawing, you start to draw the head outline with an oval, and then you use a short curve with two small curves for Easter Bunny.’s nose and mouth. Very simple here. You can look at our illustration and follow it.
Step 3 – Draw The Easter Bunny’s Right Ear

For this ear, draw an arch from the head up to the left. Draw a line from the left point to the right and a line up from the head to connect. Once you have these elements looking as they do in the reference image, you’re ready for step 4!
Step 4 – Draw The Easter Bunny’s Left Ear

For the left ear of the bunny, you draw the same as the right ear, and only instead of drawing to the right, now you draw the left ear for Easter Bunny. It’s also simple, isn’t it? Because you drew the ears in step 3, and this step repeats. You can go next to the fifth step now.
Step 5 – Draw The Easter Bunny’s Body

You draw the body by drawing two curved lines down from under the head on each side, connecting with the belly of the body. With two simple curves and one seam, you can show off the body, belly, and shoulders for Easter Bunny. You can move to step 6 and continue your work on drawing Easter Bunny.
Step 6 – Draw The Easter Bunny’s Arms

You continue to draw two smaller curved lines down from under the head on each side, connecting with the body midway down for the arms. It is not complex here, and you can observe our illustration and practice your drawing with your skill.
Step 7 – Finish Your Drawing Mission

At the bottom of the page, draw two curved arches from the center going out towards the sides for the paws. As you can see in the illustration, the toes are not visible, so we don’t even need to draw the toes for Easter Bunny. Before you finish your mission in this section and leave, don’t forget to draw a carrot next to the Easter Bunny. You use curved lines to show a carrot.
Step 8 – Color Easter Bunny

Here comes the easiest step for you. You must choose the right color for your finished product, Easter Bunny. You can take any color you like for your Easter Bunny. We use the simple color white for most of the body—pink for accents like belly rings, red for carrots,s, and green for carrot leaves.
Your Easter Bunny Drawing Is Complete
You create a perfect Easter Bunny Drawing in 8 simple steps with your fun time.
So, you finish your drawing and coloring for making Easter Bunny drawing with a carrot. This task is exciting in your free time. We provide how to draw an Easter Bunny and everything for free on our site. You can come here each day and enjoy it. Besides learning to draw, you can refer to Easter Bunny coloring pages on our site and make coloring for them. We update hundreds of images related to the Easter Bunny, and you can also recommend your friends come here. Have a great time!