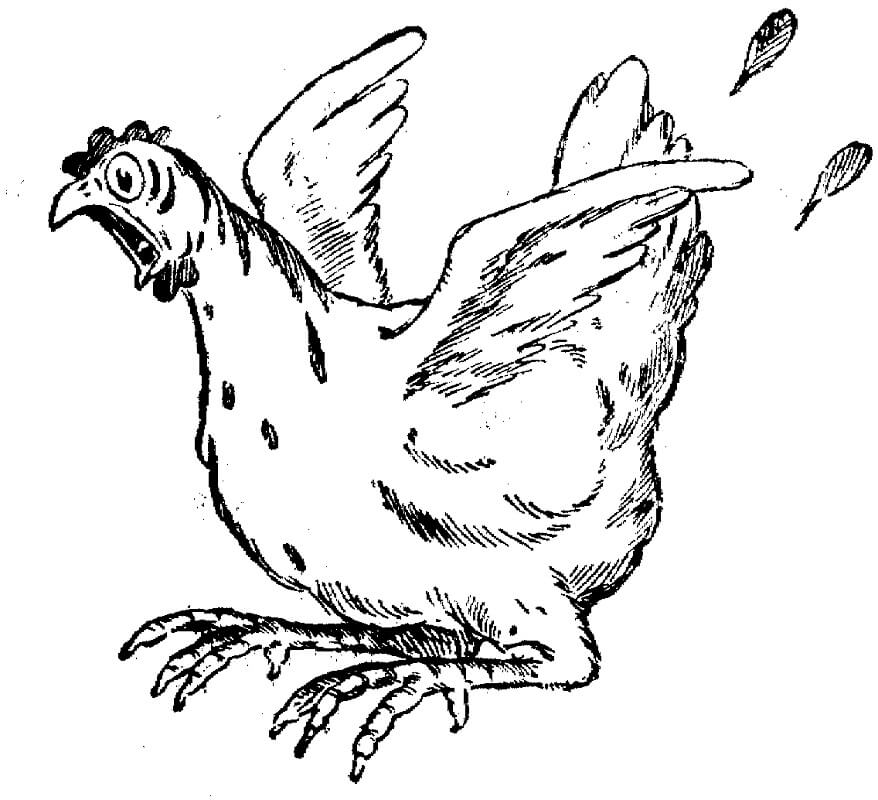
Hen Drawing Is Complete In 6 Easy Steps
Creating A cute hen drawing in just 6 easy steps
You will create a hen drawing with our guide. Today, in this step-by-step drawing tutorial, you will learn how to draw a hen. You will go to step-by-step instructions to finish your task. Whether you are a beginner or an expert in drawing, you can finish your mission here easily with our simple instructions. Joining the drawing activity will help you to relax and have a great time. After the hard-working hours, you need to relax to help your mind at ease; you will work better. It is not only good for adults but also useful for kids. Your kids will avoid using technical devices such as smartphones, television, and tablets,. They are not good for their eyes and evolution. You can come here with your kids and your friends and get a partner. With our instruction, we also provide hen coloring pages for free, and you can enjoy them with coloring or your drawing skill. This is not a simple task but it is not too difficult; you need to concentrate your mind, passion, and time to realize your work.
How To Draw A Hen – Let’s Get Started!

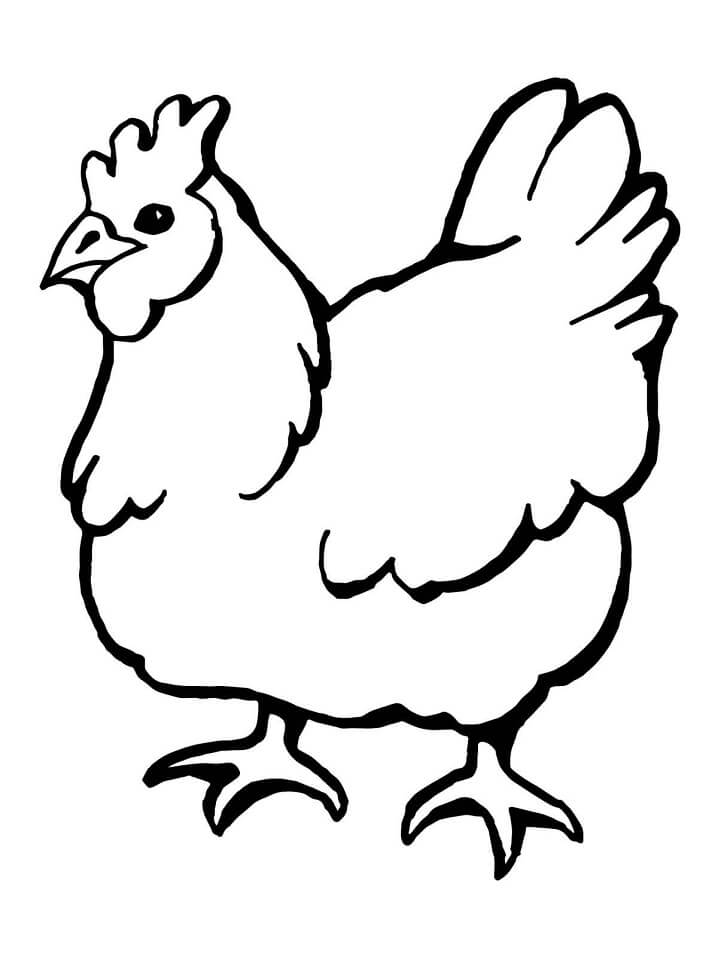
You will use our guide and our illustration to create a complete hen. We will analyze a simple option for how to draw a hen, which all novice artists will master. The hen drawing is quite simple to perform since there are many variations of this drawing – from the most complex to the easiest. It only takes six easy steps to get a nice hen with a simple operation. Why not? We provide them for free and you come here any time and anywhere with any device connecting to the internet. To create a hen, in addition to the talent for drawing, you need to have patience, hard work, and always focus until the job is completed. You will prepare some necessary things before drawing as a pencil, crayon, color, paper, etc. You can take advantage of things you already have in your home, so you don’t have to pay for them. You can use a pencil to draw on paper, and easy to draw the mistake. So, don’t be afraid to draw. You can draw in your most comfortable mood. And now, you are starting to draw a hen with us!
Step 1 – Draw Hen’s Head

For the first step to drawing a hen, you draw a head for the hen. You use a curved line to draw the long arched head below and zigzag lines to draw the hen’s feathers. As you see our illustration, you get a complete hen’s head. You can finish your work and move to the second step.
Step 2 – Draw Hen’s Body

Draw a circle to guide the front part of the hen’s body. First, make four small marks to indicate the circle’s height and width. Then connect the marks using curved lines. If you’re struggling to draw the circle, trace the outer rim of a coin, a lid, or any other object with a circular edge. Draw the guide for the second half of the hen’s body by making a small mark on the right. Then connect the mark to the circle using curved lines to form a big arc.
Step 3 – Draw Hen Wings

For your task in this step, you only use a curved line for the wing of the hen. You can observe our illustration and follow it. Too easy, isn’t it? You just need to use a little bit of your ingenuity to complete the task of this part quickly. Now let’s finish it and move on to the next step.
Step 4 – Draw the Tail, Eyes, Beak, And Lower Crest Of the Hen

Right now, you draw the hen’s tail with the long curved lines to show its beauty. The hen has a very beautiful tail, although it is not as long and colorful as the rooster you also need to make the hen’s tail has many different lengths and short feathers. Once you create the hen’s tail, you draw the beak and lower the creat of the hen. To the left of the head, draw a small arc as a guide for the hen’s beak. Under the beak, you draw the lower crest of the hen with a curved line. You finish your drawing on the next step.
Step 5 – Complete Your Drawing Of Hen

All your tasks of drawing for hen are finished here. Now, you add a crest above the hen’s head. This color is larger and wider than the crest below the hen’s neck. You will use successive curves to form a beautiful crest on the head of a more graceful hen. After that, you draw two legs for the hen. They will stand on two sides. It is desirable to make them symmetrical. You have more than the last step for coloring.
Step 6 – Color Your Hen

You choose the suitable color for your product, a hen. Because there is no rule in the choice for drawing, so you can make any color you like. It depends on your hobby. You can take colors and make coloring. In our reference image, we showed you just one way that you could go about coloring this picture. We used a mix of colors for the hen, red for the head and crest, yellow for the wing and a part of the tail, green for the belly, and other colors for the rest of the tail.
Your Hen Drawing Is Complete!
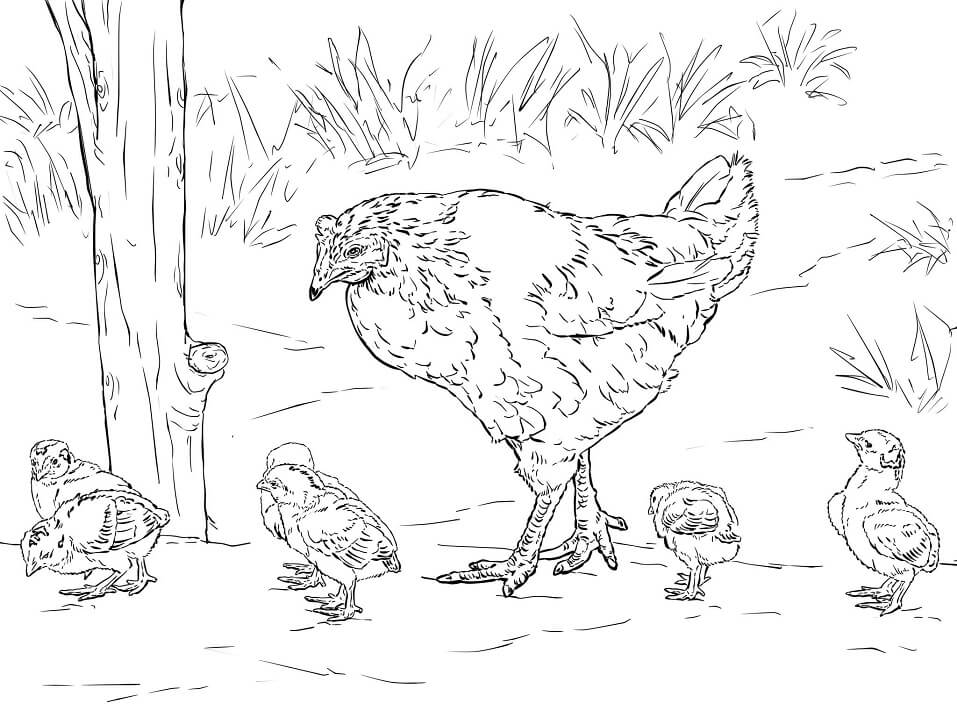
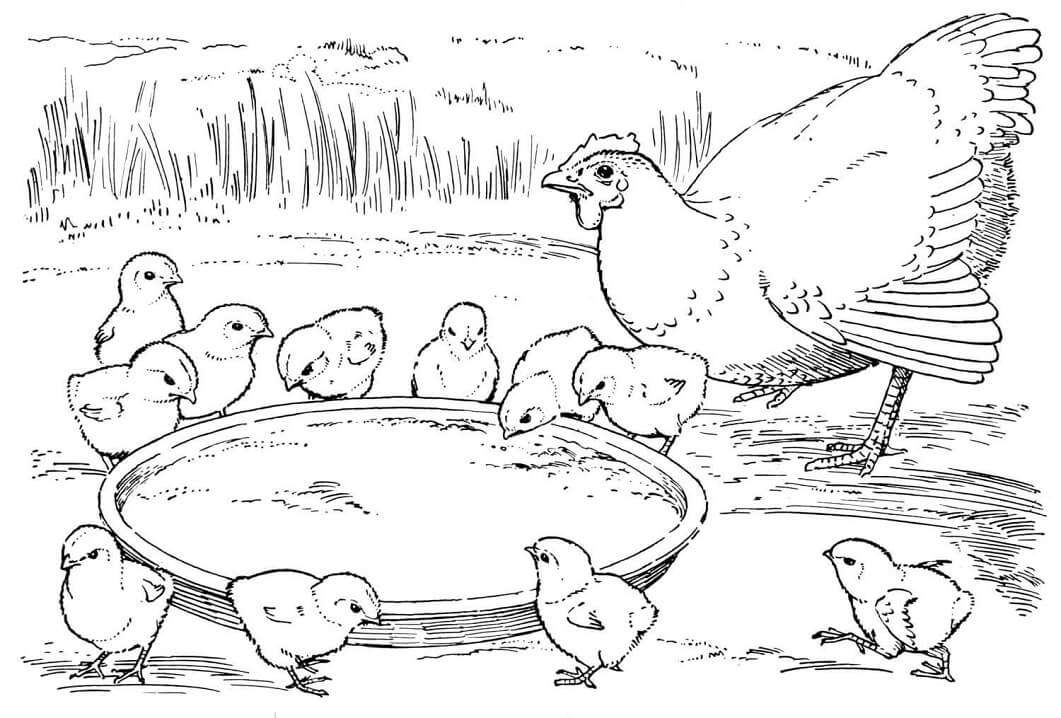
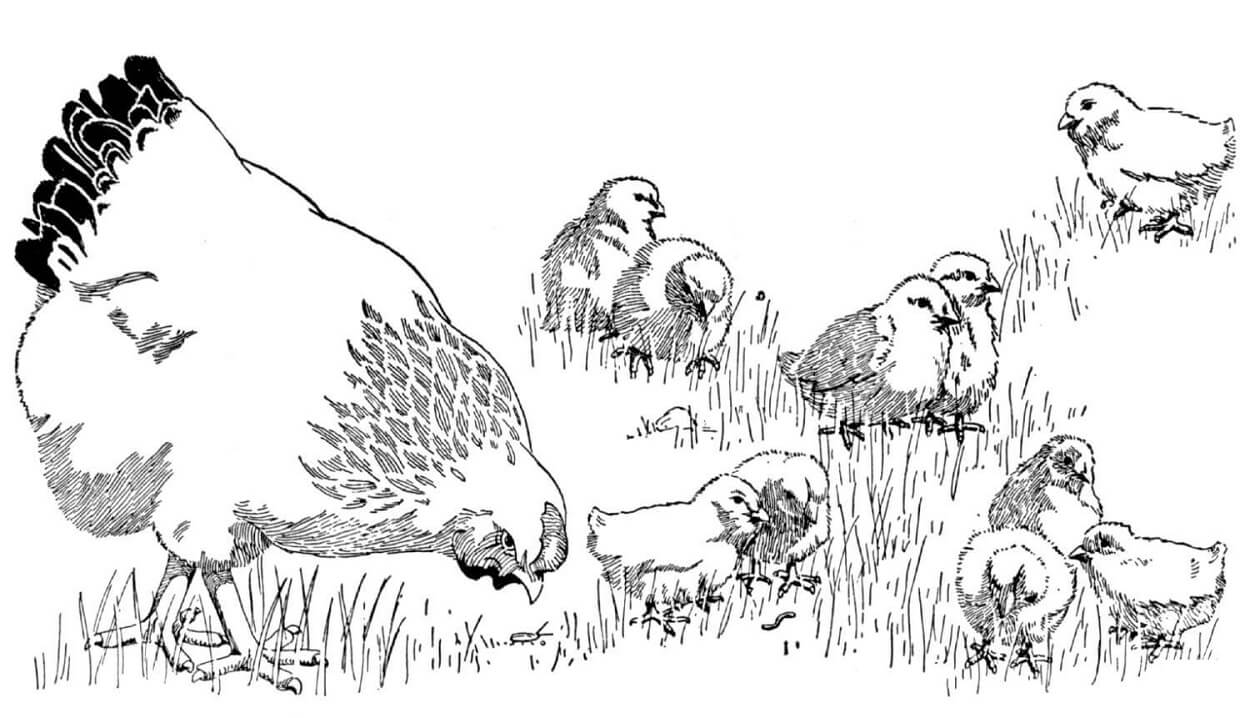
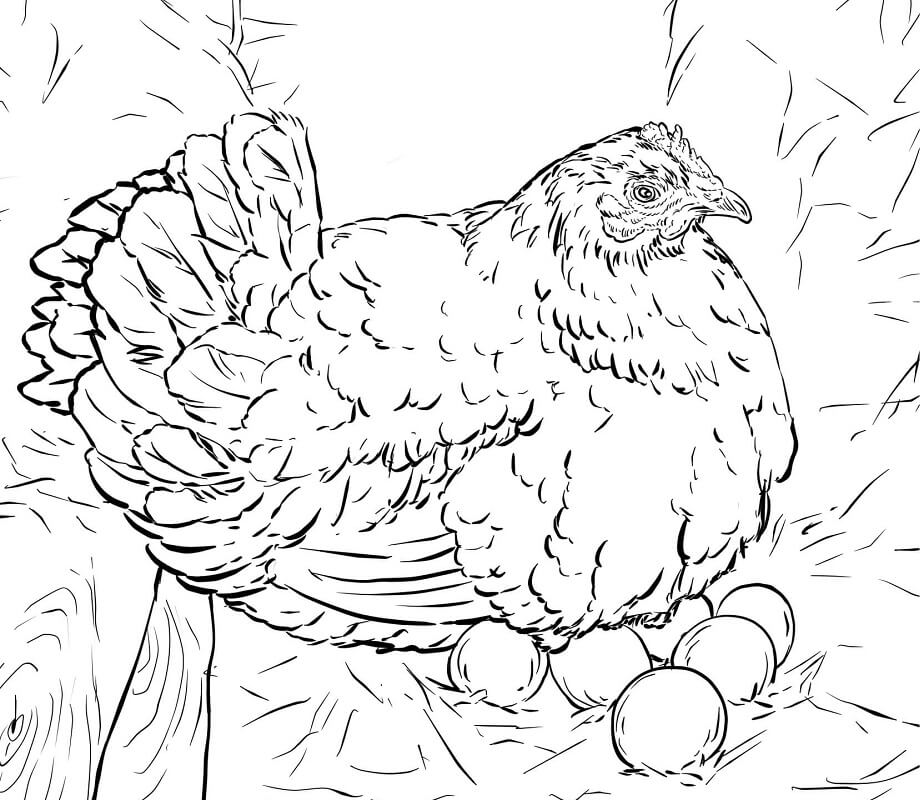
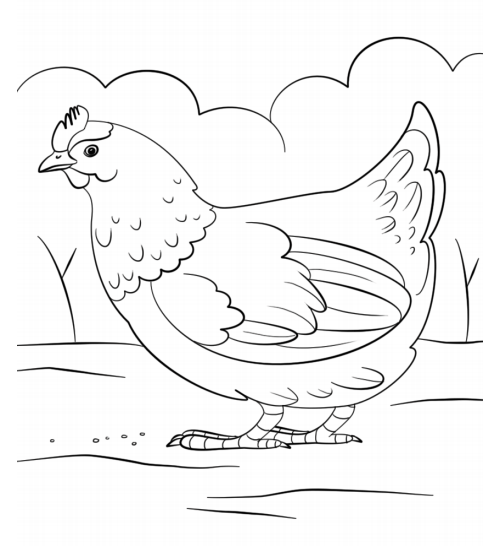
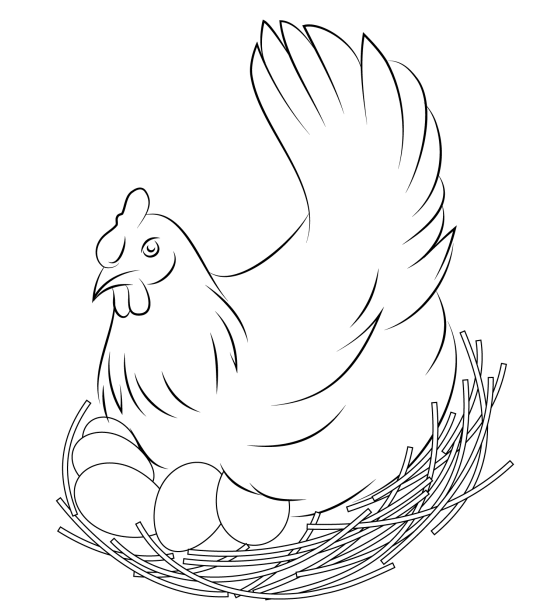
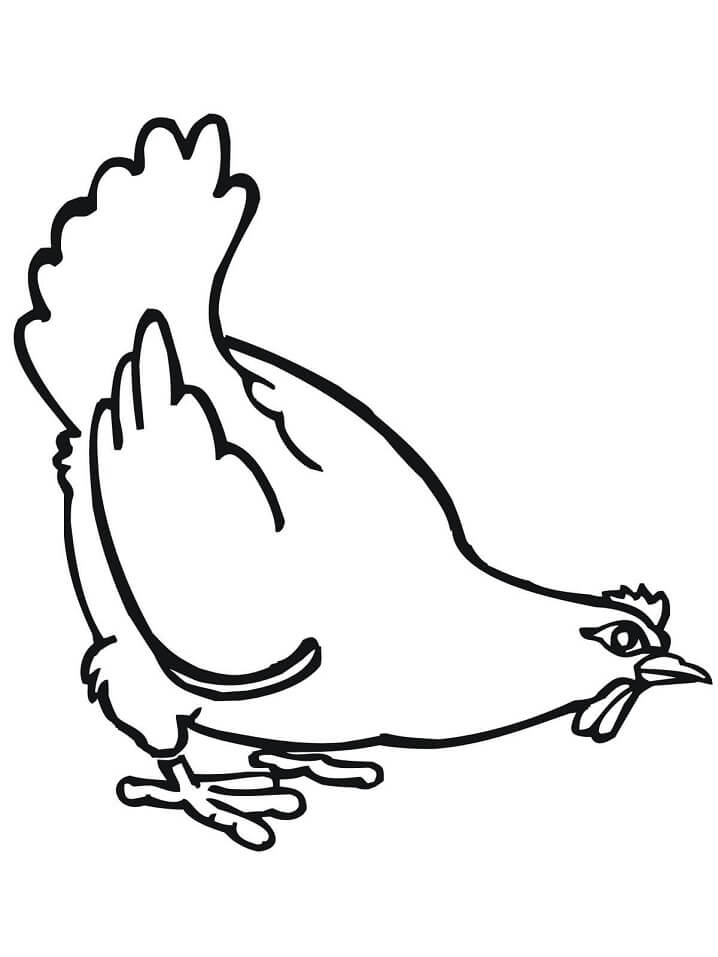
So, you finish your drawing and coloring mission for a hen. Now, you can move to hen coloring pages to enjoy the images related to hens. You also will choose some images and practice your drawing skill. So, you know how to draw a hen on our post. I hope you find these tutorials helpful. Please enjoy and happy drawing!