Bridge Drawing Is Complete In 12 Easy Steps
Bridge Drawing Is Complete In 12 Easy Steps
You can see the image of a bridge all over the world, and now we come to the challenge of creating a bridge drawing.
We have given a tutorial to draw a bridge in 12 steps; each step is a small part of the bridge, hope to help you draw the bridge quickly.
Stay calm and go step by step with us; it won’t be too difficult for you to stay focused until the task is done.
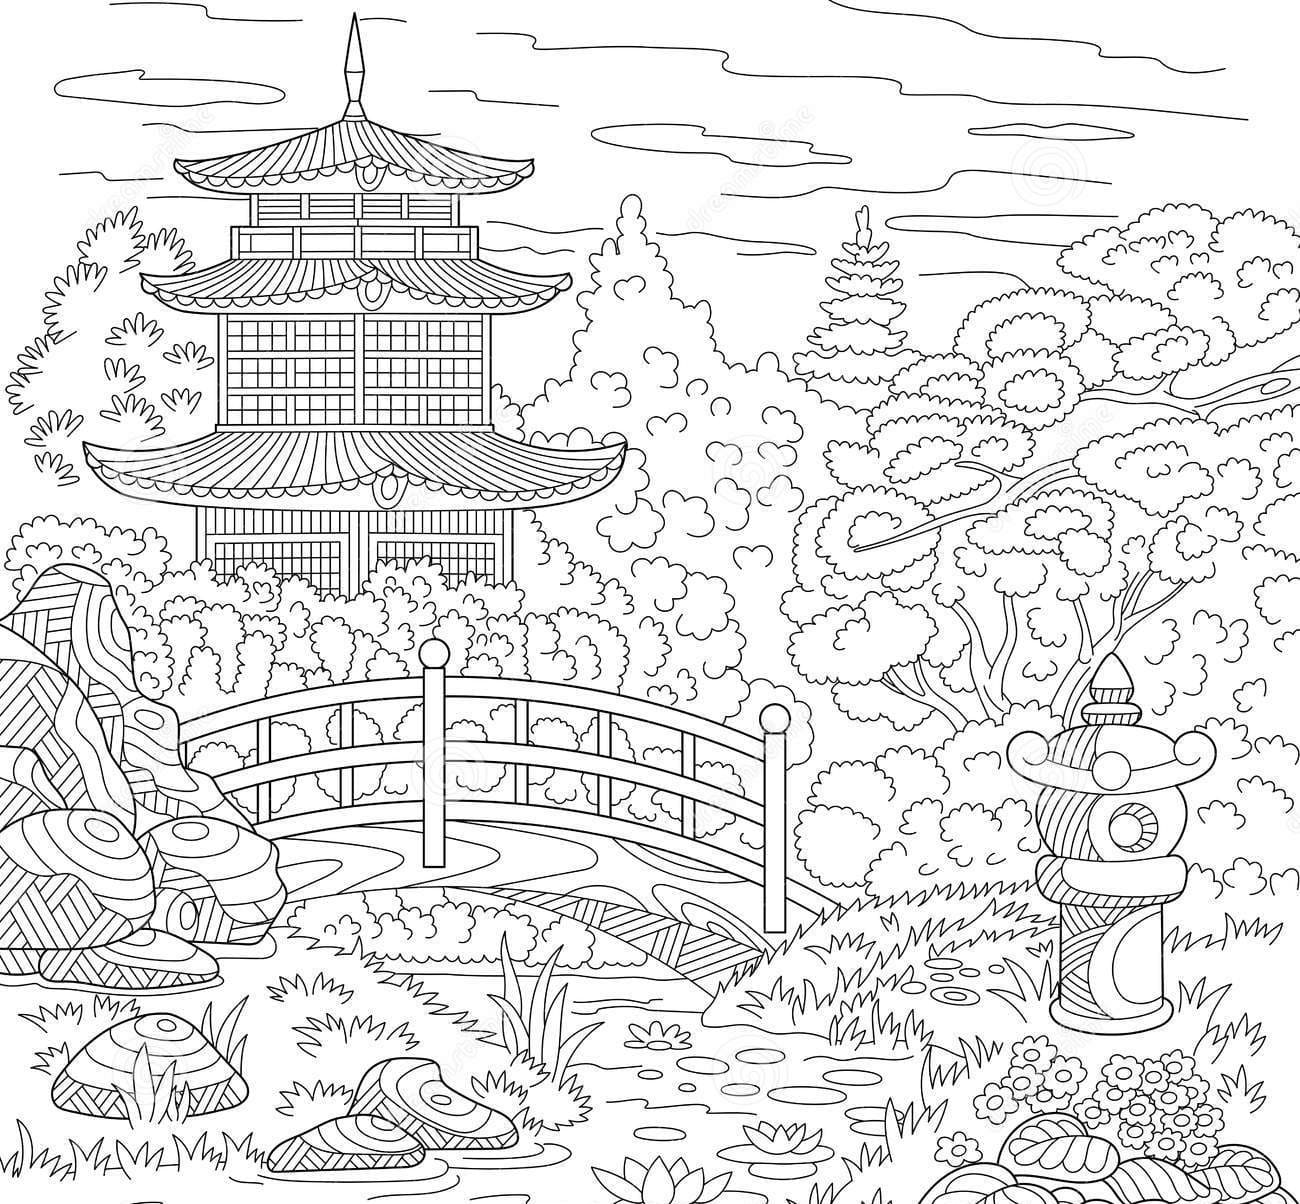
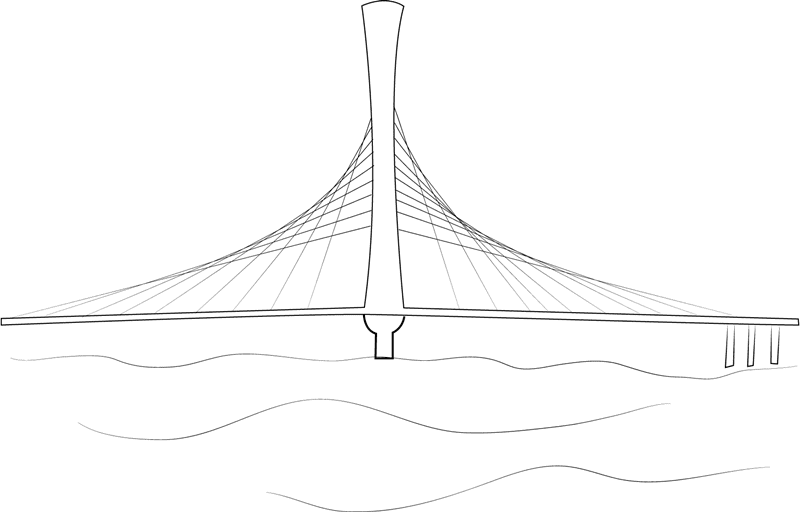
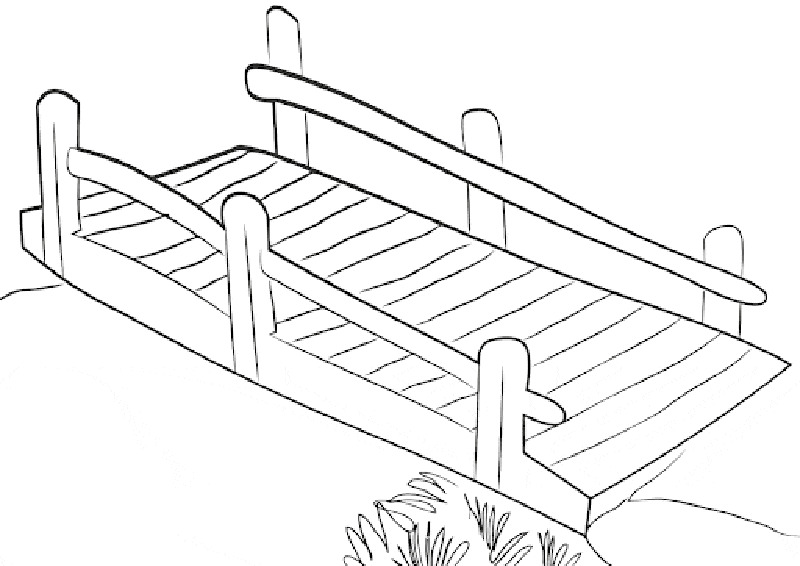
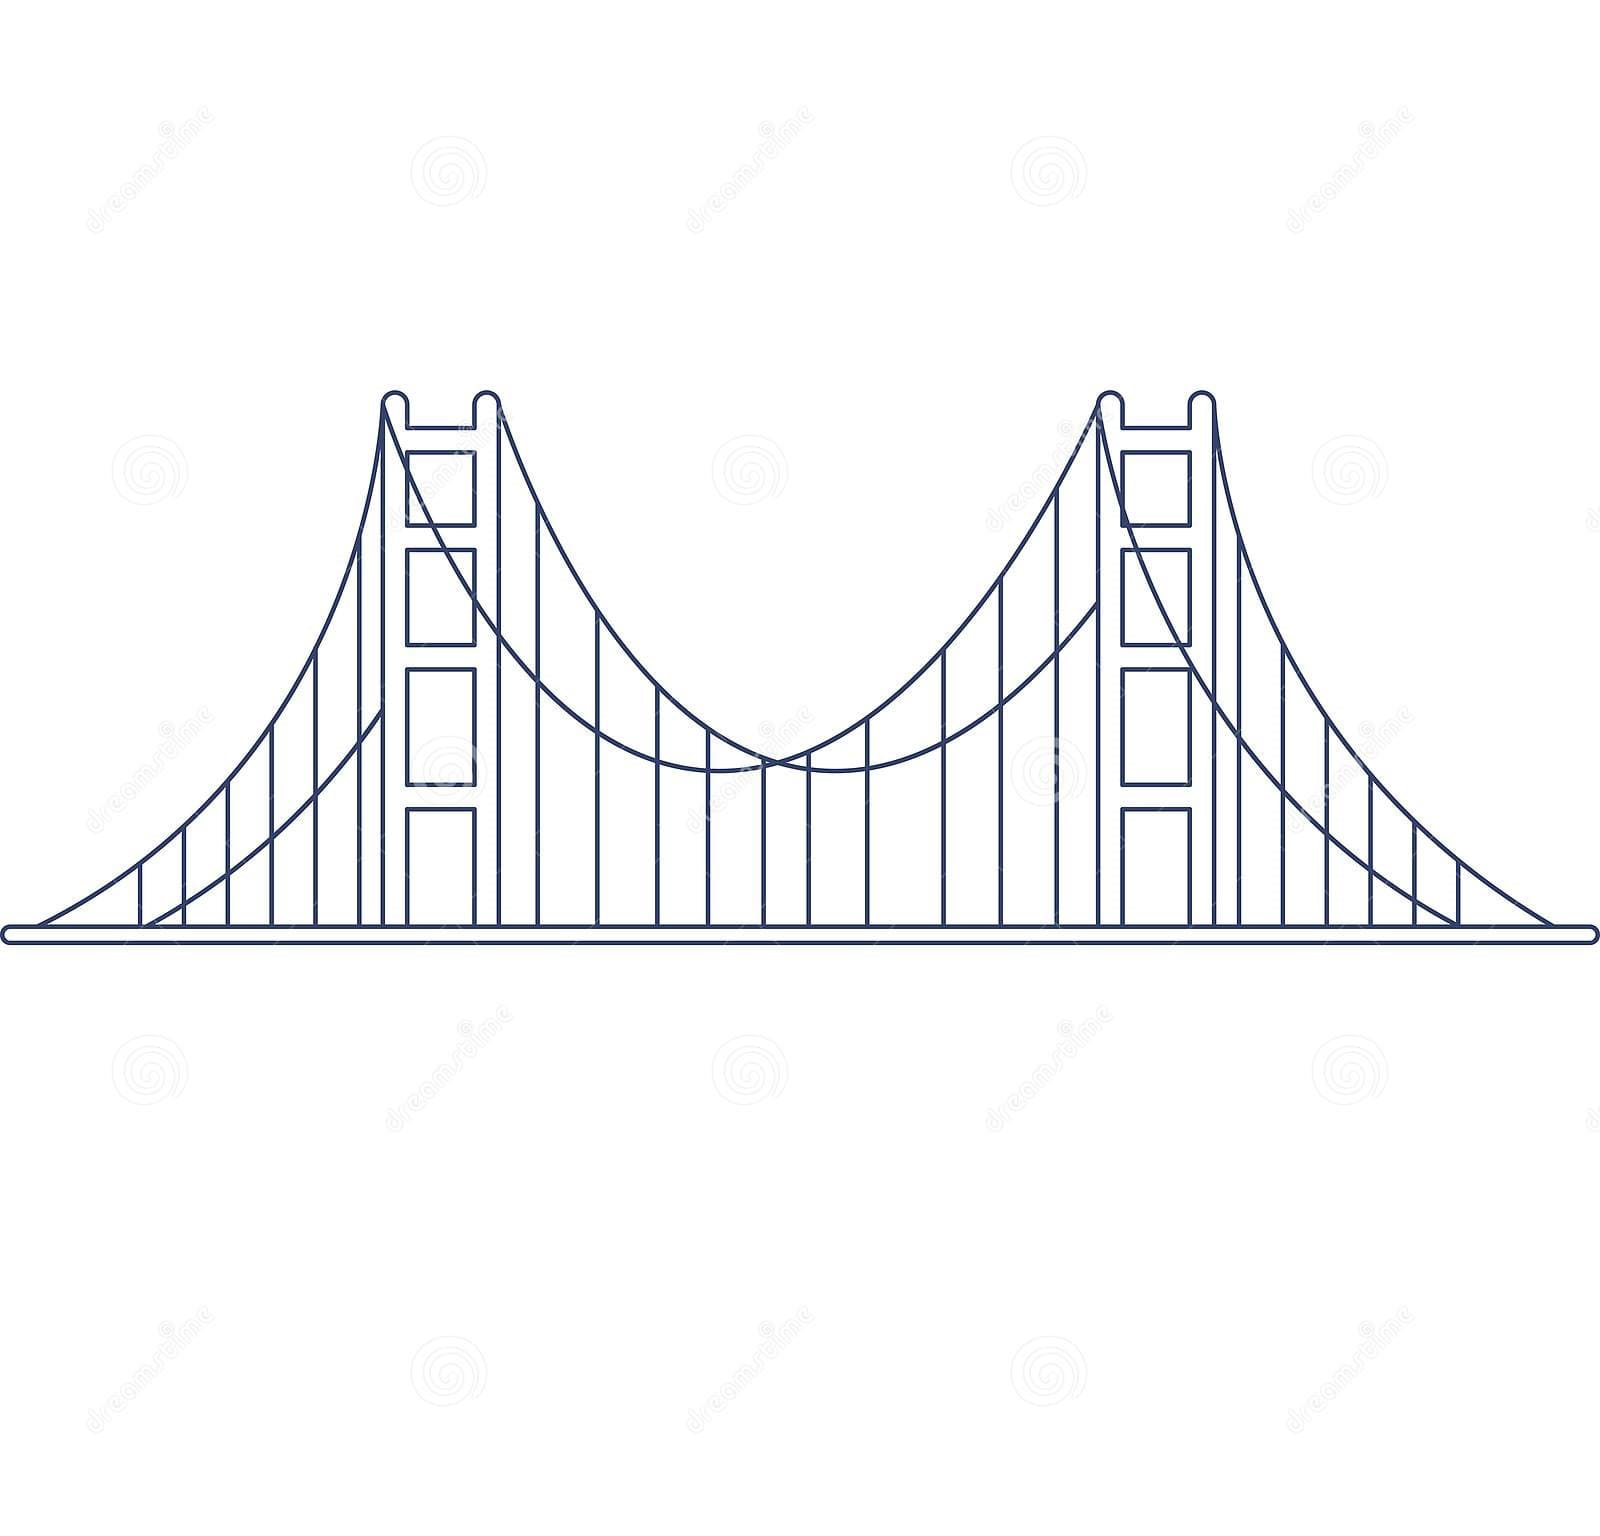
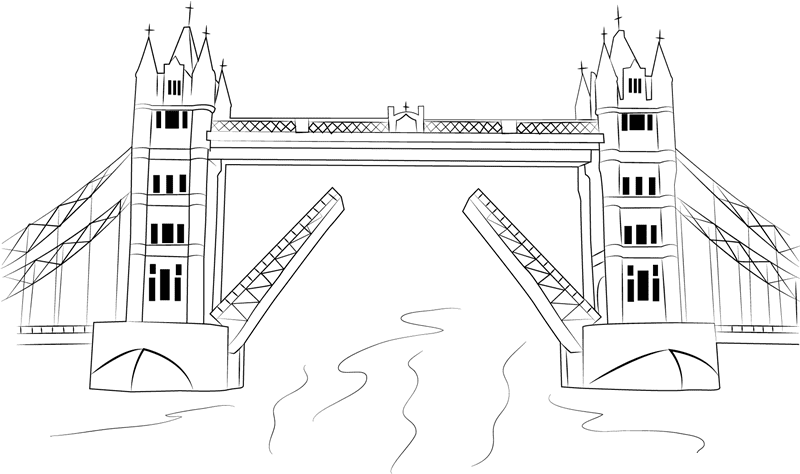
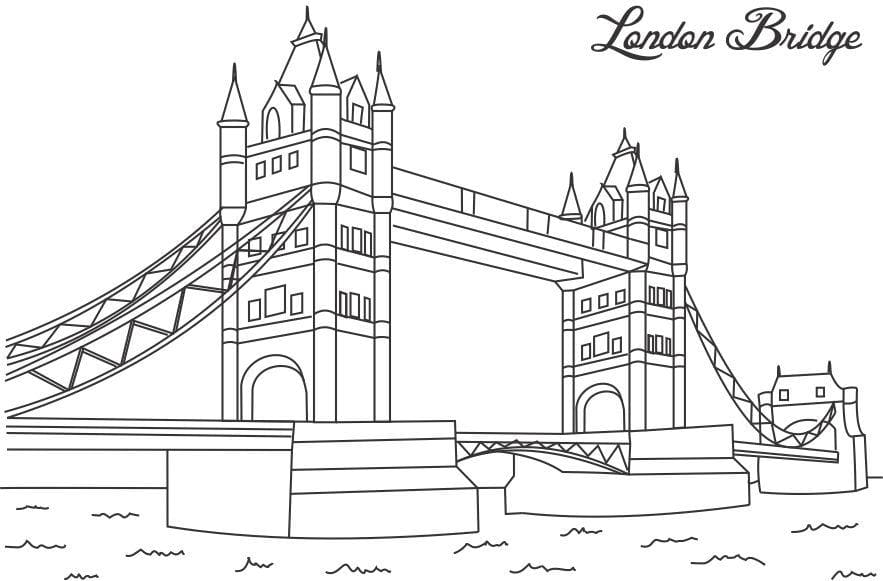
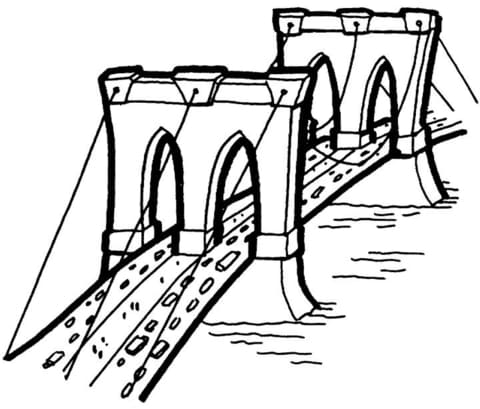
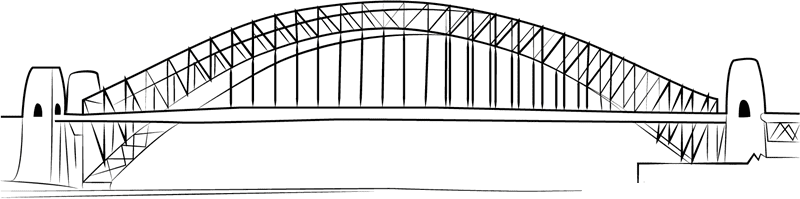
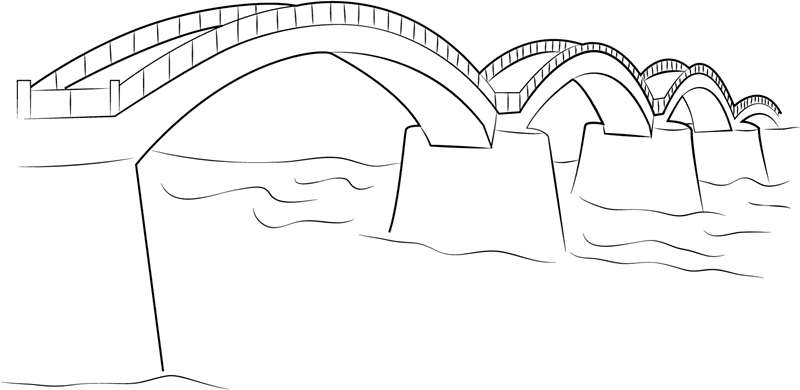
There are many different designs of bridges, and today you will draw a simple bridge as you see in our illustration.
There are 12 steps equivalent to 12 tasks you need to complete, and in each step, we always provide a reference image for you. You can do these tasks efficiently.
Before starting to draw, you must prepare supplies such as a pen, pencil, paper, colors, and eraser. Then you will begin drawing a bridge with pencil and paper. You can use an eraser easily using of pencil and paper.
In the course of drawing, you can add details to your bridge drawing and the pieces we drew.
Once you get a complete bridge, you can choose the suitable colors for your product.
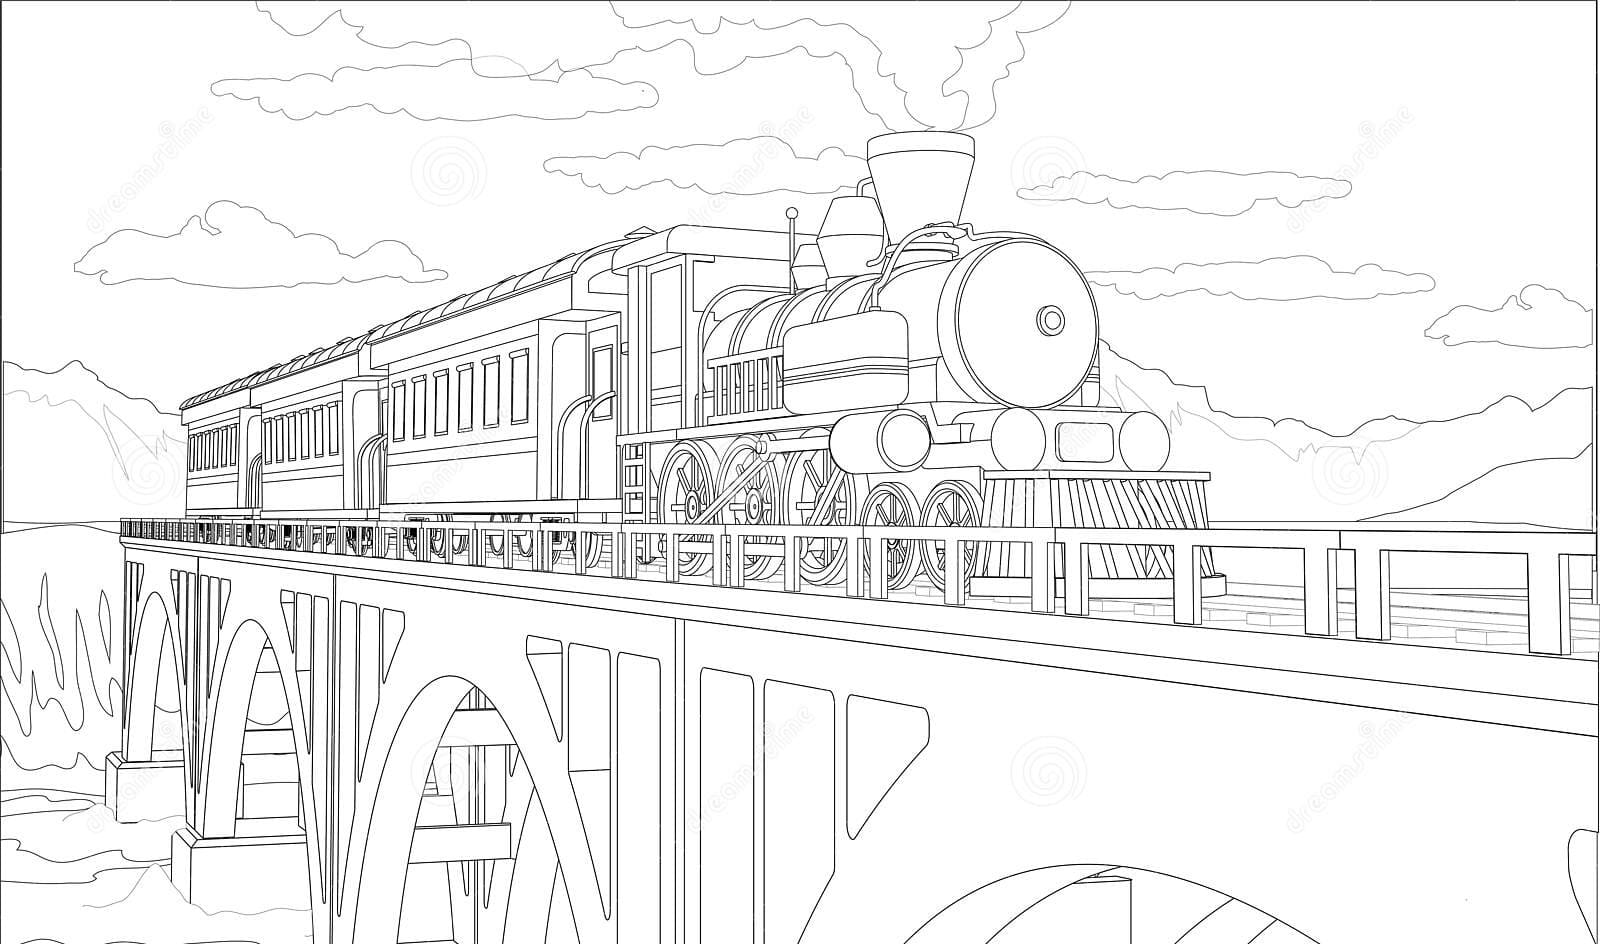
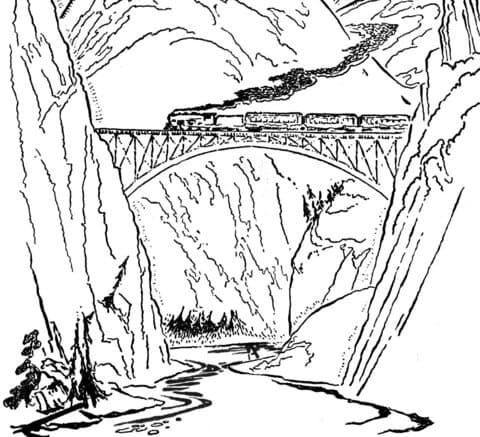
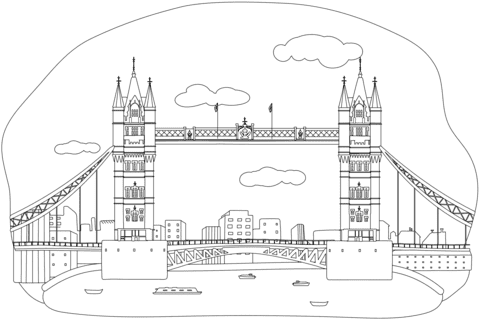
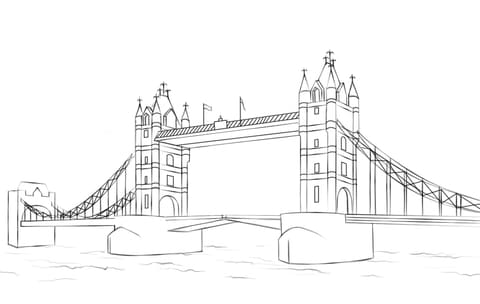
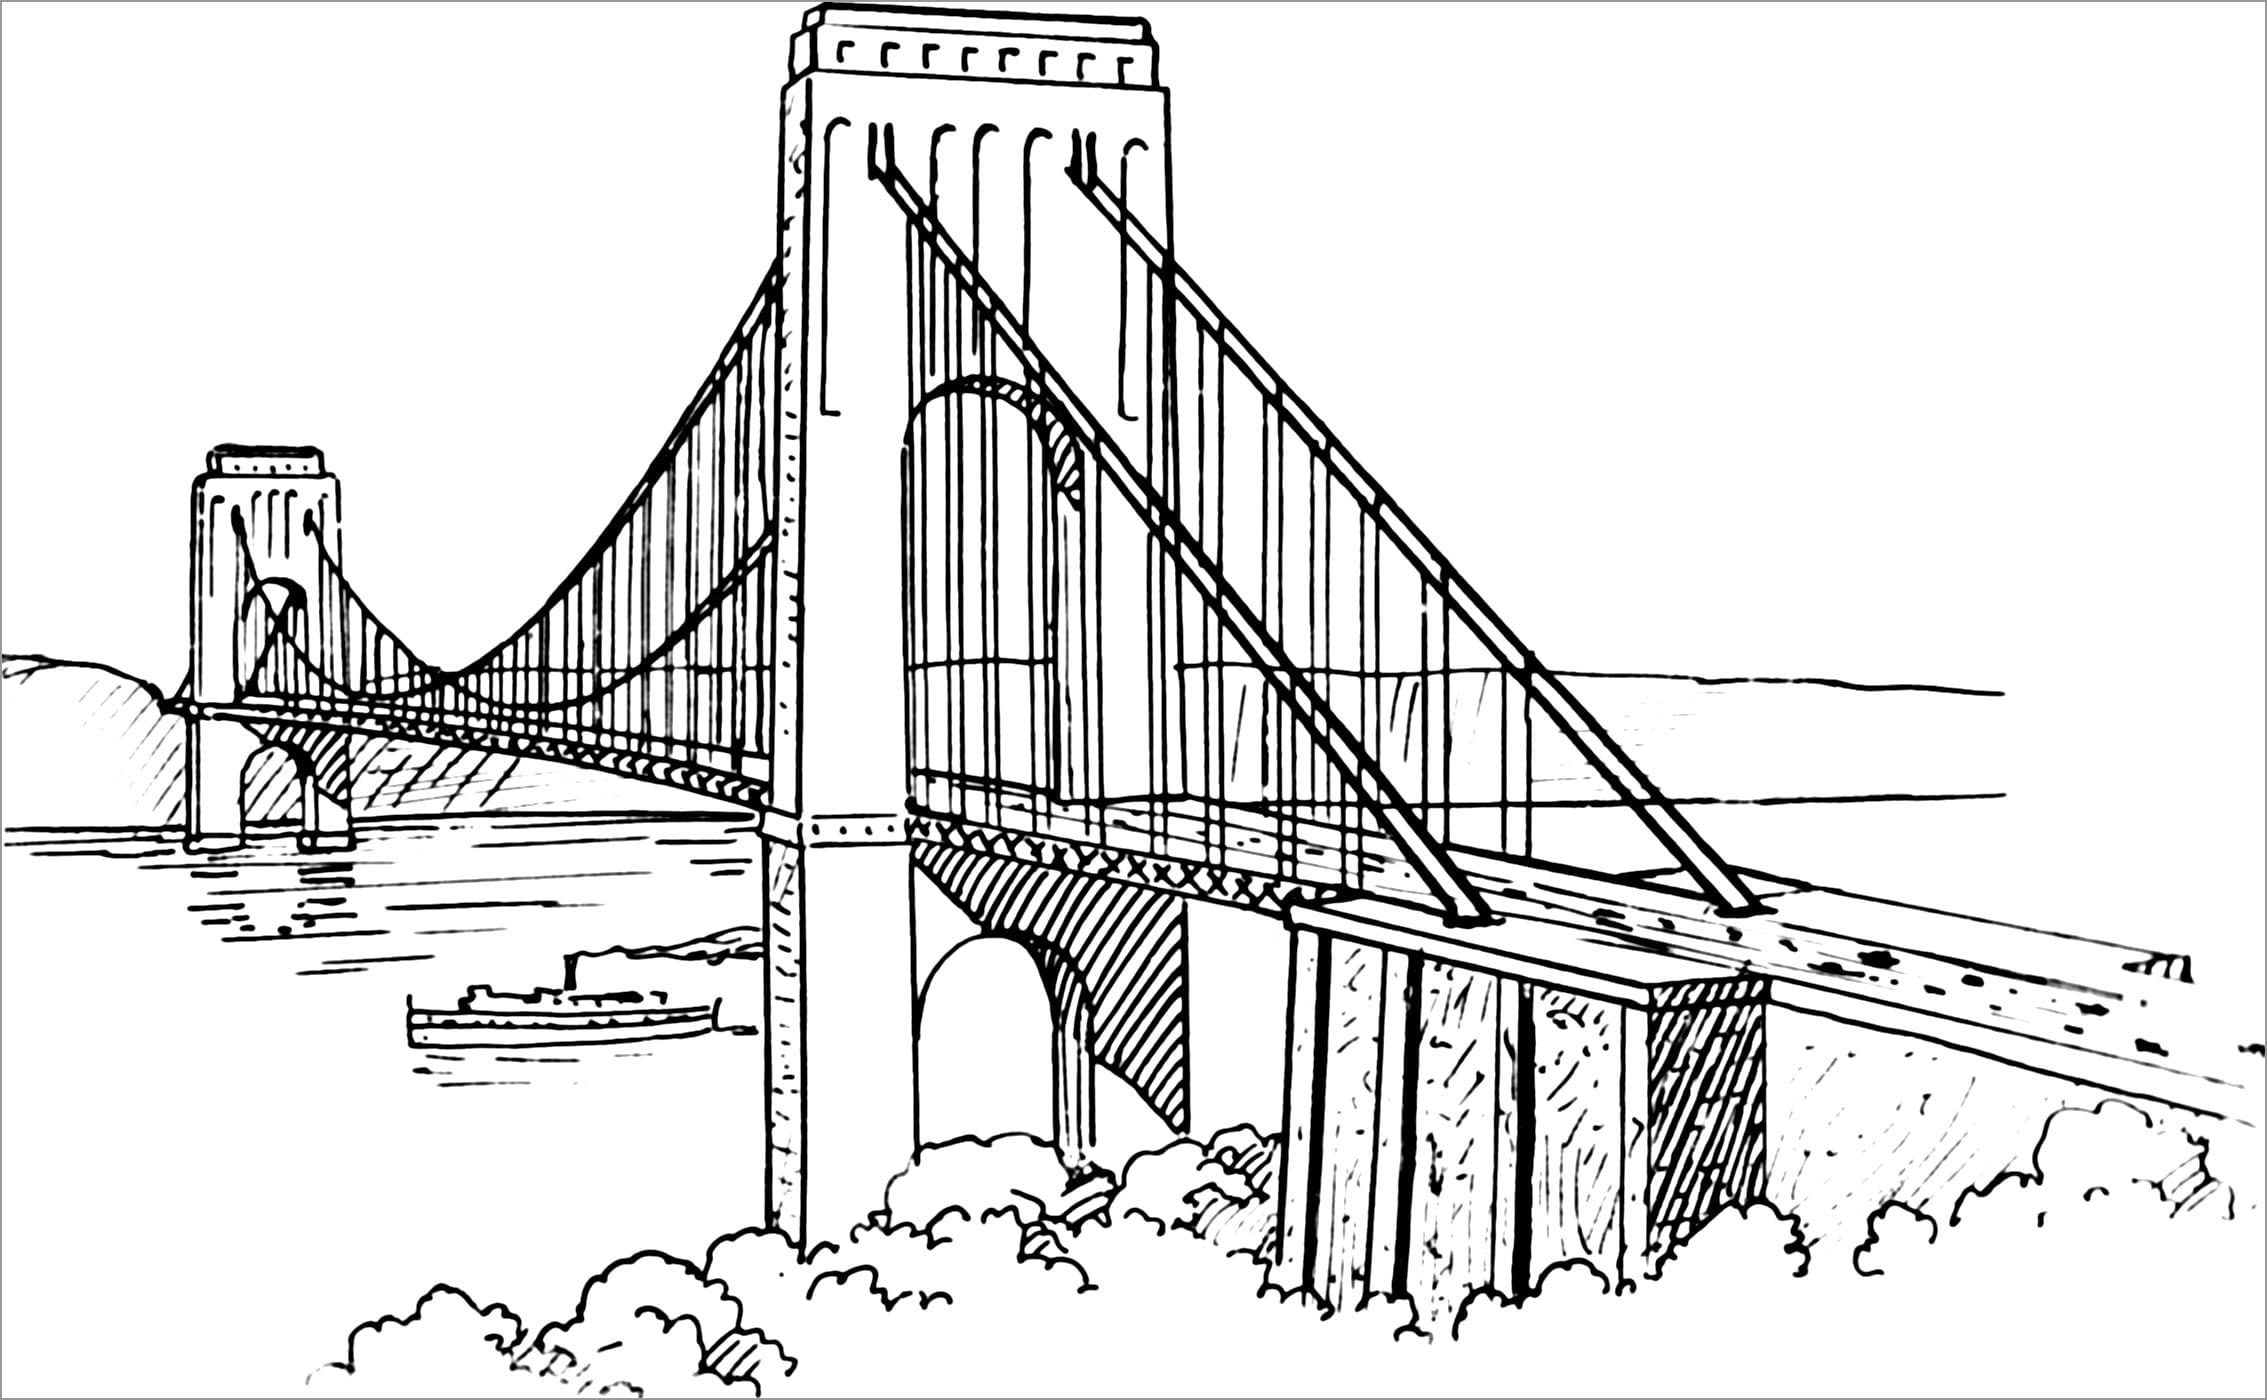
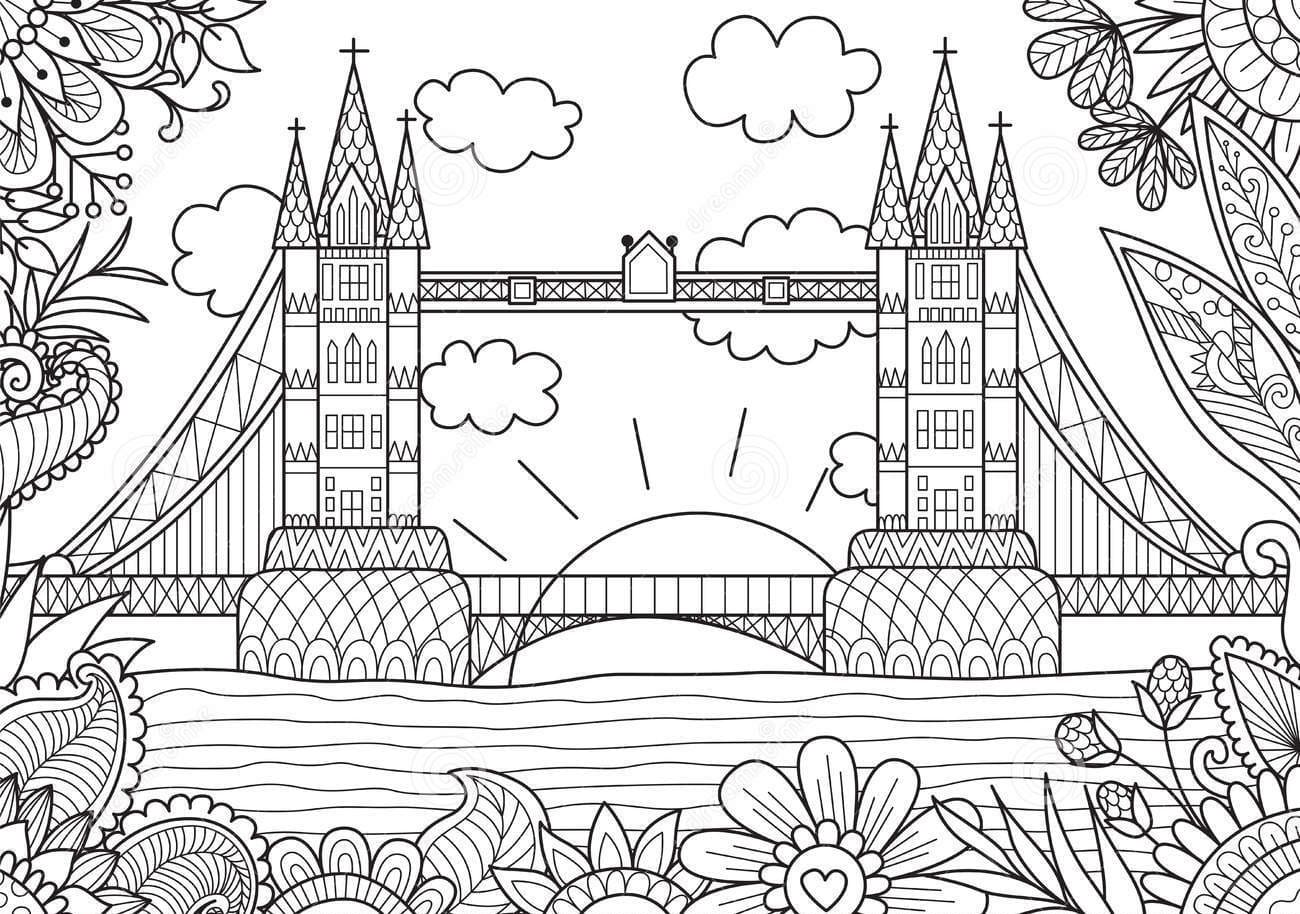
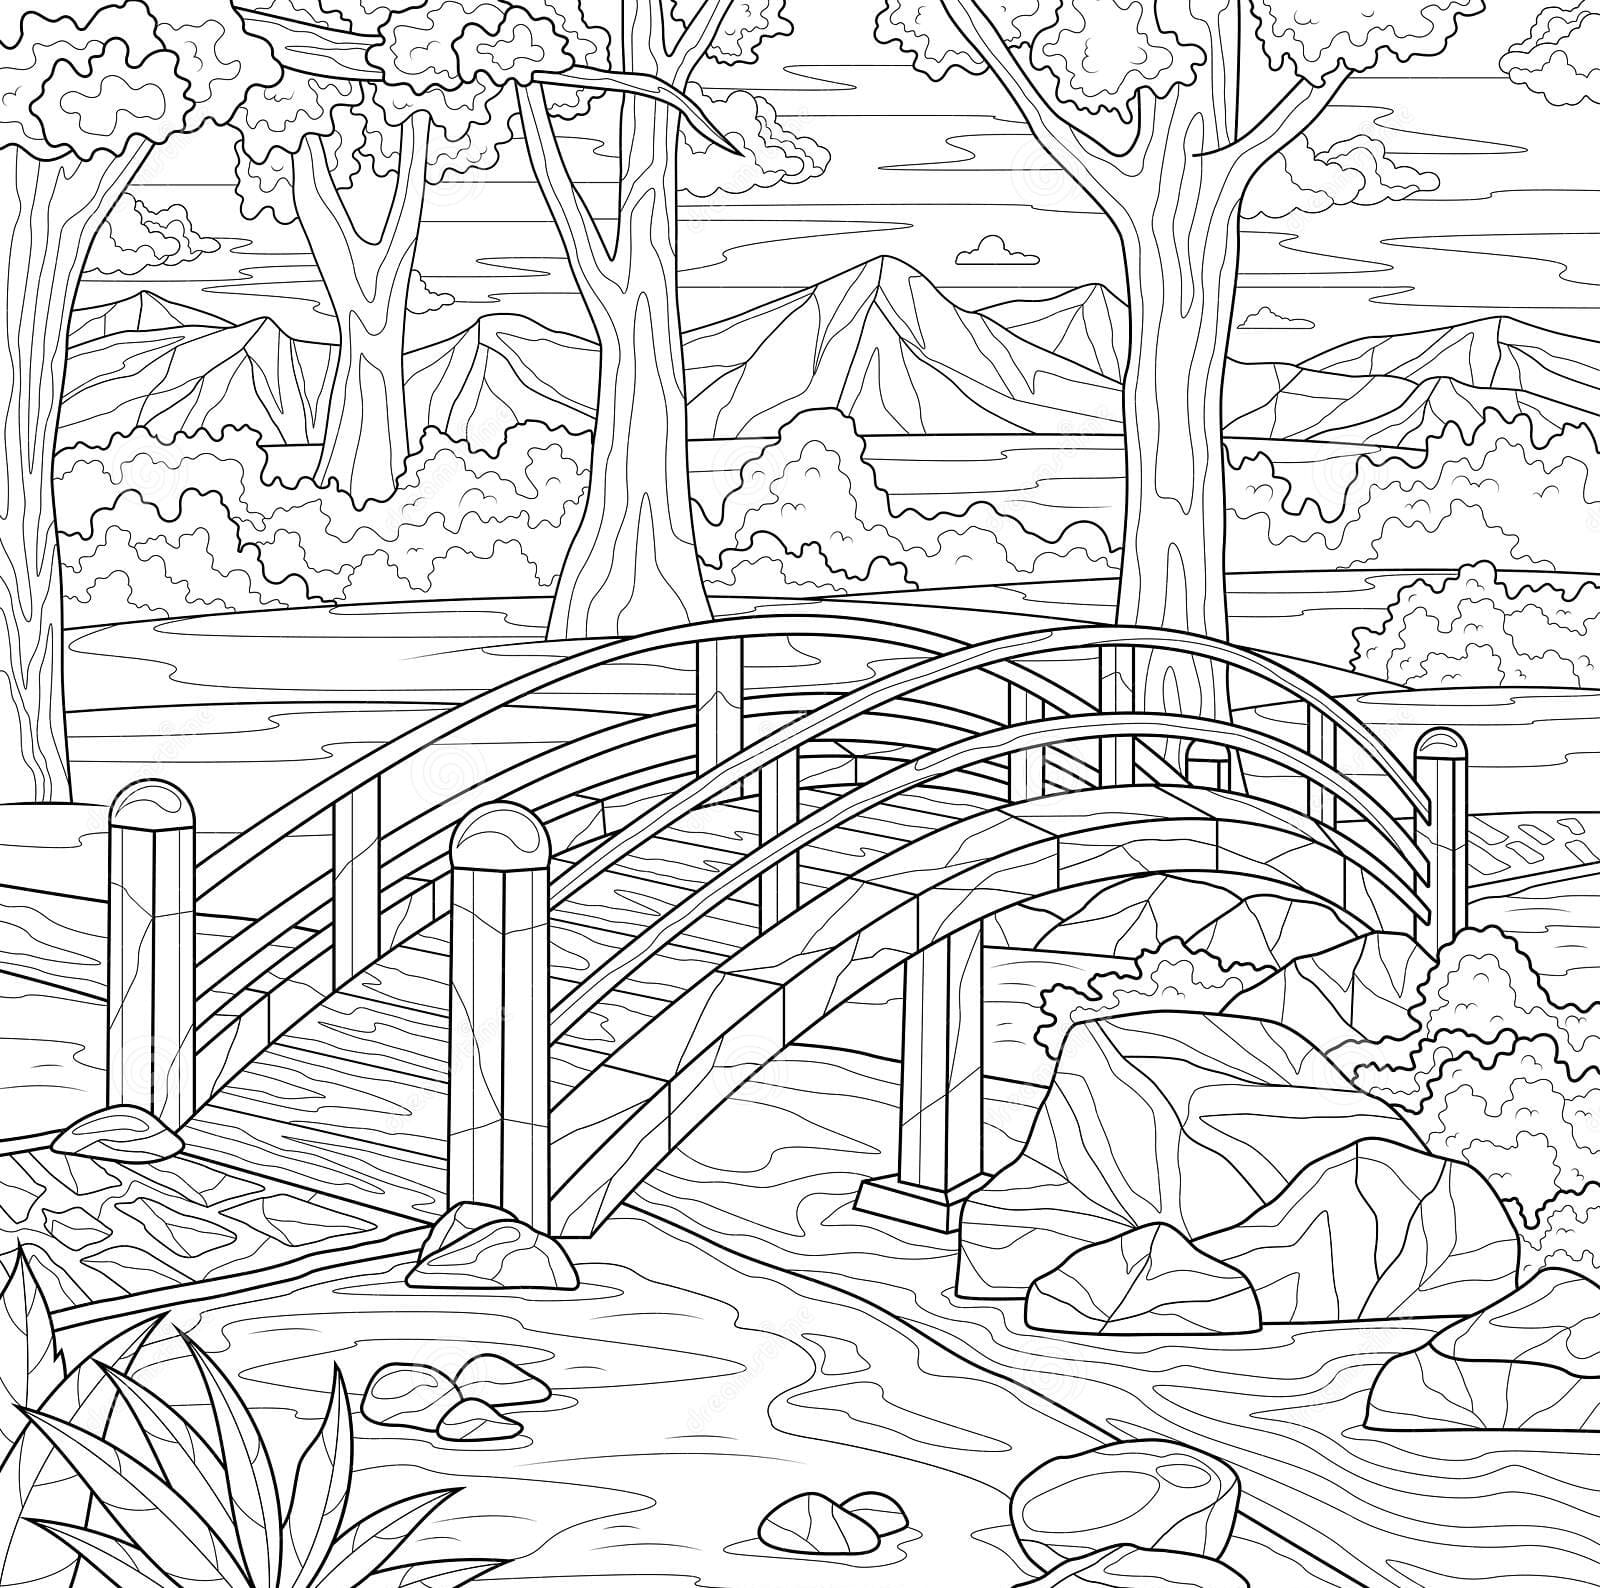
Along with this guide, you can enjoy our bridge coloring pages to practice your drawing and coloring skill about this product.
Right now, we go to 12 steps of our guide on how to draw a bridge.
How To Draw A Bridge – Let’s Get Started!

Step 1 – Start Drawing The First Handrail

The bridge is indispensable for the railing, and in this part, you will draw the handrail for the bridge,
Using two parallel lines for this task, it’s also simple, and you only need a few minutes to complete it.
Step 2 – Keep Drawing Details For The Handrail

You draw two parallel lines to add some details to the railing, as you see in our reference image.
The first details for your bridge are gradually revealed and not too difficult for you, and you can move on to the next step of our guide on how to draw a bridge.
Step 3 – Draw More Details For The Handrail

As you can see in the reference picture, your task in this step is to draw the horizontal bar for the handrail.
You use two short lines parallel to each other, and you complete the task of this step.
Step 4 – Draw Some More Details For The Handrail

Now, you will draw two short parallel lines similar to your task in step 3.
This is quite simple, just a bar on the bridge’s railing, and now, you can move to the fourth step and continue your drawing mission.
Step 5 – Complete The First Handrail

Your task in this fifth step of our guide on how to draw a bridge is to draw two short lines for the first handrail of the bridge.
Similar to the previous steps, you also complete this task in a few minutes and quickly move on to the next step.
Once you feel well, you can move to the sixth step.
Step 6 – Start Drawing The Second Handrail

It’s time to draw the second handrail for your bridge. For your task in this step, you need to draw a long curved line, as you see in our reference picture.
Simply one long curve, and you’re done with this part of our guide on how to draw a bridge.
Step 7 – Add Details To The Second Handrail

Similar to your task of step 6, you draw a long curved line for this handrail.
Your task in this part is also simple, and you only need a few minutes to complete the task before moving on to the next step for your bridge drawing.
Step 8 – Keep Drawing More Details For The Second Handrail

Your task in this part is also simple, and you only need a few minutes to complete the task before moving on to the next step for your bridge drawing.
Once you’re satisfied with your image, you can go to the next step.
Step 9 – Complete The Second Handrail

In this step of our guide on how to draw a bridge, you will add details to the handrail of your bridge.
You will draw two more parallel lines and a short line for this task
So you have finished drawing two railings on both sides of the bridge; you will go into detail drawing for the bridge in the next part.
Step 10 – Draw Bridge Details

Let’s use some lines for this part. You can draw them by hand or use a ruler to draw.
So you have completed the basic contours to get to the bridge. You will draw some decorations for your bridge drawing in the next step.
Step 11- Finish Of Your Drawing Mission

In front of the bridge, you will use some lines to decorate it, as seen in our reference image.
You can also draw details like a bridge over the river or an elevated bridge for the road, etc, before moving to the last step of coloring for your bridge.
Step 12 – Color Your Bridge

It’s time to choose a color for your bridge. Simple for you because you can use any color you like for your bridge.
As you see in our reference, we use green, blue, brown, and black for our bridge.
We’re also curious about your bridge, so once you get a complete bridge drawing, you can show your product on your Facebook and interest pages for us to see.
Your Bridge Drawing Is Complete!
You perform 12 missions in 12 steps to get a perfect bridge.
I hope with the breakdown of the tutorial; you can easily understand and be satisfied with the final result.
On our website Coloringcool.com, we provide coloring pages and drawing guides for free that you can come here to enjoy.
Once you’ve mastered drawing a bridge you can move on to more complex challenges such as House drawing or Castle drawing. We update them daily, and you can regularly come, never to miss out!