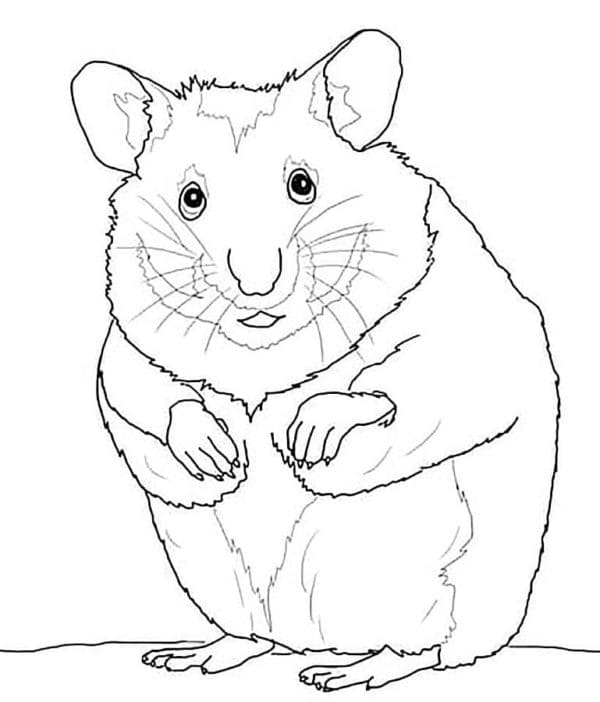
7 Simple Steps To Create A Cute Hamster Drawing – How To Draw A Hamster
Making A Nice Hamster Drawing In Seven Easy Steps
In this fabulous tutorial, you will learn how to create a complete hamster drawing. The detailed instruction will show you how simple this tutorial is. Any kid from any age will have a blast drawing their favorite anime or character.
This is also quite an exciting task and suitable for everyone. You can enjoy this drawing activity in your free time.
It helps you temporarily forget the fatigue and stress; when you return to work, you will feel more productive, thereby your life will also be much better.
To finish drawing a hamster takes you about 25 minutes, but later on, when you get used to drawing, you can spend it at an earlier time.
How To Draw A Hamster – Let’s Get Started!

Hamsters are small rodents usually domesticated and kept by humans as family pets. They differ from other mice with short tails, fat legs, and small ears.
Because of the smart and cute, the hamster is the choice of children when choosing a pet to keep in the house.
This is also why we created the hamster drawing guide on our website and helped you have a fun time with us.
All you will need is a pen, pencil, marker, or crayon and a sheet of paper before starting to draw a hamster.
You will proceed to draw the hamster with a pen as you and paper. As you sketch the hamster’s first lines until you’re done, you can erase the wrong lines and redraw until you’re satisfied with your drawing. Finally, you choose the color for your drawing. You are free to choose in this section because there is no mandatory color choice.
Our advice for you to draw a hamster is to take it one step at a time until the drawing is complete.
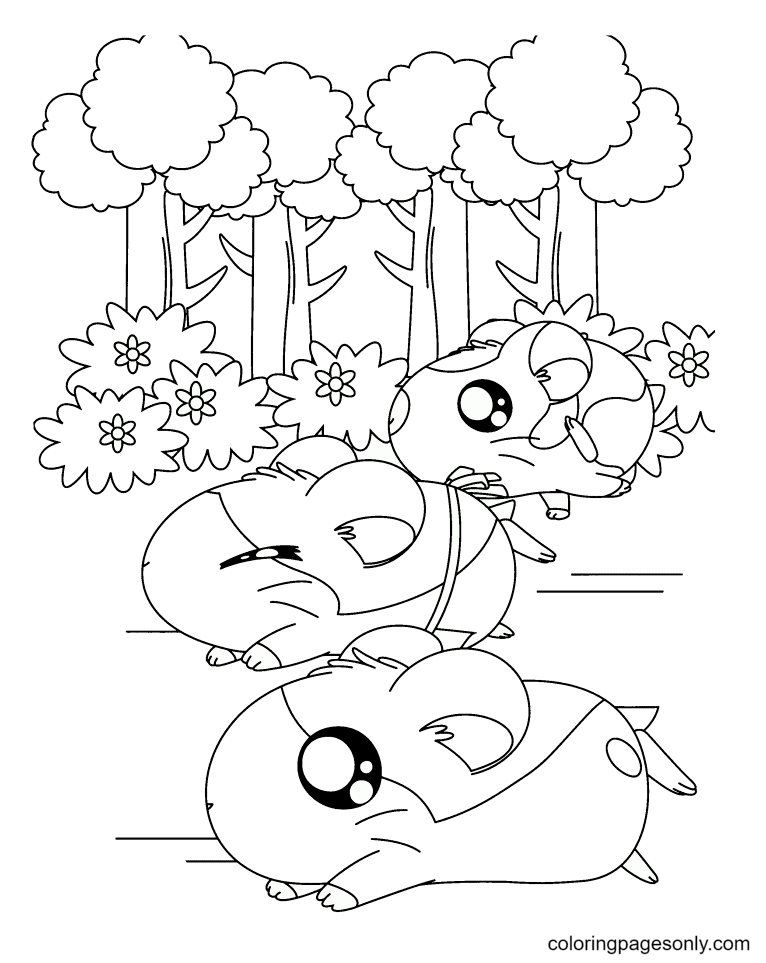
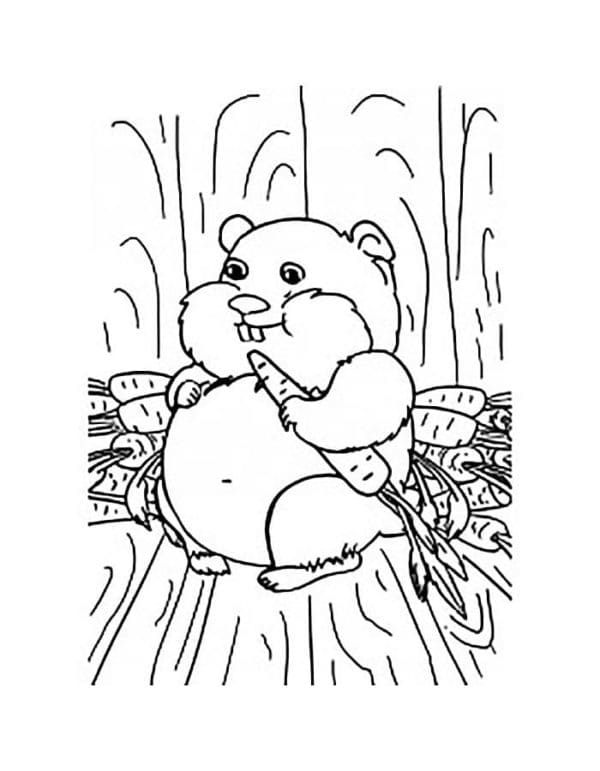
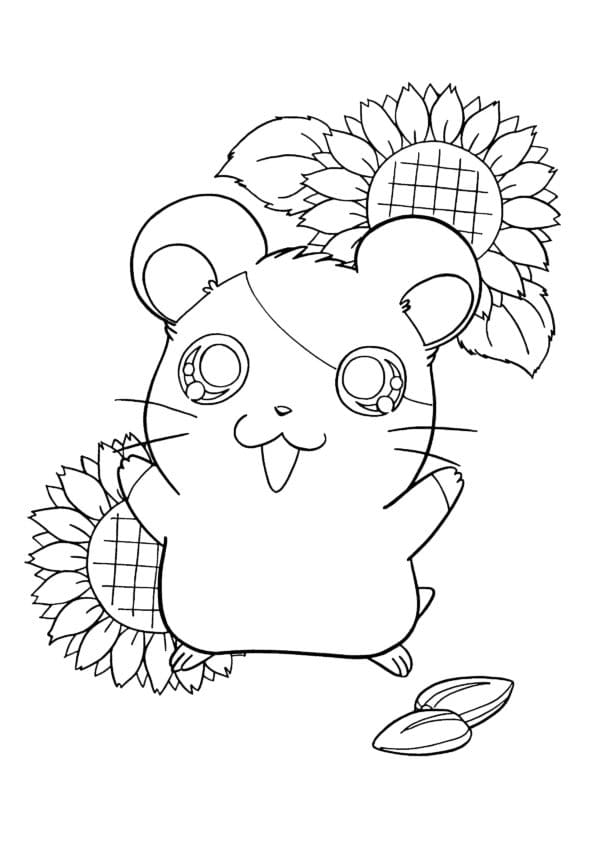
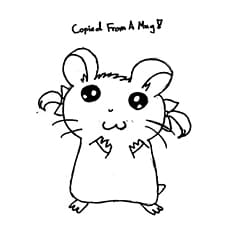
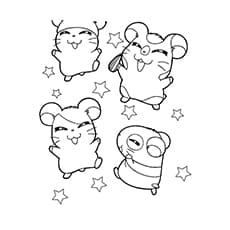
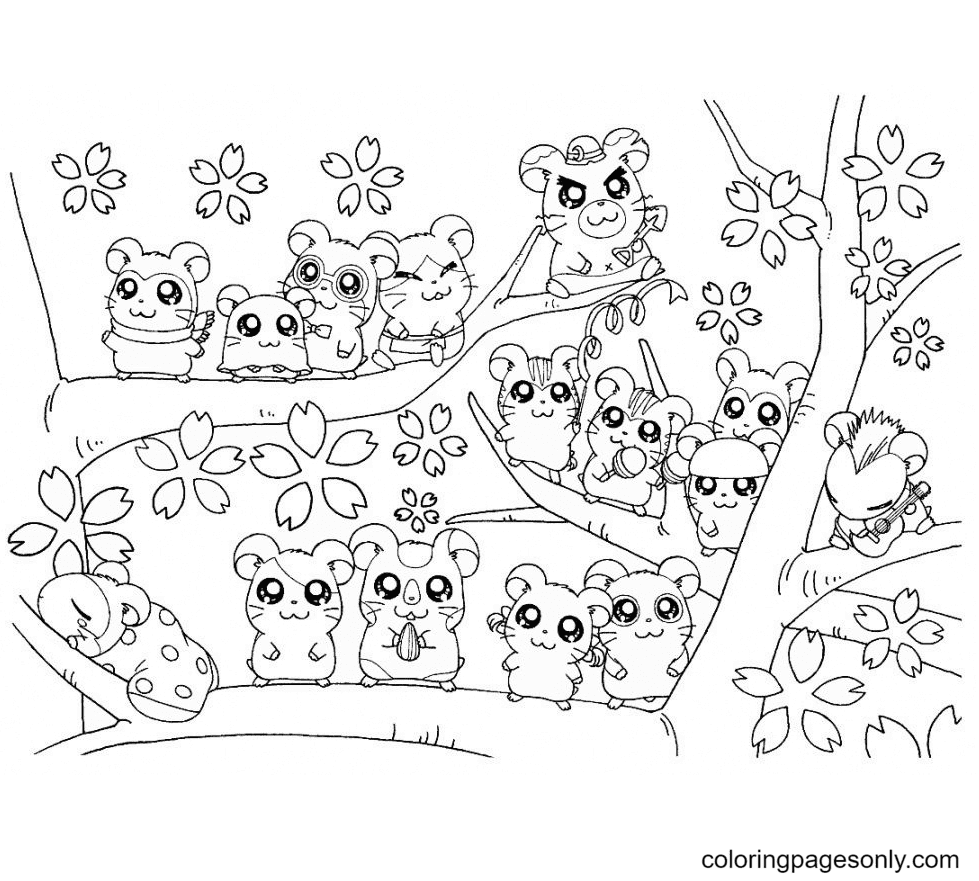
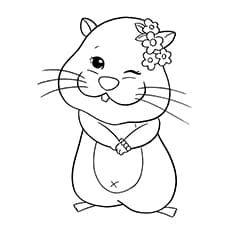
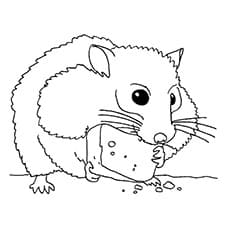
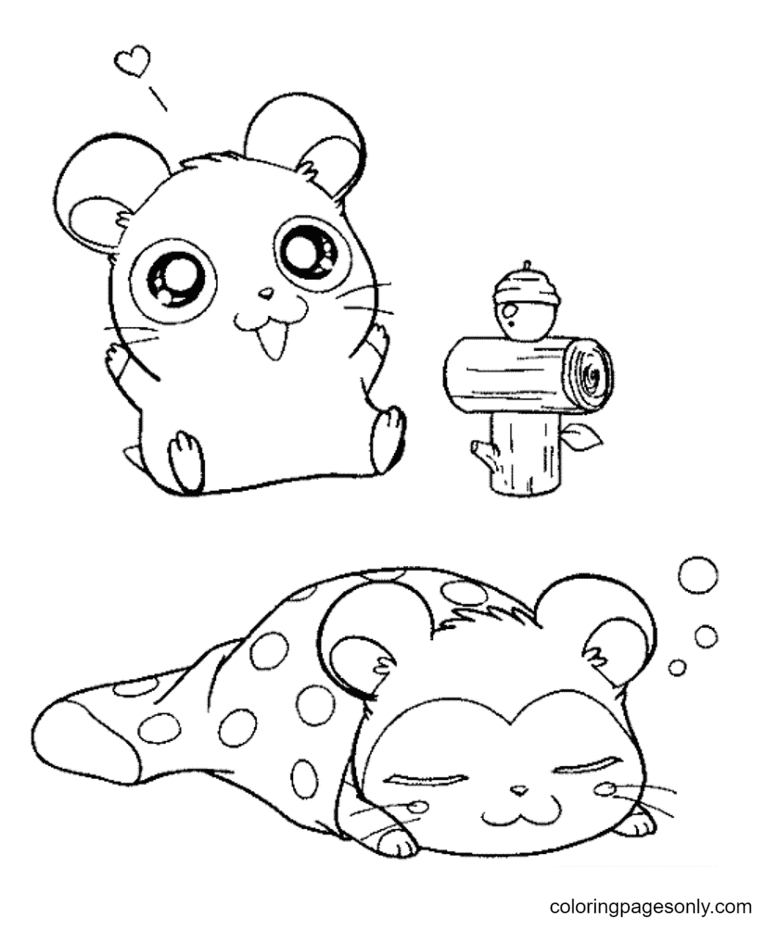
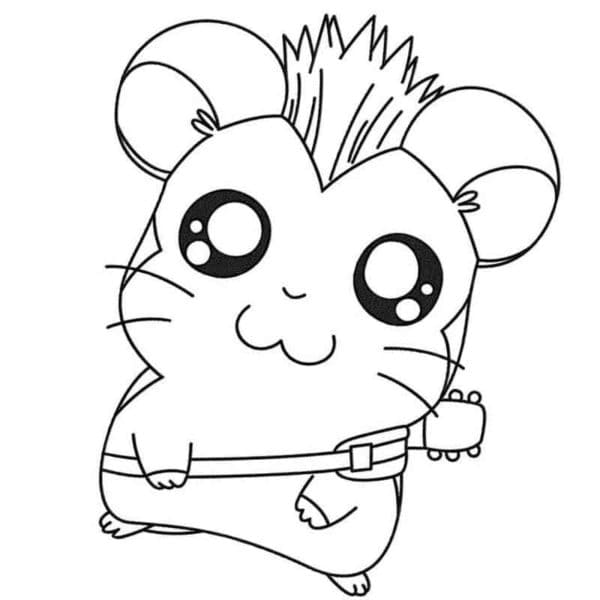
Along with this hamster drawing, you can enjoy hamster coloring pages on our website to practice your drawing and coloring skill. We update them daily and for free for you.
Let’s go to six steps and details on how to draw a hamster with us!
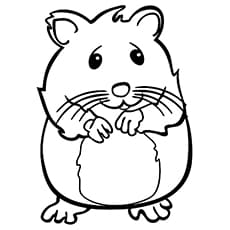
Step 1 – Draw A Part Of The Hamster’s Head Outline

You start drawing the hamster with part of the head. Use a curved line to do this; however, on one side, you will draw an ear and add a few curves to show its feathers.
This task is not too tricky, right? Our reference image will help you know how.
Step 2 – Draw A Part Of The Hamster’s Body Outline

For your task in this second step, you will draw a part of the hamster’s body outline.
From its head outline, you use a curved line to the hamster’s bottom and end the quest of the hamster drawing in this step here.
Once you’re happy with your image, you can move to the third step.
Step 3 – Draw A Leg For Hamster

In this step of our guide on how to draw a hamster, you start to draw a leg for your mouse.
As you know, the hamster has stubby legs, and you must show that in this step.
You use two parallel lines and meet at the foot with three fingers, as you see in our reference.
Step 4 – Add More Legs For Hamster

Similar to step 3, this fourth step in drawing a hamster, you have to add legs for it. You will also use two curved lines to draw the hamster’s feet; each of your hamster’s paws will draw three toes.
A hamster has four legs, but in our drawing, one of the hind legs is covered by part of the body, so you need to draw two front legs and one back leg, and you have finished drawing the hamster’s legs.
Step 5 – Finish Off The Hamster’s Head

Your mission in this step of the hamster drawing you must draw some details to complete the hamster’s head.
You use a curve to complete the hamster’s head that you partially drew in this first step.
Please don’t forget to add more of an ear for a hamster. You can see our reference and follow.
When you feel pleased with your picture, you can go to the last details of the hamster with its face.
Step 6 – Draw The Hamster’s Face

If other tutorials, we draw the face of the character first; in this hamster drawing guide, you will draw the face for your mouse last.
You draw two circles for two eyes, and then you draw two smaller circles for pupils..
Now you will draw the nose and mouth of the hamster. To create the nose, simply draw an upside-down wide triangle shape. Afterward, draw a vertical line connected to the pointed tip at the bottom of the nose.
You draw the mouth using two small curved lines that meet to form a mouth that closely resembles a triangle. So your task in this part is done.
Step 7 – Color Your Hamster

You are at the last step of coloring your hamster. Your task here is to choose the colors and color the hamster.
You will choose the right color to color your hamster
By nature, Hamsters are in six primary colors: white, black, gray, brown, yellow, and red.
We use brown for our hamster, and we think it’s nice. You can use any color your like and show your products to us!
Your Hamster Drawing Is Complete!
You have learned how to draw a hamster, hope you can draw a complete hamster by yourself in the future.
To add more naturalness to the picture, you can add a few details, such as a hamster cage or a hamster roaming in the fields.
On our website Coloringcool.com, there are many other same drawing instructions that you can use to enrich your drawing collection such as rat drawing, or Mickey mouse drawing. You can come here and enjoy them for free.
We have many more awesome drawing guides, coloring pages, and blogs coming out all the time, so be sure to check out our page frequently so that the educational product’s fun never has to end!