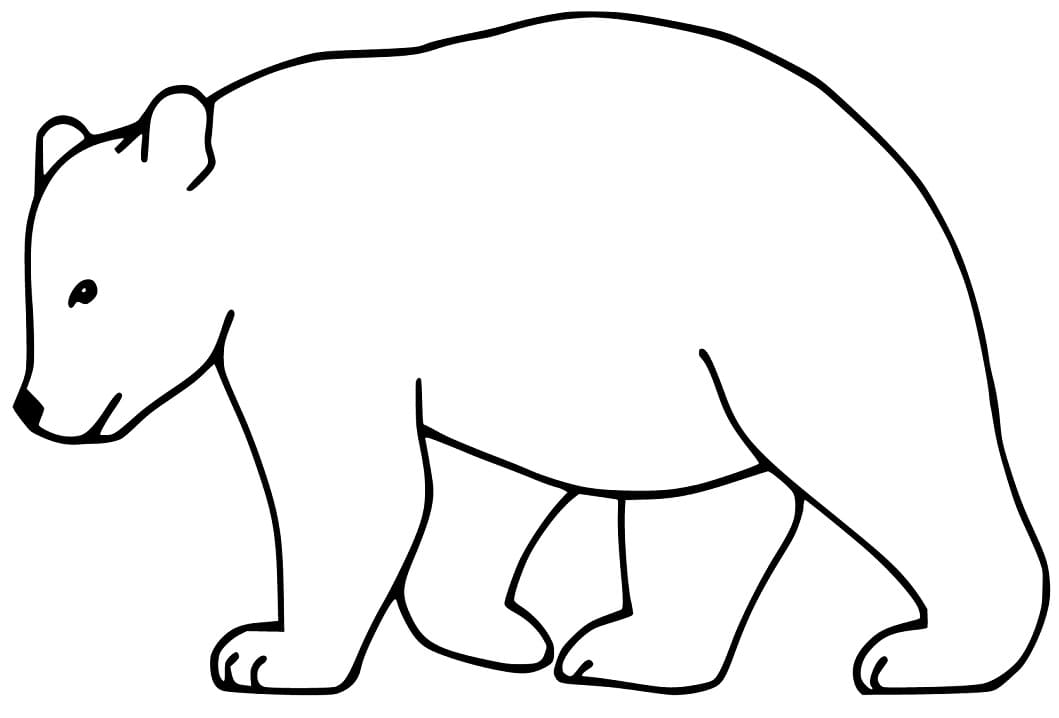
Bear Drawing Is Made In 8 Easy Steps
Bear Drawing Is Made in 8 Simple Steps
Are you a teddy bear lover, or are you afraid of a bear attack? Today you will learn how to create the bear drawing with us.
The bear has always had two contradictory reputations; the first is that it is always loved with the image of a teddy bear, and the second is that it is scared because it is a ferocious animal.
Regardless of your attitude towards bears, today, you will learn how to create their images most simply.
We give this instruction in eight steps equivalent to eight missions you must finish.
We have also arranged this tutorial from easy to complex, making it easy for you to do the task whether you are a beginner or a drawing expert.
Drawing a bear is a rather complicated task, but as long as you focus during the process of learning to draw, you will get the results you want.
You will also have to prepare everything like a pen, pencil, color, paper, and eraser before starting to draw.
You will also proceed to draw a bear with a pencil and paper; using a pencil will help you erase mistakes and draw again more easily.
Once you get a complete bear, you will choose a nice color for your product and admire it.
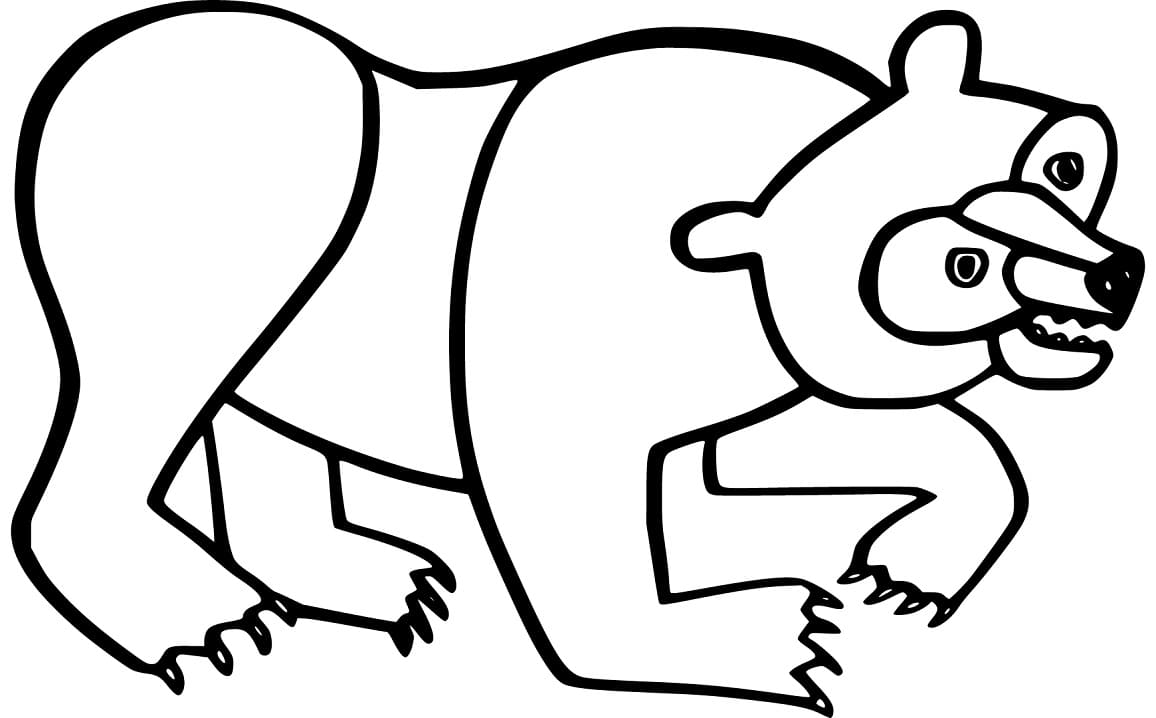
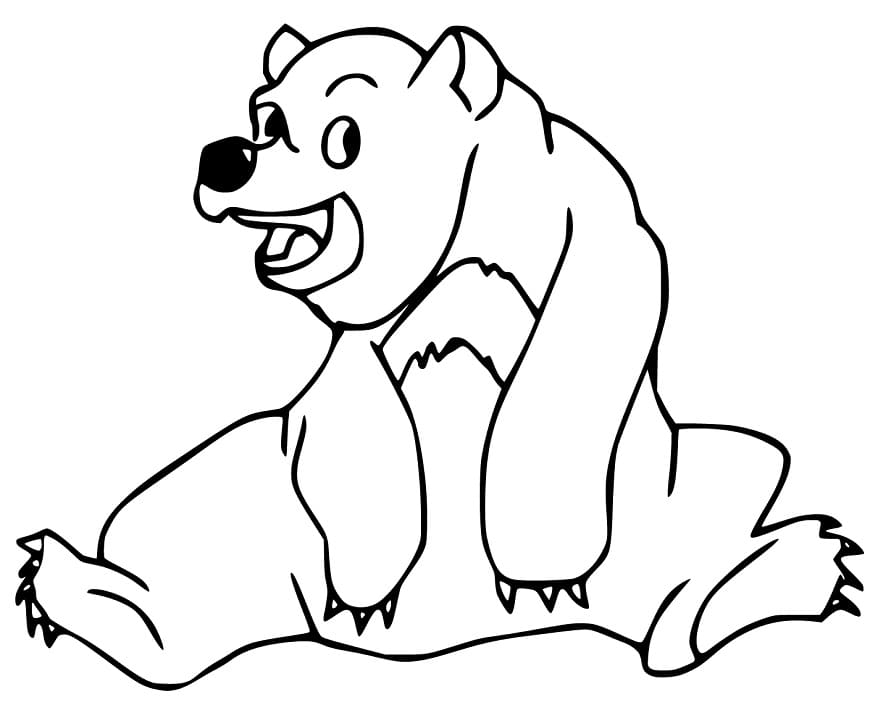
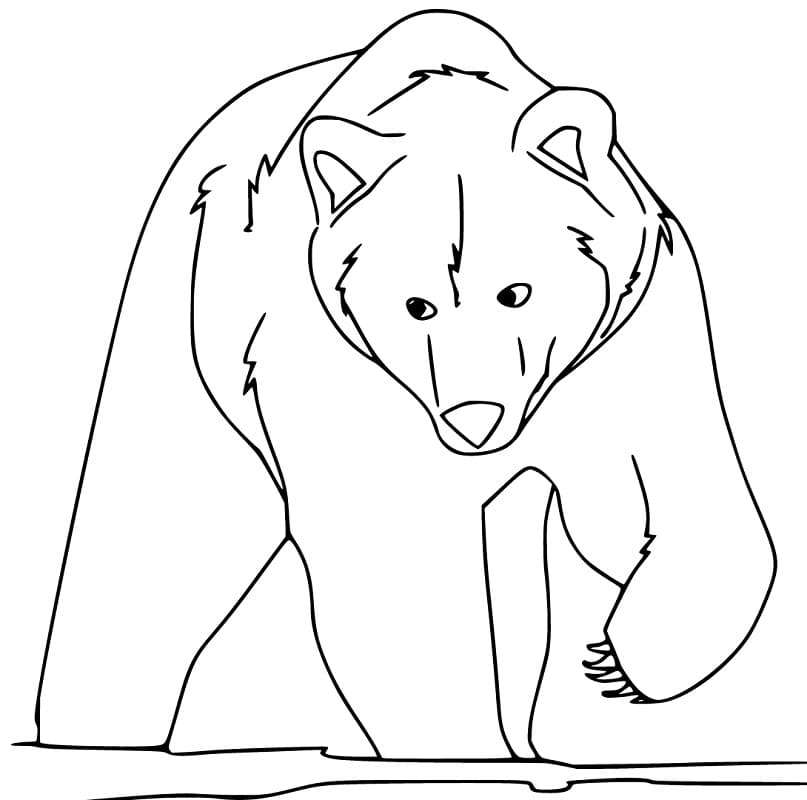
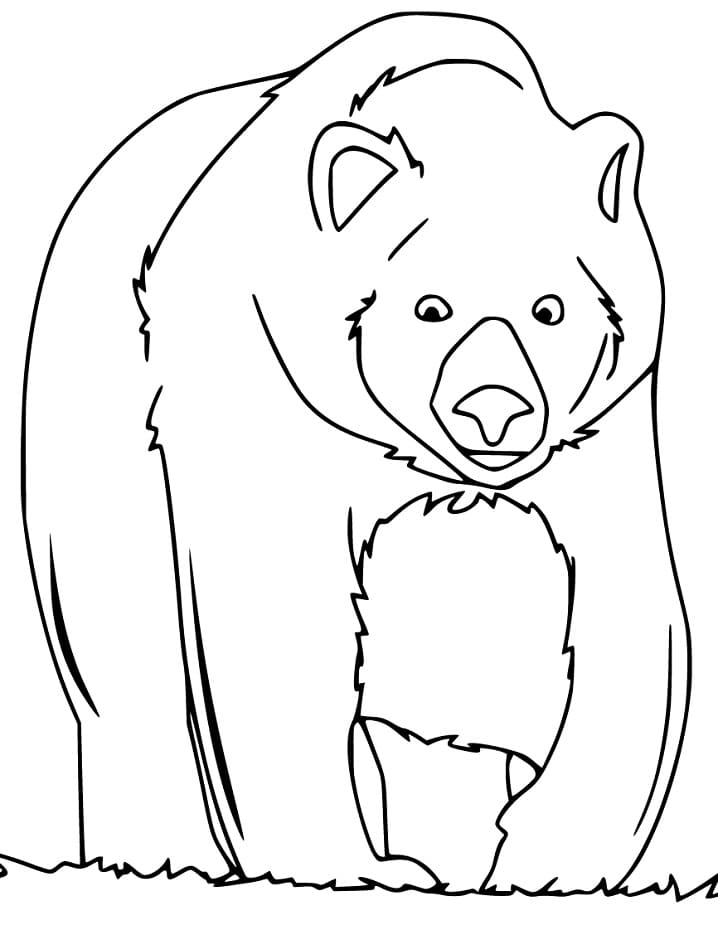
Along with this drawing guide, you can also enjoy bear coloring pages. to practice your drawing and coloring skills.
We will go to eight steps of our guide on how to draw a bear with us!
How To Draw A Bear – Let’s Get Started!

Step 1 – Draw Face And Head For Bear

Begin to draw a bear; you use a simple oval with some little lines to show the head outline and furs for your bear.
Then you must draw the face details with a big mouth with scary fangs; you can also draw a nose and eyes for the bear, as you see in our reference image.
Please don’t forget to draw two ears on the head top before moving to the second step.
Step 2 – Draw An Arm Outline For Bear

In this step, use some lines to draw the first arm outline for your bear drawing.
It’s also simple for you. from the head; you use two almost parallel lines to draw the upper and lower bear arms and form a solid arm for your bear.
Once you’re happy with your task, you can go to the next step to finish off this arm.
Step 3 – Complete The First Arm For Bear

Continuing the work in step 2, in this step, you will have to complete the first arm for your bear.
From the strokes in step 2, you extend those lines and create the arm and a full hand with the fingers.
When you’re happy with how these parts look, you can take the fourth step to continue your drawing mission.
Step 4 – Start Drawing Bear’s Body

Your task in this step of our guide on how to draw a bear is to use the curved line.
Bear has a rather large and stout body, so when drawing this part, you also need to look at our reference image to ensure you are on the right track.
When everything is done, you can come to the fifth step.
Step 5 – Draw The Second Arm For Your Bear

For your task in this step of our guide on how to draw a bear, you draw the second arm for your character, bear drawing.
Use two nearly parallel lines to complete this arm.
Don’t forget to add claws at the end of the fingers to show the hand more realistically.
Once you finish the arms, you can come to the sixth to draw the legs for your bear drawing.
Step 6 – Draw The First Leg

You drew the bear’s hand, and it’s time to draw its legs.
Like the hand-drawing task, you also use two roughly parallel curved lines to draw each leg.
Don’t forget to draw the feet with clawed toes at the end; you can refer to our drawing to make it.
Once you get it, like our reference, you can go to the next step.
Step 7 – Finish Off Your Drawing Mission

There’s quite a bit of work in this step of our guide on how to draw a bear. First, you must draw the second legs for your bear. The bear’s body partially hides this leg, so you will only have to draw the leg you can see, as seen in our illustration.
Next, you will draw more fur for the bear to make your bear more realistic.
Finally, you will add more details to decorate your bear; you can add details beyond what we drew as long as you feel comfortable before moving to the last step for coloring your product drawing.
Step 8 – Color Your Bear

It’s time to choose suitable colors for your animal bear drawing.
This part is that you are free to choose your favorite colors as long as you feel comfortable.
As you see in our reference image, we chose brown for the bear, black for the eyes, nose, and lips, red for the tongue, and white for the teeth.
Which color do you choose? Shear your bear drawing on your Facebook and Pinterest page for us to see.
Your Bear Drawing Is Complete!
You finish off your drawing and coloring mission to create a bear drawing. It’s amazing; you got to experience us and build a work of art. I hope with the time of 30 minutes, you are satisfied with what they teach and you also have no difficulty in performing the task of drawing a bear.
On our website Coloringcool.com, you can enjoy for free our education products at coloring pages or drawing. You also find more drawing guides such as Teddy bear drawing or Panda drawing.
These are the exact instructions for the bear drawing guide; you can refer to them to draw a bear better.
We update our products on our site daily; you can regularly visit to enjoy them and ensure you don’t miss any products. Hopefully, you will like them and come back here with your friends. Have a great time!