Strawberry Drawing Is Complete In 9 Easy Steps
Creating a delicious strawberry drawing in just 9 easy steps
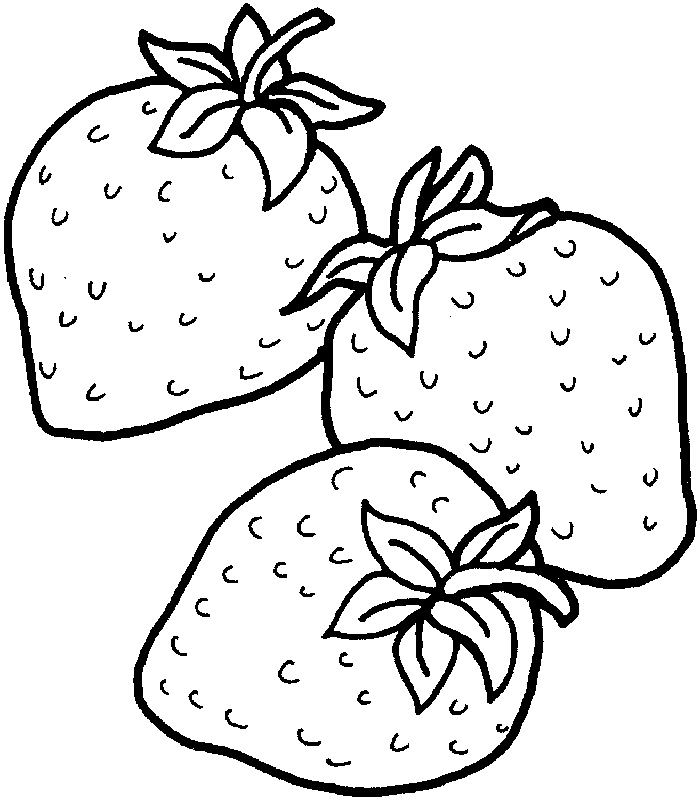
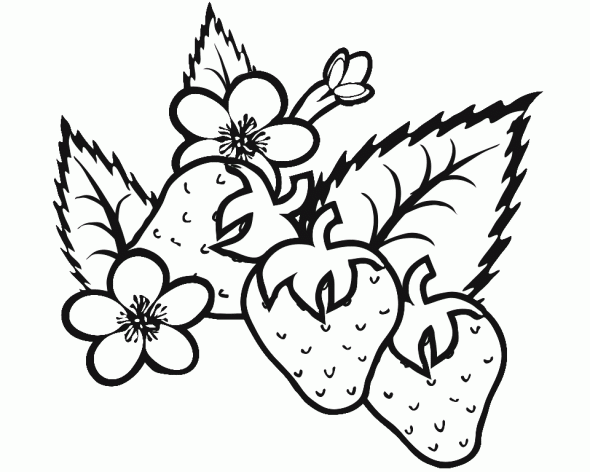
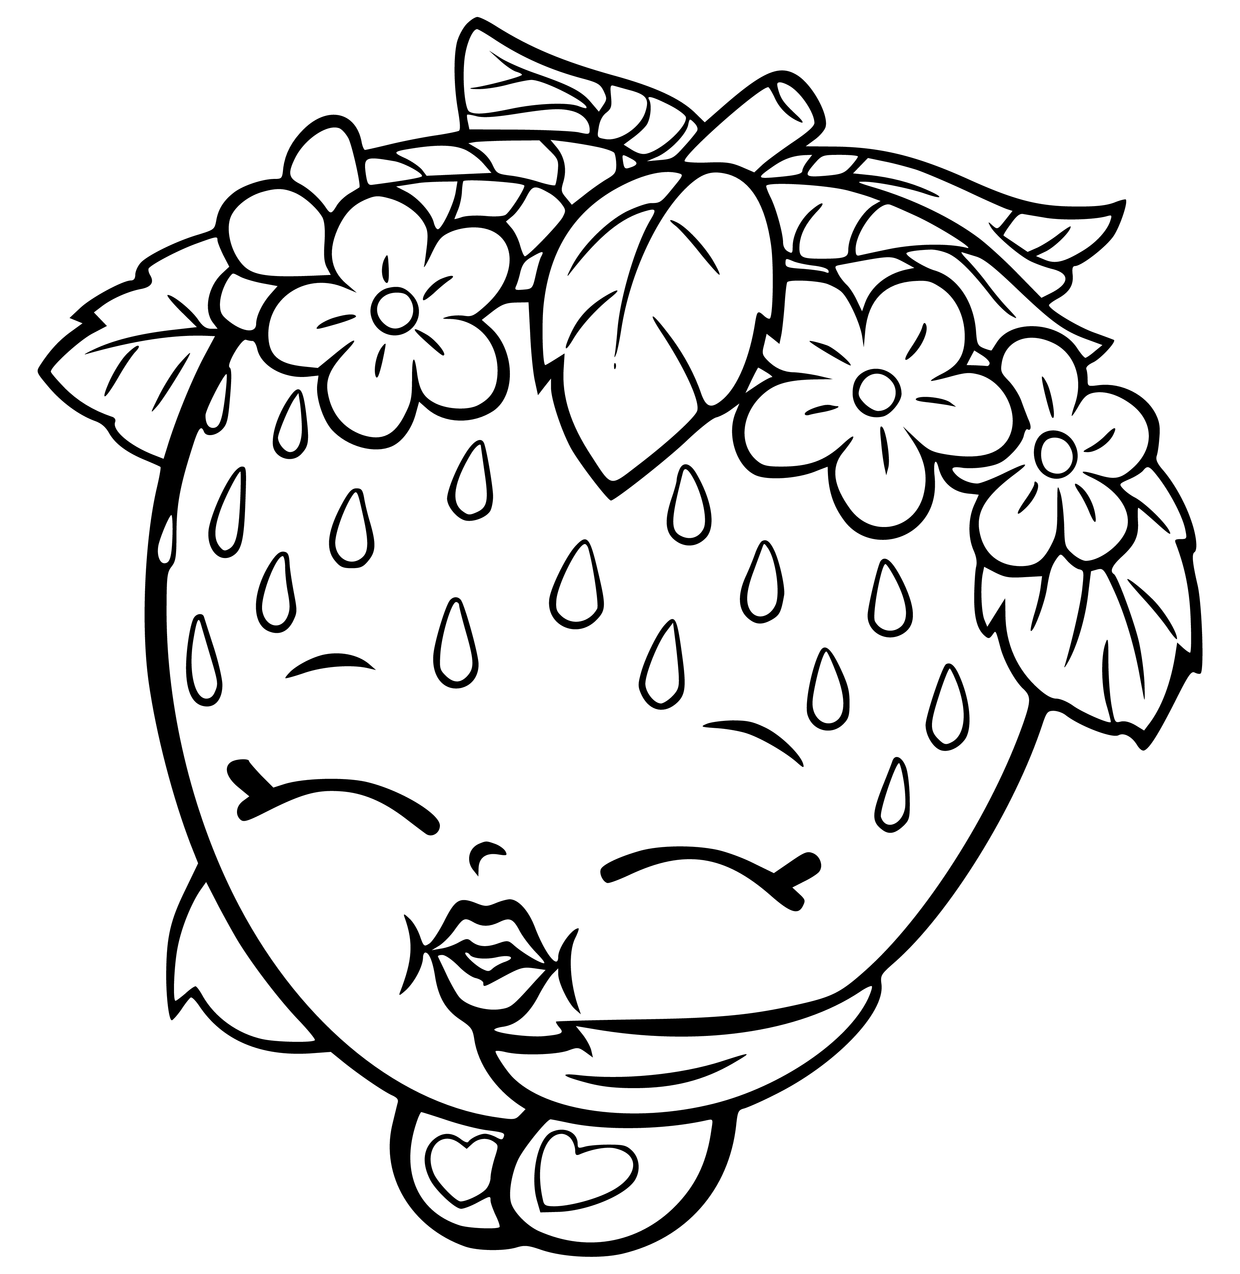
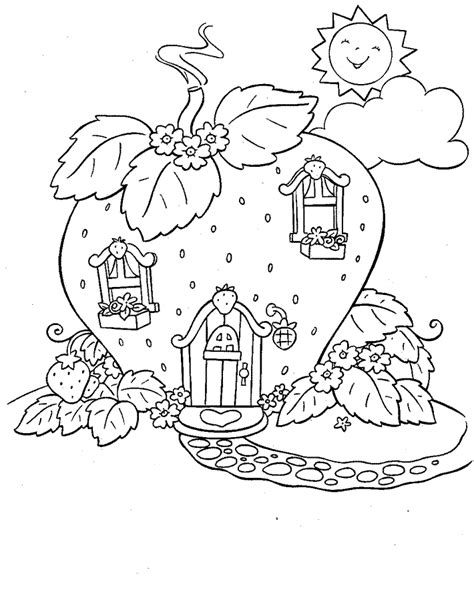
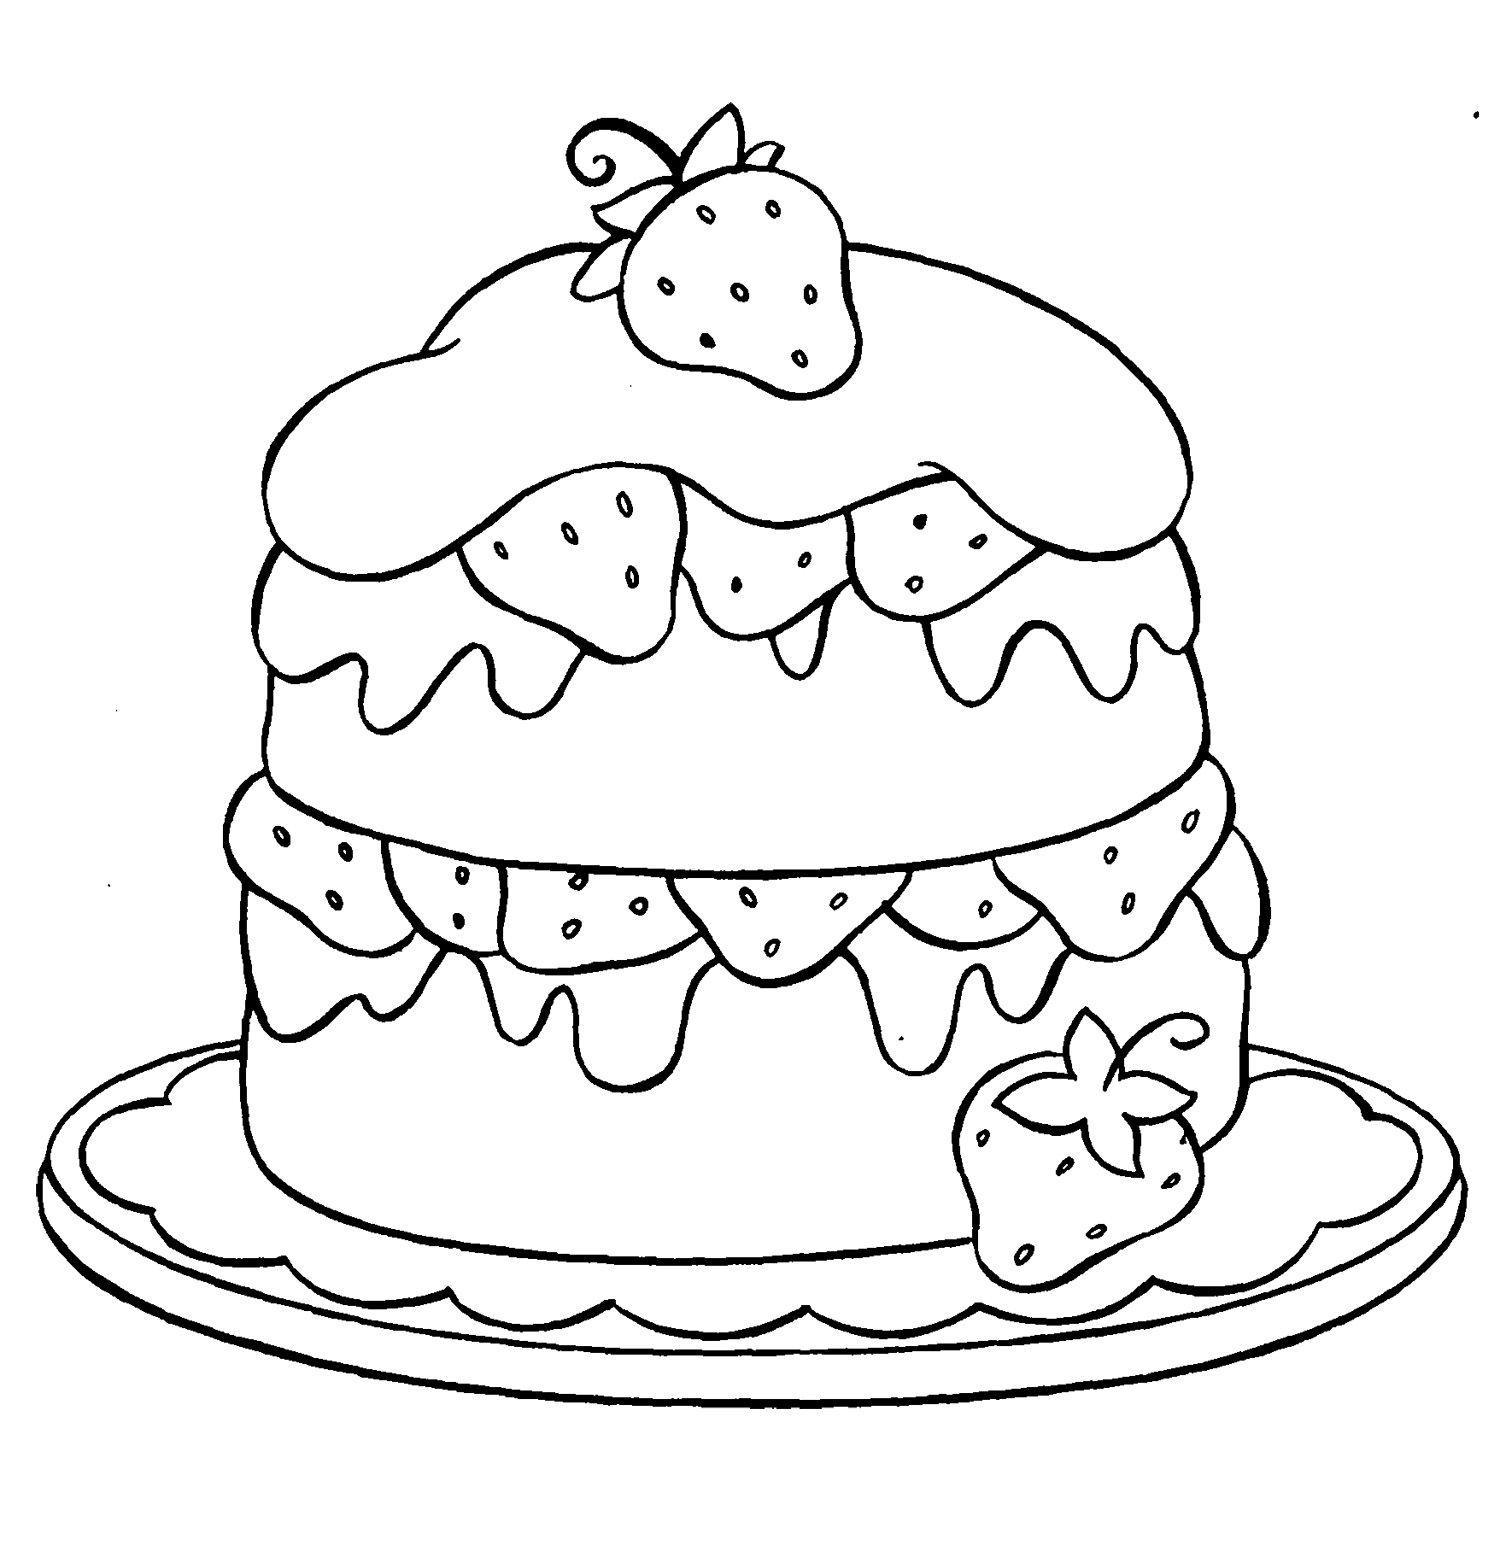
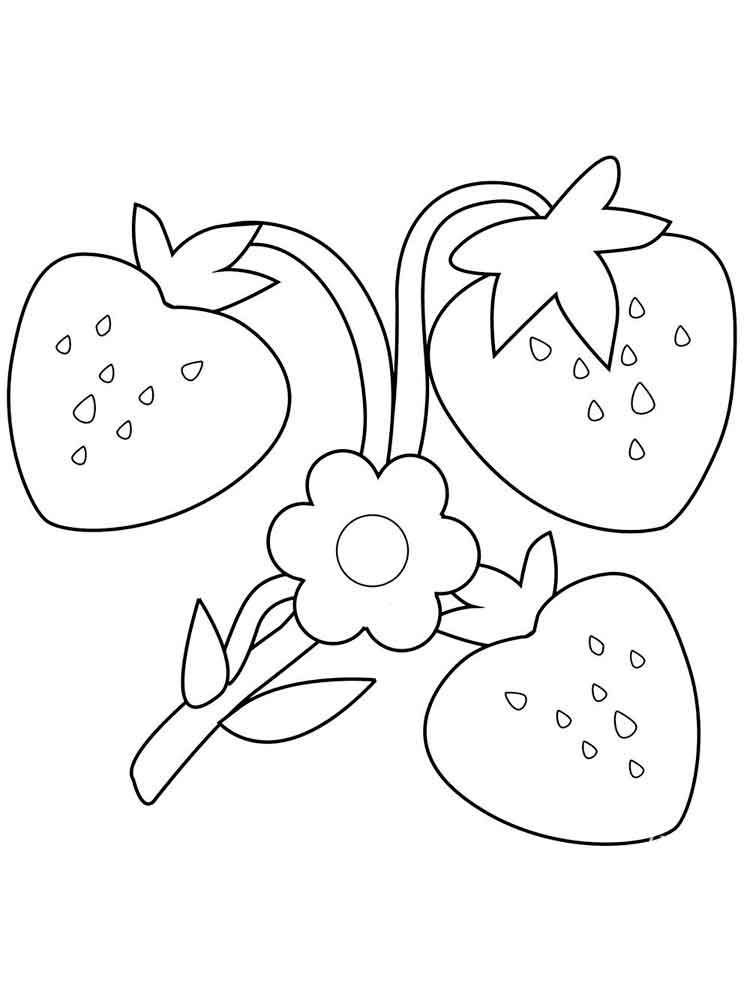
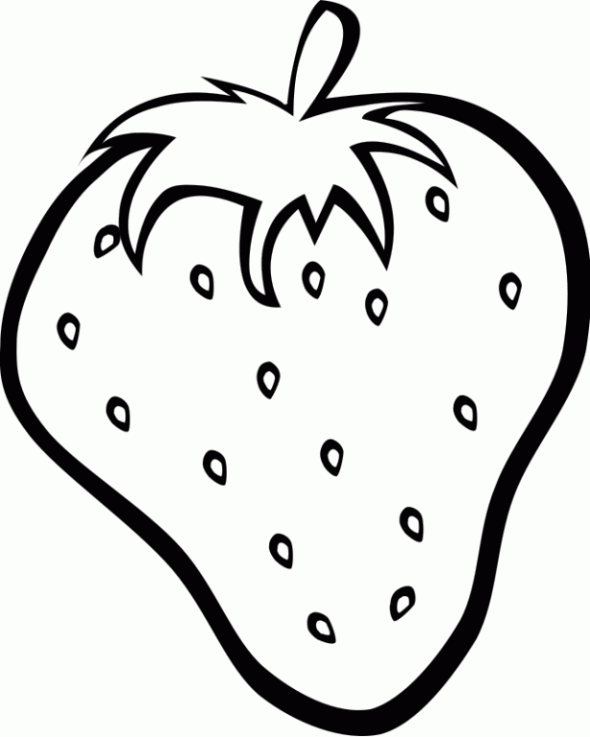
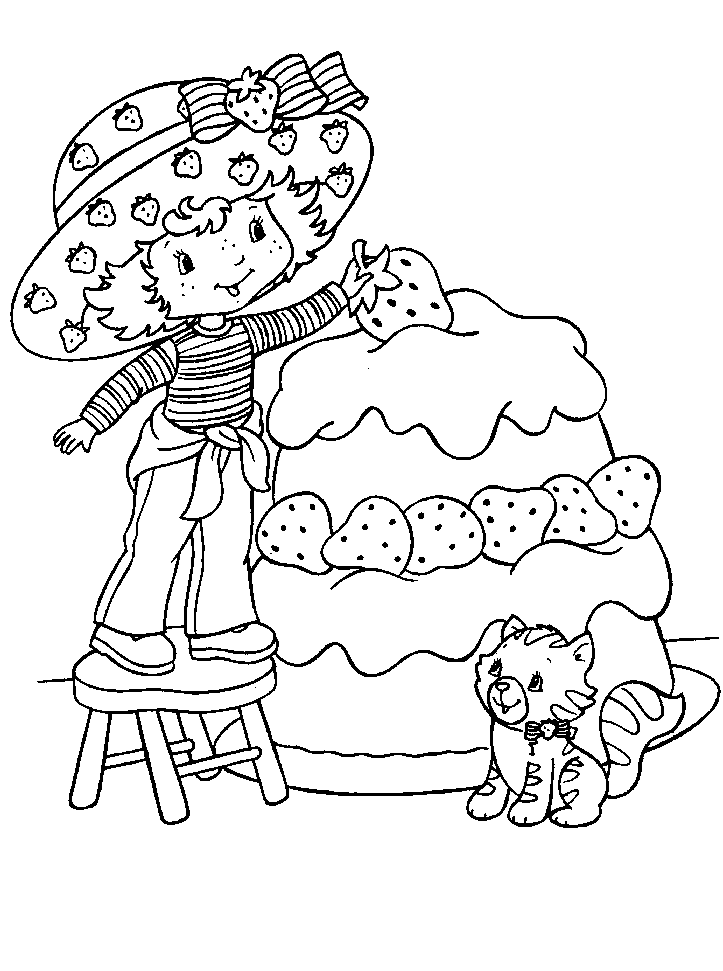
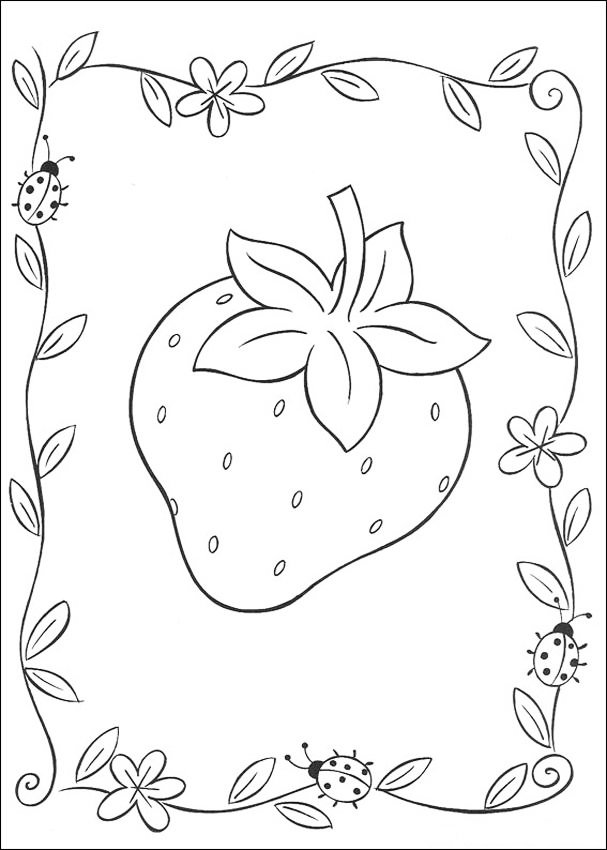
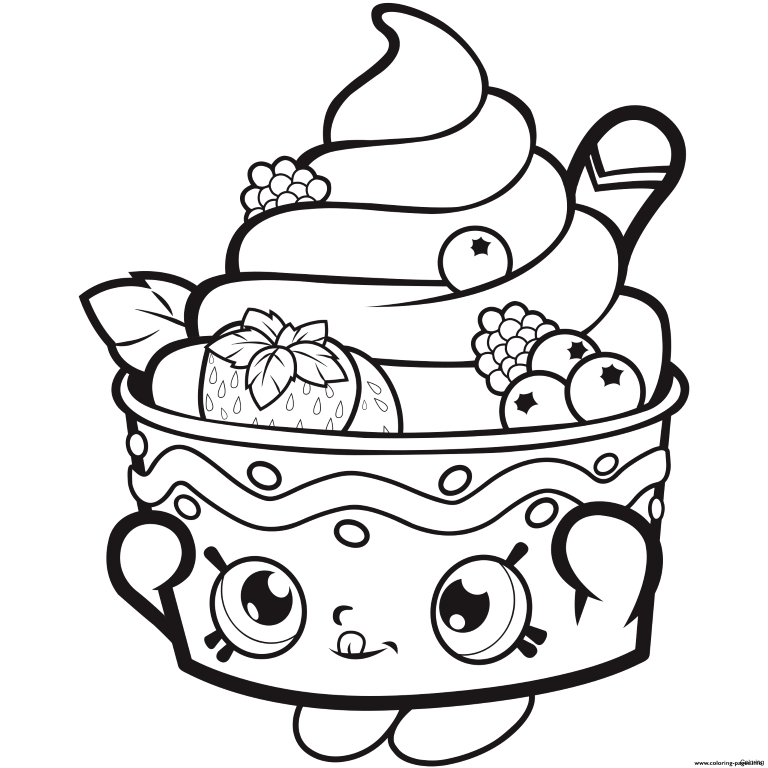
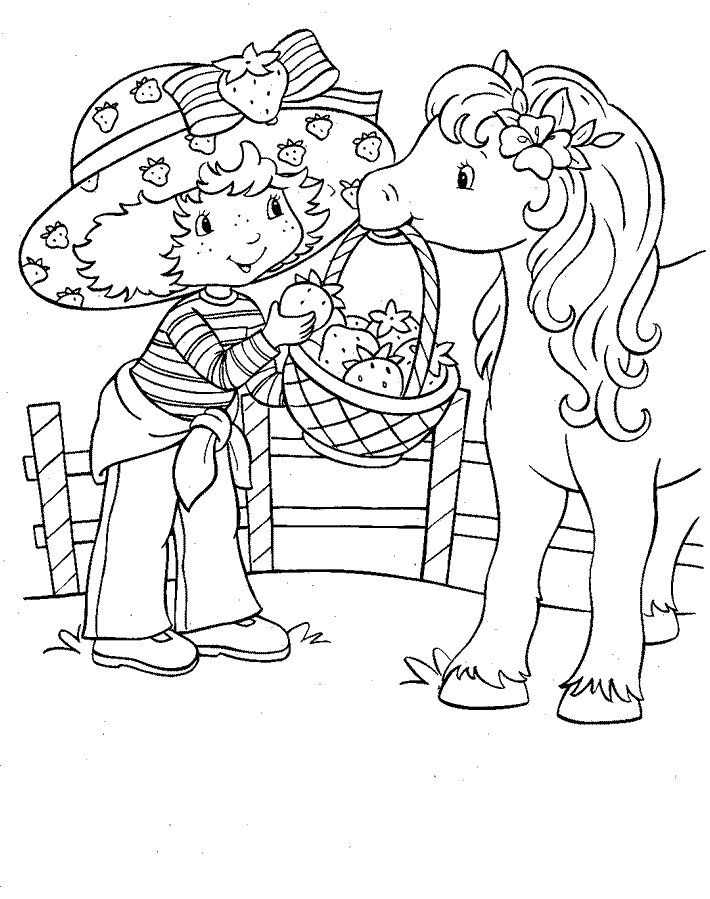
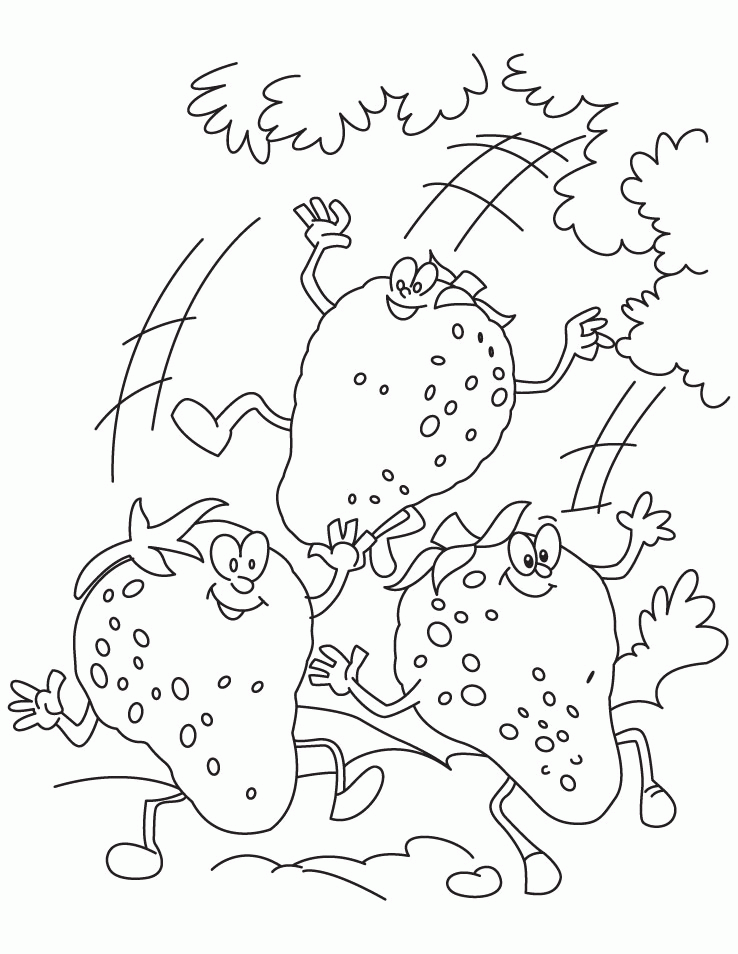
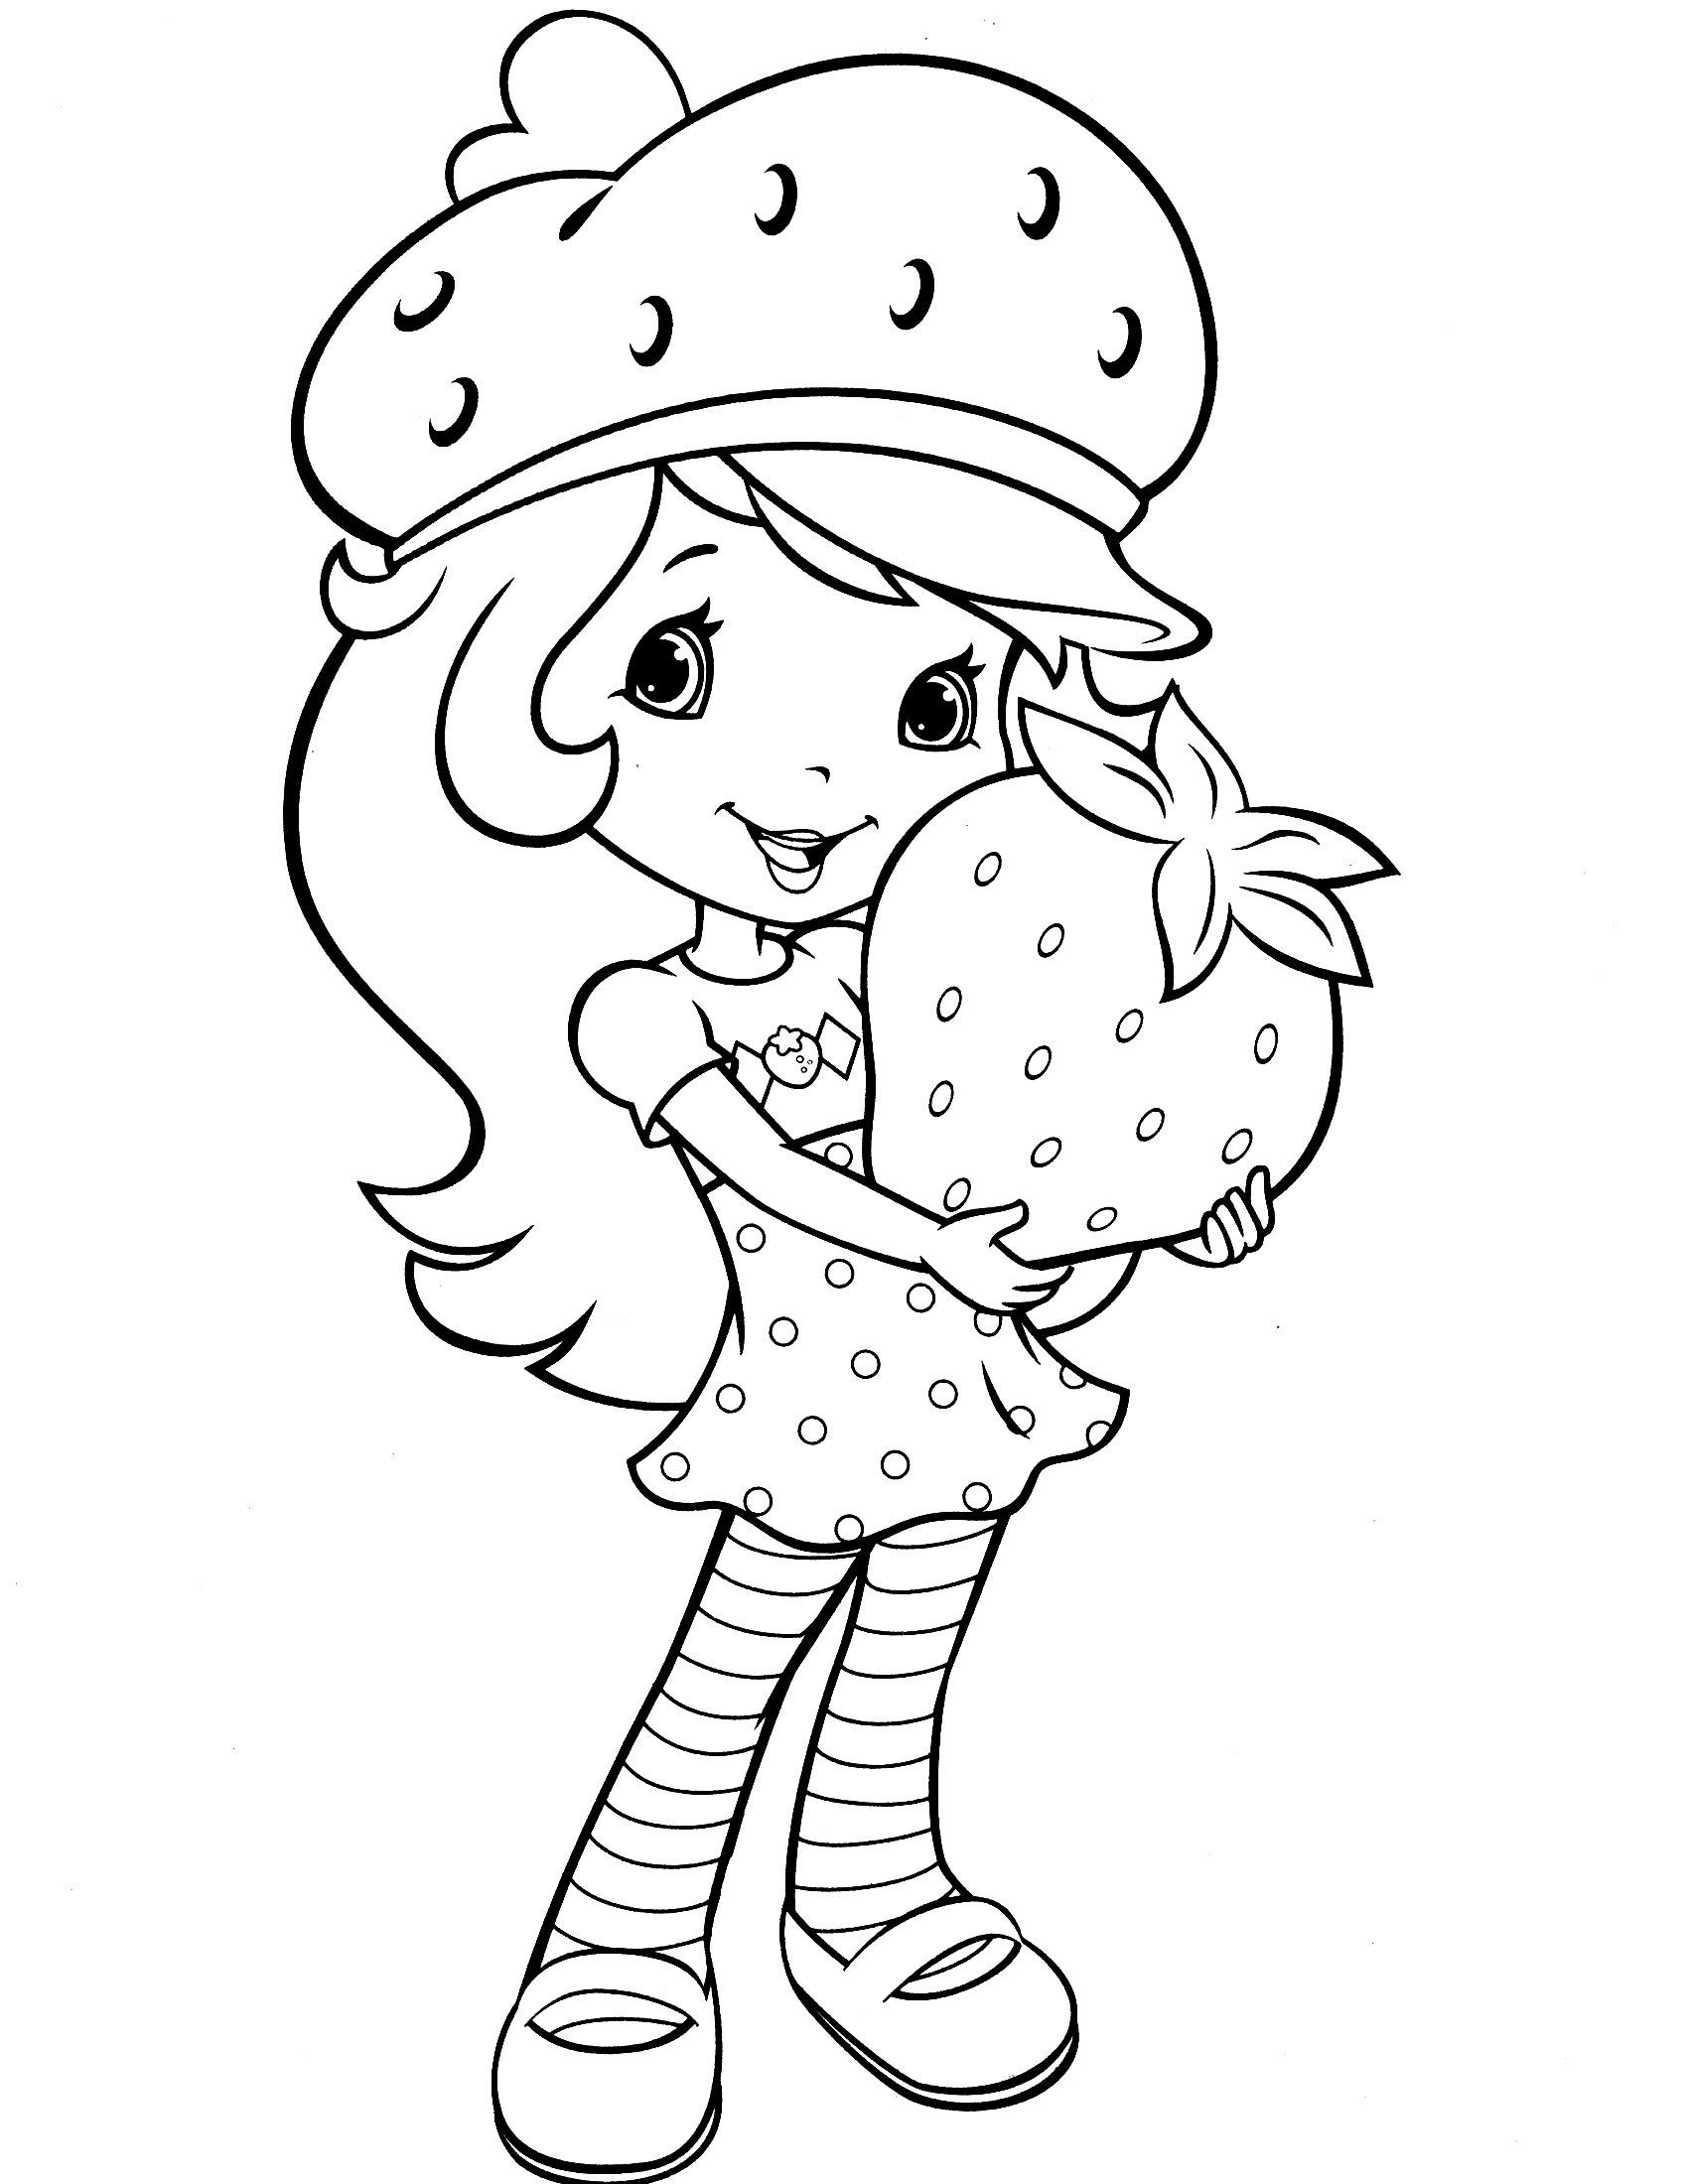
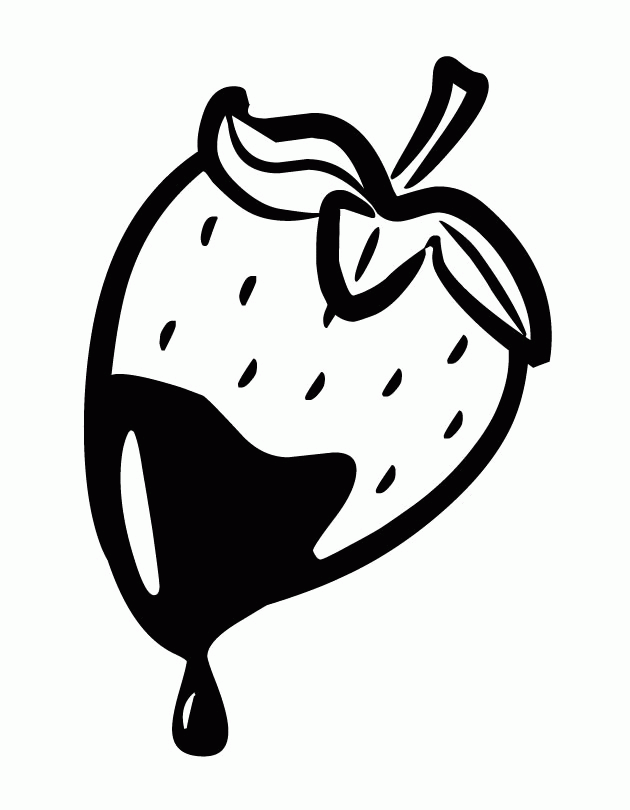
Get an opportunity to learn how to draw a strawberry with our super easy-to-follow step-by-step strawberry drawing tutorial. This short tutorial shows how to draw a strawberry. It takes about 25 to 30 minutes and illustrates in the lesson you can easily print or download to finish your mission efficiently. You will follow our instructions and get a fun time and drawing and coloring experience to create a complete strawberry. Along with the tutorial, we have also included a couple of free cute strawberry coloring pages that you can print off and give to your kids to color! If you are a parent, please don’t hesitate to give this tutorial to your kids. They get a great time to relax and avoid using technical devices such as television, smartphone, and tablet. They are not good for their eyes and their evolution.
How To Draw A Strawberry – Let’s Get Started
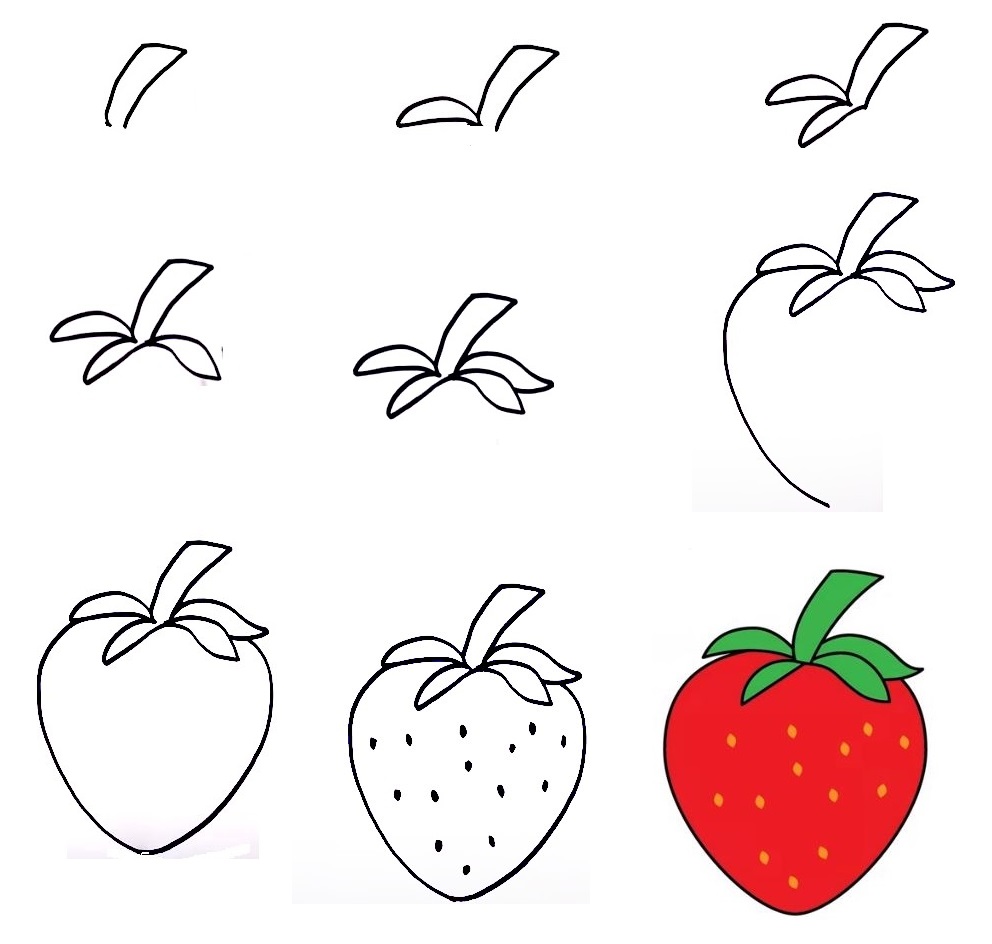
Here, we explain in nine steps how to draw a lovely strawberry with our instruction details! With this simple and fun method of learning to draw, you and your children will become real artists! This is not a simple task but it is not an easy task, you need to be calm and patient with a little skill. You will get a complete strawberry with your funny. Drawing and coloring are good activities for everyone. Participating in those activities will relax your mind because when you focus on drawing and coloring, you will temporarily forget everything around and so accidentally, fatigue or stress in your body will disappear. Why not? Completely free on our website. You can come here anytime and anywhere with your device connecting to the internet. It would help if you prepared a pencil, eraser, colored pencils, and drawing paper before drawing, then you will use the pencil to draw on paper. You can erase easily if you make a mistake, so don’t be afraid to draw wrong, draw, and if possible, practice regularly so that you have more experience and then draw everything will be easier. Now, let’s get started to draw a strawberry with us!
Step 1 – Draw Strawberry Stem

Start drawing a strawberry with its stem. You look at it and follow along; this is the stem of an apple; it’s that simple to draw. Please use a pencil to sketch on the paper for the first strokes. It is very simple in this step; you finish it in some second and next to step 2.
Step 2 – Draw A Petal Of The Leaf

Now draw the petals (little leaves at the top of the strawberry) as well as the tip that was attached to the stem. You can pretty much draw each of the petals with just two curved lines. From the strawberry stem, you use curved lines and make a petal for leaves. You can go to step 3 now.
Step 3- Add Another Petal

You add another petal right now. This step is not too complicated. You add a petal at the Other petal and stem. Once you have these elements looking as they do in the reference image, you’re ready for step 4!
Step 4 – Add The Third Petal

Now, you draw the third petal of the leaf for the strawberry. You also use the curved line to create a petal for the leaf and continue drawing the petal of the strawberry in the fifth step.
Step 5 – Finish Drawing Petal

You will draw the last petal for the leaf of a strawberry. To finish the line drawing petal, you use curved to show the fourth petal. Very simple and you just draw a curved line for the mission at this step.
Step 6 – Draw Half A Heart With A Flat Bottom For the Strawberry

Now, you draw the strawberry’s body outline in pencil. You will draw the left half of the strawberry here like a half-heart shape. You use a curved line from the top to the bottom to form half a strawberry.
Step 7 – Add The Other Side; it Doesn’t Have To Be Exactly The Same
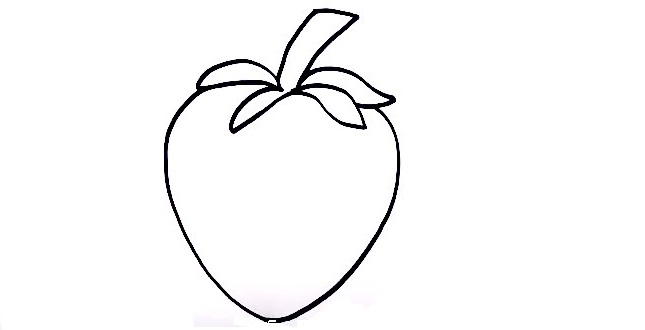
Similar to step 6, in this step, draw the other half of the strawberry, you draw a long curved line from the top down parallel to the curve in step 6, but it doesn’t have to be exactly the same. So, you get a strawberry with two sides nơ move step 8 to finish your drawing mission.
Step 8 – Draw Strawberry Seeds
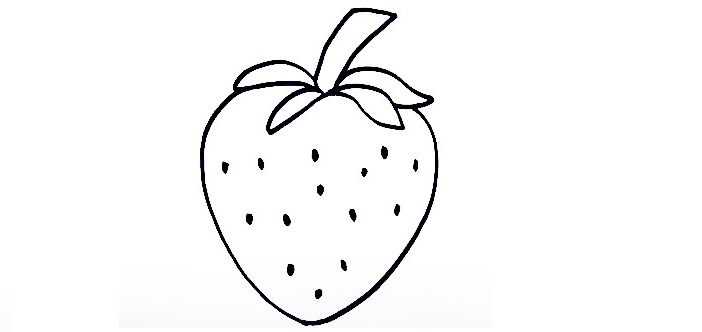
As you probably know, strawberries are covered in tiny little black seeds, so you must add the seeds to this strawberry and then you will use black to color it. You can simply draw rows of small lines going down the strawberry vertically, or you can use small lines in a messy way. You can move to step 9 now to color your product.
Step 9 – Color Strawberry
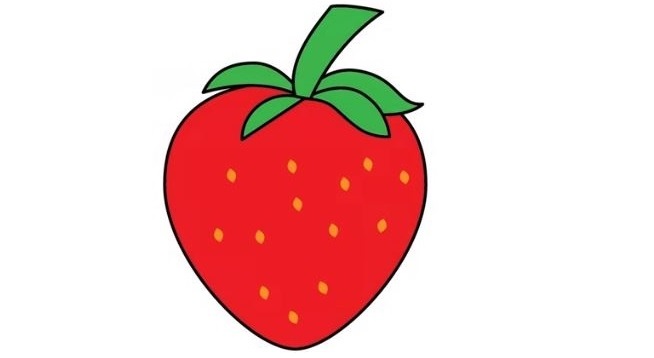
You have finished drawing the strawberry, and now it’s time to choose a color for it. Very simple; you can make any color you like because there is no rule in choosing a drawing. You can choose similar colors or color. We choose red for the strawberry, yellow for the seeds, and green for the leaves and stems. If you don’t mind sacrificing realism, then you could also use your favorite bright and beautiful colors to really make this image pop with a more stylistic look. There’s no limit to your creativity for this image, and we can’t wait to see what you end up going with!
Your Strawberry Drawing Is Complete!
So, you finish your drawing and coloring mission. You have successfully made it through all nine steps of this guide on how to draw a strawberry! You can enjoy strawberry coloring pages to enjoy many images related to Strawberry. We update instructions daily and you can draw anything you like. If you like our tutorials, don’t forget to give us a thumb up and recommend them to your friends! Have fun!


