6 Easy Steps To Create Winnie The Pooh Drawing – How To Draw Winnie The Pooh
Winnie The Pooh Drawing Is Complete In 6 Simple Steps
You know that Winnie The Pooh and You will create Winnie The Pooh drawing in 6 simple steps; he is a fictional anthropomorphic teddy bear created by English author A. A. Milne and English illustrator E. H. Shepard. Winnie The Pooh was first known in Winnie the Pooh (1926) and in the next time with The House at Pooh Corner (1928). The series about Winnie The Pooh has been translated into many languages, such as alexander Lenard’s Latin translation, Winnie Ille Pu, which was first published in 1958, and, in 1960, became the only Latin book ever to have been featured in The New York Times Best Seller list. In 1961, Walt Disney Productions licensed certain films and other rights of Milne’s Winnie-the-Pooh stories from the estate of A. A. Milne and the licensing agent Stephen Slesinger, Inc.. They adapted the Pooh stories, using the unhyphenated name “Winnie the Pooh,” into a series of features that would eventually become one of its most successful franchises. Today, you can learn about Winnie The Pooh through many different channels; you can enjoy series, movies, and images related to Winnie The Pooh on the internet. You can get Winnie The Pooh coloring pages on our site as well. This is one of the entertainment channels to enjoy Winnie The Pooh for free.
How To Draw Winnie The Pooh – Let’s Get Started!
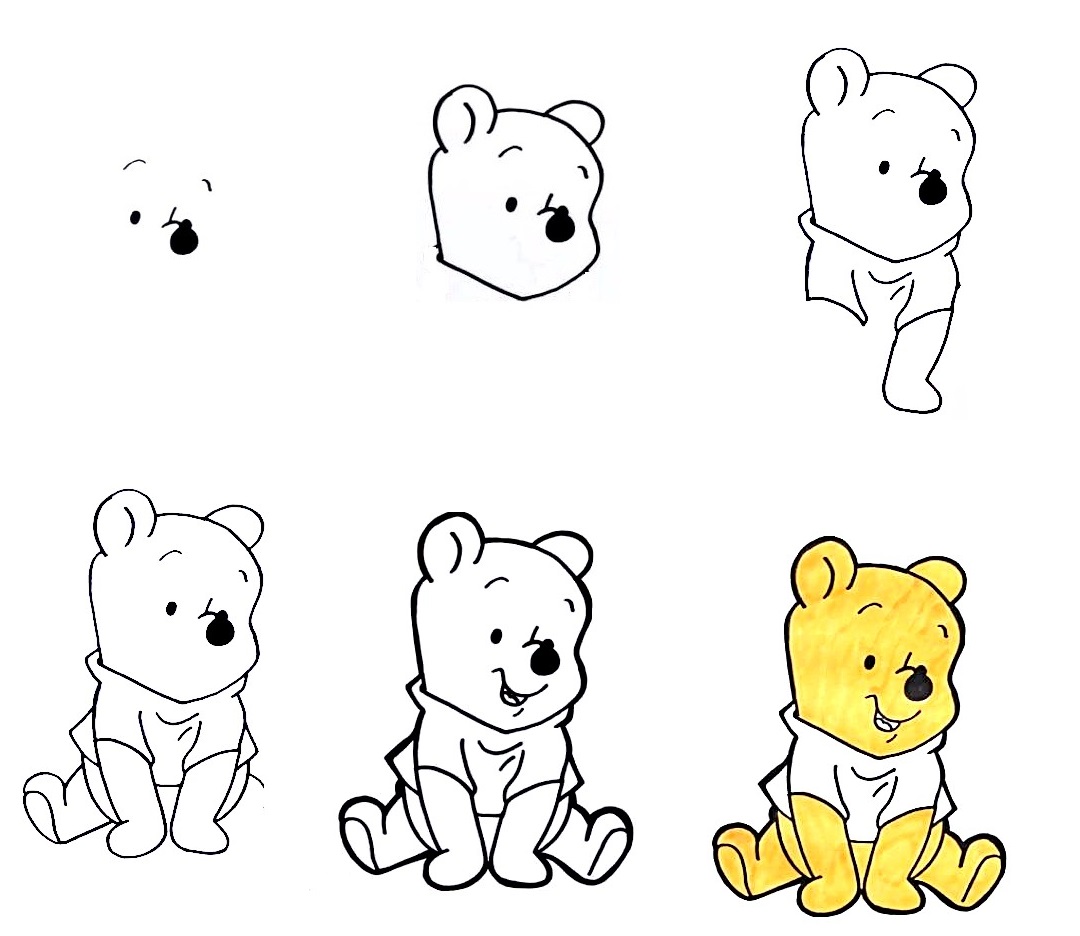
You will follow our instructions in six steps and finish your task in each step to get complete Winnie The Pooh with your skill. To learn how to draw Winnie The Pooh, you must prepare some necessary things such as paper, pencil, and colors before starting to draw. You will follow instructions and our images because, in each step, we also provide the illustration image for you. You will learn to draw more easily. Winnie The Pooh is a cute character; everyone loves him, especially children. So, you can learn to draw Winnie The Pooh with your kids; they will surely like it and concentrate on their academic work. They can enjoy Winnie The Pooh coloring pages at our site as well for free. More, drawing and coloring will help children to develop some skills such as Pen skills, drawing skills, concentration skills,…they are very good for them. Now, let’s get started drawing Winnie The Pooh.
Step 1 – Draw Eye, Nose, And Eyebrows For Winnie The Pooh

In the first step of the Winnie The Pooh drawing, you will start to draw Winnie The Pooh with the details for the face. You will draw a dot and use black to color it, and it is the eye for Poot. Because you are drawing Winnie The Pooh sitting in a side position so it shows only one eye, the other eye is hidden, so you don’t need to draw. You draw two curves under the eye, and they are eyebrows for this character. You will continue to draw a small curve and big dots as our images; they are his noses.
Step 2 – Draw Face’s Outline And Ears For Winnie The Pooh

You will continue to draw Winnie The Pooh with his face outline. You will an oval around his face, detail as noses, eyes, eyebrows,..to make his head and his face. Then, you will draw two curves from the head to create his earns. You can follow our images. Once you have these elements looking as they do in the reference image, you’re ready for step 3!
Step 3 – Draw Shirt and Arm For Winnie The Pooh
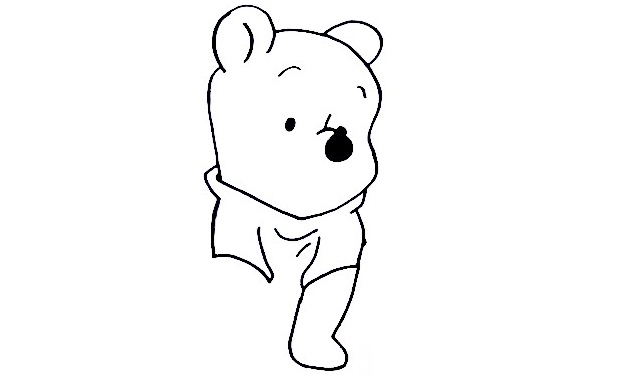
Now that we have finished his head and face, we can proceed with drawing the shirt. Start at the collar and then draw in Pooh Bear’s sleeve. It should be a short sleeve, so make sure not to go too far down. It is simple in this step; you finish it in minutes and move to step 4 to continue to realize your task of your Winnie The Pooh drawing.
Step 4 – Draw the Rest Of the Arms, Legs, and Body For Winnie The Pooh
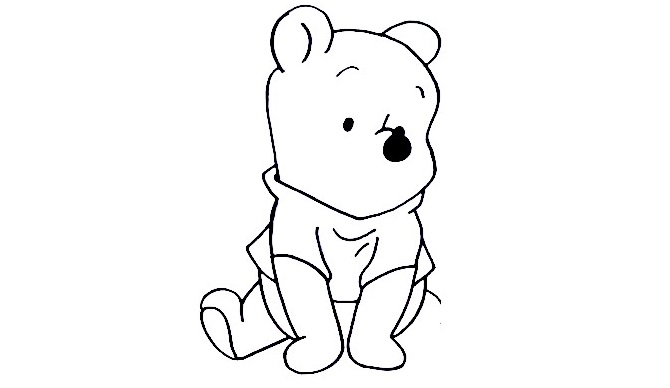
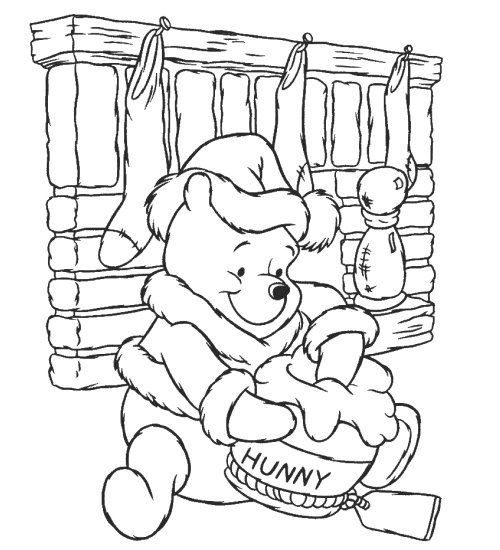
Now we can draw in the rest of his arms which also happen to be Pooh Bear’s hands. Cover the hands in honey, then add a chin line to Pooh’s face. Draw some of the exposed back, then draw Pooh Bear’s butt, thigh, leg, and foot. He is in a sitting pose. You can observe our image and follow it. That’s all there is to it for this step, so when you’re happy with the look of it, we shall continue adding to this character in the fifth step.
Step 5 – Finish Your Drawing Mission
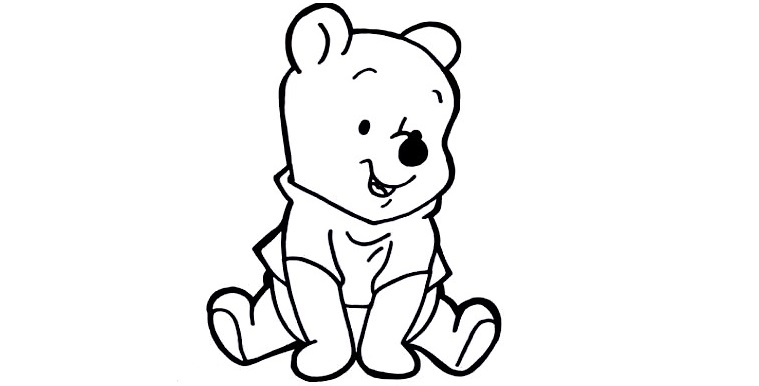
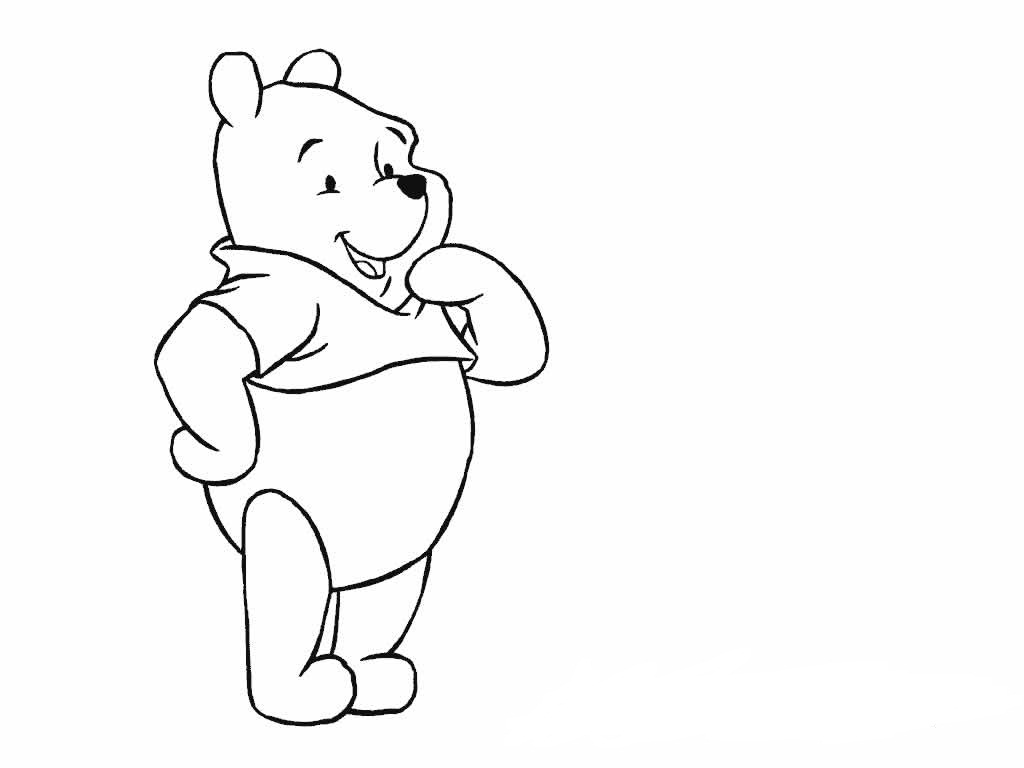
Now, you must finish your drawing mission. You will draw a smiling mouth for Winnie The Pooh. Lastly, draw two parallel lines. in Pooh’s other foot, add the foot padding line, and draw in more honey on Pooh’s leg. Erase the mistakes along with the guides and guidelines. You have more last coloring steps now.
Step 6 – Color Winnie The Pooh
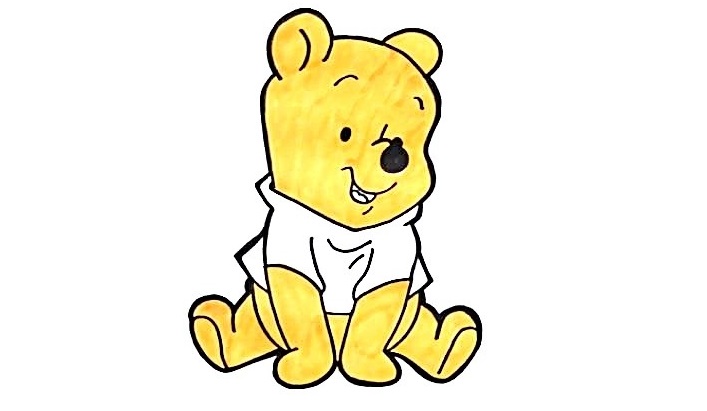
Now your work is much simpler, and you will choose the suitable colors for your character. Here we take yellow for his body and white for his clothes. Of course, we can’t do without black for the eyes, nose, and mouth. You can choose any colors you like for your product, or you take colors that are the same as ours. There is no mandatory rule in choosing colors for Winnie The Pooh.
Your Winnie The Pooh Drawing Is Complete!
Once you get your product, you can choose other Winnie The Pooh on Winnie The Pooh coloring pages on our site. We collect hundreds of Winnie The Pooh coloring pages here, and you come here and enjoy them for free. We update coloring pages, articles, blogs… daily. Be sure to keep checking our site to make sure you never miss out! I hope you get a great time here.


