Squash Drawing Is Made In 7 Easy Steps
Creating a fresh squash drawing in just 7 easy steps
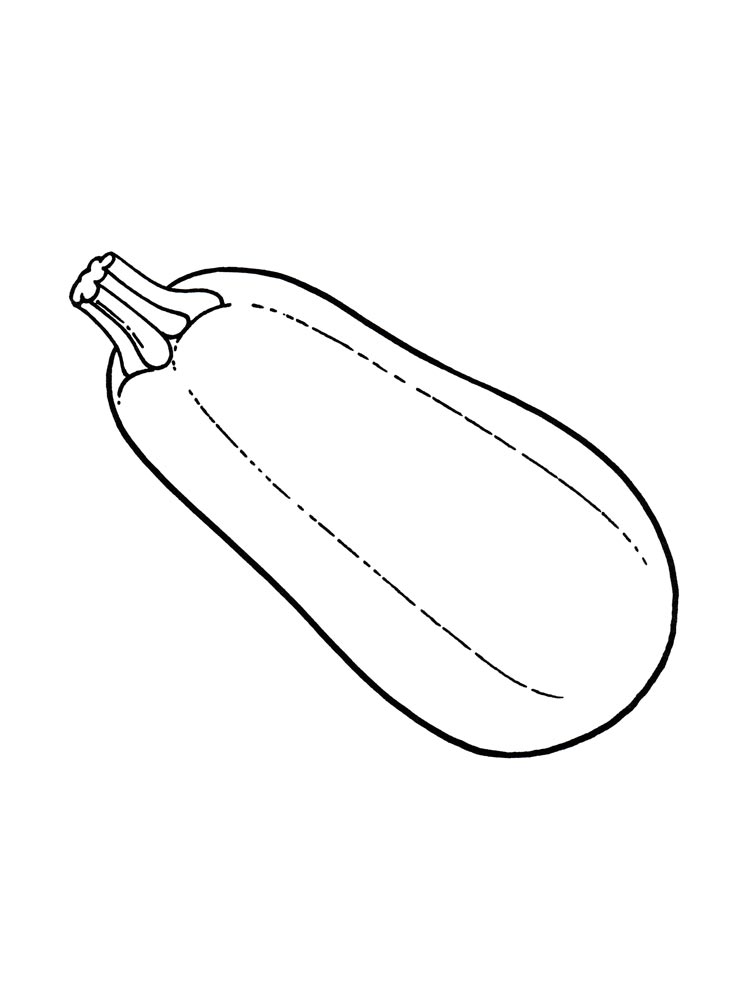
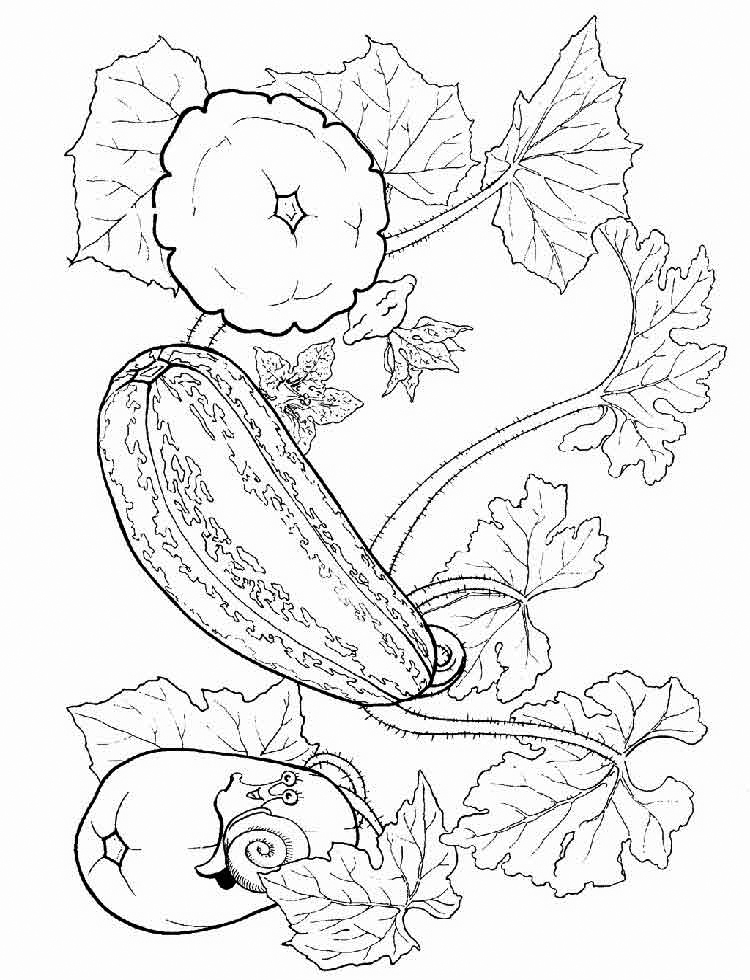
In today’s tutorial, we will discover how to draw a squash on paper. Each step’s design and proportion will help you complete a squash drawing. To learn to draw a squash is not simple but not too difficult, and you must concentrate on the course of drawing. Whether a novice or an expert in drawing, you can follow these steps effortlessly. Squash or pumpkin is a familiar fruit, and we often eat it daily. Many people love this fruit, but not everyone can draw squash. Fortunately, right now, you have the opportunity to learn to draw squash with us; what an exciting task for you. Seven easy steps will help you create squash and get fun with this work. Joining this activity drawing will help you to balance your life. You can forget stress and worries from life, and your life is better. You can learn this drawing with your kids if you are a parent. They will surely like it and avoid using technical devices like television, smartphones, tablets, etc., which are not suitable for their eyes and their evolution. Along with the tutorial, we have also included a couple of free squash coloring pages that you can print off and give to your kids to color! You can learn more details on how to draw a squash below.
How To Draw A Squash – Let’s Get Started!

Squash is a nutritious fruit that provides us with many vitamins. We like it, and we can use it for each meal. You will draw a squash by following the easy task to the difficult one with our tutorial until you finish your task. This guide is free on our site and suitable for children to adults. But before drawing, It would help if you prepared a pencil, eraser, and colored pencils,…You use a pencil to draw on paper and you can erase your mistakes easily. So, please don’t be afraid to draw, and you can draw in your comfortable mood. You will follow our guide and realize your task. You can enjoy this interesting activity in your free time after the hard work, it will make you more comfortable, and you will work better afterward. This also is a free entertainment channel, and you can relax on our site anytime and anywhere with your devices connected to the internet. And now, let’s get started drawing a squash with us!
Step 1 – Draw The Squash’s Stem Outline

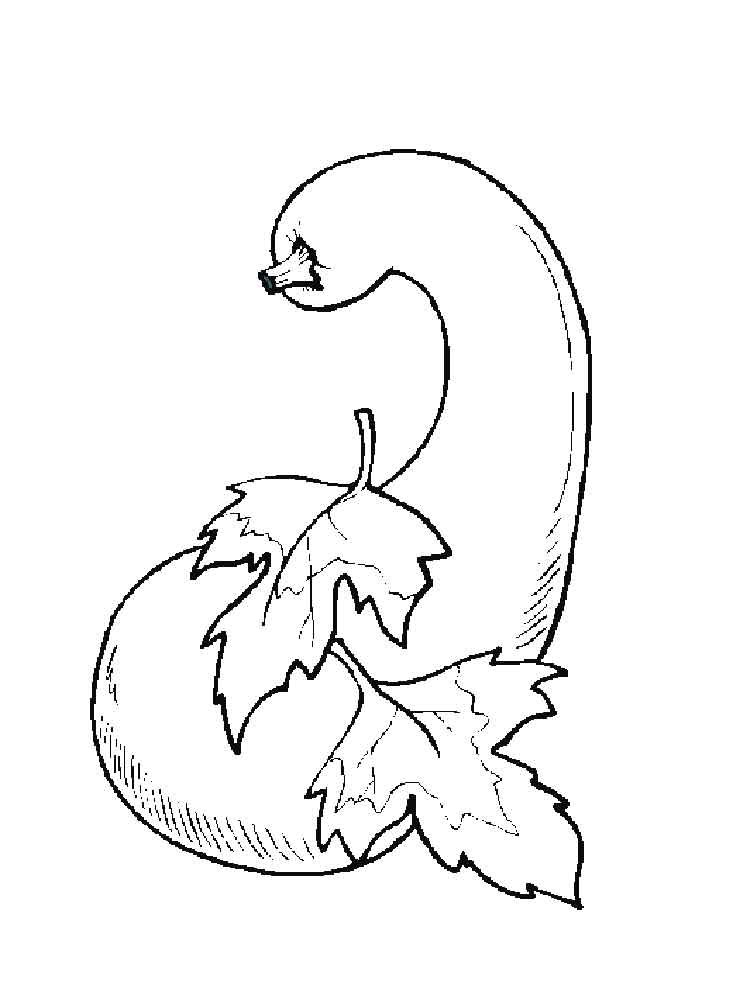
To start learning how to draw a squash, the first thing you should begin with is drawing the curved line and making a stem outline for the squash using a pencil. We’re using a pencil for now, as this will be a guide for drawing in the rest of the squash, and you’ll be erasing the pencil a bit later. You draw the curve in a spiral as our reference image. Once you are happy with your task, you can move to the second step.
Step 2 – Finish The Squash’s Stem

Now that we have the penciled spiral for the squash’s stem as a guide, we can draw the rest of the branch for your product, squash. You use zigzag lines to draw the bottom part of the stem, then use curves to complete it. You can look at our illustration and follow it next to the third step.
Step 3 – Draw Leaves For Squash

In this step 3 on how to draw a squash, you must add two side leaves of your drawn squash stem. Simple, isn’t it? As you can see from our image, you just need to use the curves to draw two beautiful leaves, and you will complete this job. That’s all there is to it for this step, so when you’re happy with the look of it, we shall continue adding to this squash in the fourth step.
Step 4 – Start Drawing Squash’s Body

You draw the squash’s body using a pencil to draw an oval shape. With this simple task, you draw a curved line by hand in some minutes, and you continue your work in the next step.
Step 5 – Finish The Squash’s Body

Similar to step 4 in this step, you will draw the other half of the pumpkin, and you will use a curved line to realize this task. It is not complex for you, as you see in our sketch, and you can follow it to finish the task here.
Step 6 – Add Decoration Details For Squash

Add details for the decoration of the squash step, and you will add slightly curved lines along it to give it stripes. It also is simple for you. You just spent some minutes finishing it. So, you finish your drawing task with these lines, and you come to the last step of coloring the squash.
Step 7 – Color Your Squash

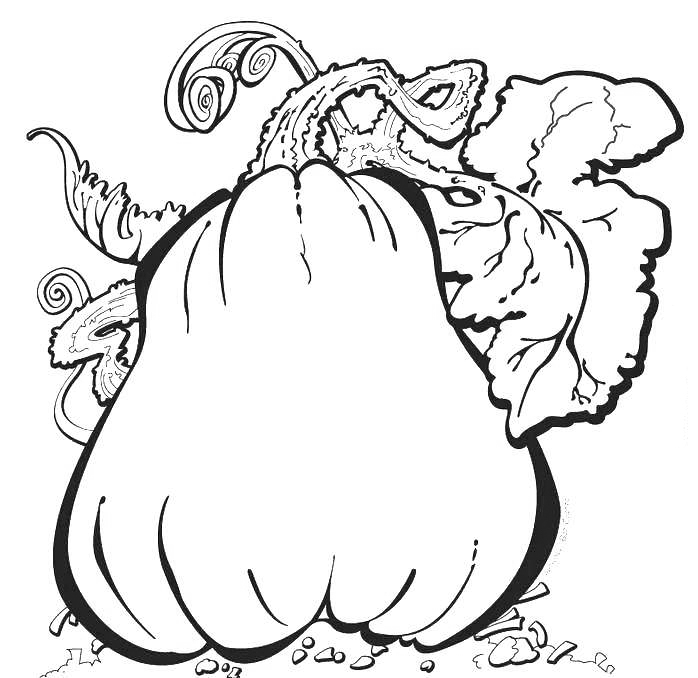
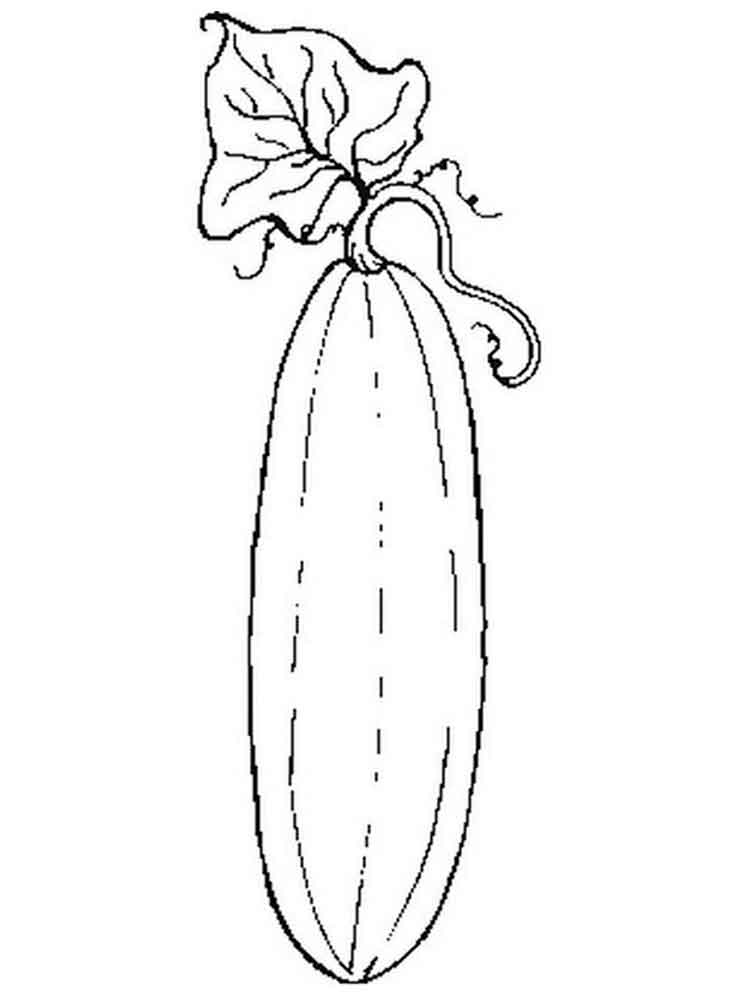
Finally, here is the most exciting part—filling in the colors for your awesome drawing! This is where you can show off your artistic skills and ability to mix and match various colors. You can use any color you like but in my experience, use its natural color. So, we use the light brow for the squash and green for the leaves, or you can take the same color for the leaves as the squash. Elementary work for you in this step; you spend some minutes and finish the task as soon as possible.
Squash Drawing Is Complete
You finish the task of your squash drawing. Once you get a complete squash, you can refer to squash coloring pages for free on our site to practice your drawing and coloring skill. We update drawing and coloring pages for free on our site. You can come here each day. You can go here to enjoy our products with your friends, your kids, and your relatives,,. Through this post, you learn how to draw a squash with some simple steps, and I hope you like our tutorial and come back here. Have a great time!