Rain Drawing Is Complete In 12 Easy Steps
Creating A Rain Drawing In 12 Steps
We’ve created a simple rain drawing in 12 steps tutorial for you.
Follow our instructions step by step, and you will have fun with them; we have arranged a rain drawing tutorial from easy to difficult, making it easy for you to accomplish the task whether you are a beginner or a drawing expert.
Rain is a weather phenomenon that many people find unpleasant with overcrowding and difficult travel, but rain is a beautiful weather phenomenon for many people. Imagine you are at home drinking tea or coffee, and watching the rain is also very interesting.
And if you like rain, then you can’t skip this tutorial.
Before starting to draw, you need supplies such as a pencil, pen, paper, eraser, and colors. Then you will sketch your first lines with pencil and paper; using them will help you to eliminate your mistakes most easily.
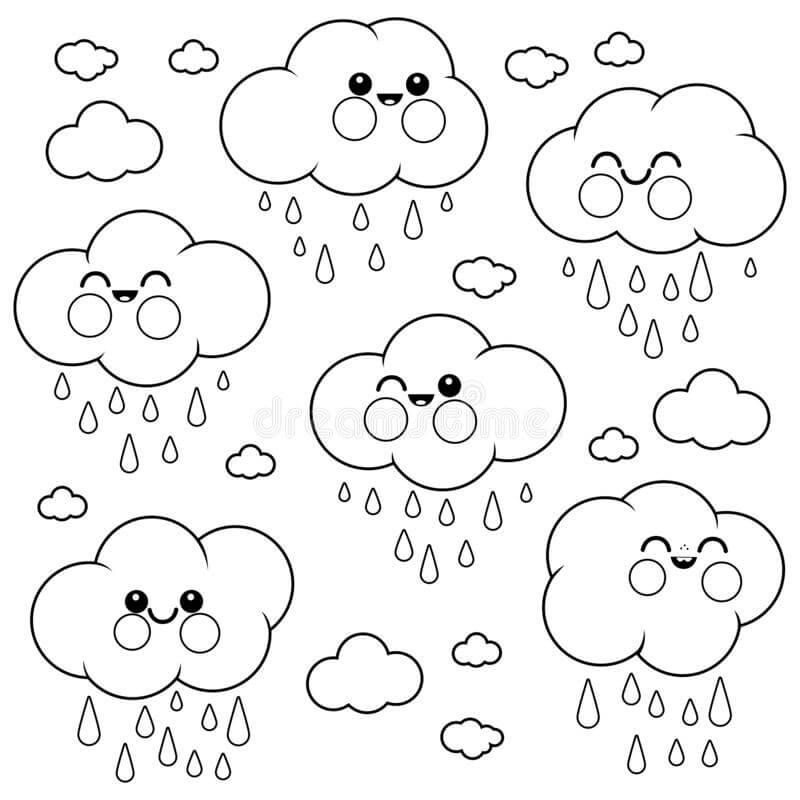
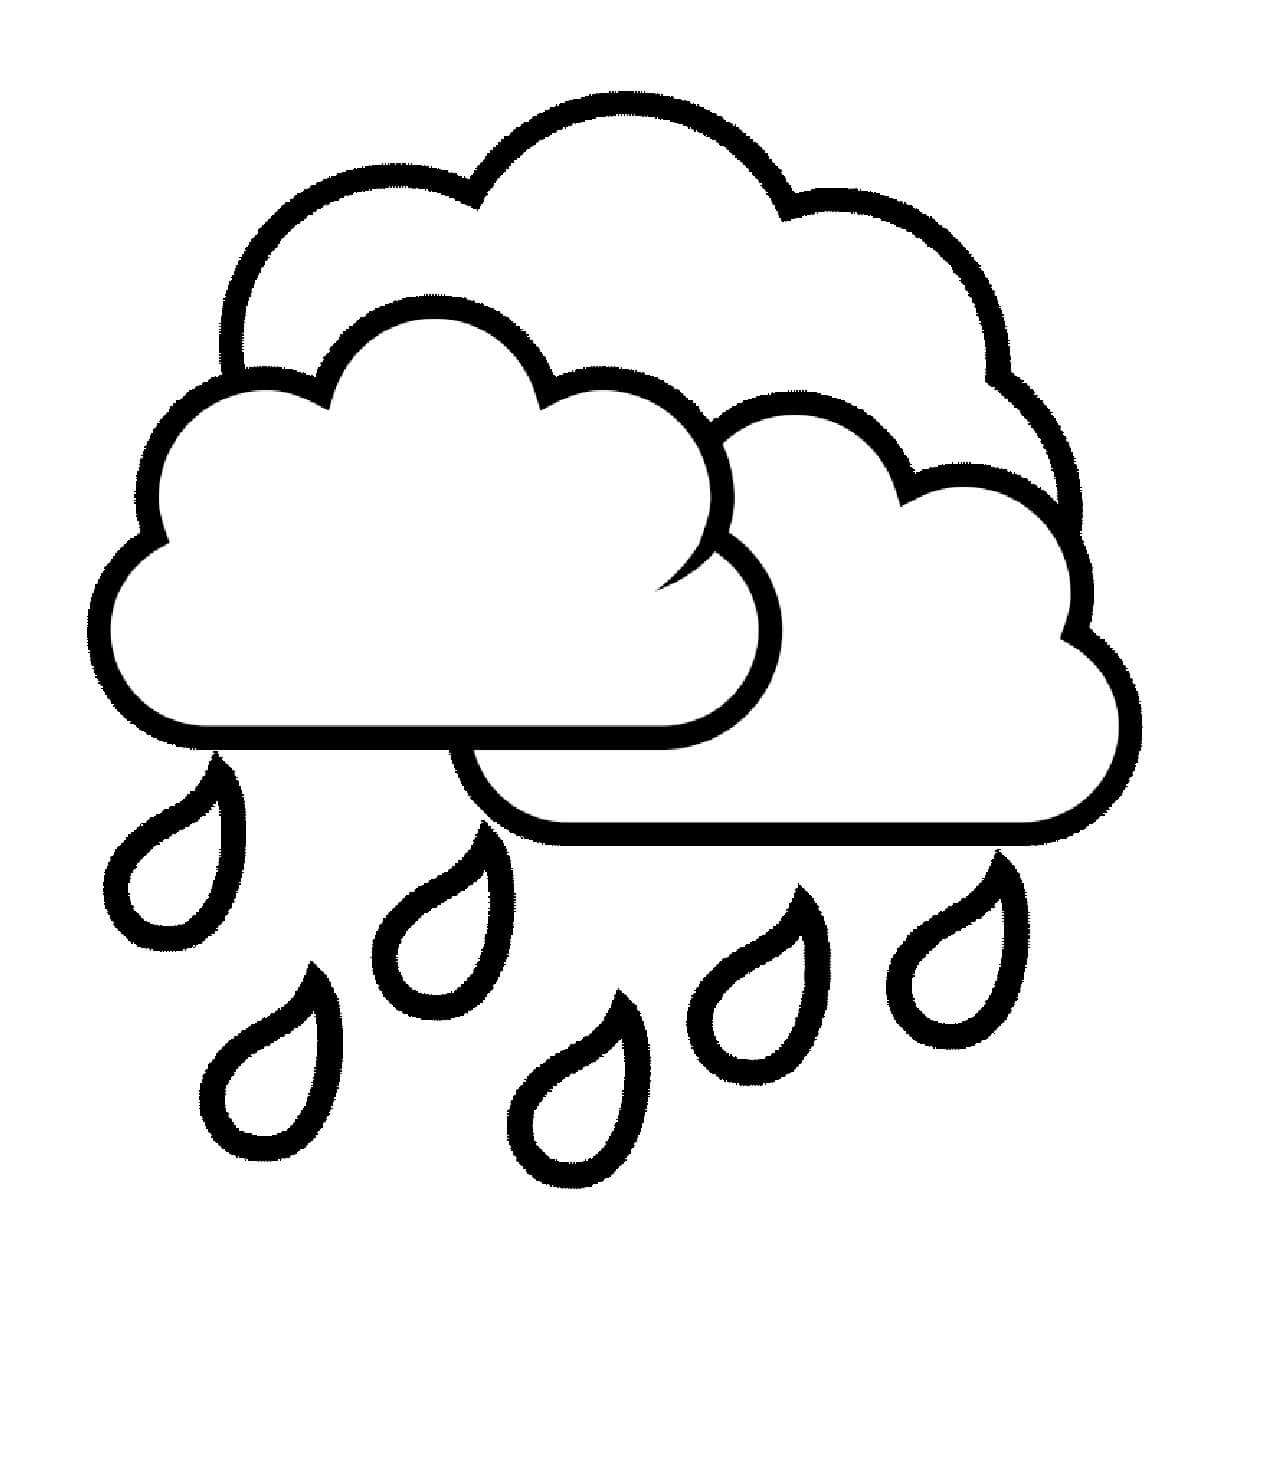
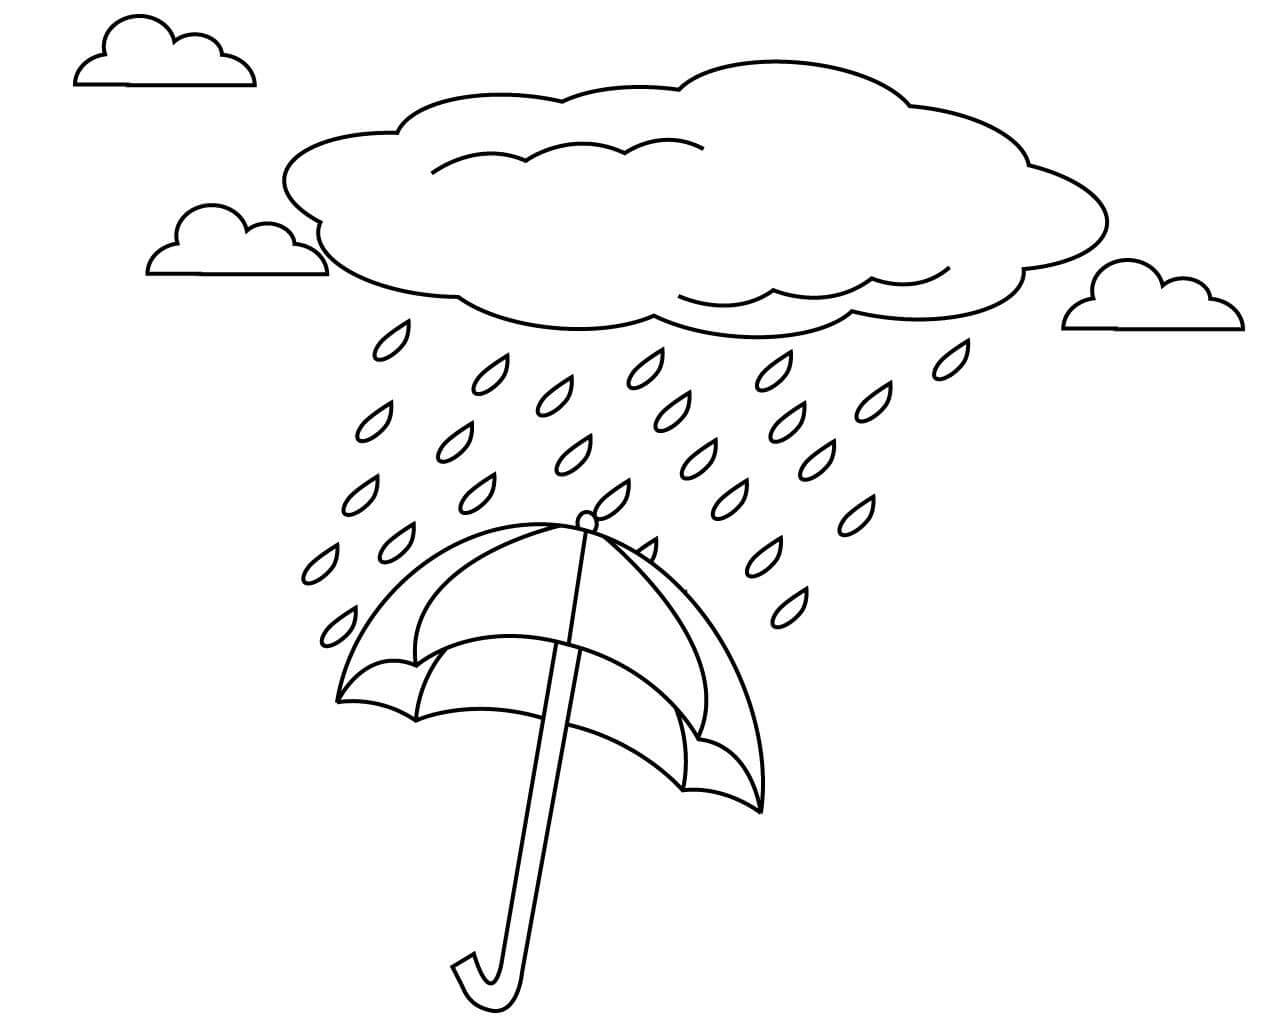
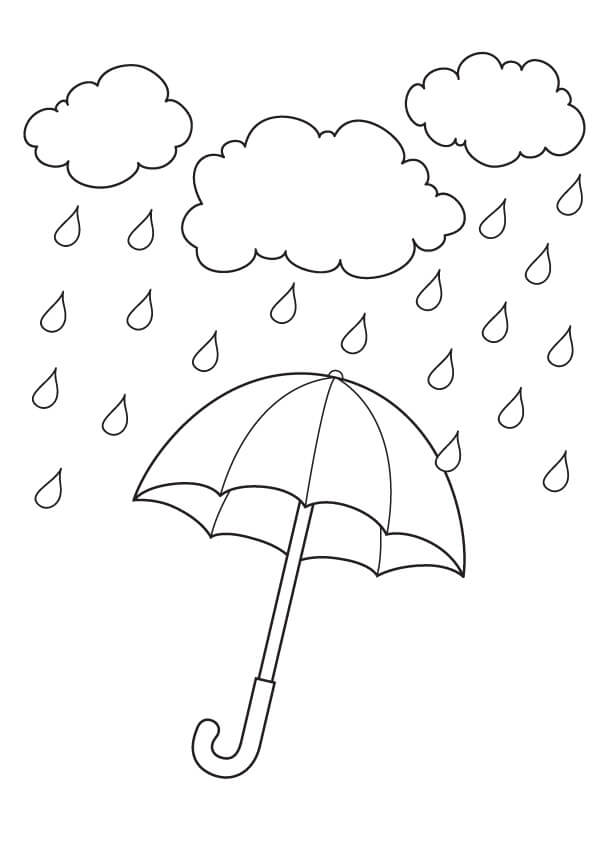
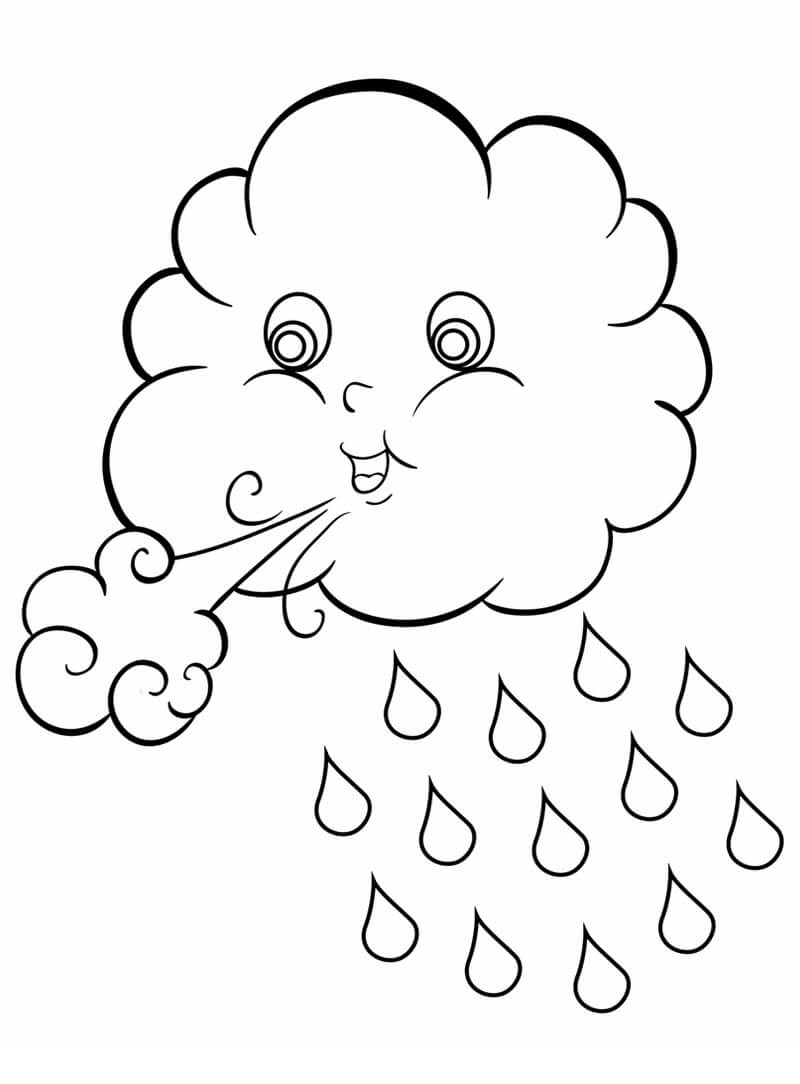
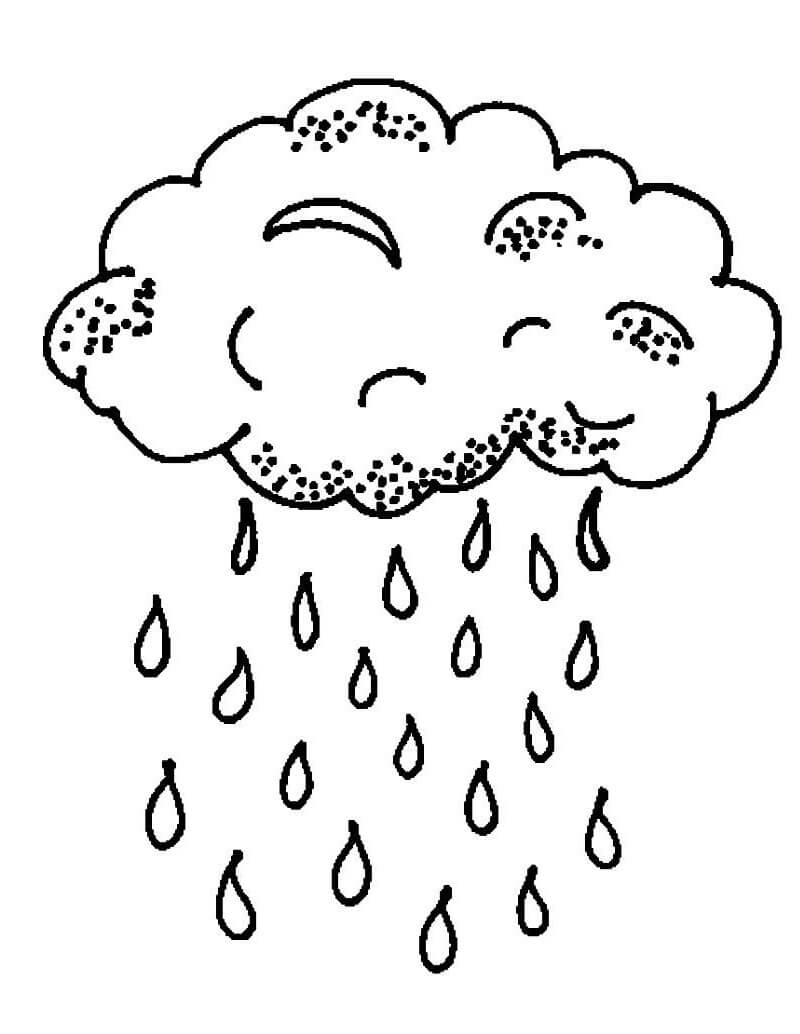
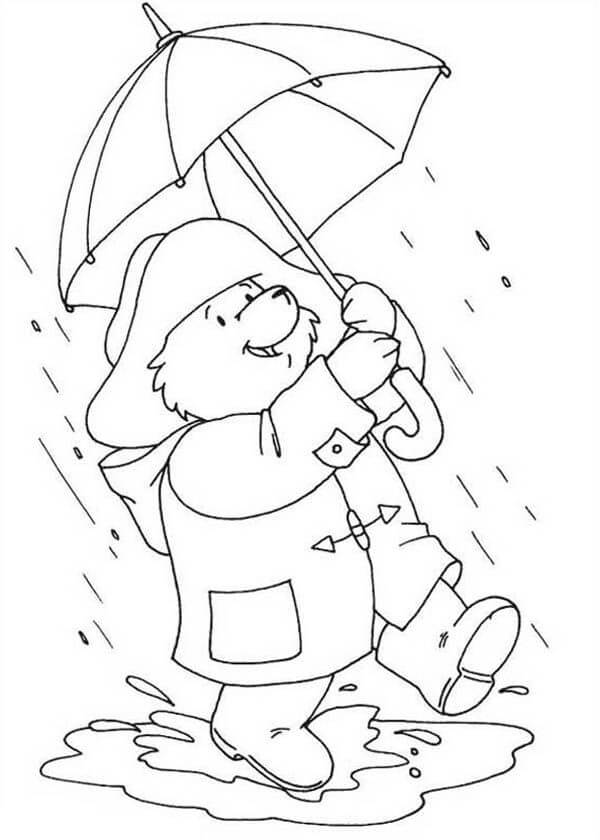
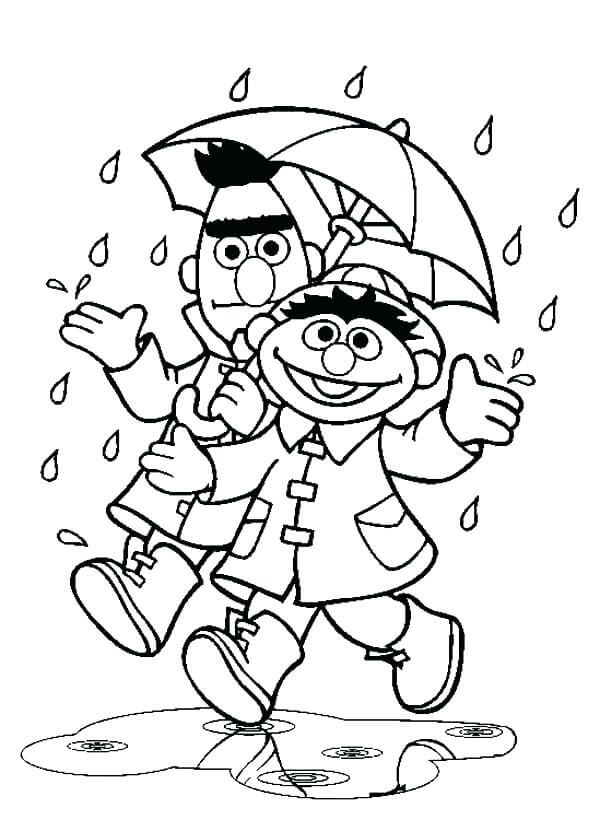
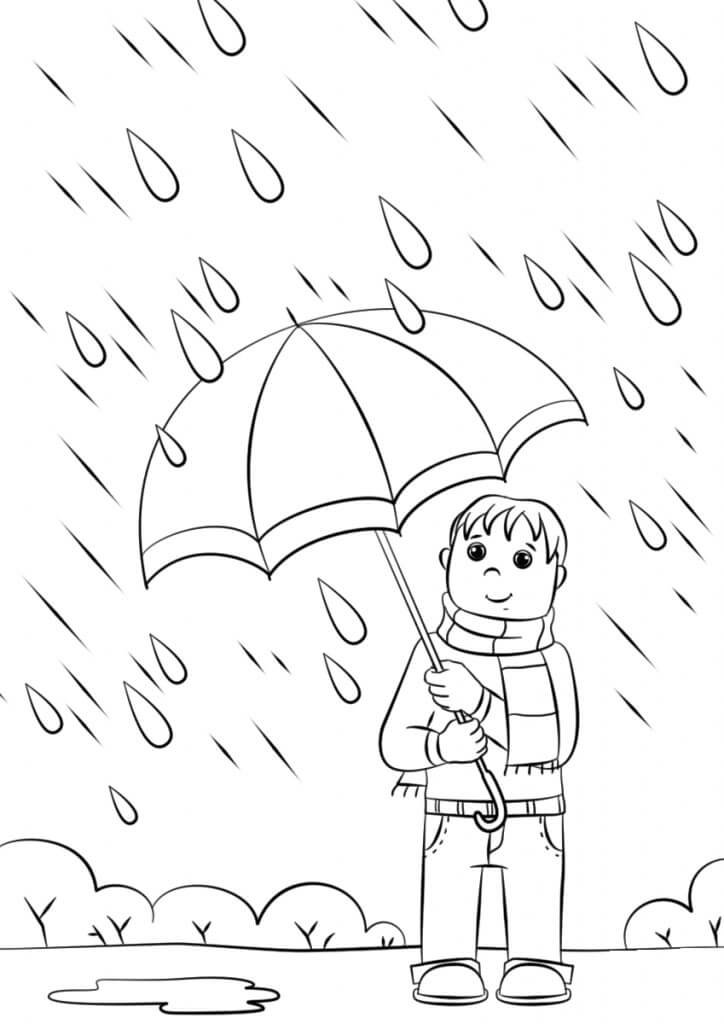
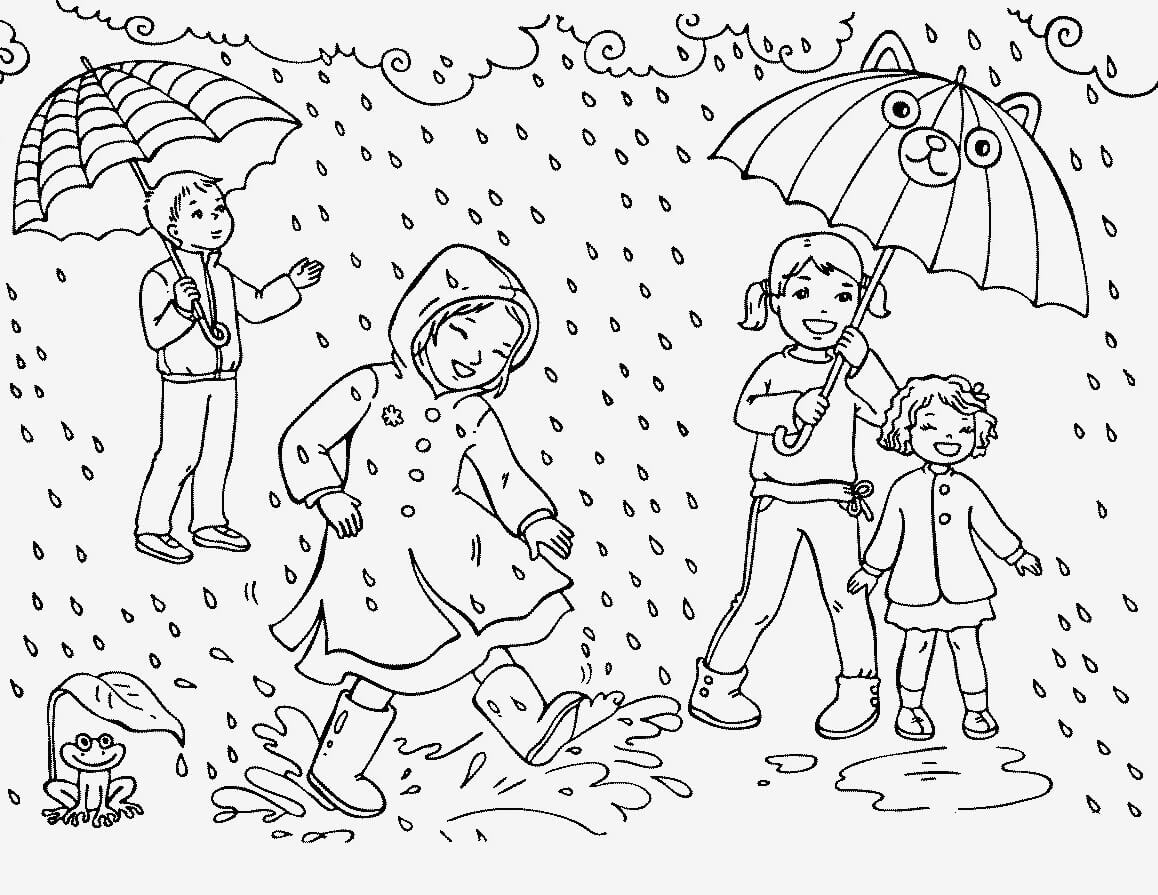
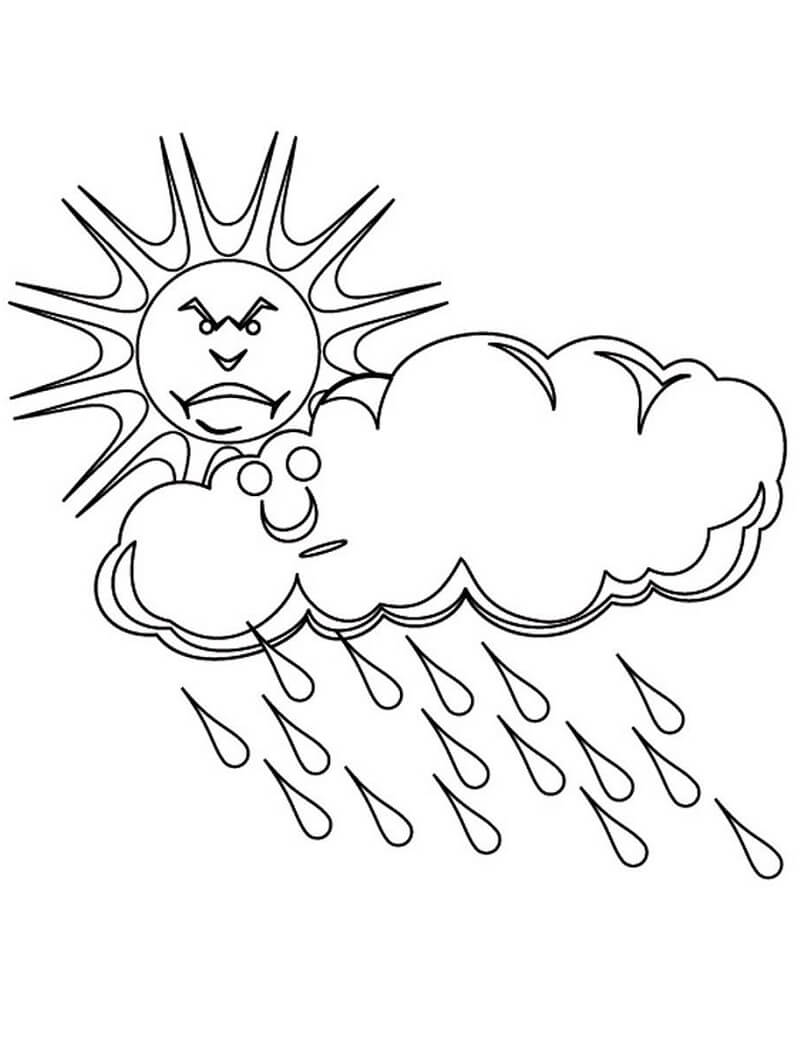
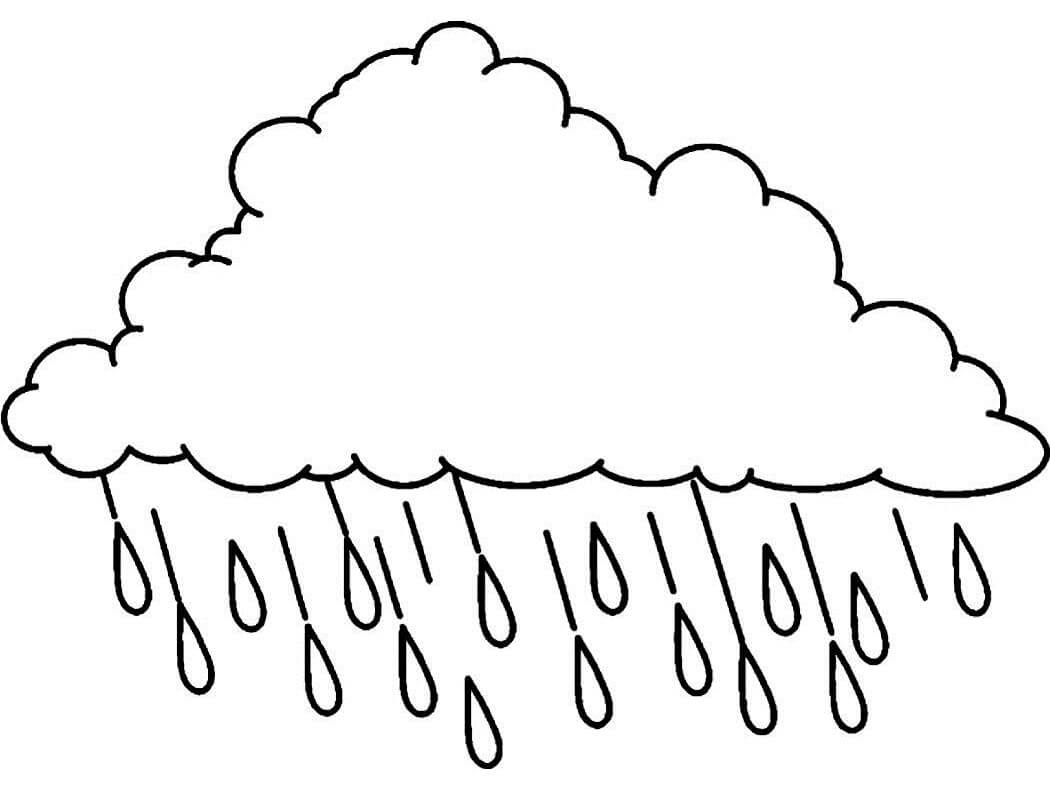
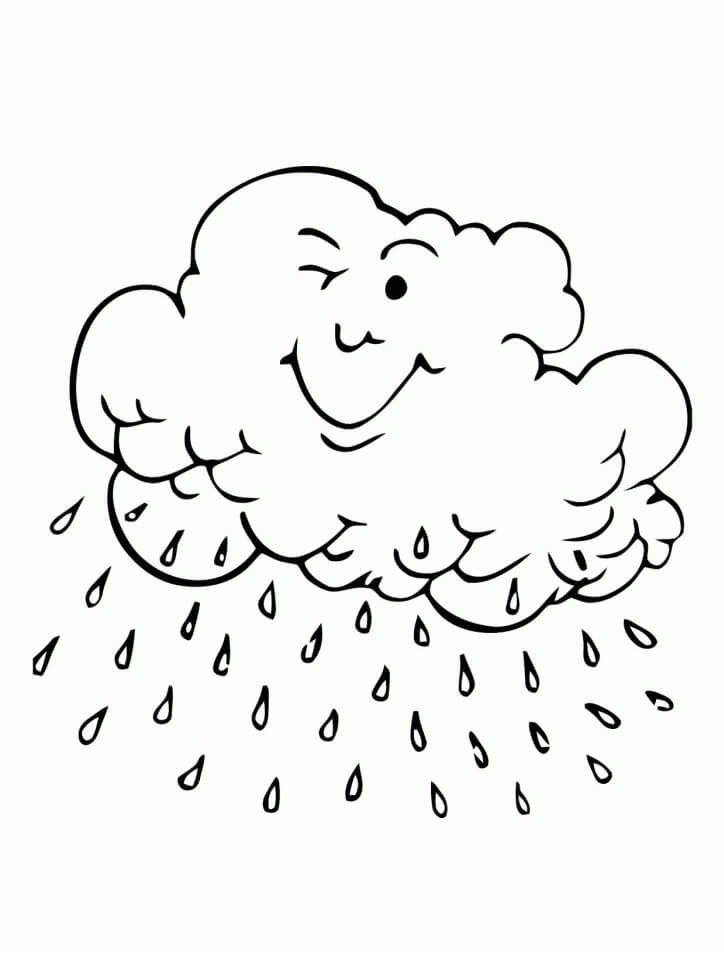
Along with this guide, you can enjoy rain coloring pages for free to practice your drawing and coloring skill, which will help you improve your drawing and coloring skills.
We will go into 12 steps of our guide on drawing rain.
How to Draw Rain – Let’s get Started!

Step 1 – Draw The Rain Cloud

Not only drawing rain, but we also draw the rain cloud, and we will do this in this first step of our guide on how to draw rain.
Create the cloud using multiple interconnected curves, and in this step, you will draw the first three curves as you see in our reference image.
Step 2 – Add Some More To The Rain Cloud

Similar to your task of step 1, in this second step, you will draw two curves on both sides to create the rain cloud.
Simple, isn’t it? You spend some minutes on your task in this step and move to the third step.
Step 3 – Complete The Rain Cloud Outline

For your task in this step of our guide on how to draw a rain, you will continue to use curves to complete the rain cloud outline.
You draw the bottom of the rain cloud with curved lines; you can look at our reference to ensure you’re on the right track.
Step 4 – Draw The Rain Cloud’s Eyes Outline

You will draw a face for the rain cloud to make it more adorable. And your task in this step is to draw two eyes outline.
It’s straightforward; you need to draw two circles to complete two eyes outline for it, as you see in our illustration.
Once you feel happy with your image, you can take the fifth step.
Step 5 – Complete An Eye For The Rain Cloud

Draw the pupil for the eye, then use black to color it. Don’t forget to use some lines to draw eyelashes for the eyes. So you have completed the task in this step and are ready to move to the next step.
Step 6 – Complete The Second Eye For The Rain Cloud

Similar to step 5, your task in this step of our guide on how to draw a rain is to finish off the second eye of the rain cloud.
You also draw two small circles to represent the person of eyes. Then use black to color this eye. Of course, you will also draw the eyelashes of this eye with some lines.
Step 7 – Draw Eyebrows For The Rain Cloud

It’s time to draw the eyebrows for the rain cloud. With two short curves above the eyes, you have finished drawing the eyebrows of the rain cloud.
It’s easy to do. Now you can move to the eighth step.
Step 8 – Draw The Rain Cloud’s Mouth

Face cannot be without a mouth; use a curve and draw a smiling mouth for your rain cloud; this makes your rain look cuter.
Step 9 – Draw The First Raindrops

If you had to draw rain clouds in the previous steps, from this step 9, you would draw raindrops for your rain drawing.
Here we use small ovals to draw the raindrops, but you can make the shape longer or bigger according to your preference.
In this step, we drew three raindrops, but you can draw more or fewer raindrops if you want.
Step 10 – Draw Some More Raindrops

You will add the raindrops to your rain in this step. You can add a or more raindrops in this step. As you see in our reference picture, we add a drop of rain, and you can move to the next step and continue to perform your drawing mission.
Step 11 – Finish Off The Raindrops

You will draw the last raindrops for your rain. Here we only draw some drops of rain, but if you want, you can add more raindrops to make your picture more beautiful.
Before going to the last step of coloring for your rain, you can add some details to make your rain more beautiful and realistic.
Step 12 – Color Your Rain

it’s finally time for the part we’ve all been waiting for: choosing the color and coloring the rain. You select the color to paint for your product, a rain. You can choose the color according to your preference. Because this is the part for you to be creative, As you can see in our drawing, We have selected some colors such as green, blue, red, yellow, etc. for our rain drawing.
Your Rain Drawing Is Complete!
So, you completed all the tasks for the rain drawing in 12 steps with us. It usually will take about 20 minutes to finish drawing rain, but if you practice regularly, you can finish it in less time. On our website Coloringcool.com, you can enjoy our educational products for free for coloring pages and drawing tutorials.
You can also find more drawing guides such as Rainbow drawing, or Sun drawing; here are drawing tutorials about weather phenomena. You can refer to them to draw rain better. We always update new ones on our site; check them often to ensure you don’t miss anything.
I hope this tutorial helps you draw rain and have a good time on our site. Please recommend us to your friends; many thanks for that.