8 Easy Steps To Create Mickey Mouse Drawing – How To Draw Mickey Mouse
Mickey Mouse Drawing Is Complete In 6 Simple Steps
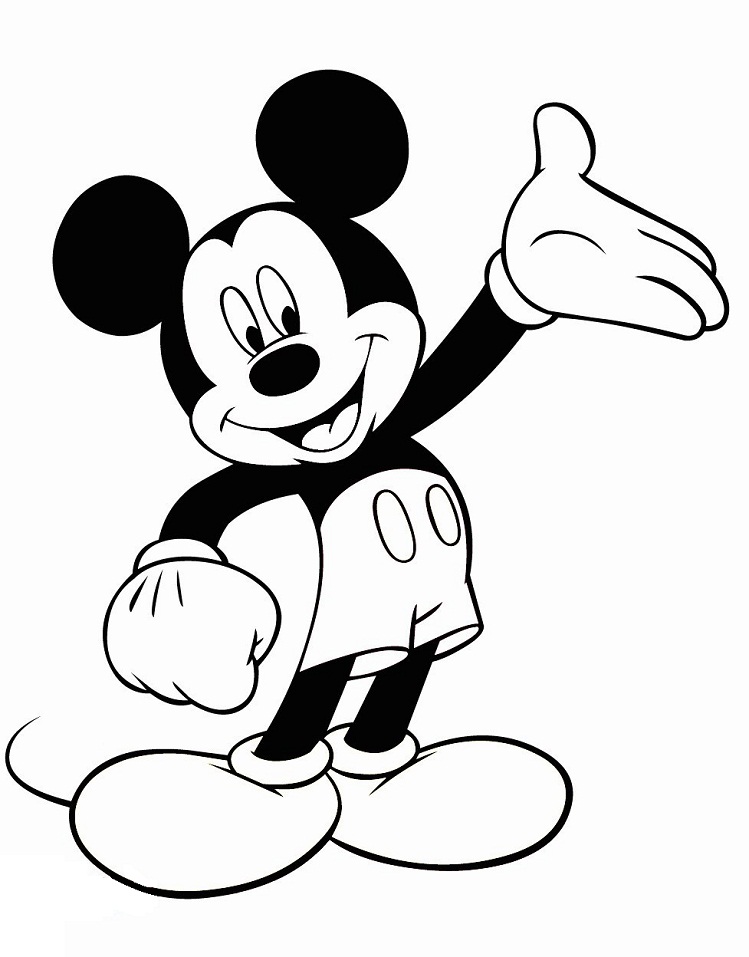
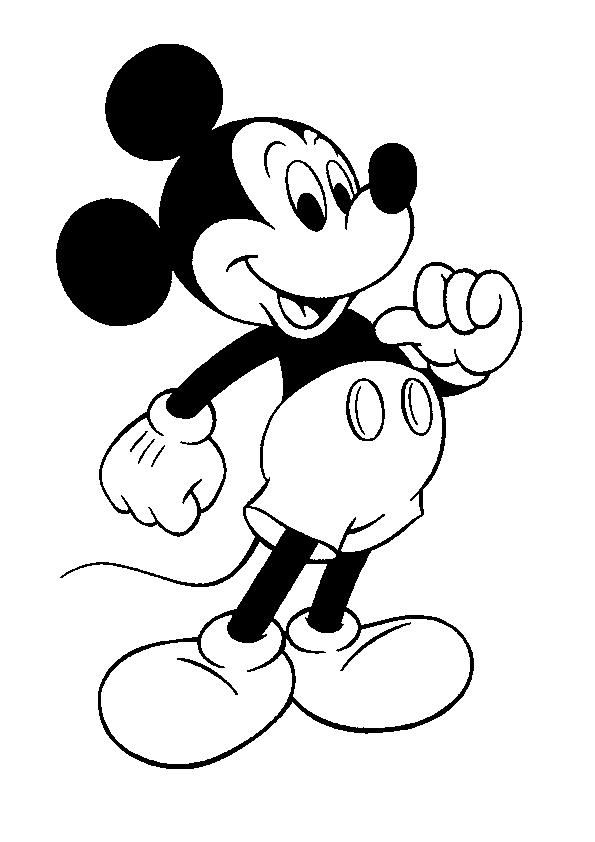
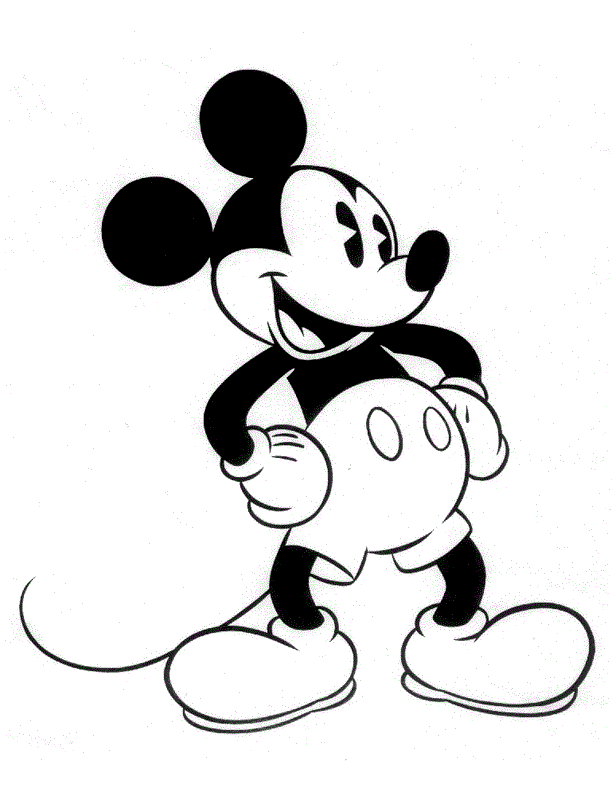
Getting a chance creating a Mickey Mouse drawing in 6 steps with us. Mickey Mouse is one of Disney’s most famous cartoon characters. In this tutorial, we will draw a classic Mickey Mouse portrait. Creating a drawing of Mickey Mouse is simple as we can sketch a simple Mickey Mouse image with just a few circles and ovals. You know that Mickey Mouse has big ears, and an expressive look makes him an excellent choice when you’re trying to decide on what to draw. We have six steps for instructions; you will follow us and look at our picture to get a perfect mickey mouse.
How To Draw Mickey Mouse – Let’s Get Started!
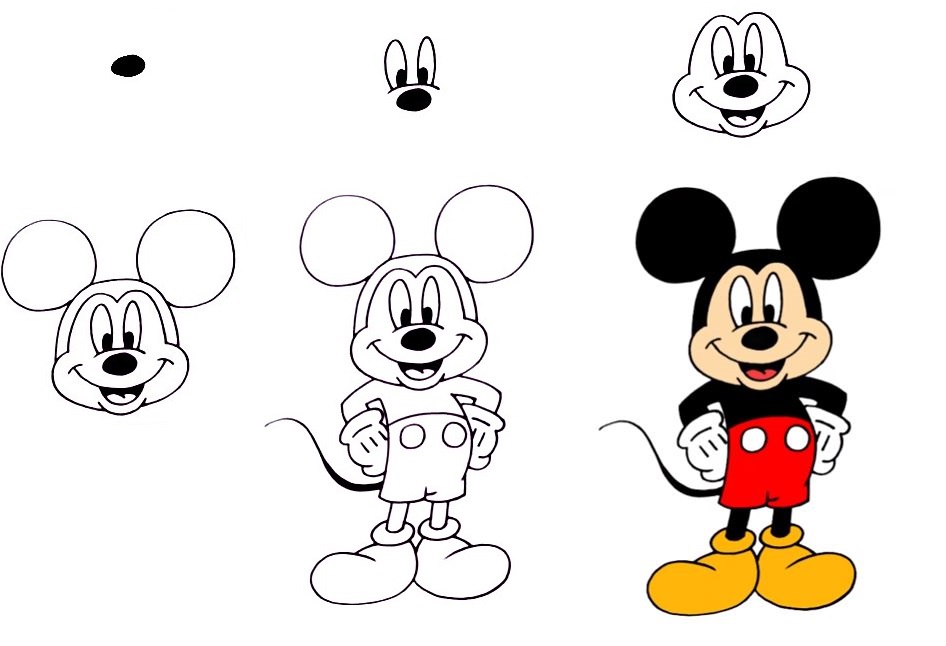
To learn to draw, you must prepare some necessary such as paper, pencil, colors,..You will go step by step with the instructions in our article to draw a Mickey mouse. You will draw a face outline, then body and decoration detail. In each stage, we have the illustration image to help you remove your product more accessible.
Step 1 – Draw Mickey Mouse Noses

You will draw Mickey Mouse noses with a small round dot. Very simple in this step for you. Even if you’re a beginner, it’s straightforward, isn’t it? You can look at our image and follow it.
Step 2 – Draw Mickey Mouse Eyes

You will eyes for Mickey Mouse in this step. You add two eyes by drawing a larger oval on the right and a smaller oval on the left. Make your first eye by removing a thin oval to the right of the centerline. Make a smaller oval on the left side of the centerline but the right of the big circle’s left edge. About pupils, you add pupils at the bottom of Mickey’s eyes. You can fill them in or leave them hollow.
Step 3 – Draw Mouth And Face Outline For Mickey Mouse

Now, you will draw a mouth and face outline For Mickey Mouse. This step is not simple but not too difficult for you. Please follow our instructions to draw Mickey Mouse’s mouth and face sketch. You will add a smaller, deeper U-shape underneath the line to make the mouth. Start right where the big circle meets the snout. Drag your pencil downwards and extend it a little bit past the edge of the big process. Bring the pencil back up to meet the end of the line you just made. It would be best if you remembered that the picture of Mickey Mouse is always smiling, so here you also have to draw a smiling Mickey Mouse’s mouth. You will draw a tongue by drawing two connecting lumps in the bottom of the opening. It looks like a soft M with rounded edges. Then you will draw a face outline for Mickey Mouse. It’s a closed loop of all the details of mickey mouse’s face.
Step 4 – Draw Mickey Mouse’s Ears

In this step, you will start to draw Mickey Mouse’s Ears. You will draw two big rounds for the two eyes of Mickey Mouse. In this step, you will realize your mission in an easy way.
Step 5 – Finish your Drawing Mission
This step is also quite complicated, it requires your painting ability. You will draw the body and arms for Mickey Mouse. You drag down from the details of the face
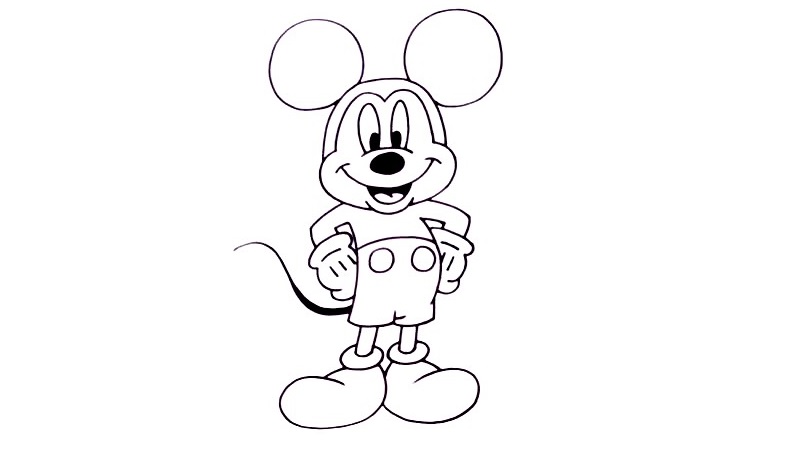
to draw the body of Mickey Mouse. You will then draw the arms and hands of Mickey Mouse lovingly standing on his hips. After that, you will draw two legs for him as well. Now you have to draw all the missing details for mickey mice, such as the tail and some details for decoration. A basic overview of your work is done, now you just need to go to the coloring step and you’re done.
Step 6 – Color Mickey Mouse
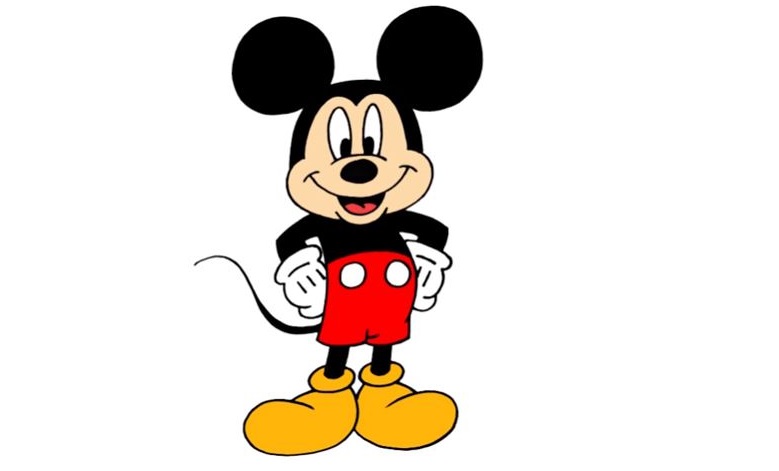
Now, you will choose the suitable colors and make coloring for your character Mickey Mouse. This is a simple step for you. You can follow our picture to choose colors for him or you will choose your favorite colors. We choose black, white, red and yellow as he has. And what colors do you choose?
Your Mickey Mouse Drawing Is Complete!
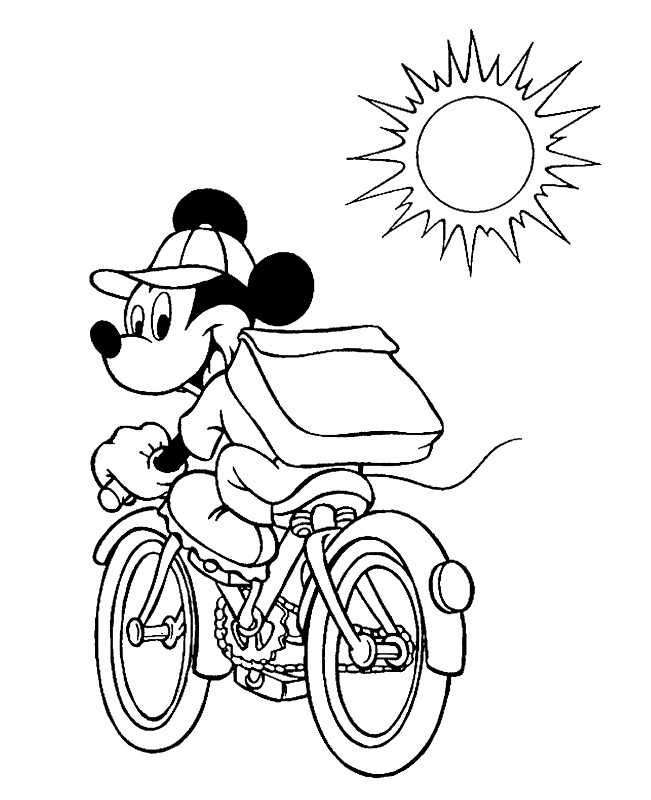
You can go to Mickey Mouse Coloring Pages on our site to practice drawing and coloring because we have many Mickey Mouse Coloring Pages for you.


