8 Simple Steps For Creating Cute Keroppi Drawing – How To Draw Keroppi
Create A Cute Keroppi Drawing in Eight Simple Steps
Today we will show you how to create Keroppi drawing from Hello Kitty. Keroppi is a frog with large eyes and a ‘V-shaped mouth, and now you get a chance to learn how to draw Keroppi with the following simple step-to-step lesson. Through this lesson, you also have the opportunity to understand more about this character, thereby enriching your knowledge. With this Keroppi drawing guide, we also provide the illustrations to help you realize your task easily; whether you are a novice or an expert in drawing, we’re sure you can follow these steps effortlessly.
How To Draw Keroppi – Let’s Get Started!

Just like learning something, learning to draw is not easy. It requires concentration and patience, so you can’t be in a hurry to learn to draw Keroppi; follow the instructions. We are sure you will succeed and be amazed at the results.
It would help if you prepared a pencil, eraser, colored pencils, and drawing paper before starting to draw.
You perform the task for Keroppi drawing with a simple pencil stroke first so you can erase it easily if you make a mistake, and you will highlight the correct lines as soon as you finish drawing Keroppi Then, your task is simpler than choosing the right color for your Keroppi drawing.
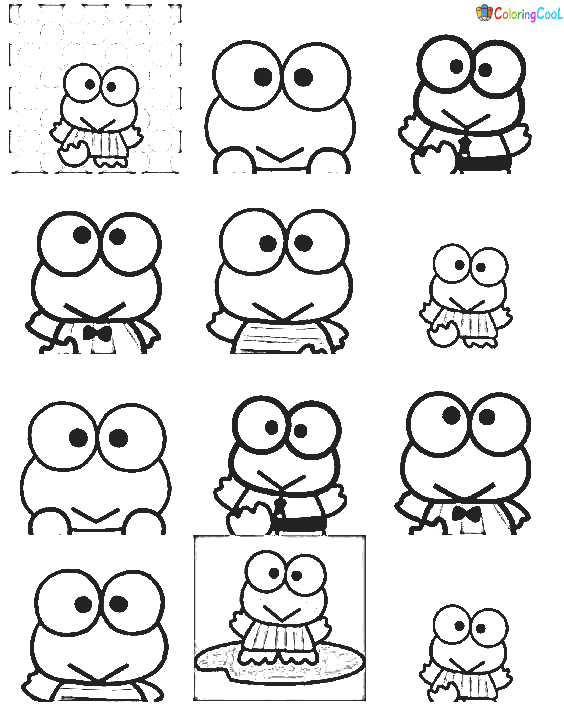
There are eight steps equivalent to eight missions that you must realize. You will have to complete the task of these eight steps in the fastest time possible. The instructions and the reference images will definitely make this drawing lesson more interesting. You also can enjoy this drawing activity with your friends, your kids, to have the human counterparts,… With this Keroppi drawing guide, we provide the Keroppi coloring pages to help you practice your drawing skill on our website. Alright, let’s get started.
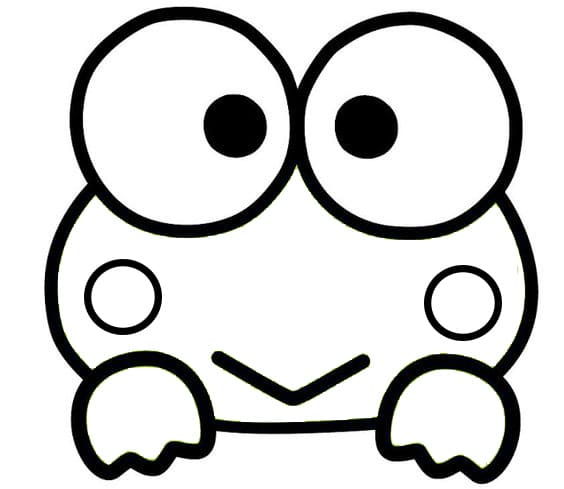
Step 1 – Draw Keroppi’s Head Outline

you will start drawing Keroppi with face and head outline. You will draw an oval, then draw two circles on the oval representing two eyes of Keroppi as you see in our reference image. It is very simple and you must finish it and move to the second step right now.
Step 2 – Draw Keroppi’s Pupil

You draw two small circles inside Keroppi’s eyes. Your task in this step is just that. It’s simple, right, you can also use black to paint the pupils now, or you will do this in the next step. You can continue your work on the Keroppi drawing in the third step right now.
Step 3 – Draw Keroppi’s Mouth

Your task in this step for the Keroppi dring is to create a letter ‘V’ shape for his mouth. Too easy for you; you just need to take a few minutes to complete this part and move on to the next step.
Step 4 – Draw Keroppi’s Body

Start his body by drawing the letter ‘L’ shape. If necessary, you can use a ruler to do this part; also very simple for you, draw the left leg for Keroppi, as you see in our illustration. When you are happy with your images, you will next to the fifth step for your Keroppi drawing right now.
Step 5 – Draw The Right Leg For Keroppi

If in the fourth step you draw the left leg, in this fifth step for your Keroppi drawing, you will draw the right leg for your character. Keroppi’s right leg is composed of short curved lines. You can use our reference image reference if you find it difficult to create this task.
Step 6 – Draw The Left Arm For Keroppi

Now, it is time to build the arms for Keroppi. His tiny hand is made up from its back; you can observe our illustration and follow it.
Step 7 – Draw The Right Arm For Keroppi

You continue to realize your task for the Keroppi drawing is to draw his Right Arm. Similar to drawing the left hand, the right hand is also drawn in short curved lines so that the right hand is small from his back. For the final drawing step, you’ll draw a small bow. So, you finish off your Keroppi drawing mission and have the last step for coloring for this character right now.
Step 8 – Color Keroppi

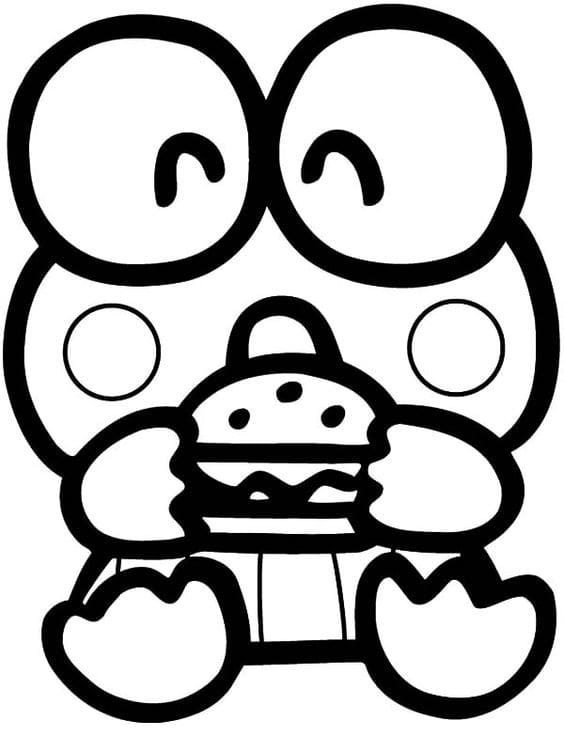
It is time to choose the suitable for your Keroppi drawing. You can take any color you like and make coloring for your character, Keroppi. We use pink for his shirt, green for his face and arms, white for his legs, and black for his pupils. If you can create colors to make your character more beautiful and complete, you can completely choose your own colors because there is no mandatory rule in using colors for drawings.
Your Keroppi Drawing Is Complete
So, you finish your drawing and coloring mission in creating the complete Keroppi drawing. It is very fun, learning to draw will help you get many benefits like train your memory, improve your observation ability, improve your imagination, make you feel elated, love life, drawing helps your brain work, Painting process helps you think in multiple dimensions, the main picture is an expression of emotion,… So, if you are a parent, you can join in this activity drawing with your kids; they will surely like it. On our website Coloringcool.com, you can find many drawing guides, You can enjoy Hello Kitty drawing for free on our site to know more about these types of characters to enrich the collection of drawing lessons and you will definitely love this activity.