A Deer Drawing Is Complete In 6 Easy Steps
Complete A Deer drawing in just 6 Simple steps
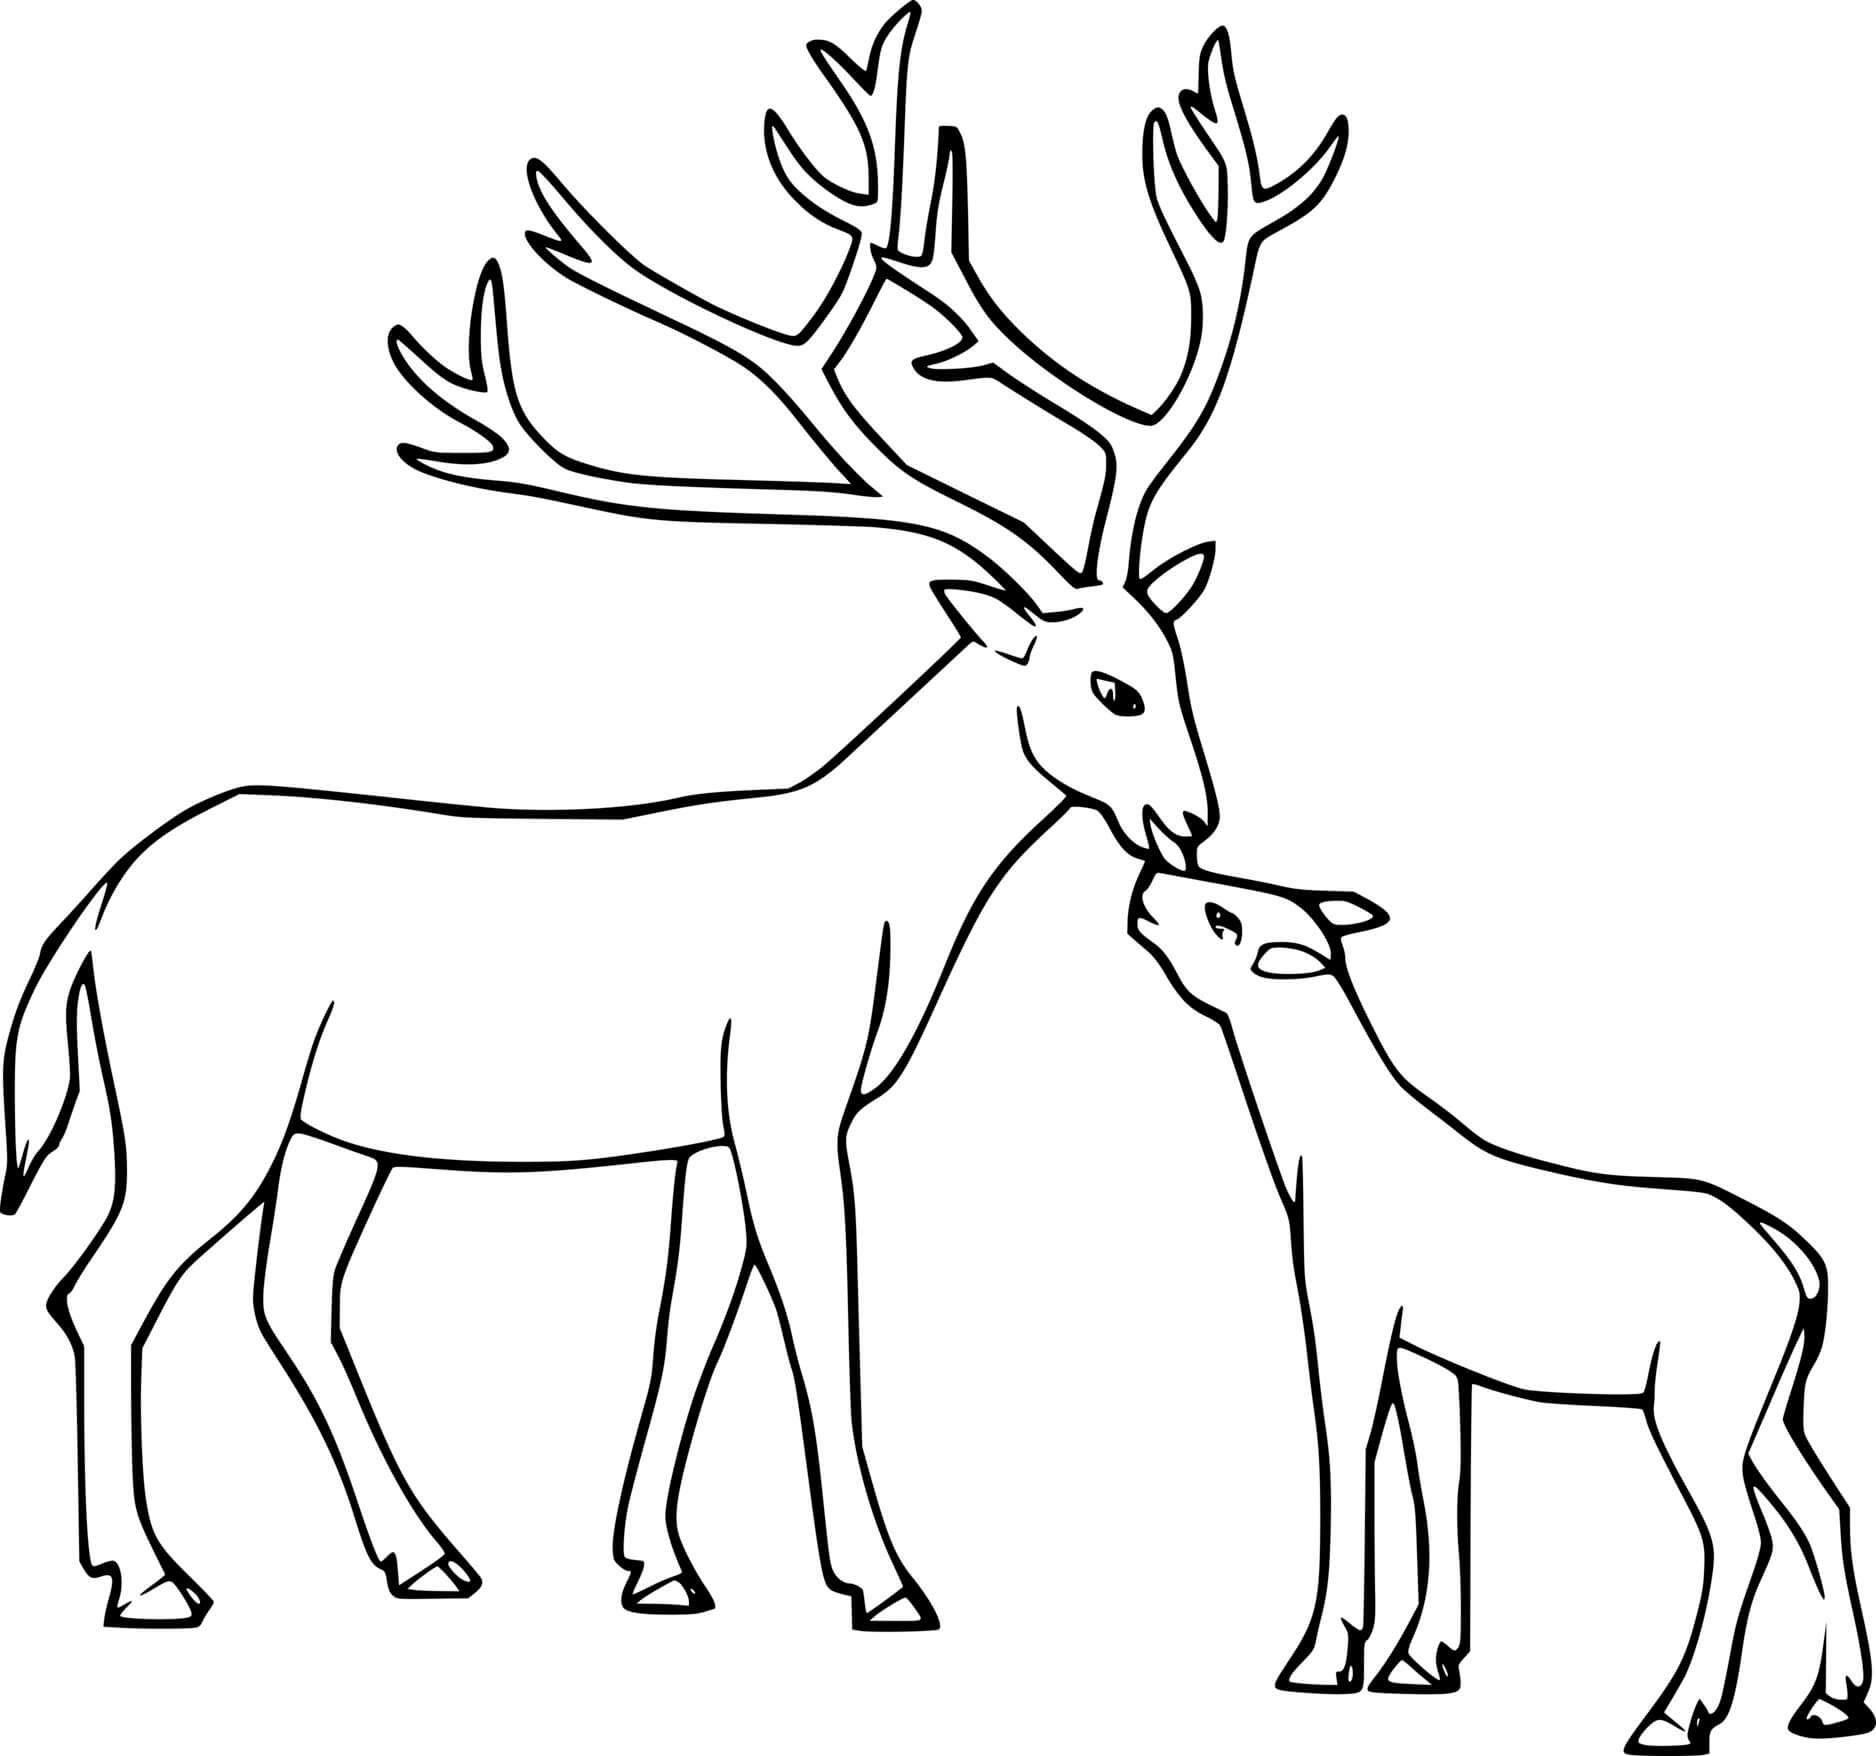
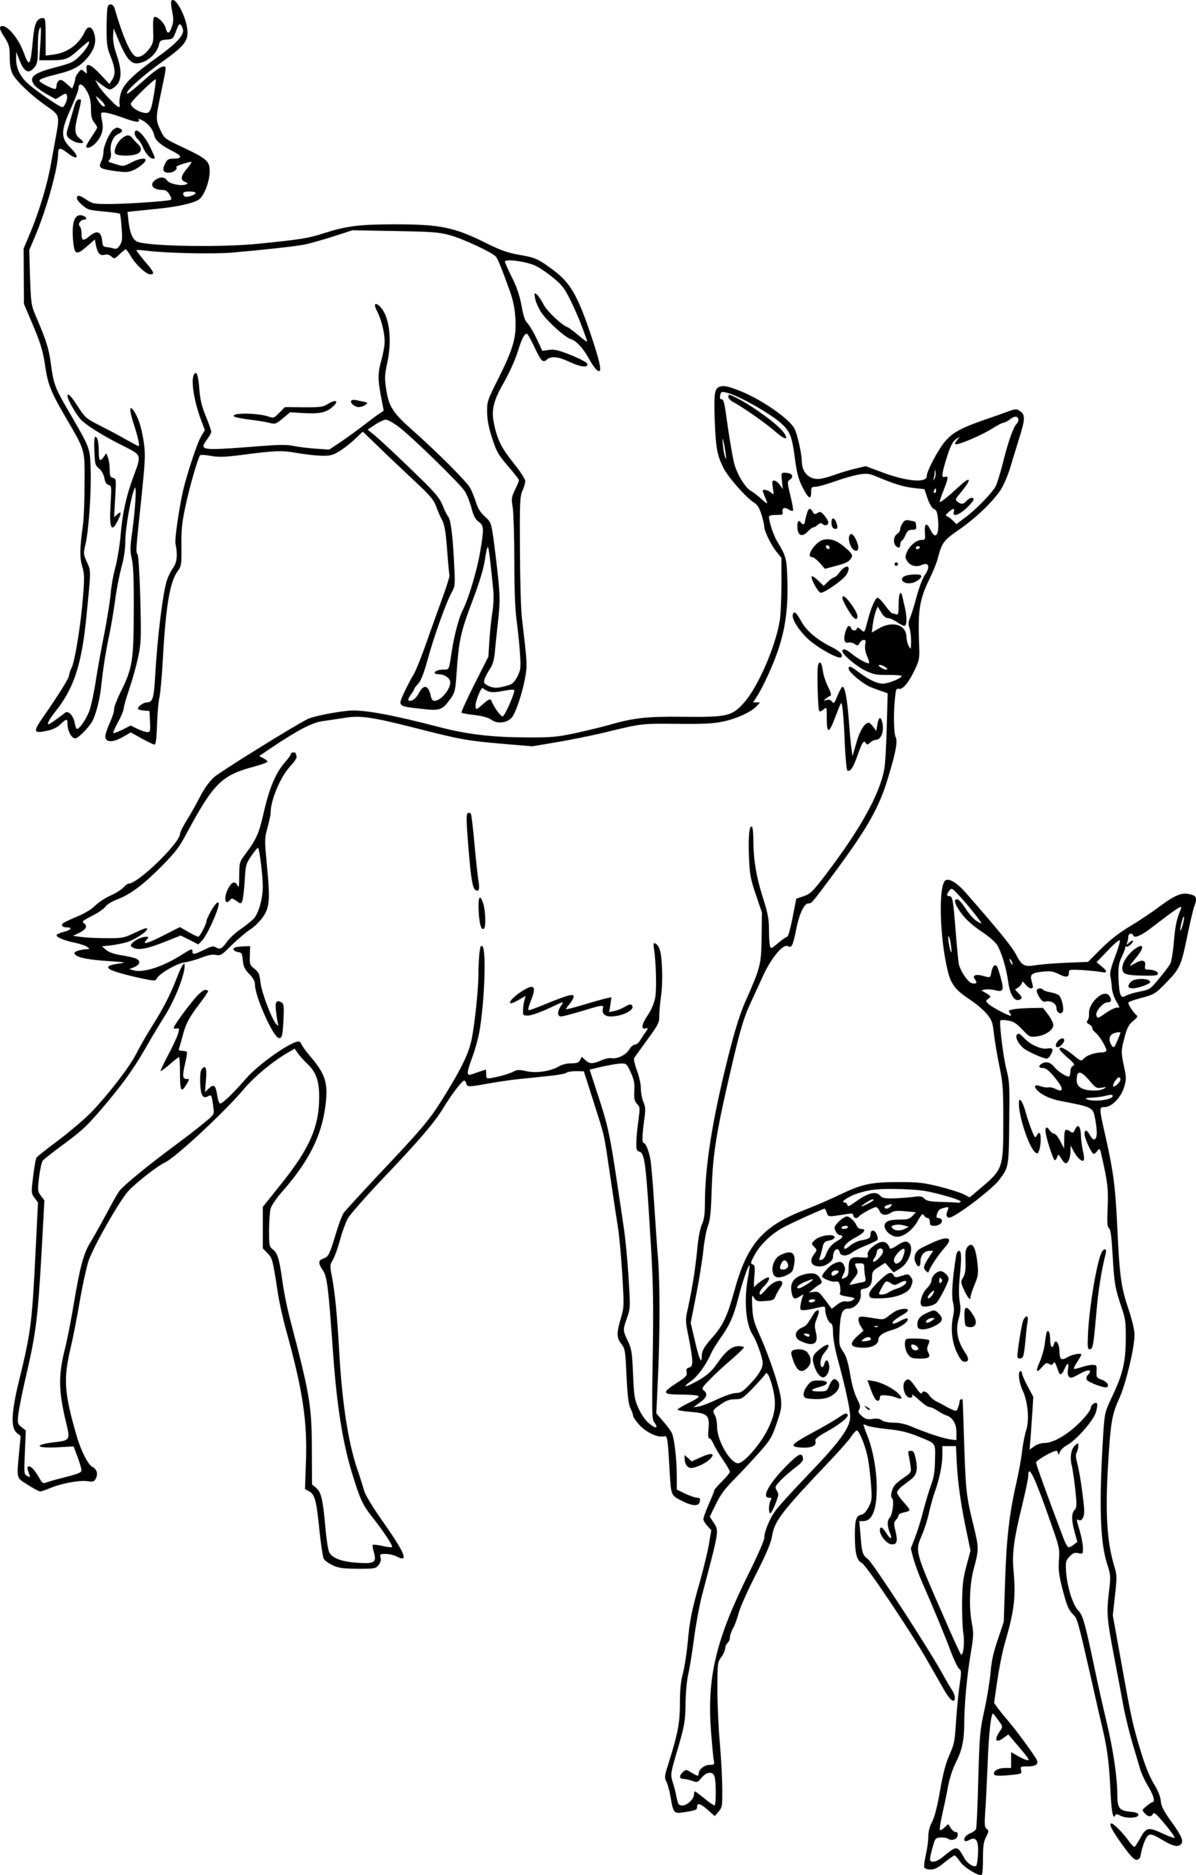
You make a deer drawing with us here; these is hoofed ruminant mammals forming the family Cervidae. The two main groups of deer are the Cervinae, the muntjac, the elk (wapiti), the red deer, and the fallow deer; and the Capreolinae, including the reindeer (caribou), white-tailed deer, the roe deer, and the moose. Deer grow and shed new antlers each year. Ages ago, long ago, Deer appear in art from Paleolithic cave paintings onwards, and they have played a role in mythology, religion, and literature throughout history, as well as in heraldry, such as red deer that appear in the coat of arms of Åland. If you want to teach your kids to love animals, you can give the instruction to them to draw the animal. Understanding the hearts of our parents, we created a how-to-draw section to help kids and adults to draw anything they like but can’t. With our education details, you can realize your drawing task easily. You can direct your child to deer coloring pages to know more about this animal because we update many of the hundred deer. You come here for free anywhere and anytime with your device connecting to the internet.
How To Draw A Deer – Let’s Get Started!

Like drawing other animals, you will realize from easy details to tricky details. We give six tasks that you must finish, equivalent to six steps you will go to. You will prepare some things such as paper, pencil, and colors before drawing. This is not a simple task, but it is not too difficult. Whether a beginner or an expert in drawing, you can finish all missions here if you follow our instructions and our illustrating image. Please concentrate your mind, passion, and time in the course of your drawing. With our instruction, you will go step by step and finish the task in each step. Once you finish your drawing mission, you can refer to deer coloring pages and choose the images to color. We update many pictures of deer or other things with many categories that you can enjoy for free. Now, let’s get started drawing a deer.
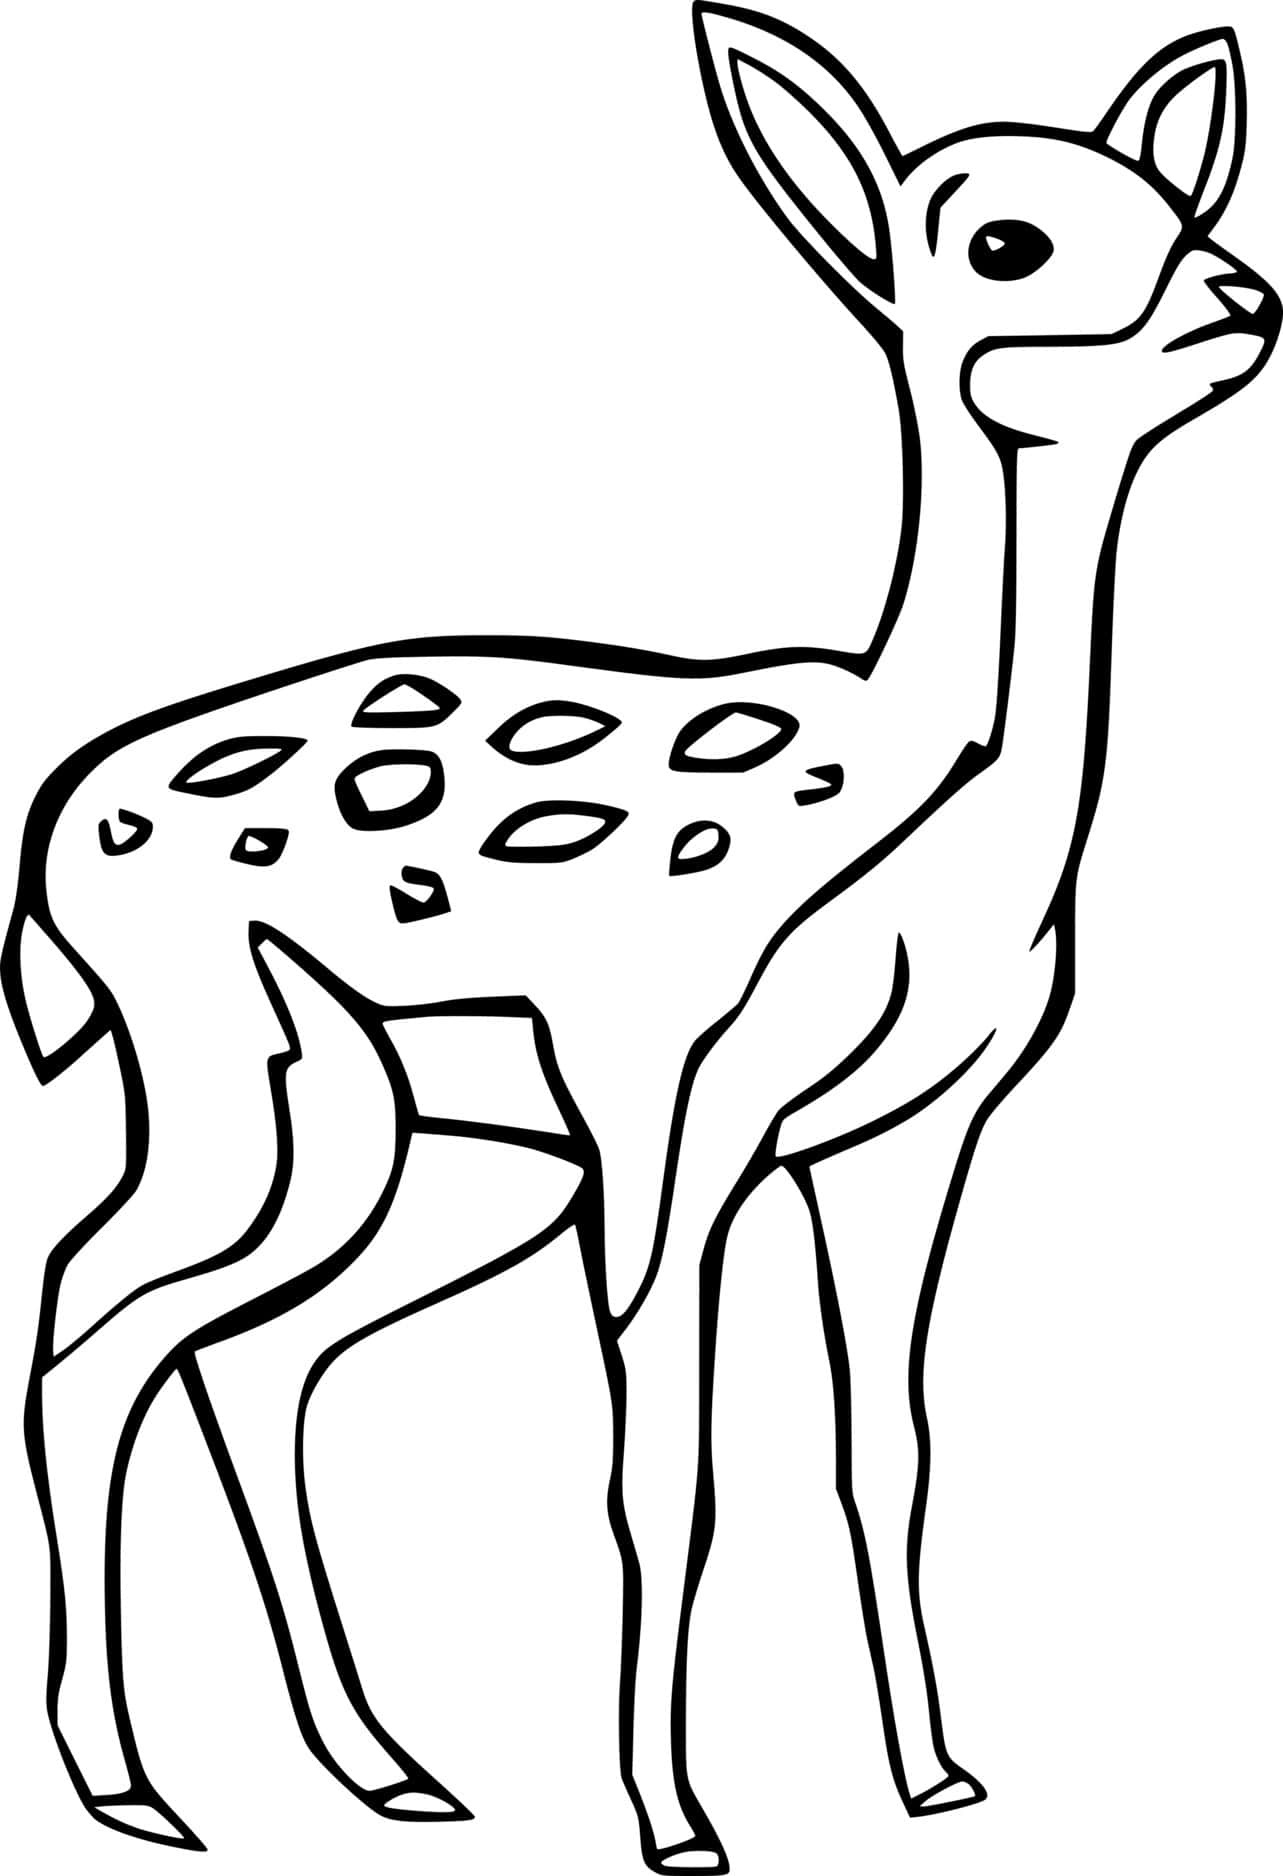
Step 1 – Draw Face And Head Outline For Deer

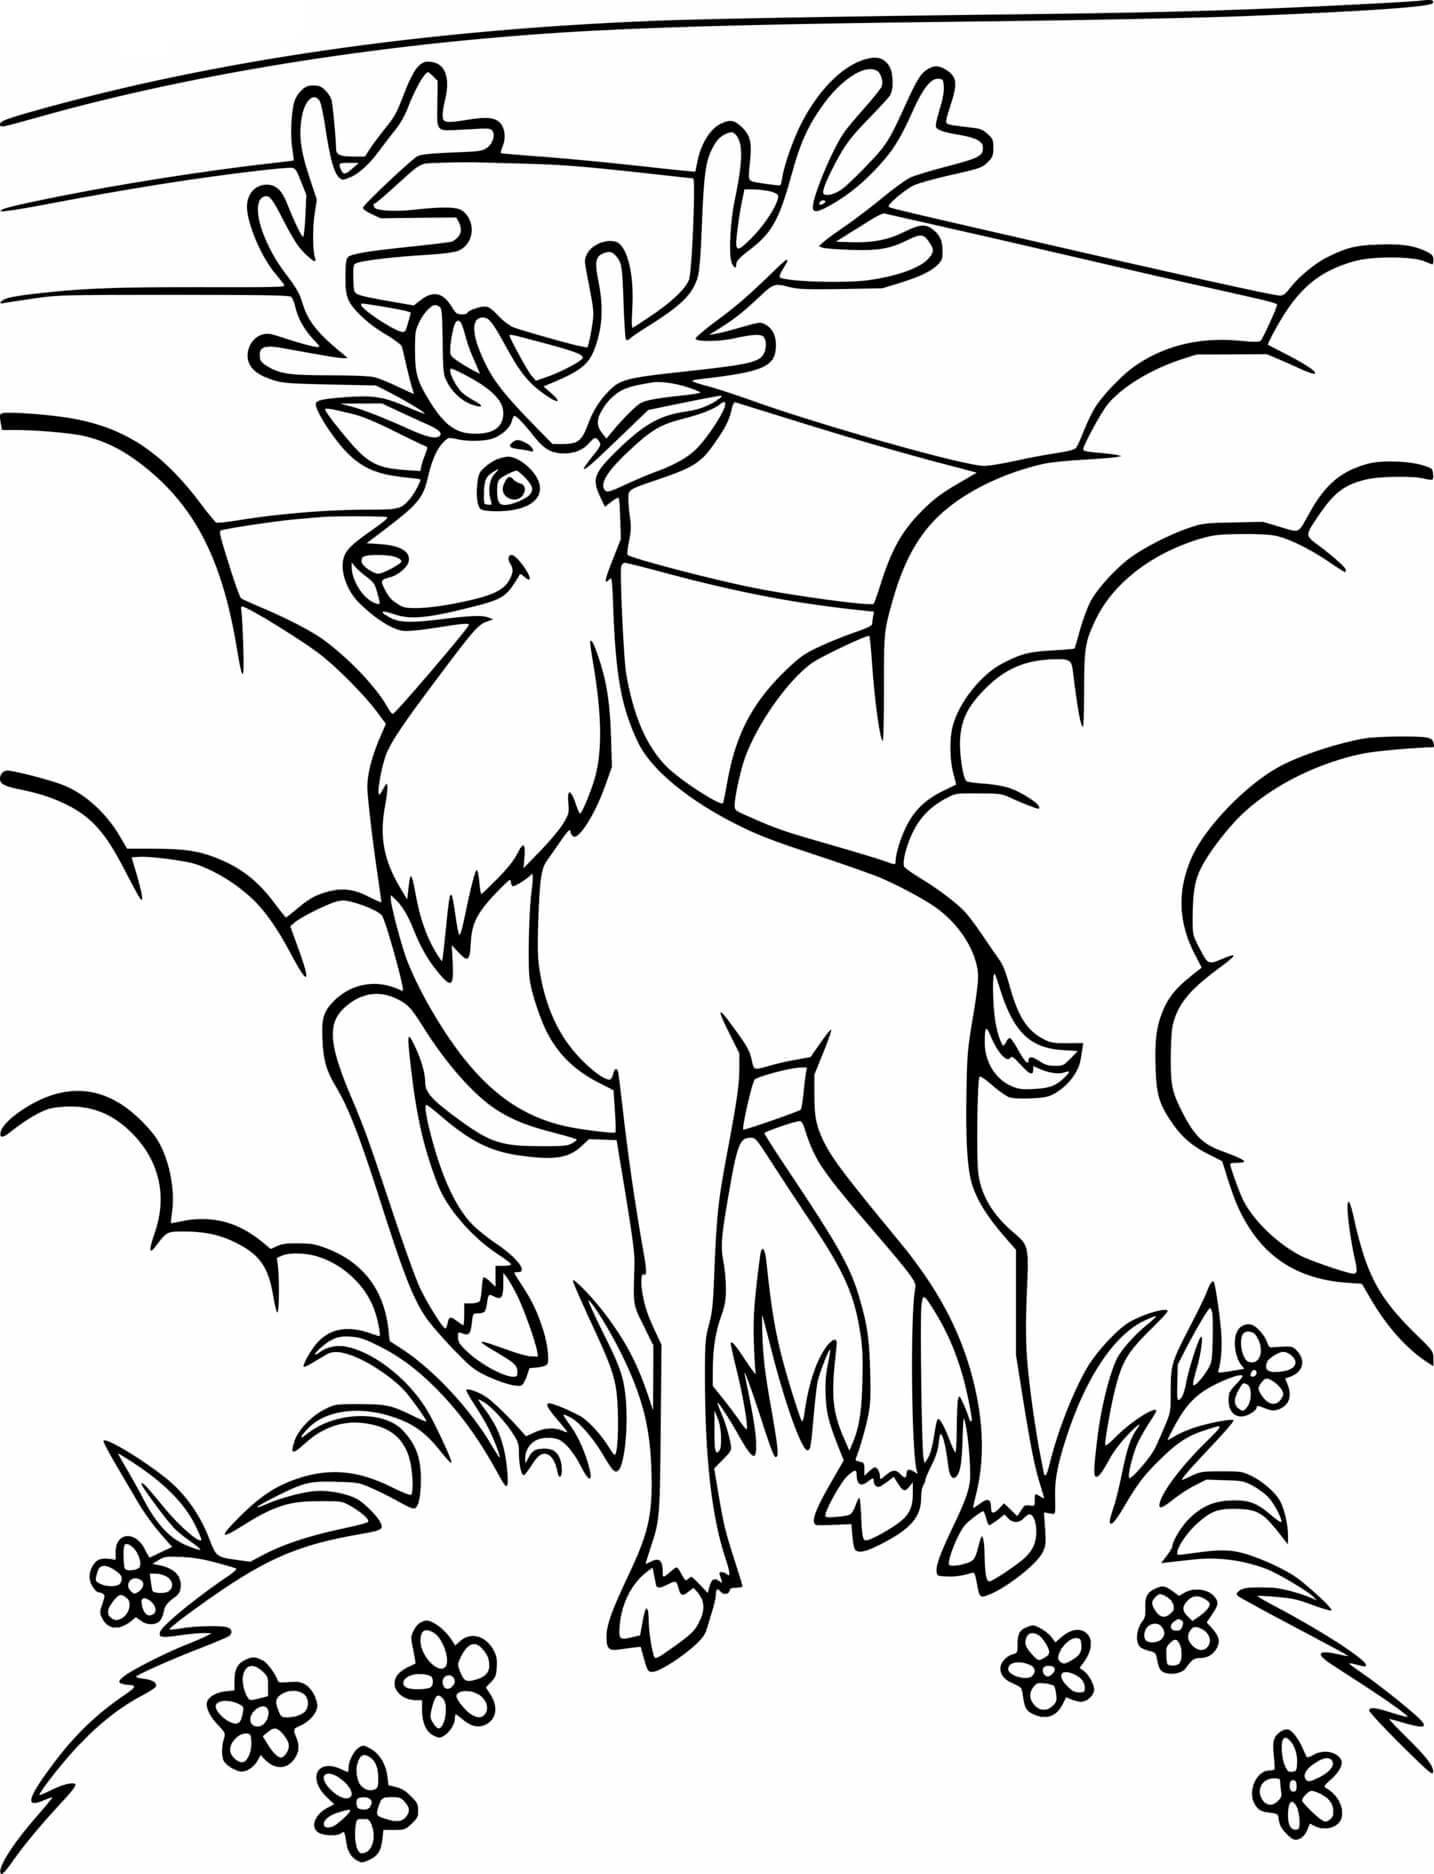
You will start to draw a deer with a face and head. On paper, you must use a pencil and draw an oval to make a face and head for the deer. In front, you will draw one more black dot for the deer’s nose. Below it, you will draw a short curve to make the deer’s snout. On the top of the head, you must draw the first antler for deer; with this detail, you will show as a tree branch. You draw a line with some small curves. Once you have these elements looking as they do in the reference image, you’re ready for step 2!
Step 2 – Draw In The Rest Of Antler, Eye, And Ear

Now we can draw in the rest of his arms. From the head, you will draw a left line and add some little curves to make the rest of the antler. Then you will draw an eye for deer. You will draw a slightly rounded shape and blackout the pupil. Under the eye, you will add a black streak showing the deer’s eyelashes. You can look at our image and follow it. You will draw the deer’s ear with a curved shape around the head, then you will draw a small body inside the ear parallel to the external ear, so you have completed the deer ear, Your work in this step is quite a lot, and you can end it here and continue drawing deer in step 3.
Step 3 – Draw In The Rest Off Ear, Neck, And A Part Of the Body

Draw the second ear on the left side of the head. Because this ear will be partially covered by the deer’s head, you need to draw a triangle representing part of the ear.
Starting at the bottom of the right ear, draw a short line down. Sharply bend the line to the right and continue straight across. Draw a curved line down from the bottom of the snout. That makes the neck a part of the body for deer. You can move to step 4 now.
Step 4 – Finish Deer’s Body

Draw the front leg where the neckline ends. The front legs are long and thin. Don’t forget the black hoof at the bottom. The other front leg will stand with the leg bent, so you will draw this leg and bend it at the knee, so you have completed the two front legs for the deer. Draw the small tail at the tip of the rump. You will draw a long line around the deer’s body. You will continue to draw the deer’s hind legs. You will use the lines to make the deer’s hind legs, and you can look at our images and follow them. You will use black to color the deer’s paws at the bottom. That’s all there is to it for this step, so when you’re happy with the look of it, we shall continue adding to this duck in the fifth step.
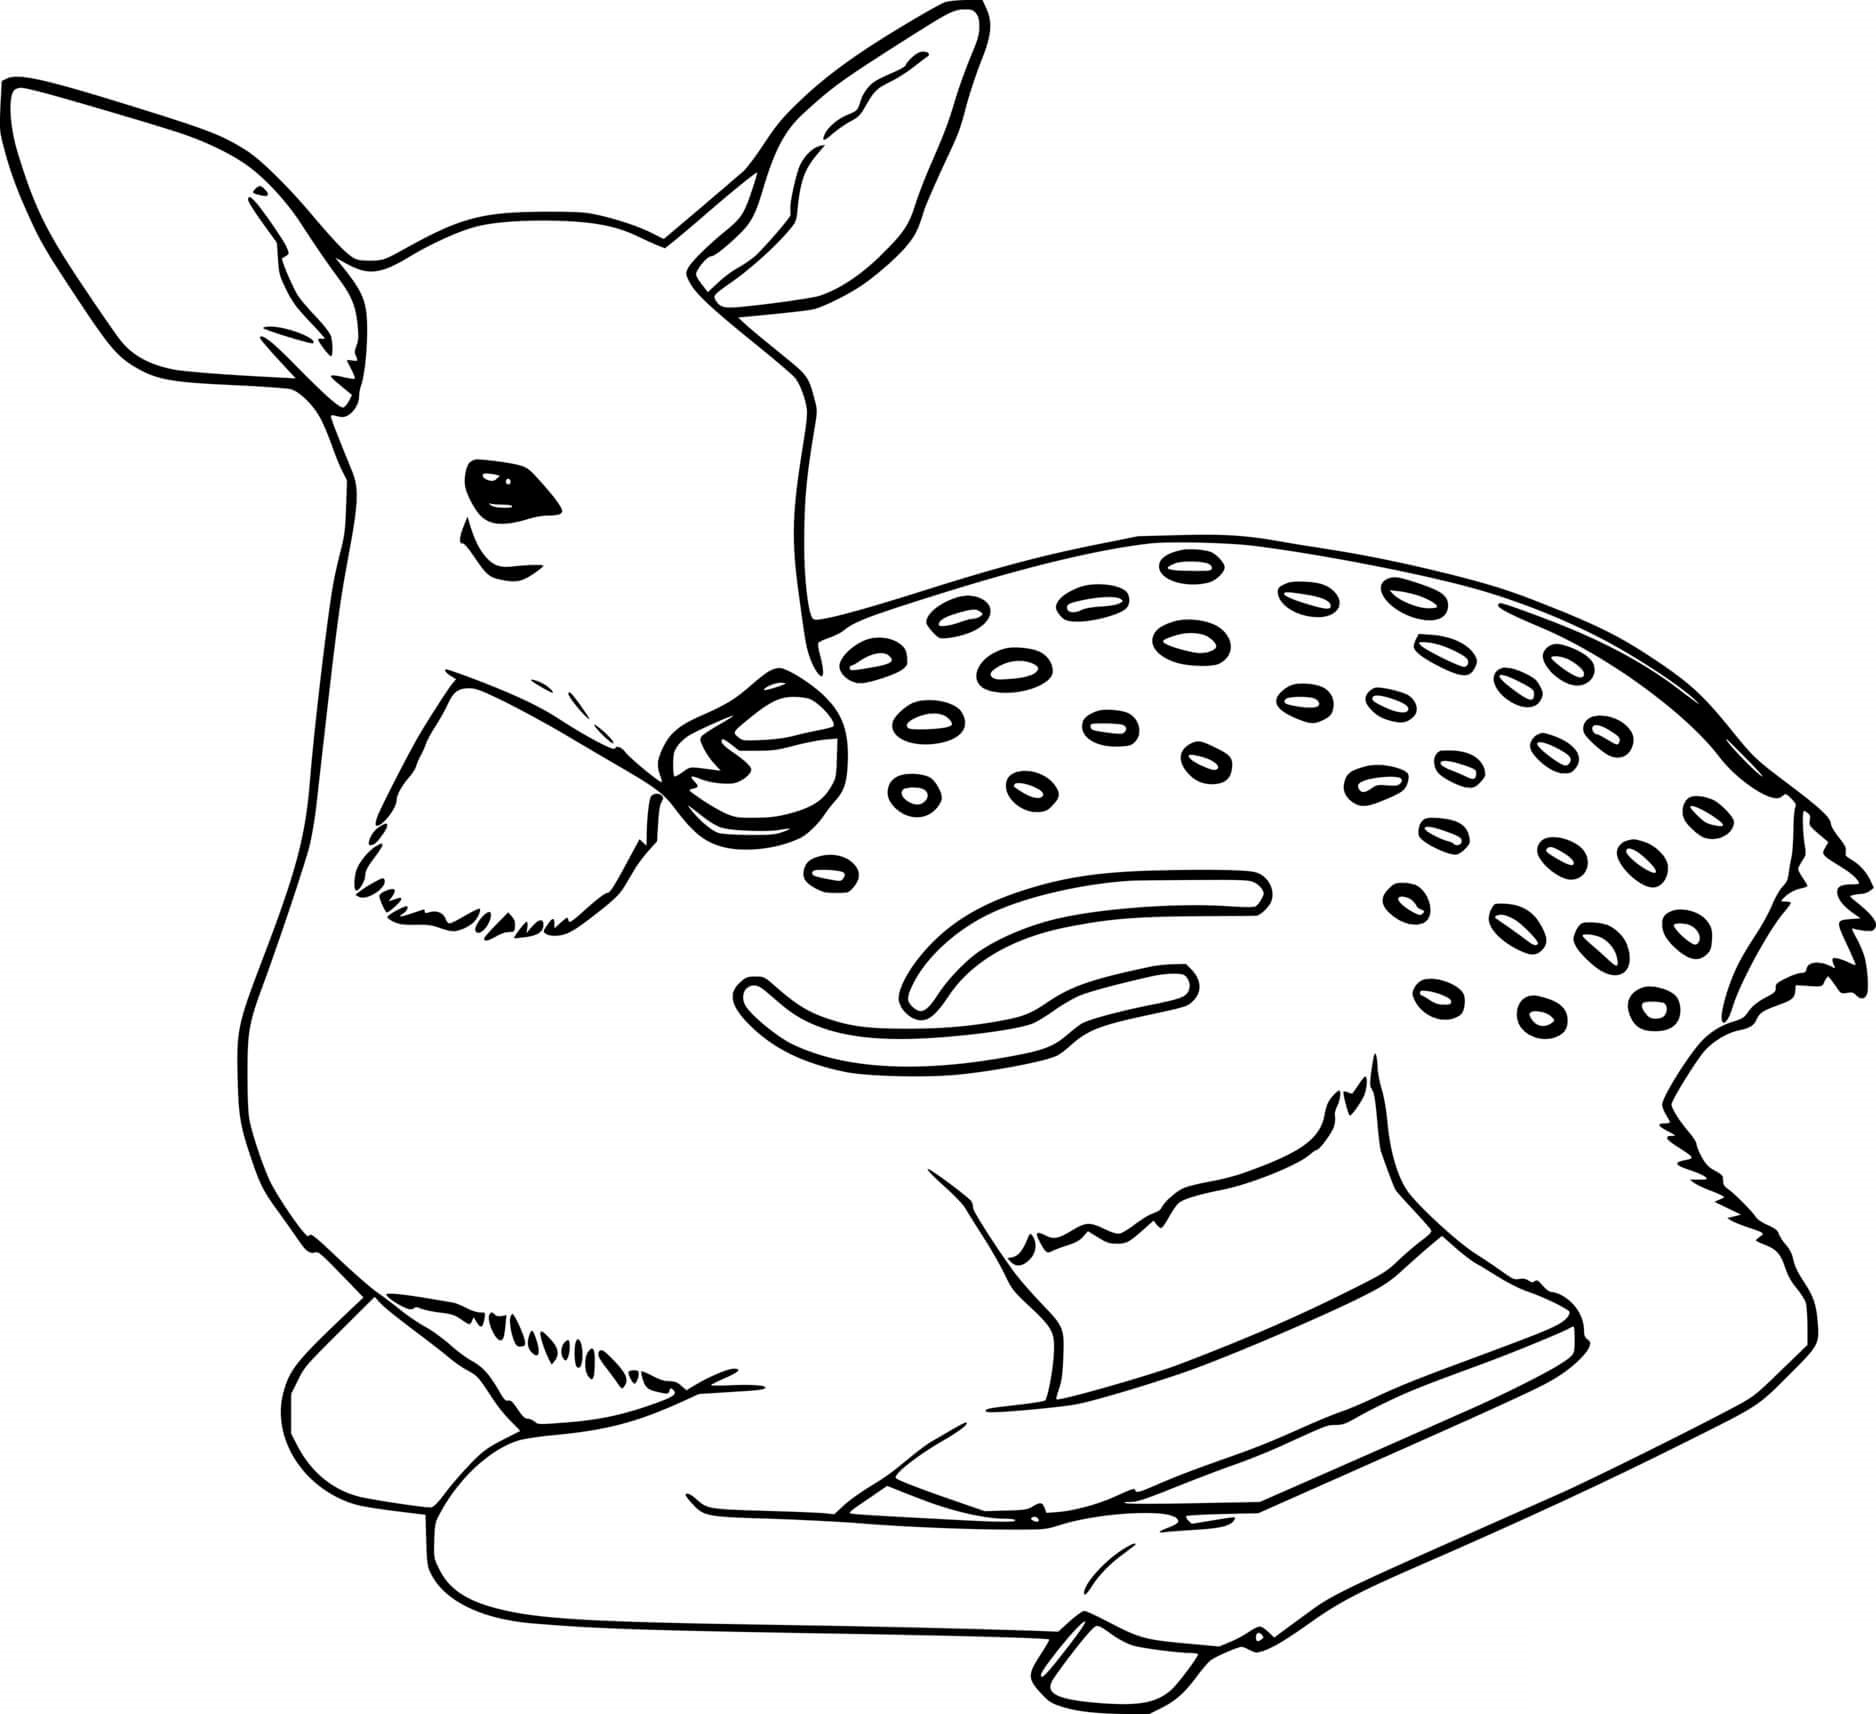
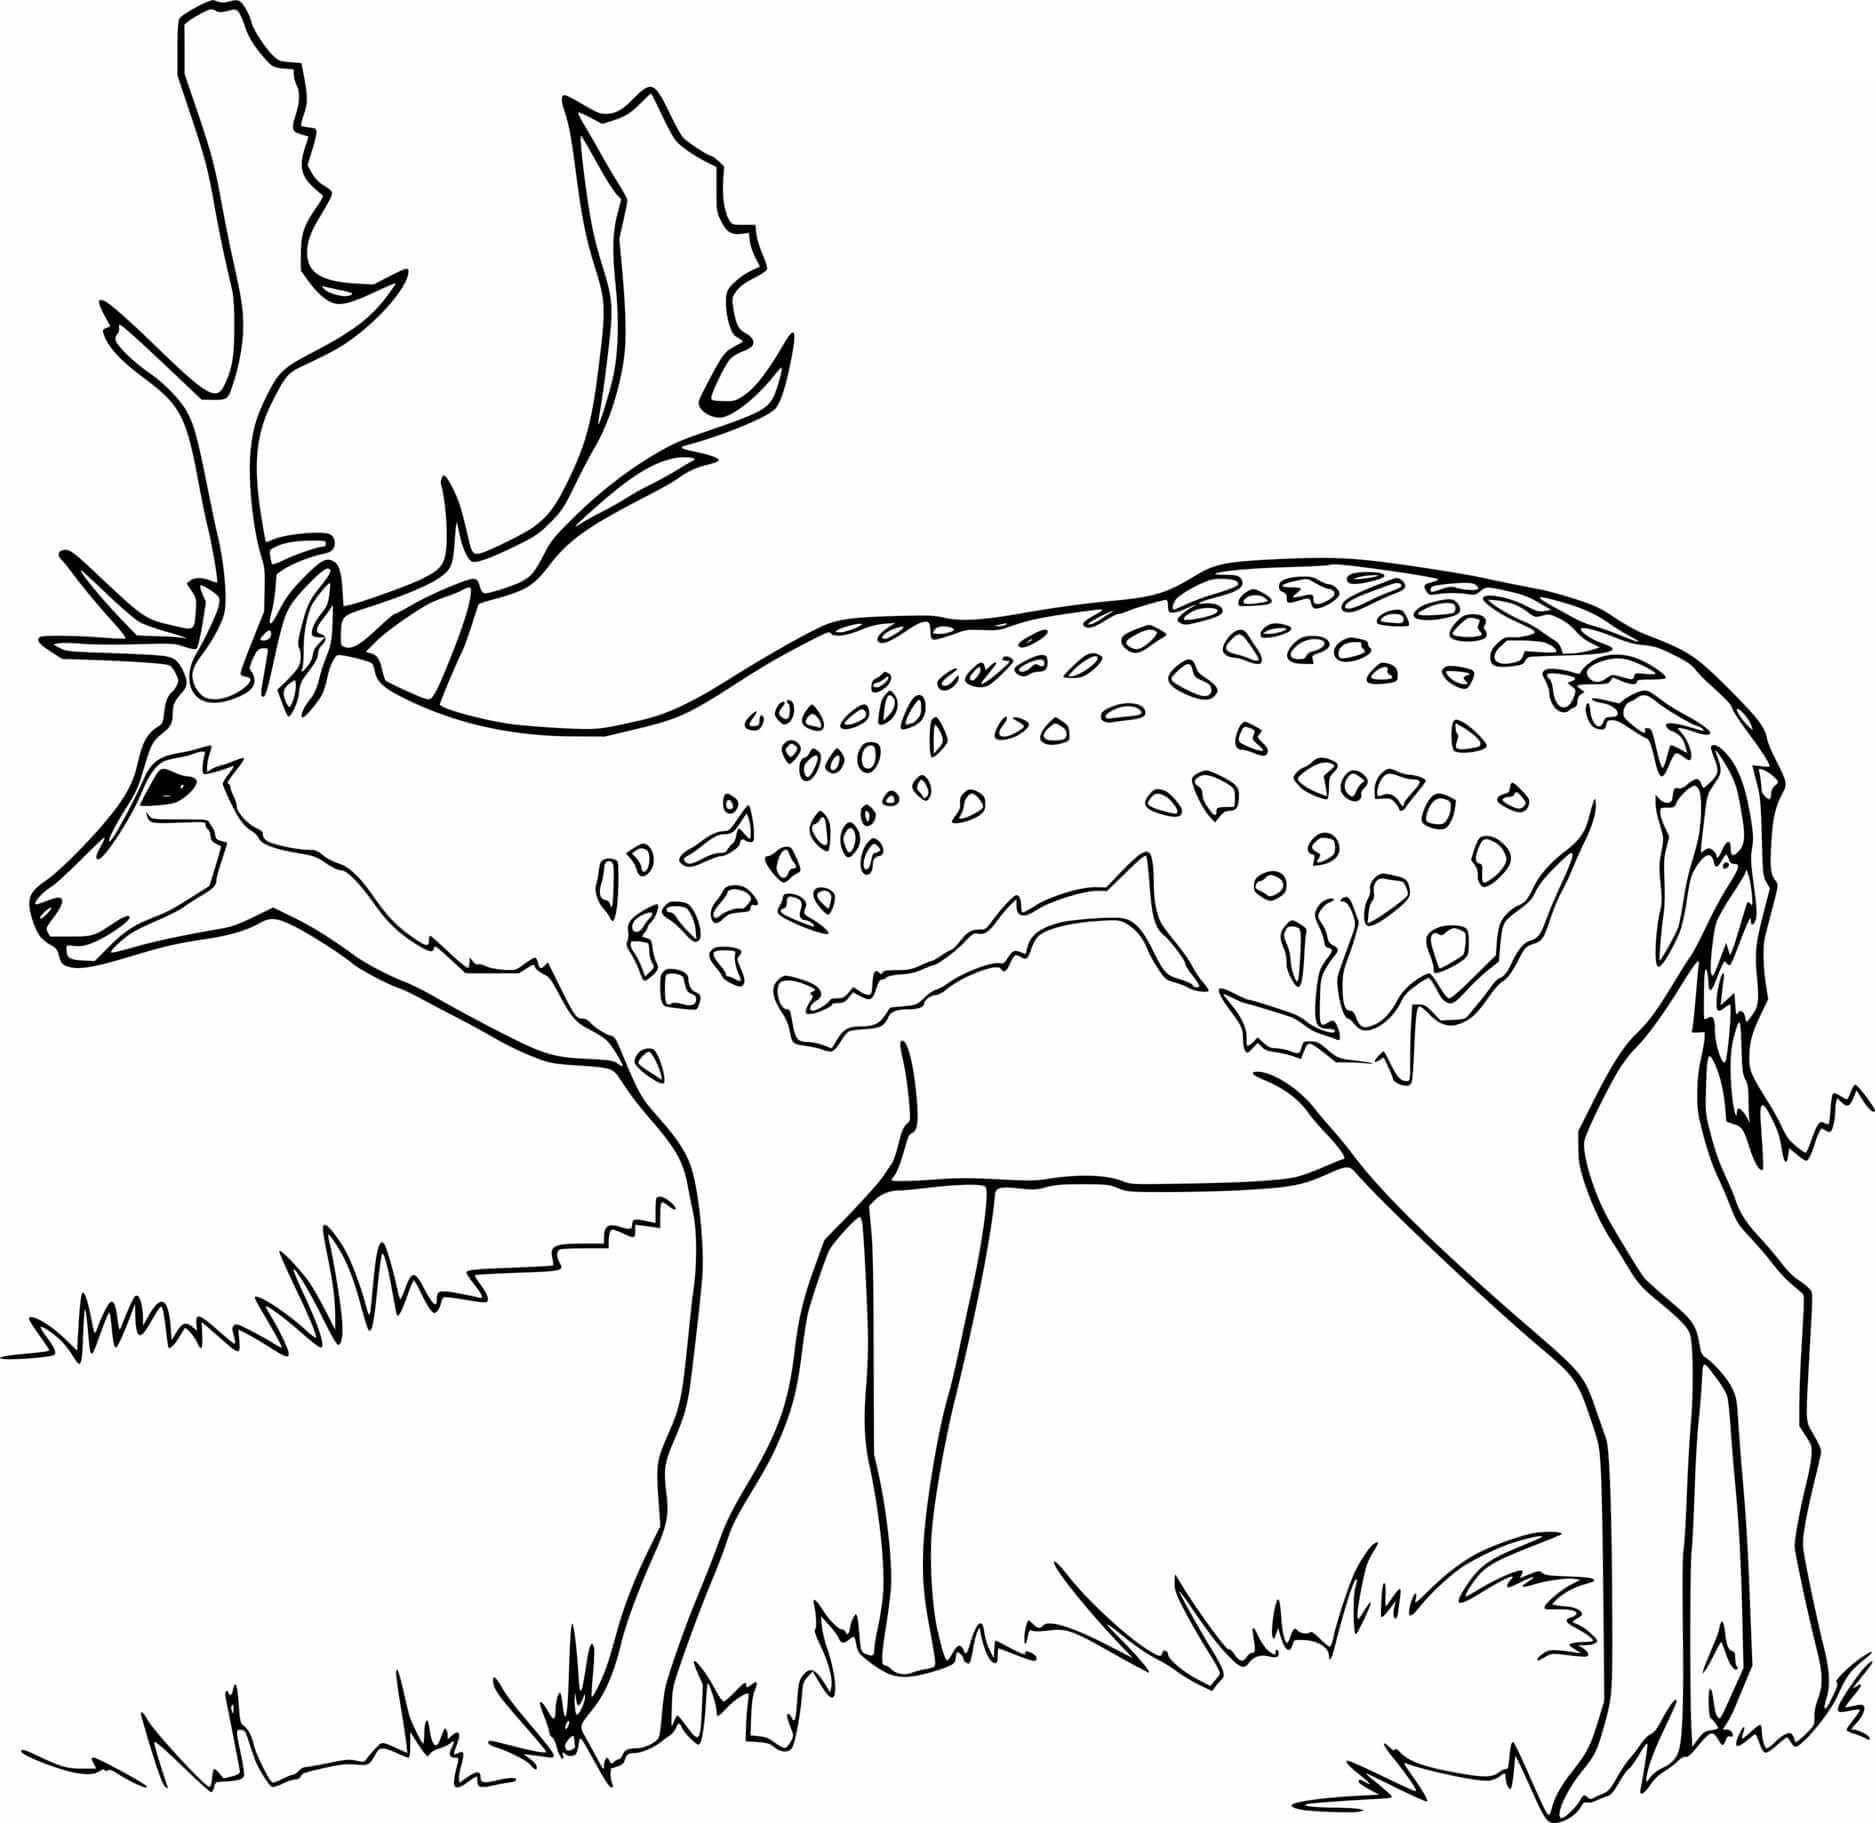
Step 5 – Add Some Decorations For Your Product

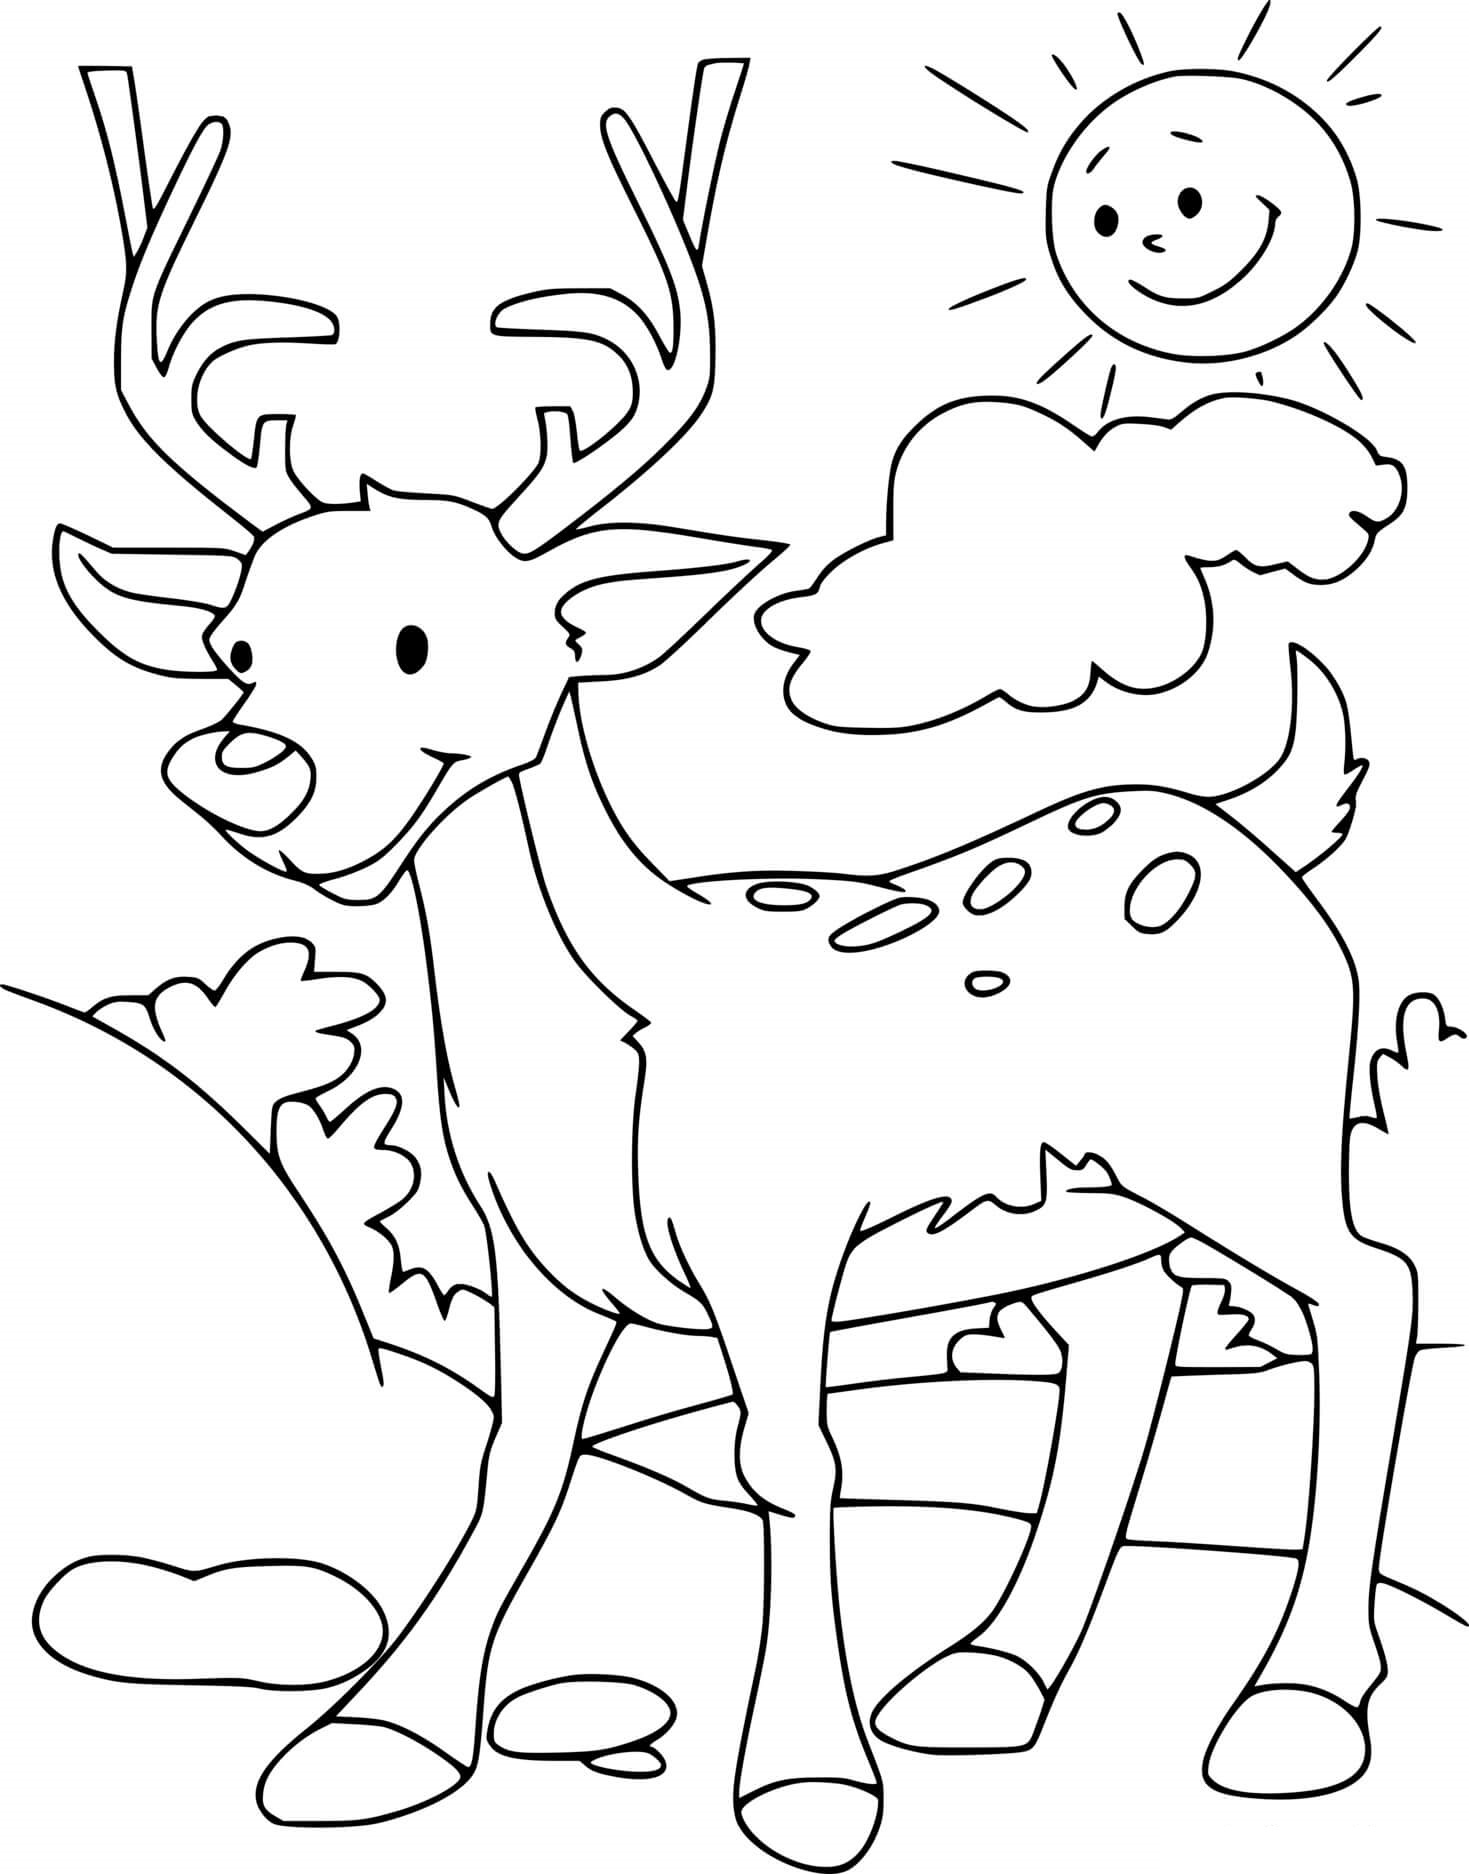
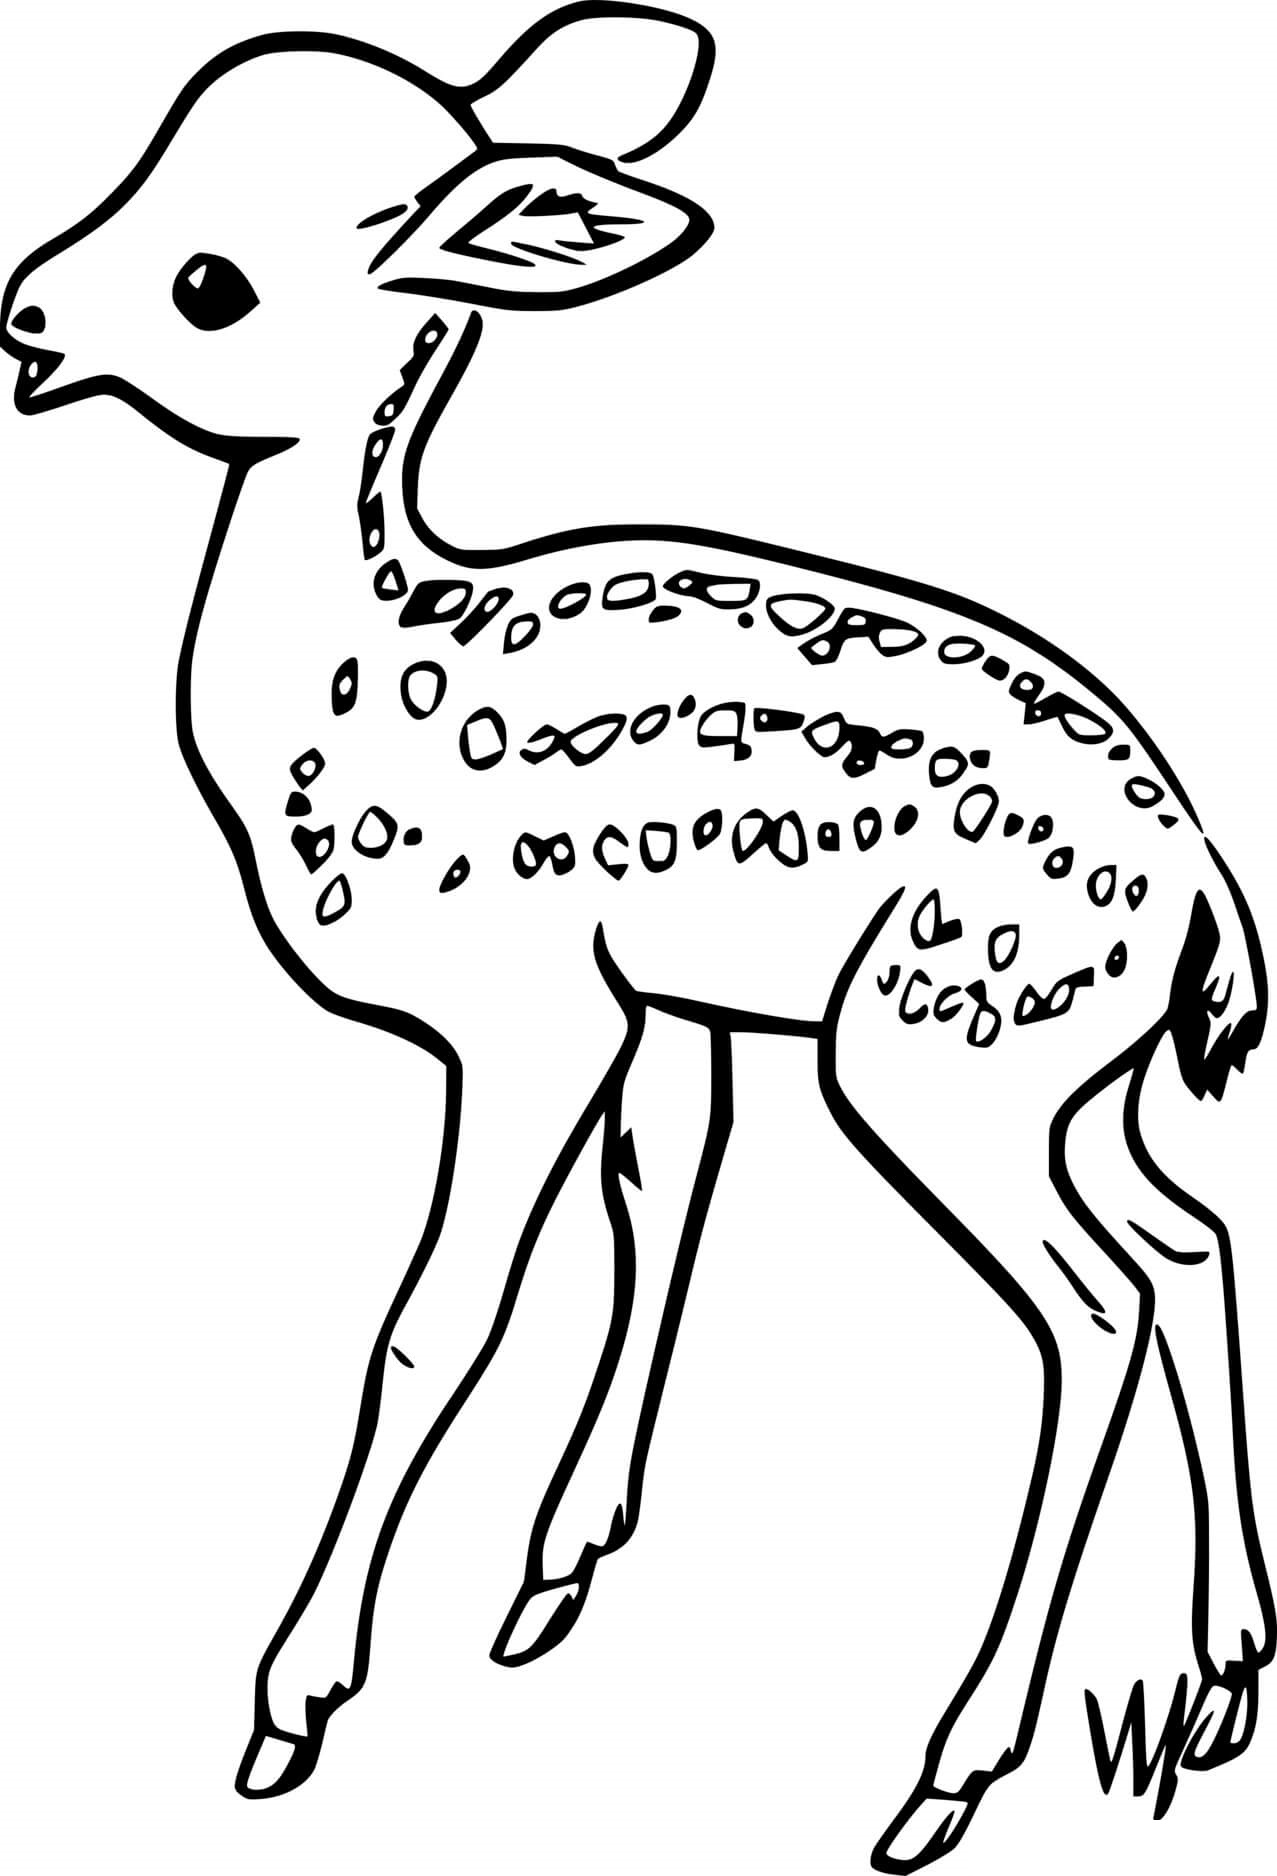
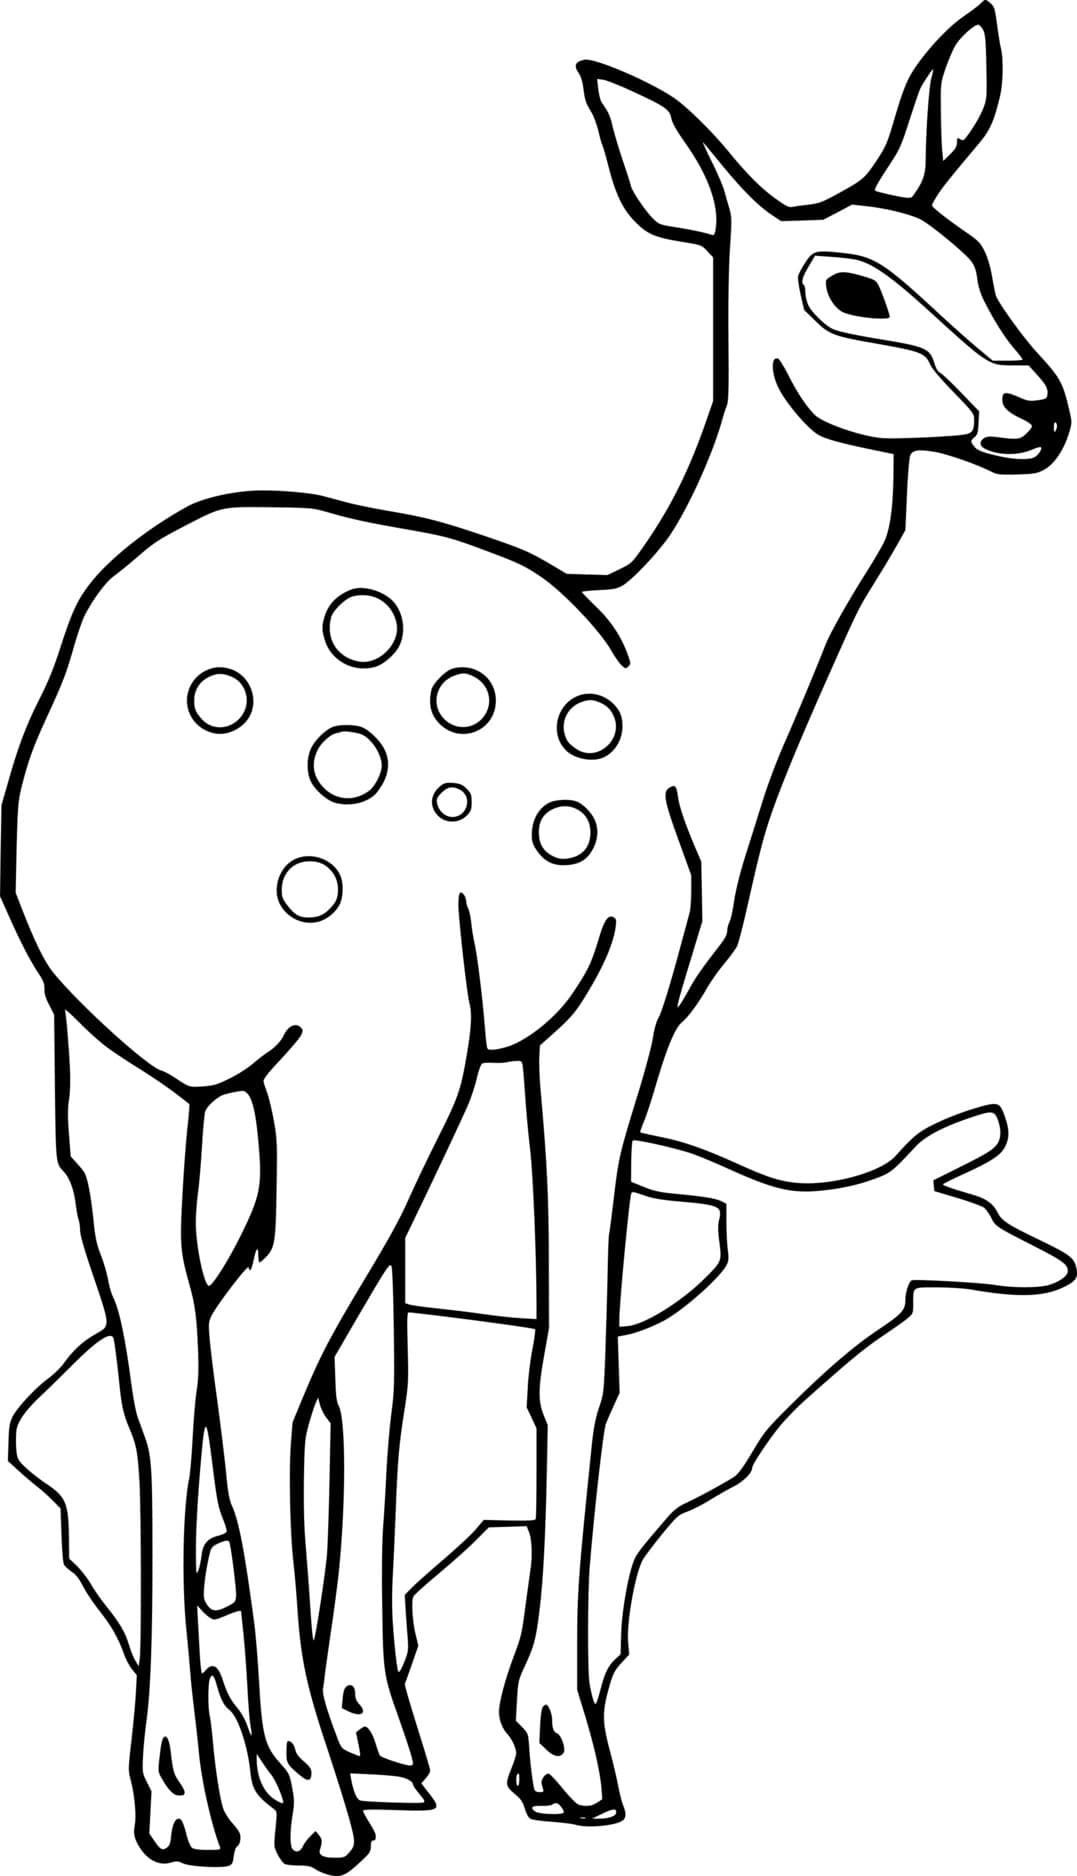
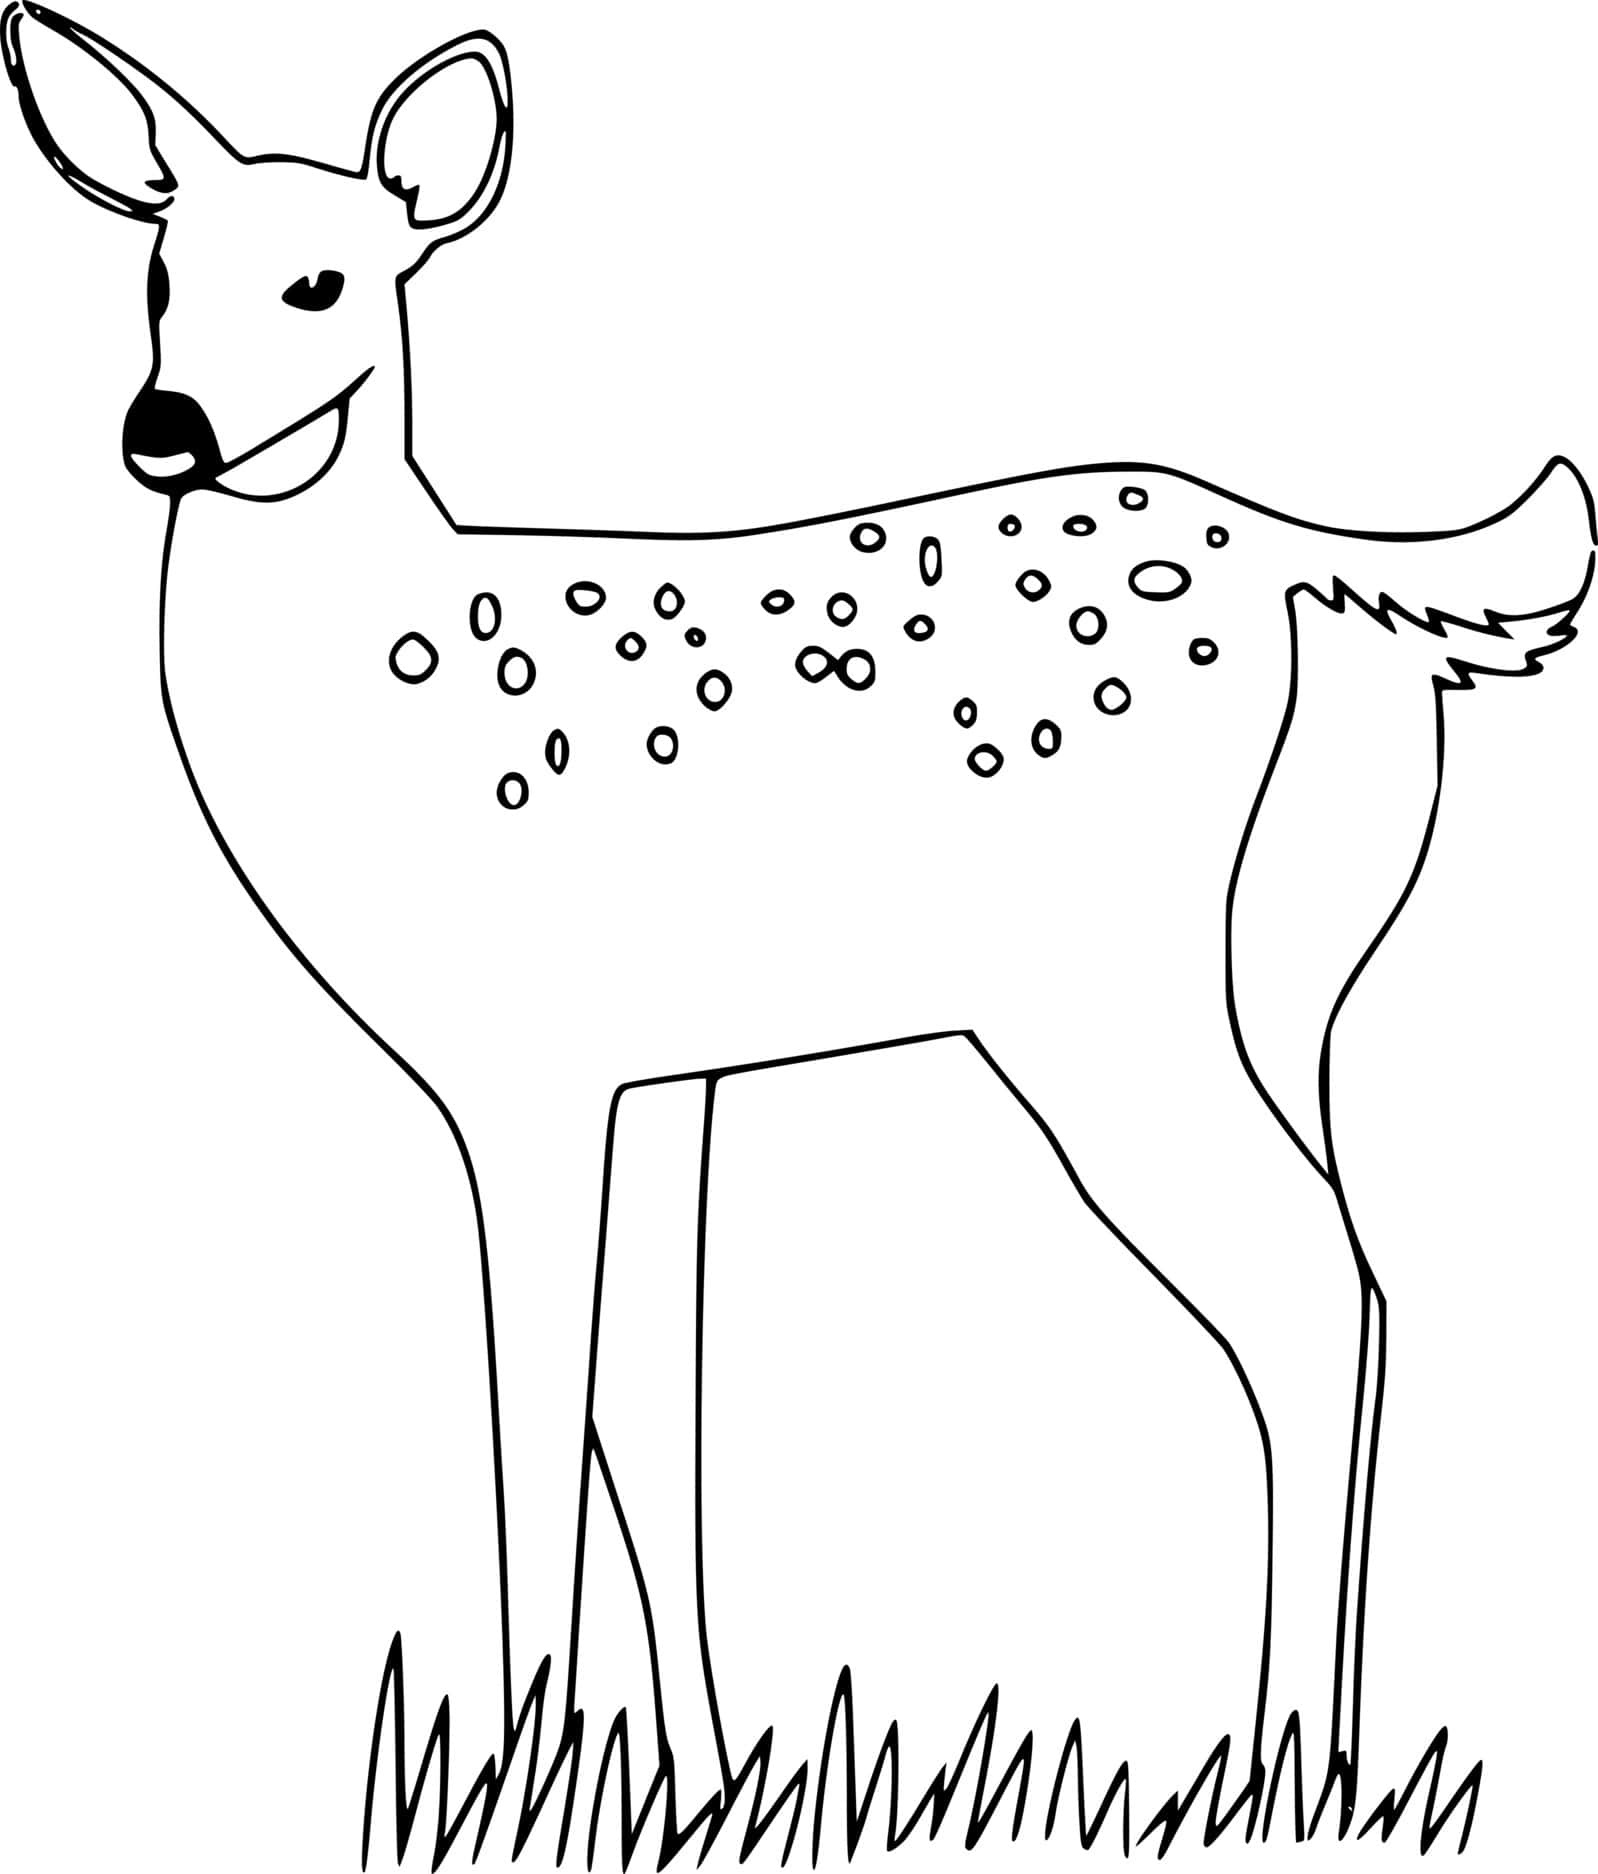
You will use some decorations in this step. On the deer’s back, you will add some different dots to make the deer more excellent. Then, you can add some branches and leaves. Below you will add a yard so your image is more beautiful and honest. Here, you finish your drawing mission and get more than the last coloring step.
Step 6 – Color Your Deer

Now, you must choose the suitable for your product. You can take your favorite colors or use the same colors with us. We use green for leaves and yard., yellow for deer, and black for paws, eyes, snout, etc. Now, you get a complete deer in drawing and coloring. We have more instructions for anything if you want to draw. If you like our tutorials, don’t forget to give us a thumb up and recommend them to your friends! You can enjoy deer coloring pages on our site to refer to colors. You can look at them and choose one and practice drawing if you like. Drawing and coloring are suitable activities for everyone. You can recommend our site to your kids. They can avoid contacting technical equipment such as smartphones, television, and tablets. I hope you get a great time here!