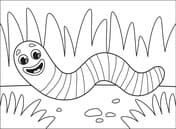
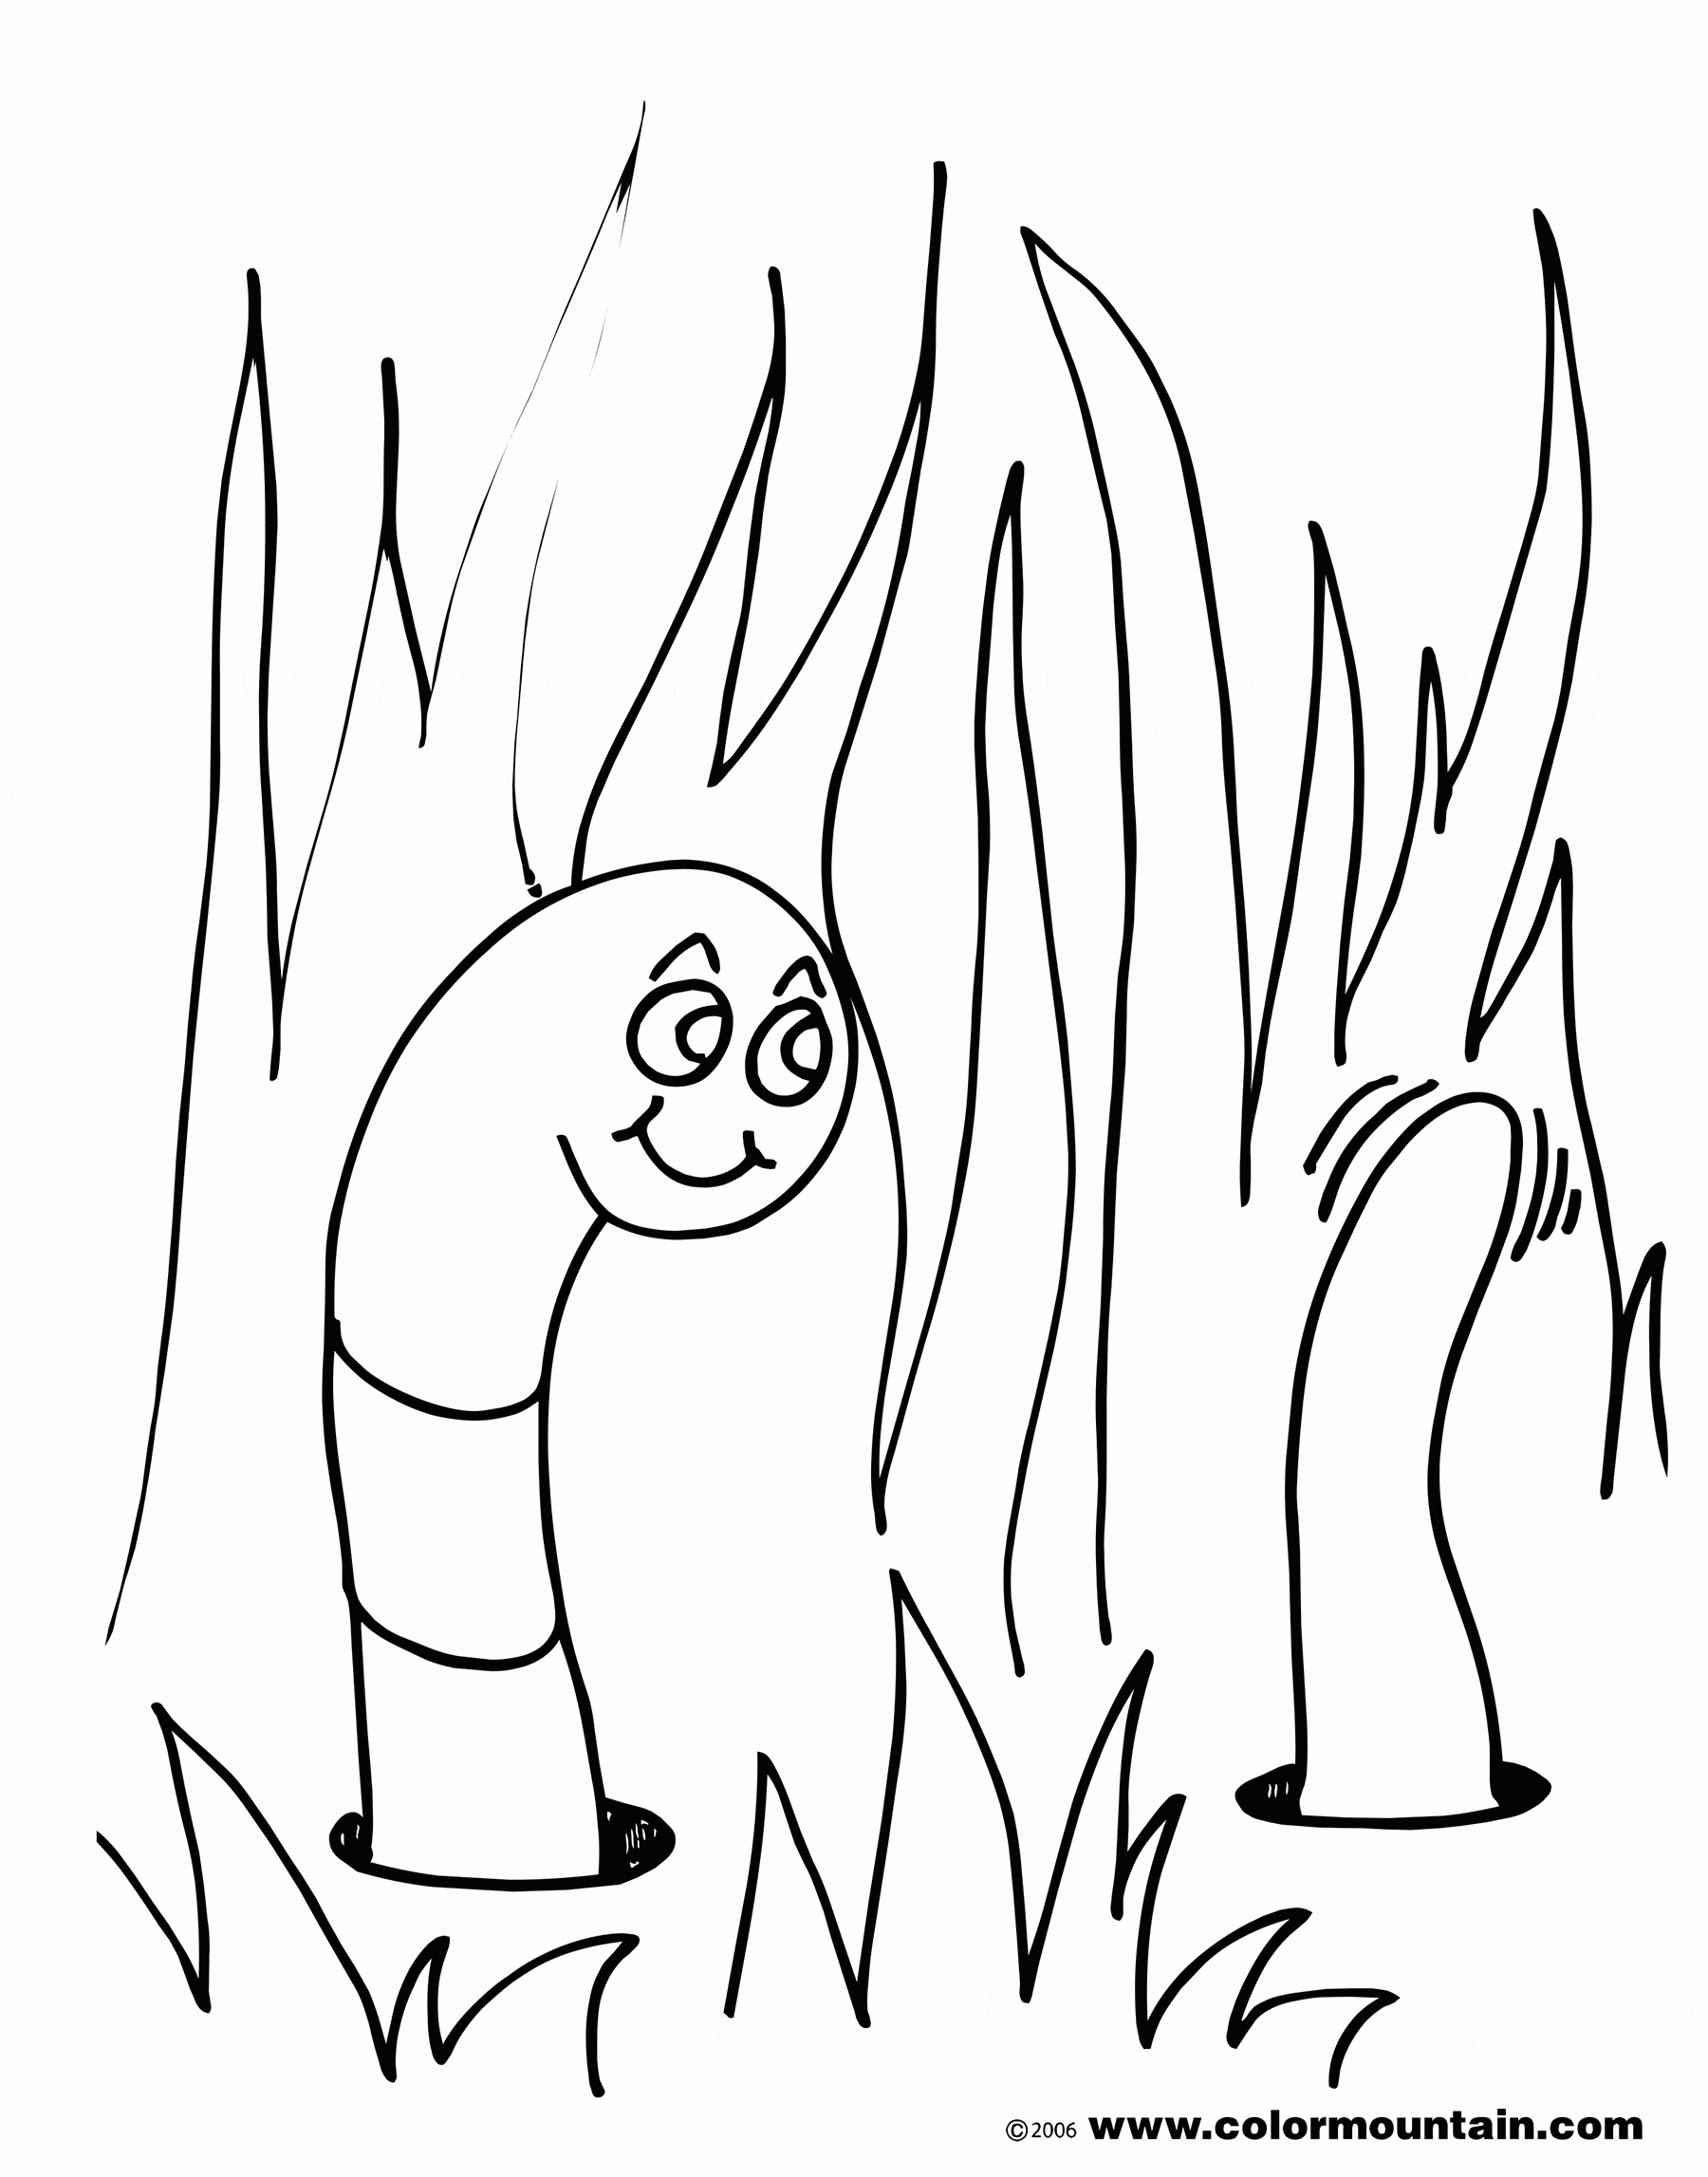
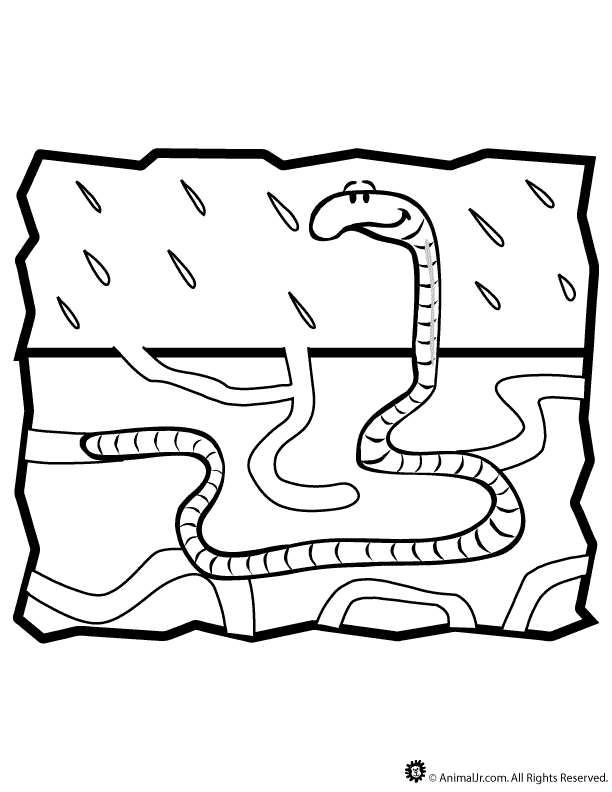
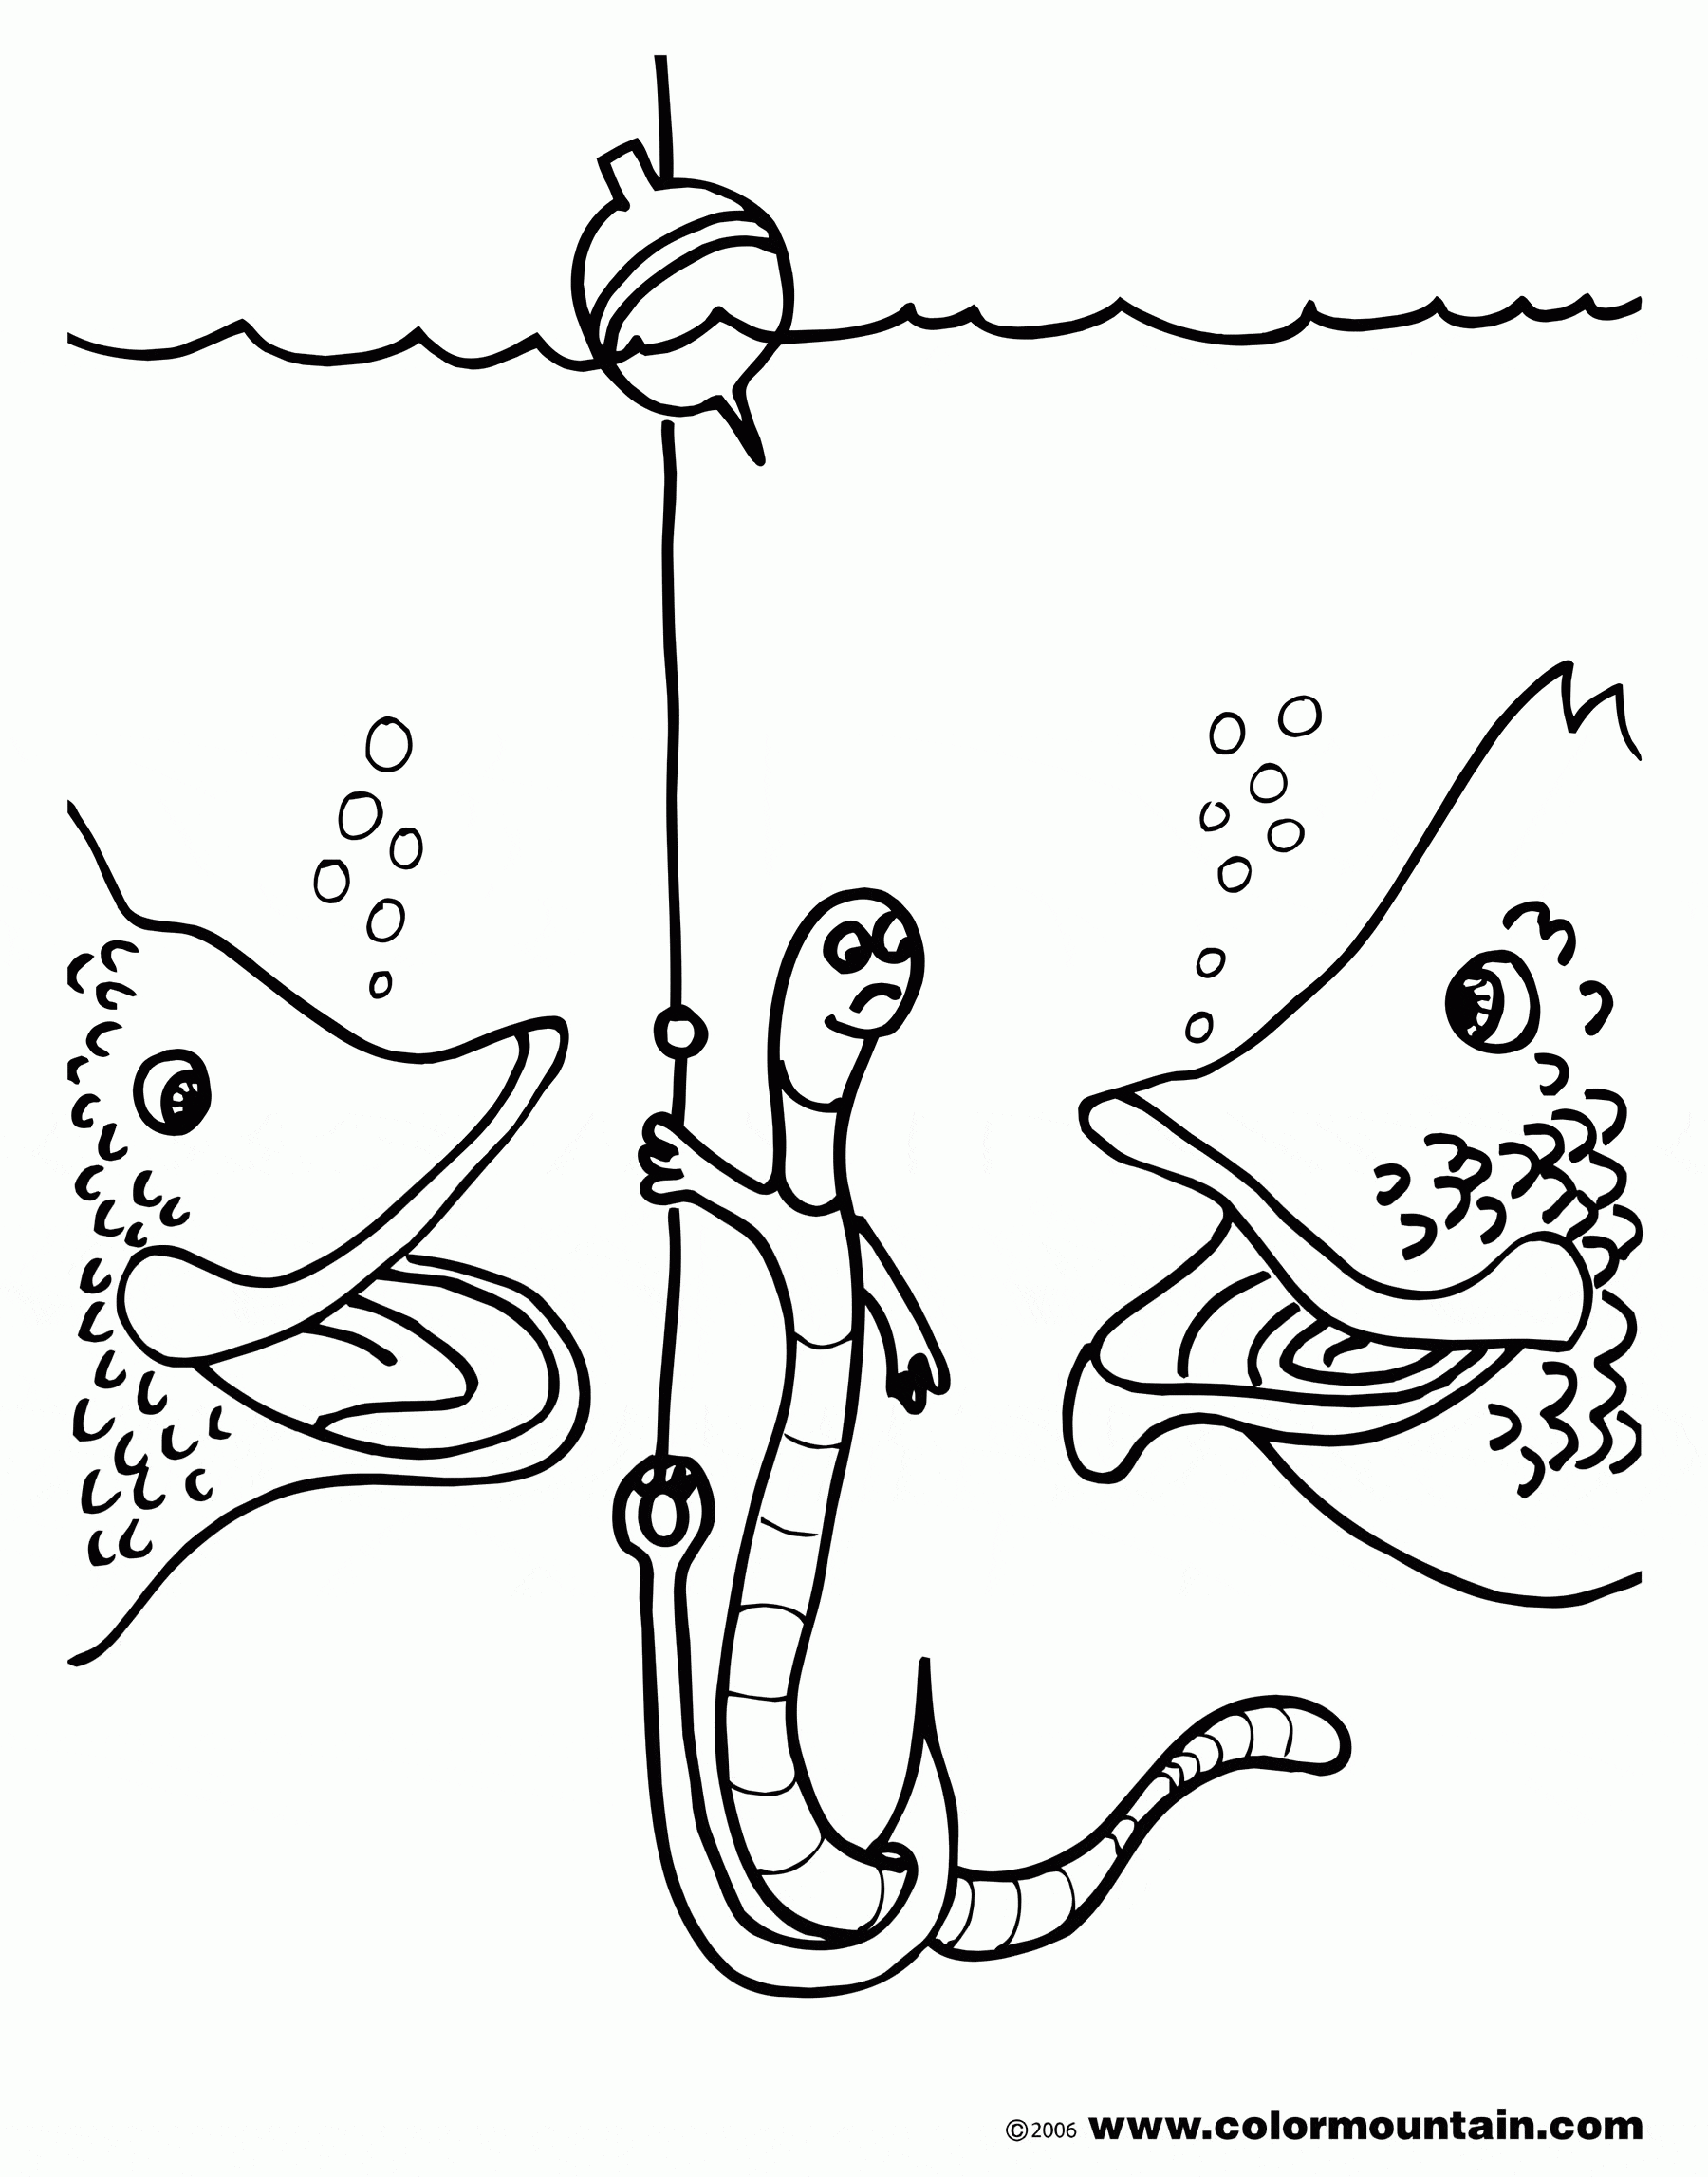
An Earthworm Drawing Is Made In 7 Easy Steps
Create A Cute Earthworm In 7 Easy Steps
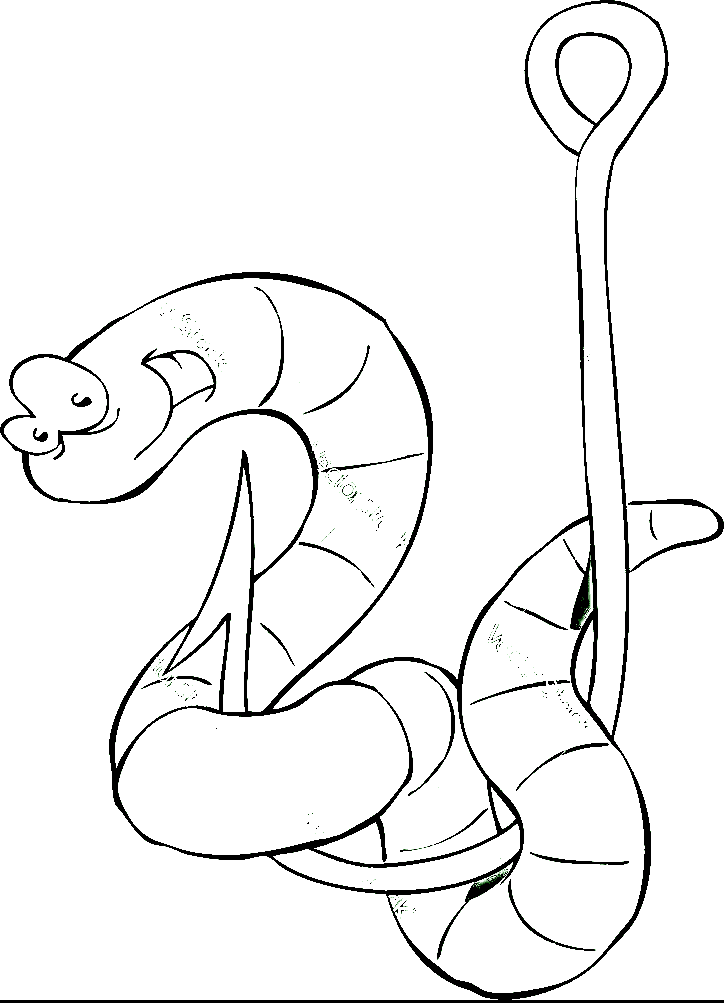
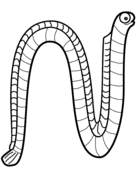
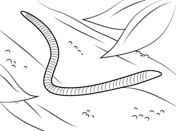
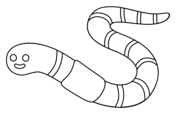
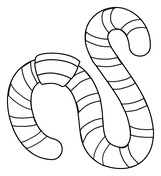
You go to step by step to create a complete Earthworm drawing. This simple tutorial will help you learn to draw an Earthworm. As you know, the Earthworm was brought over to the United States. It first lived in Europe. The animal has no spine and pushes itself through dirt to get around. Earthworms are very common. The slimy worm is red and pink. It measures about 20-25 centimeters, and it is separated into pieces. Each piece of the worm has hair so it can move through the soil. Earthworms like to eat dead things. They like deadly plants, dead animals, and something that has rotted. By learning to draw an Earthworm, you will have the opportunity to learn more about this creature. Earthworms would be an example of this, as while they may not be super impressive in scale, they’re quite interesting when you look closely. Learning how to draw an Earthworm can also be a surprisingly tricky task to take on!
How To Draw An Earthworm – Let’s Get Started!
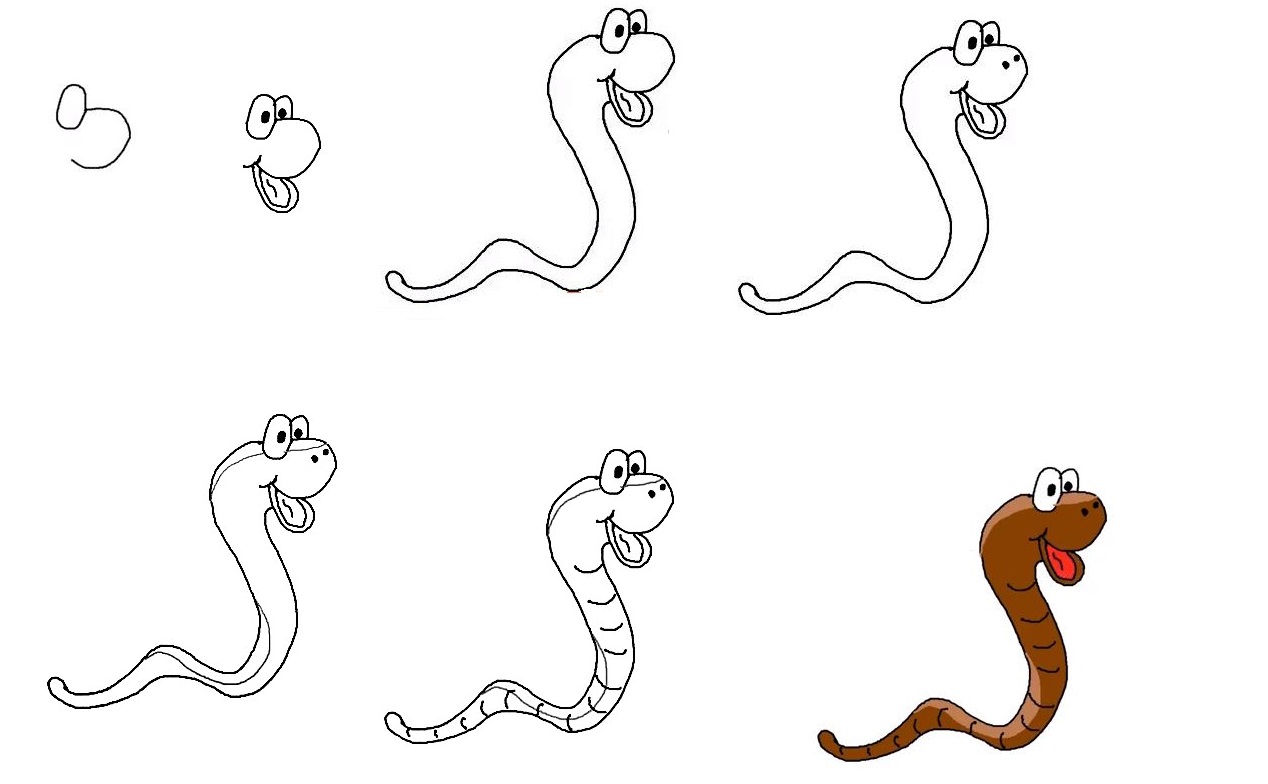
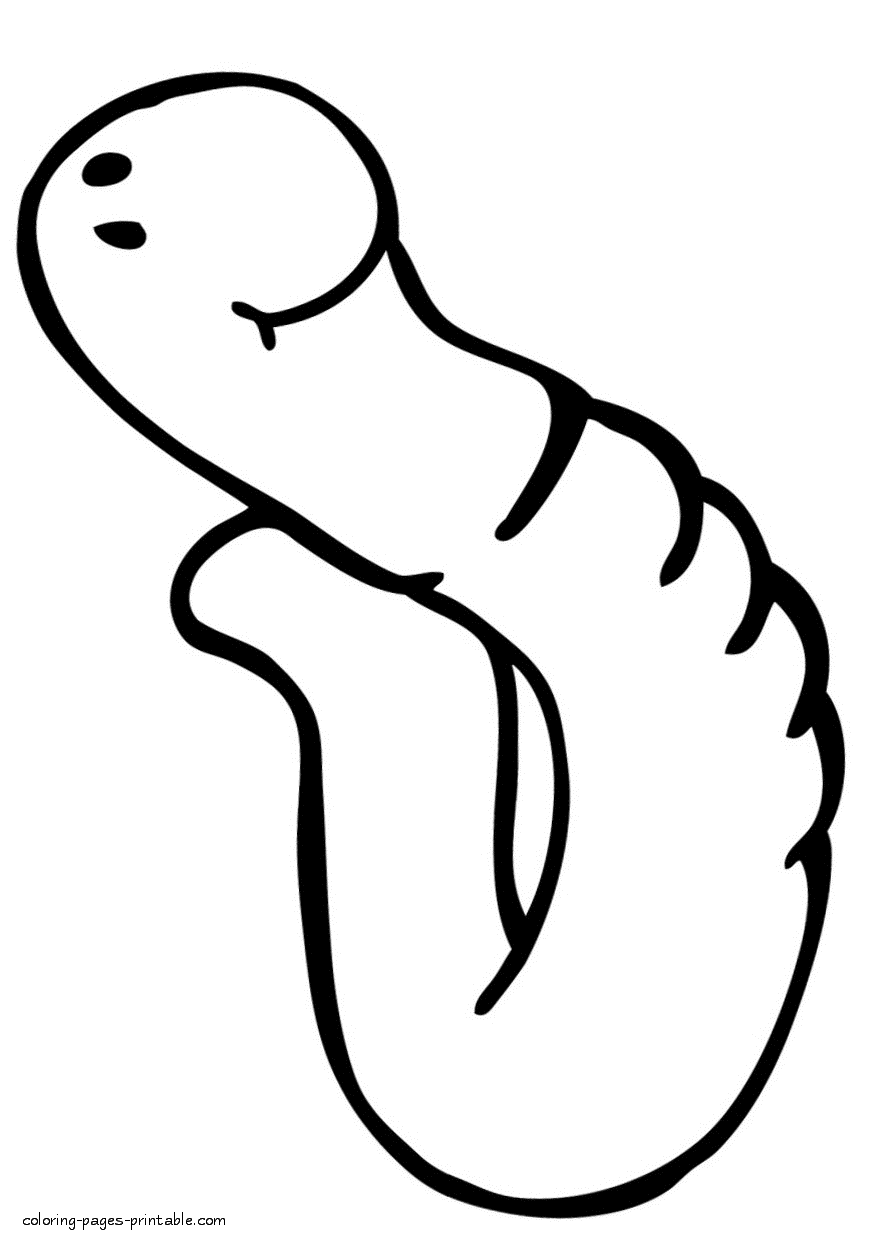
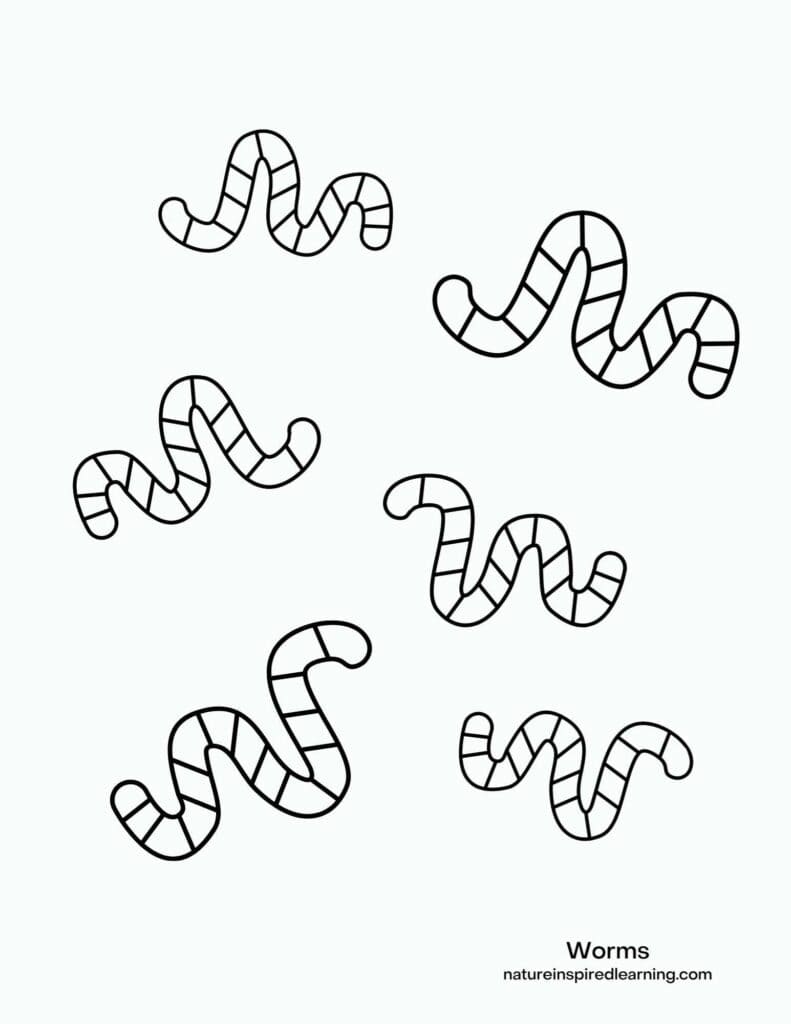
When it comes to animals, the big ones will be mentioned first with their impressive appearance, but if you take a closer look, you will see small creatures and many interesting things around them, such as Earthworms. typical example. In this tutorial, we will guide you through drawing an earthworm; this is a creature without limbs, so drawing it is also quite simple; you need patience and a positive attitude, and it will take you about 20 minutes to complete this drawing. Before you start learning to draw, you need to prepare a few things like paper, a pencil, a pen, colors, and an eraser. You can also take advantage of the things available at home, so you don’t have to pay for this Earthworm drawing. We will draw the earthworm from easy to difficult; first, you will draw the blurred lines with a pencil, then you will erase the wrong lines and highlight the correct lines, and finally, choose the suitable colors for your Earthworm drawing. Along with this guide, you can find Earthworm coloring pages to practice your drawing and coloring skill. Now you will know in detail, step by step, how to draw an Earthworm!
Step 1 – Draw Earthworm Head And Eye Outline

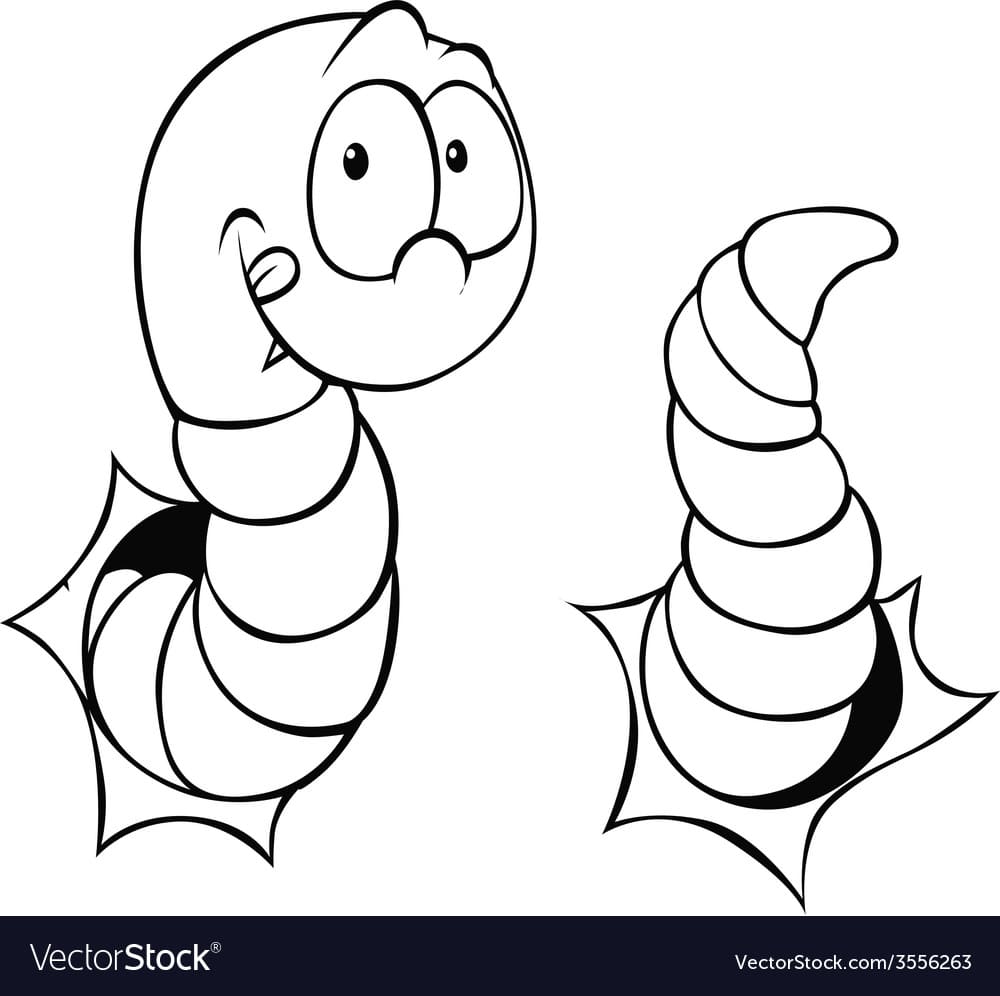
To start the task in this guide on drawing an Earthworm, you must show ít head and eye outline. As seen in our reference image, you use the curved line to remove the head outline.
It is straightforward for the first tasks of your Earthworm drawing. On the center of the paper, you draw an incomplete circle for the head of the earthworm and a small oval for its first eye. Now, you can move to step 2.
Step 2 – Draw Eyes And Mouth For Earthworm

Now you will draw a smaller oval to form the second eye for the depth of the earth; in the direction of view, the second eye will be a little smaller in size than the first then you draw a black dot inside each oval to create the looks for Earthworm, as you see in our reference image.
Now, it is time to build the mouth of your Earthworm drawing, and you will draw a long curve line representing its mouth and a shorter curve representing the tongue of the Earthworm. If you are happy with your image, you can do the third step.
Step 3 – Draw Earthworm Body

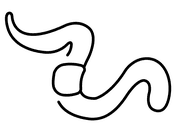
Your task in this third step on how to draw an Earthworm is to draw its body. You will draw the two curves from the head. The lines are tangent to each other at a point that is rounded at the end.
Like drawing a snake, the body of an earthworm will be long and zigzag, so you will use two real curves, and they are almost parallel to show its body. Once the task of your Earthworm drawing is finished, you come to the next step now.
Step 4 – Draw Earthworm Nose
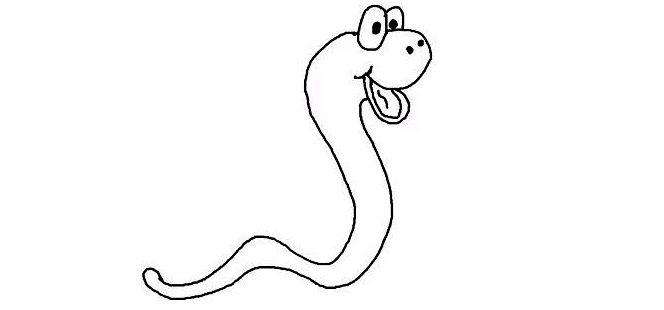
Very simple task for you in this step on how to draw an Earthworm; you draw its nose with two black dots. You use a pencil to draw 2 equal dots on the upper jaw of the earthworm, then color them in black as you see in our reference image, and you can go to the fifth step right now.
Step 5 – Add Details For Earthworm Body
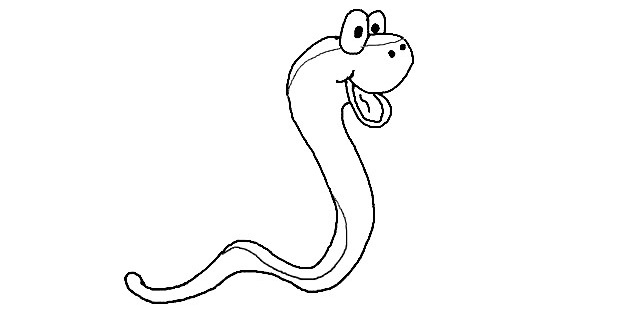
Now let’s add a little detail to the body of the Earthworm to make your Earthworm drawing look real.
Use a long curved line drawn from the head to the Earthworm’s tail to decorate the Earthworm’s body.
It’s so simple, it only takes you a few minutes to do this task, and you can continue your work for your Earthworm drawing in the sixth step.
Step 6 – Add The Final Touches
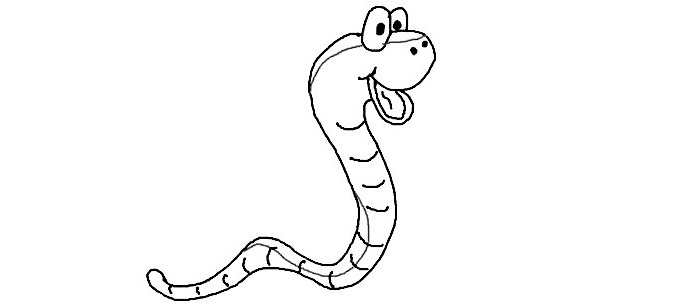
In this sixth step of our guide on how to draw an Earthworm, we will not only be finishing the body of the Earthworm but also adding the rest of the background details.
You will be using dashed lines to draw on the body of the Earthworm. These lines are called “grooves,” They separate the different segments of the worm, look at our reference, and draw along. With these last details done, your Earthworm has finished all the details. You have the last step left to color for your Earthworm drawing.
Step 7 – Color Your Earthworm
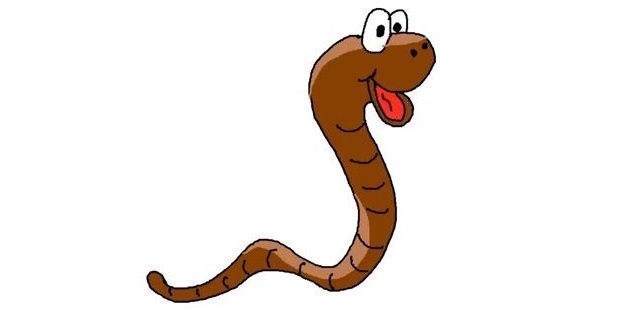
This is the color selection step, a simple task for you; you can use any color you like for your Earthworm drawing.
We use brown for our Earthworm, white and black for our eyes, and red for our tongue.
So, you finish off your drawing and coloring mission of this guide on how to draw an Earthworm.
Your Earthworm Drawing Is Complete
As we mentioned at the start of this guide on drawing an Earthworm, it can be surprisingly difficult to draw what appears to be quite a simple creature. We aim to help you draw an earthworm and learn more about this interesting creature. Now you have a complete Earthworm, and if you want to draw more creatures on our site Coloringcool.com, you can refer to How To Draw A Caterpillar or How To Draw A Dragonfly,… for free. We update many drawing instructions, coloring pages, and blogs daily, and you can come here each day to ensure you never miss out! I hope you like this drawing guide have fun with Earthworm drawing!


