8 Simple Steps To Create A Nice Grasshopper Drawing – How To Draw A Grasshopper
Create A Cute Grasshopper In Eight Easy Steps
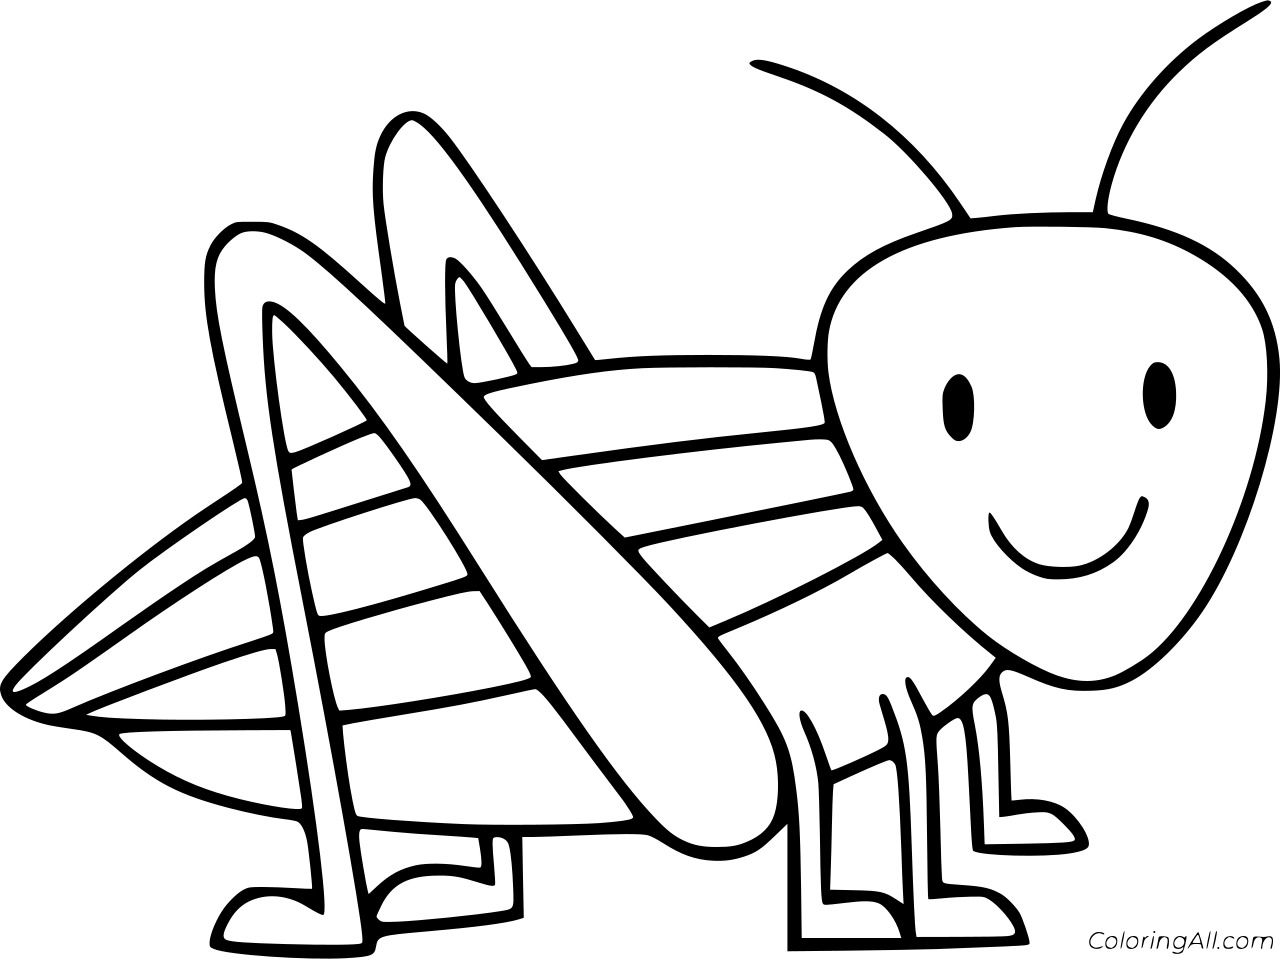
Today you have the opportunity to learn to draw an insect that is a Grasshopper drawing. We give a detailed guide in eight steps for you. In each step, there is an illustration to help you realize your task easier. You will follow our step-by-step guide to do this task. It is not an easy job but not too tricky; You must concentrate on the drawing course and follow our tutorial and reference images. It takes about 30 minutes for your drawing. It doesn’t take too much of your time. Outside of work, you need to have time to rest and relax. Finding yourself a suitable entertainment channel will help you get in a good mood because your work is also more efficient and your life is better.
How To Draw A Grasshopper – Let’s Get Started!

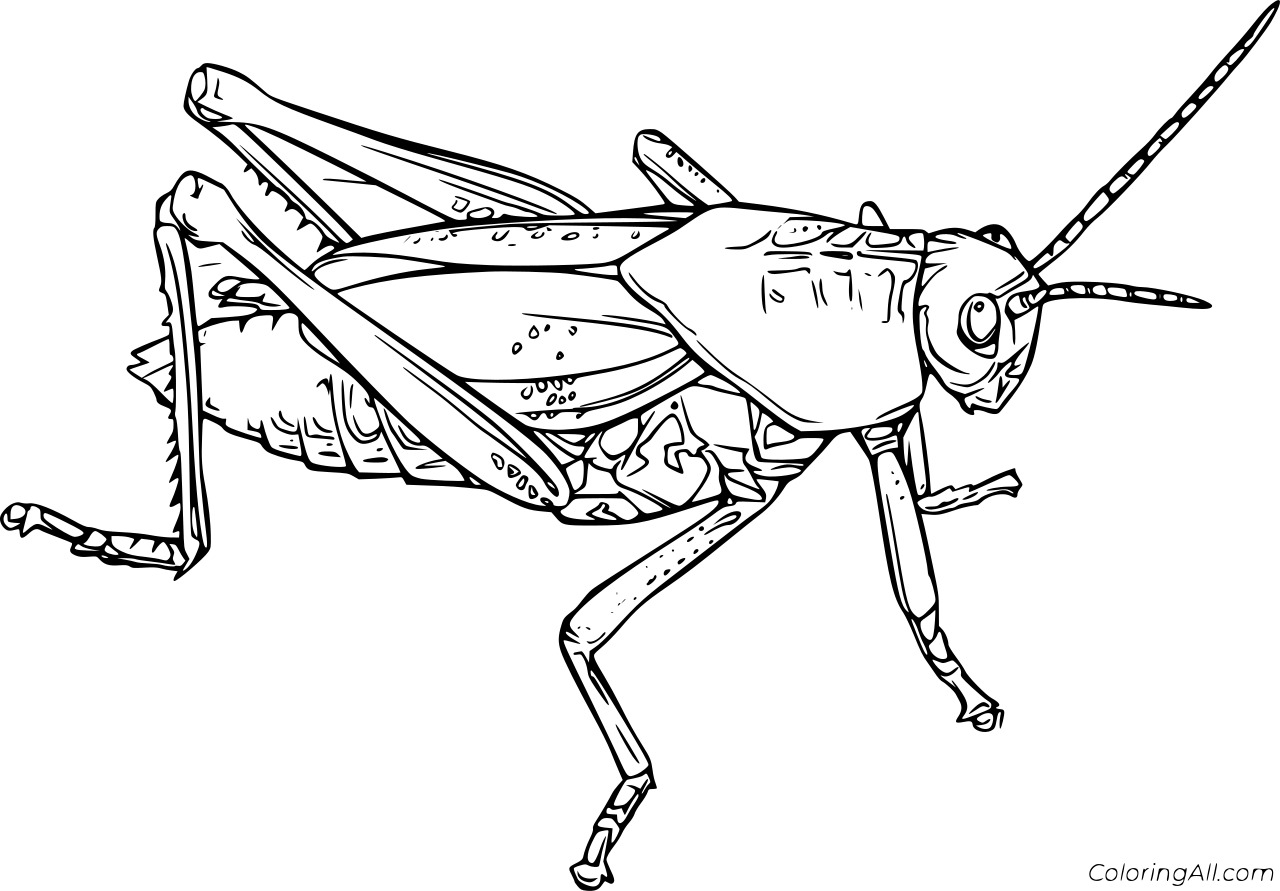
The world of insects is very wasteful, there is so much knowledge for you to learn, and today you have the opportunity to create a complete Grasshopper drawing. This is an insect that often lives outside in the field; it has the ability to jump and fly. This unique appearance also makes it a favorite insect around the world. In addition, this is also the favorite food of some animals, and even some people love to eat them. Today, by learning to draw grasshoppers, you will have the opportunity to gain more knowledge about this insect. Moreover, you will also have many interesting things when participating in this activity. Why not? It’s completely free on our site. But first, you need to prepare a few necessary tools such as A4 paper, pencils, pens, colors, and erasers,…First, you will draw a sketch of the Grasshopper with a pencil; then, you will use a pen to highlight correct lines and erase incorrect lines. In the end, you will choose the right color to color your grasshopper drawing. Along with this grasshopper drawing guide, you can enjoy grasshopper coloring pages for free to help you practice your drawing and coloring skill. This step-by-step guide on how to draw a grasshopper in our eight steps will let you have a great time with us!
Step 1 – Draw Tail And A Back Leg For Grasshopper

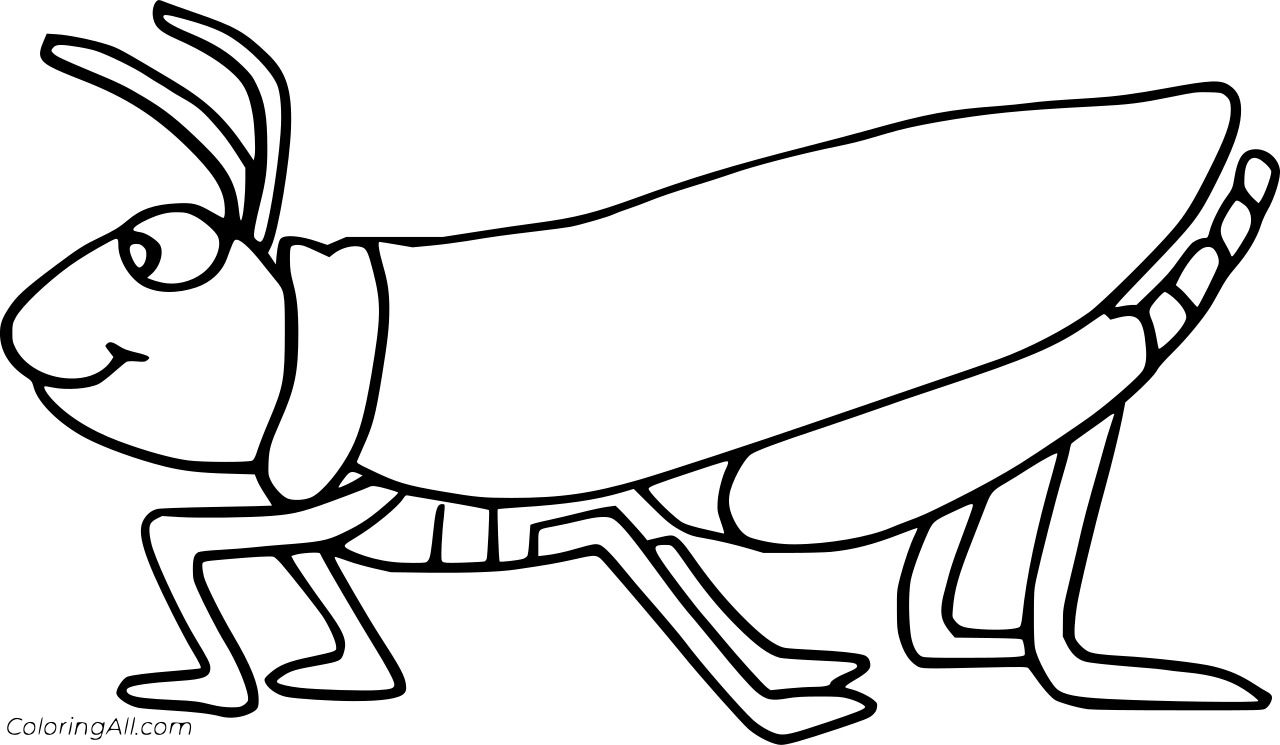
Drawing a grasshopper has a special thing that instead of first drawing its head, we draw its tail and back leg. You use two parallel lines to draw that tail; then, you will use short straight lines to draw stripes on the Grasshopper’s tail. Next, you will draw the Grasshopper’s legs with some straight lines; the grasshopper legs are long and thin, as you see in our reference image.
Step 2 – Draw Grasshopper’s Wing

Your task in this second step is to draw the wing of Grasshopper. From the tail, you will draw a curved line on the tail down that is the wing of the Grasshopper. It’s simple, isn’t it? You will draw it in a good mood in a few minutes.
Step 3 – Draw A Part Of The Grasshopper’s Body

You continue your work for the Grasshopper with its body, but in this third step, you only show a part of the body. From its tail, you draw some lines to show this part of the body. Your task in this step also is simple and it takes some minutes to move to the fourth step right now.
Step 4 – Finish Off The Grasshopper’s Body

It is time to draw the body of the Grasshopper. You will continue to draw maybe the front of the Grasshopper with a few basic lines as you see in our illustration. There are only three straight lines for this task. You can stop working here and move to the fifth step.
Step 5 – Draw Two Front Leg For Grasshopper

It’s time to add more legs to this step of our guide on how to draw a grasshopper! And you must draw two front legs for this insert. You use the curved lines for those legs of Grasshopper. Now your Grasshopper has one more hind leg, and it will be drawn in the next step of your grasshopper drawing.
Step 6 – Add A Big Back Leg

If in the first step you draw a back leg, in this step, you will draw a more back leg for your grasshopper drawing. So your insect has two front legs and two back legs. You will continue your drawing mission in the seventh step now.
Step 7 – Draw The Grasshopper’s Head

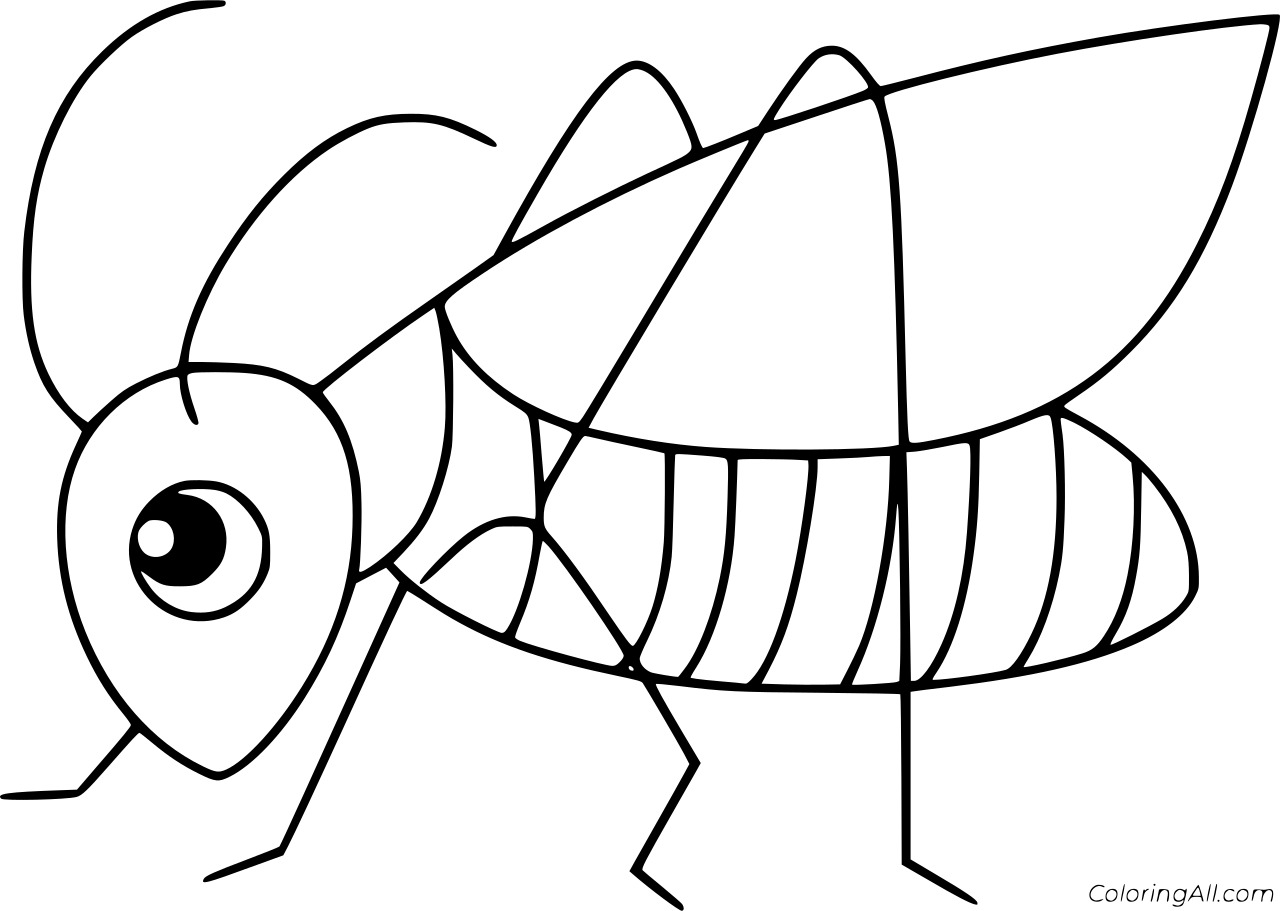
Begin to draw the head; you will be drawing a rounded shape with a small shape at the bottom of it. Then, you can draw another shape to the right of the head. You continue to draw two antennas for your Grasshopper. You draw a circle for the eye of your insect. You can use black to color the pupil. You have the last step for coloring.
Step 8 – Color Your Grasshopper

You must choose the color for your insect right now. Normally, Grasshopper is green, and you can choose green for this step as well. You have a complete grasshopper drawing. And you can choose some decoration details to make your insect nicer.
Your Grasshopper Drawing Is Complete!
You finish off your drawing and coloring after eight steps to realize. You will get some drawing experiences in our grasshopper drawing guide. You can practice drawing grasshoppers many times if you are free. On our website Coloringcool.com, besides grasshopper, you can enjoy another insect drawing tutorial such as earthworm drawing for free on our site. We update our education products for free and daily. I hope you like this drawing guide and come back here. Have a great time with grasshopper drawing!