6 Simple Steps To Create A Scary Cobra Drawing – How To Draw A Cobra
Creating An Intimidating Cobra Drawing In Six Easy Steps
When it comes to snakes, we can’t help but be scared by their ugly side, but it’s also beautiful to draw. So, in this tutorial, you will learn how to create a complete cobra drawing in six steps.
You will use our tutorials and illustrations to create a complete cobra drawing.
This cobra drawing tutorial has been arranged from easy to difficult so that you can do it easily whether you are a beginner or you are an expert in the field of drawing.
This task takes about 30 minutes later. When you get used to drawing, you can complete the job sooner.
Along with learning to draw a cobra, you get more information about this snake.
How To Draw A Cobra – Let’s Get Started!

Of the myriad species of snakes, the cobra can be said to be the king of snakes with the different hood that extends around their head, making their appearance more threatening to predators.
Because cobra has venom, it is hazardous, and no one wants to realize the wrong side that cobra can cause.
You’ll need basic art supplies such as a pencil, eraser, pen, paper, and some reference photos of a cobra to help you capture its likeness.
You can also take advantage of many things available in your home, so you don’t have to pay for this drawing lesson.
You will proceed to draw the cobra with a pencil; you will quickly correct them if you make a mistake because the pencil is very easy to erase and redraw. When you finish your cobra drawing, you will choose the right color for your picture to make it look more beautiful and realistic.
Cobras in particular and snakes, in general, are very scary and can be dangerous to you if they feel you can harm them. But it is a beautiful picture for you to draw and enjoy in your free time.
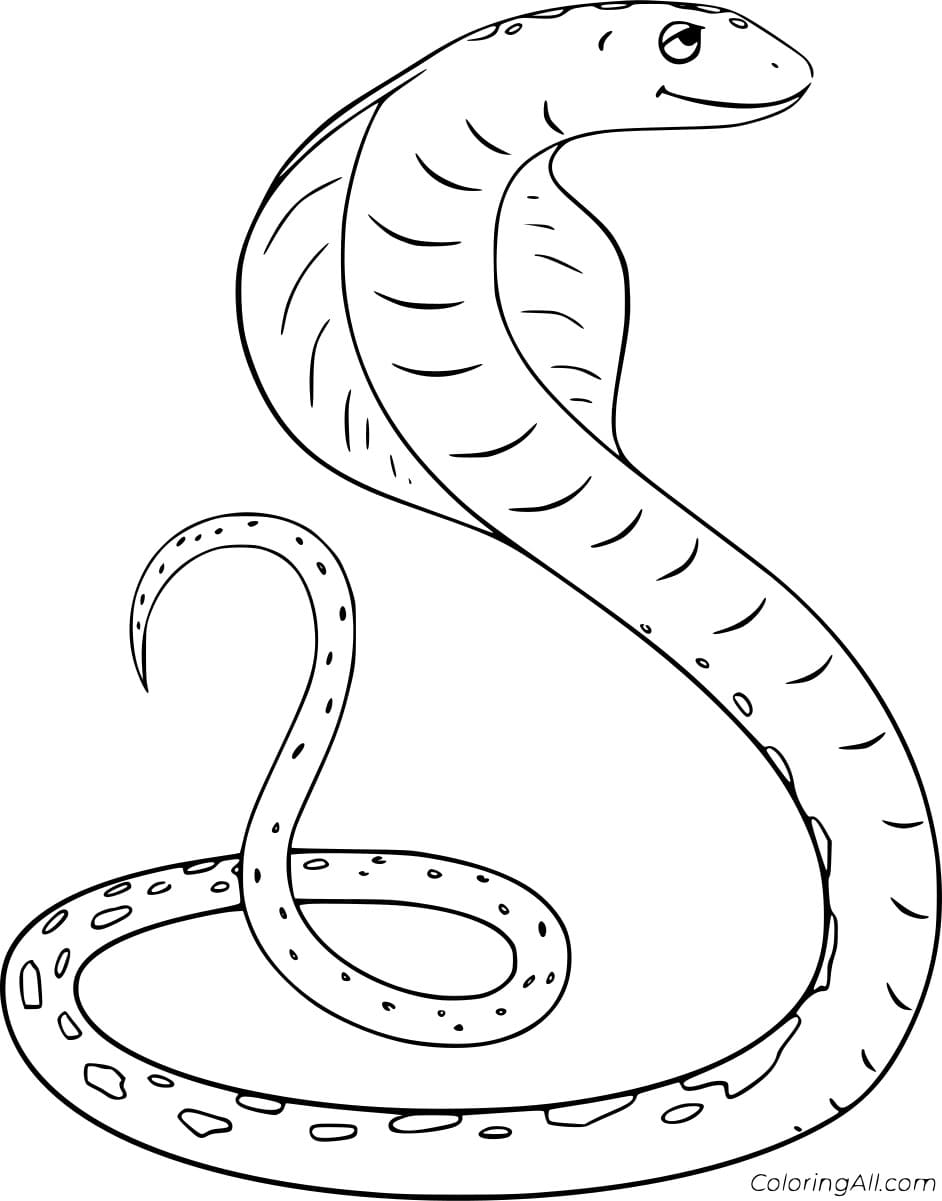
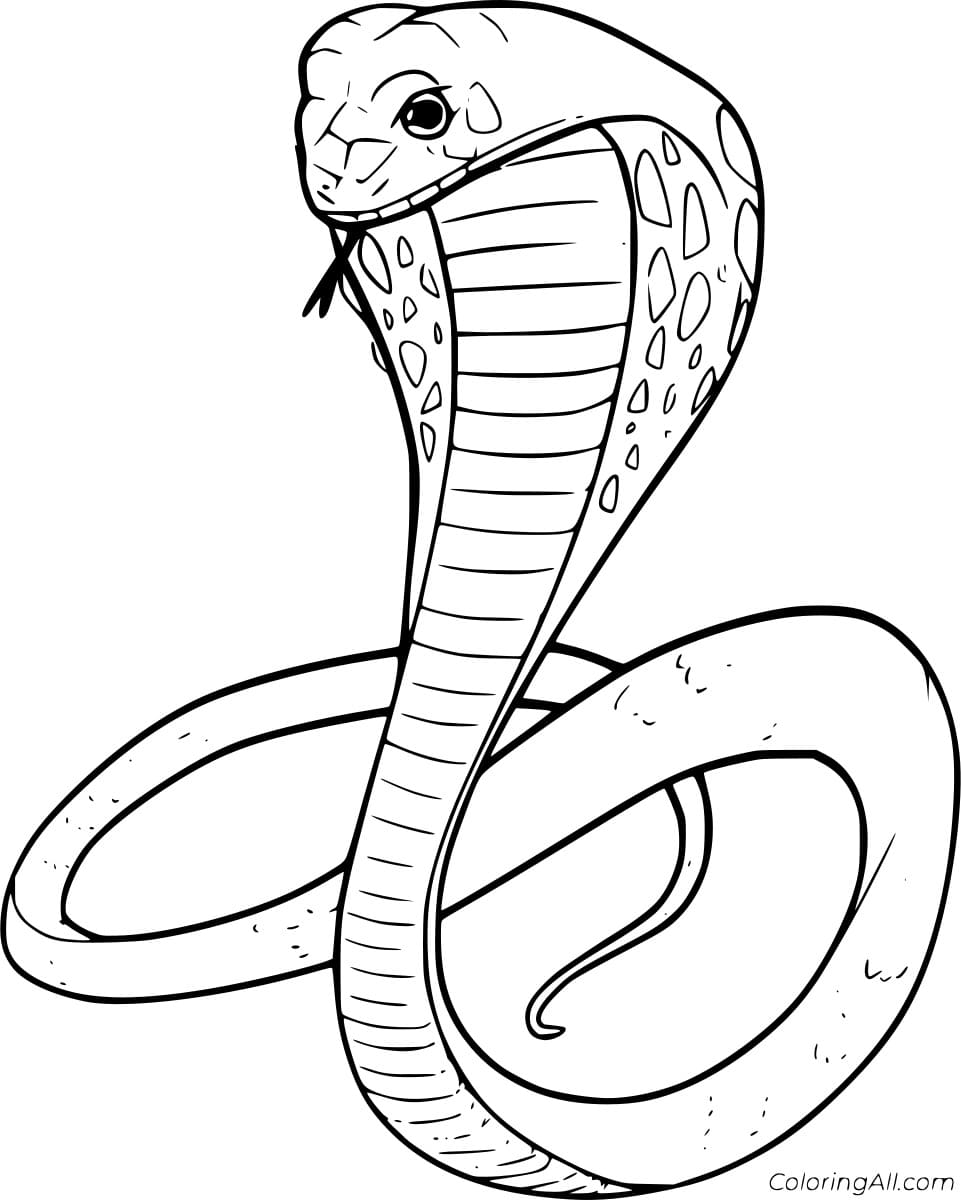
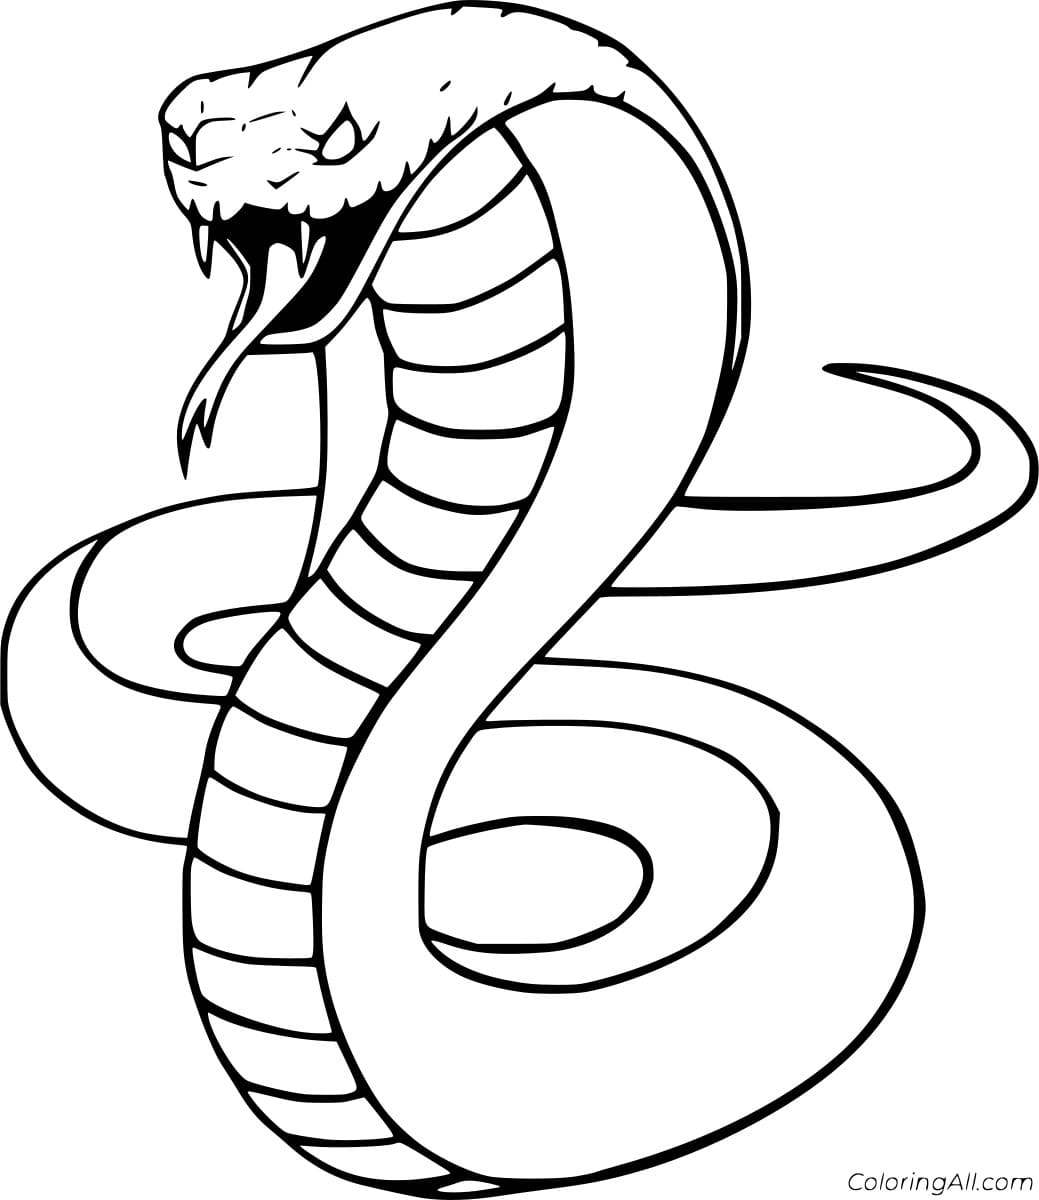
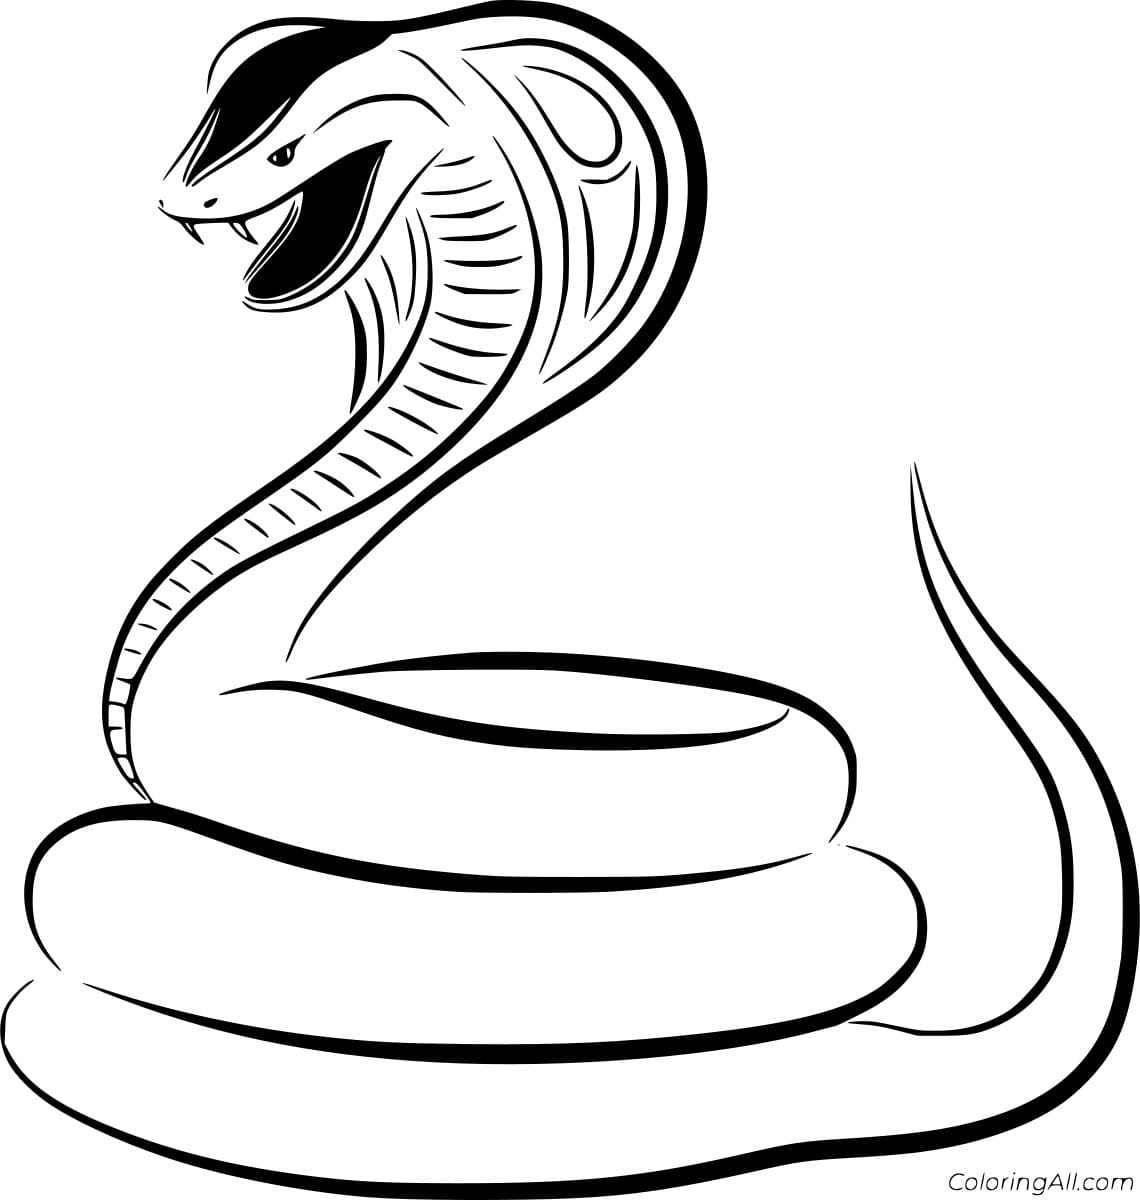
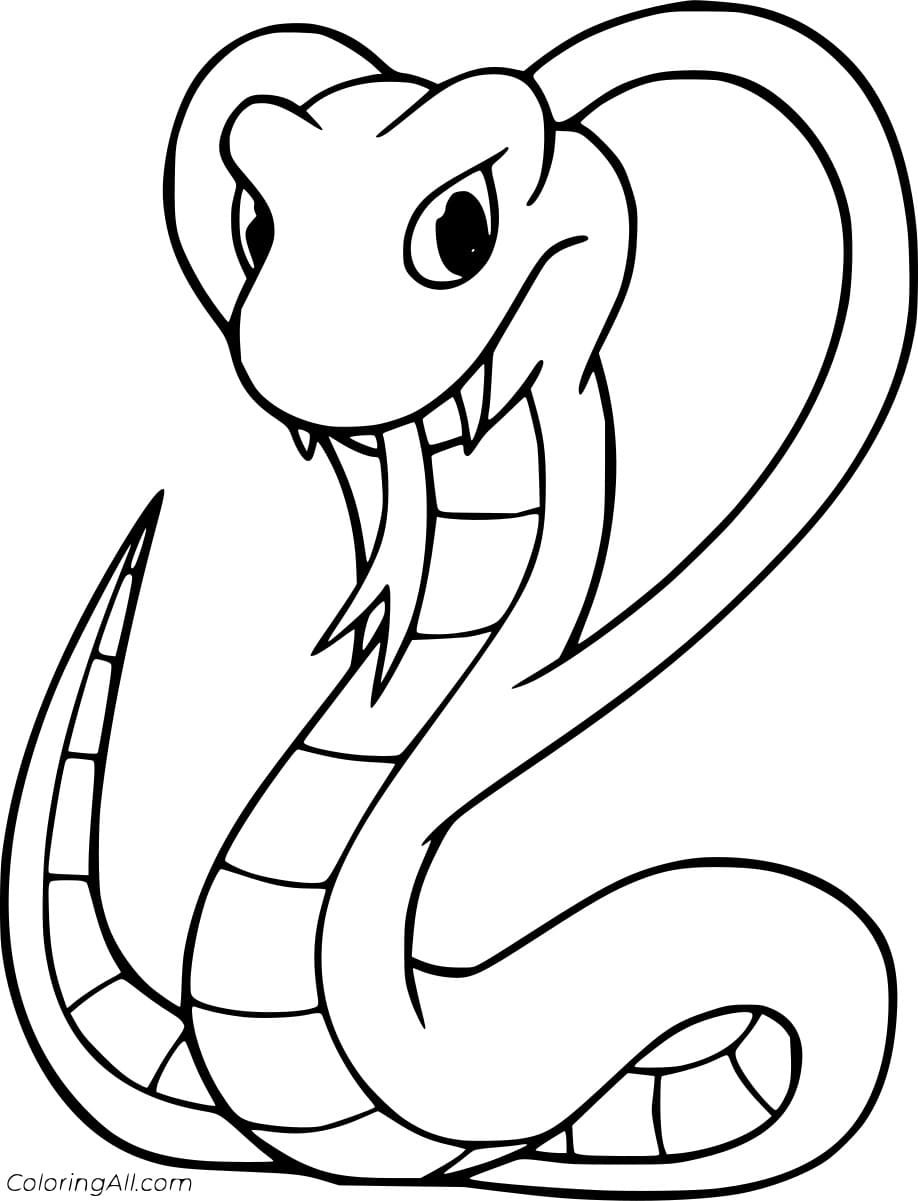
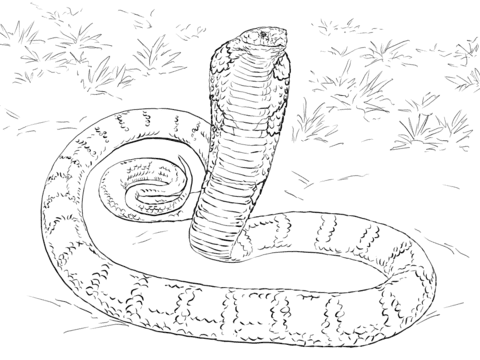
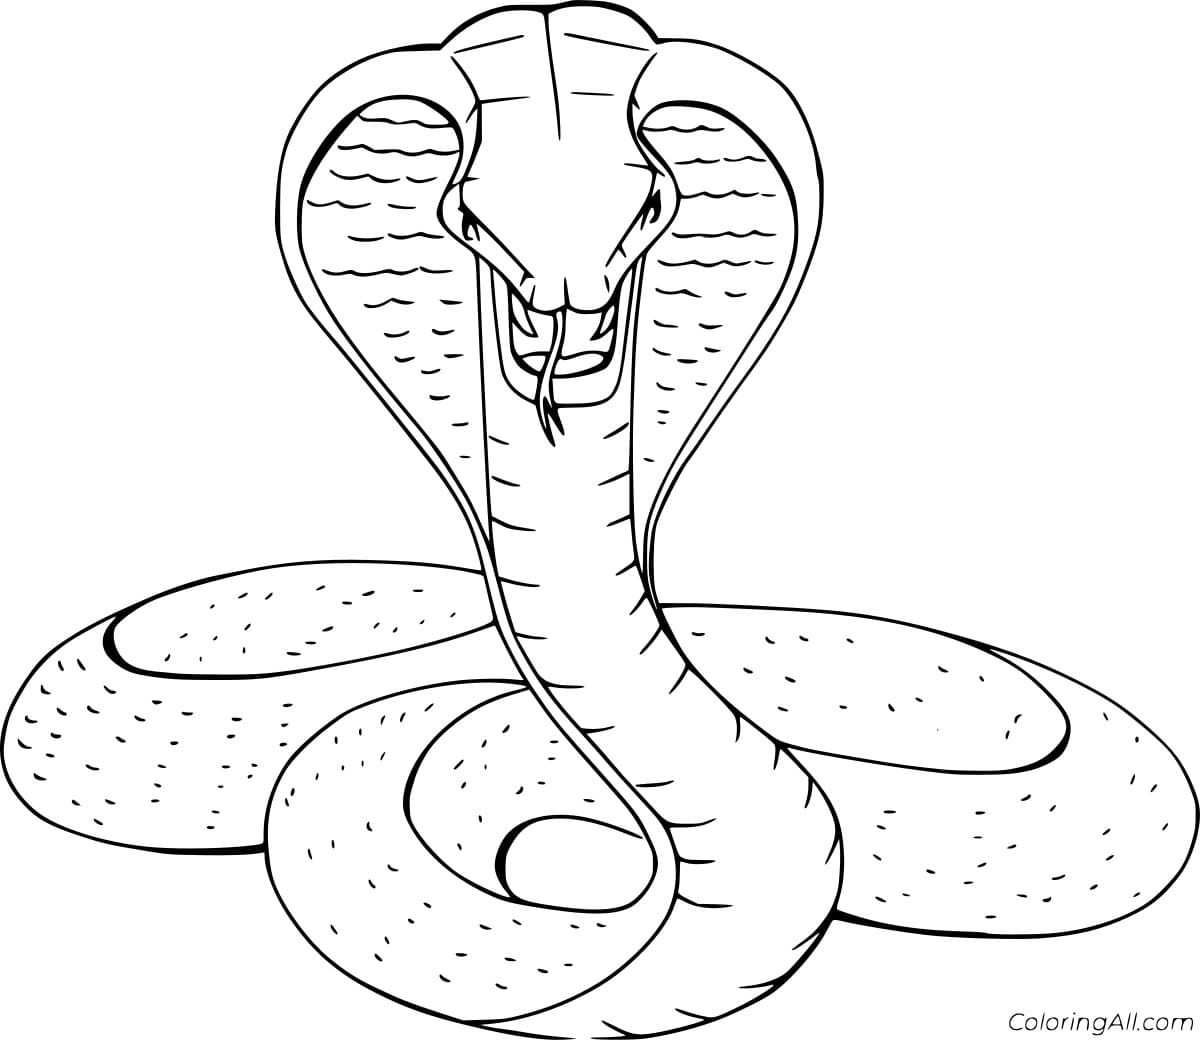
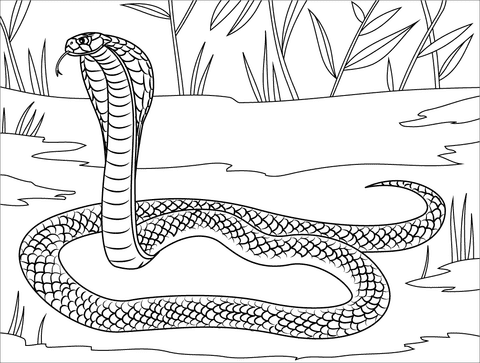
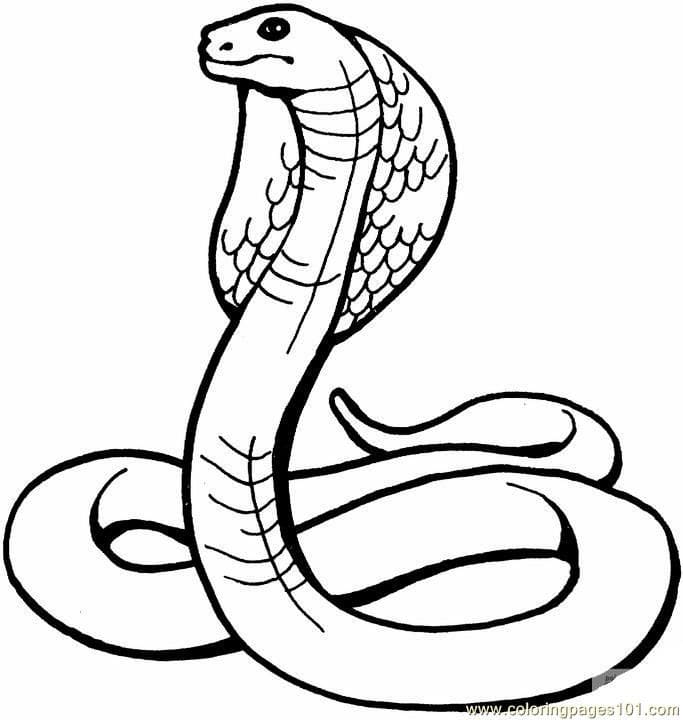
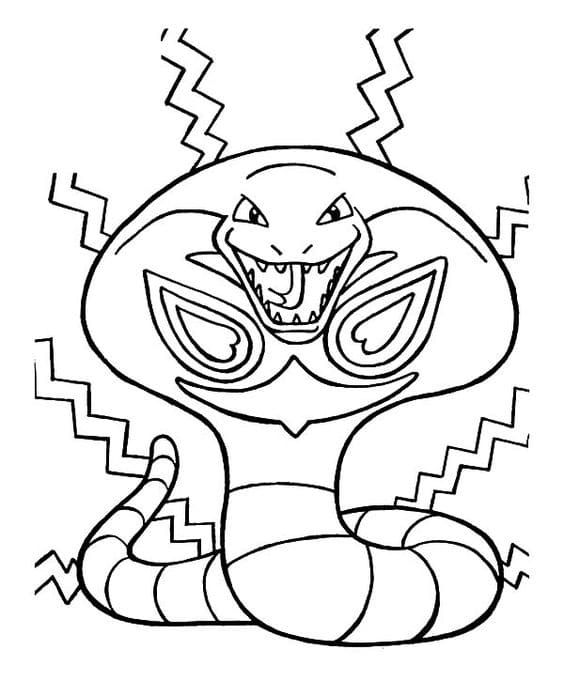
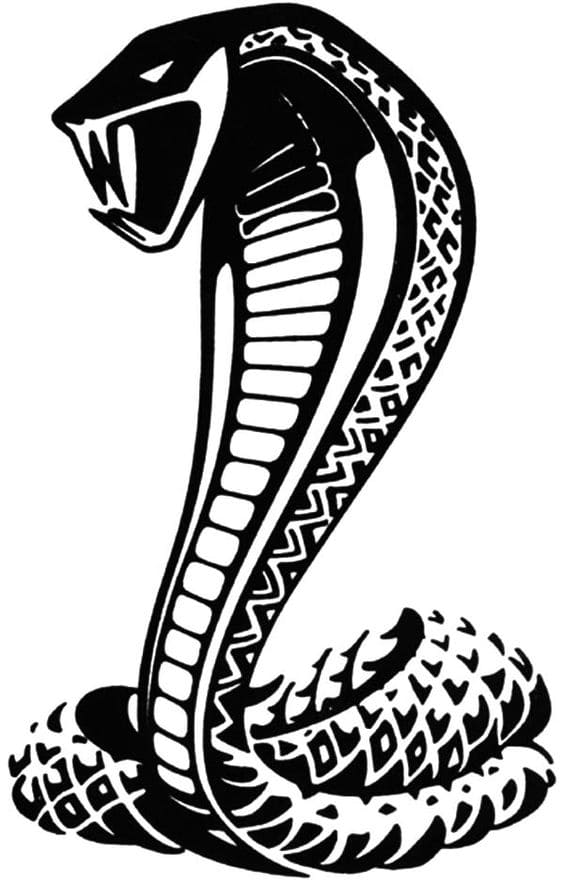
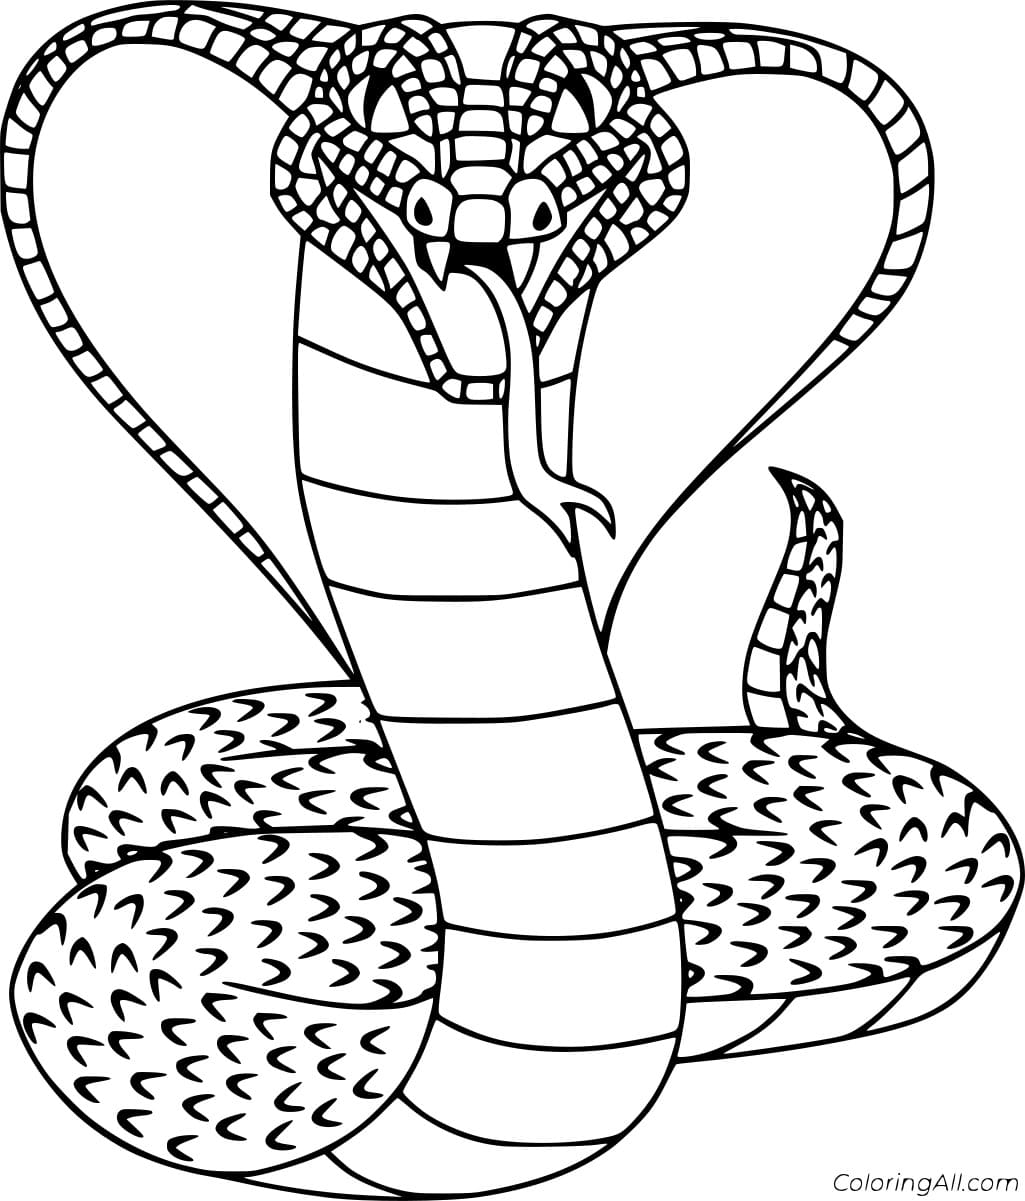
Along with this cobra drawing guide, you can enjoy cobra coloring pages. Now, let’s go into six steps to draw a cobra!
Step 1 – Draw Cobra’s Head

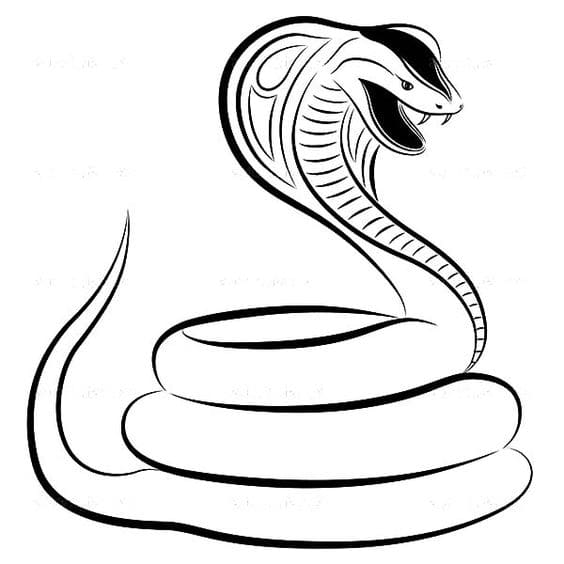
We will start drawing this snake’s head in this first step on how to draw a cobra. This is the part no one wants to see because it will attack you and endanger you if the cobra feels you could harm them.
Please don’t forget to draw its eye with a small black dot as our illustration.
Once you have replicated the lines as they appear in our reference image, you’re ready to move to step 2!
Step 2 – Start Drawing Snake’s Body

You have drawn the first part of the cobra, and come to this second step of the cobra drawing, you will begin drawing its body.
You must use the parallel curved lines to show its body, but your mission here is to show a part of the body. You continue to draw this snake’s body in the next step.
Step 3 – Continue Drawing The Cobra’s Body

You will continue the unfinished work in step 2. You continue to use two parallel curves to draw the following body for the cobra. Simple, isn’t it? Our reference image will show you how to complete this task.
If you are happy with your image, you will come to the fourth step right now.
Step 4 – Draw The Cobra’s Tail

It’s time to draw the snake’s tail to finish ít body. The tail is created by two parallel curved lines, and these two curves will meet at the end of the tail and form a pointed tail for the snake.
You will be adding a very short line where the snake’s mouth forms the long tongue of the cobra as our reference image.
Your snake is fully drawn with body parts such as head and tail; you will add a few details to decorate your cobra in the next step.
Step 5 – Finish Off Your Drawing Mission

You must complete all details for your cobra here.
You can continue to add detail to the snake by including more texture in the belly and hood and even drawing the scales.
You can also highlight the lines you drew to create the snake to make your cobra bigger and fatter.
Once you finish the task here, you can review your image and edit your picture as you like before moving to the last step.
Step 6 – Color Your Cobra

That brings you to the final step of this guide on how to draw a cobra. You will choose a suitable color for your drawing.
Cobra has many colors for you to choose from and make coloring for it. Here we have used brown to paint the cobra and light yellow for its belly. Their eyes and tongue are crazy blacks.
You can choose any color to make your snake more colorful and realistic.
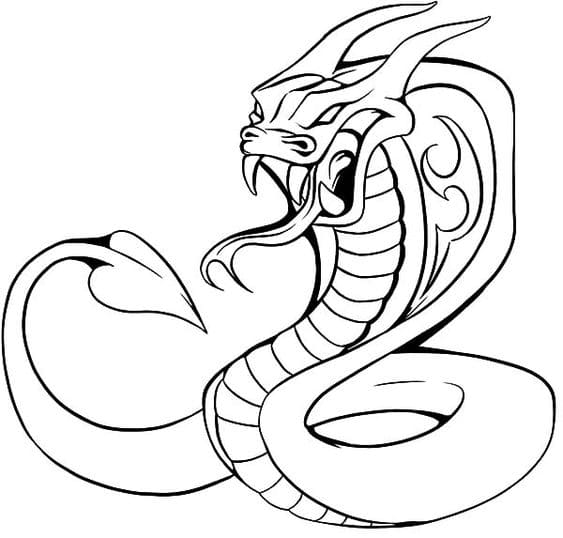
Your Cobra Drawing Is Complete!
We have completed all the tasks to form a complete cobra with six simple steps.
We hope you learned how to draw a cobra with the help of this step-by-step tutorial. We’re sure you can incorporate what you have learned in your future drawings.
Our advice to you is to take the work slowly and step by step; you will be satisfied with the result.
You can find our similar drawing tutorials such as snake drawing, earthworm drawing or caterpillar drawing on our website Coloringcool.com for free.
When making this tutorial, we have two purposes: to guide you to know how to make a cobra drawing and to help you to take a great time. And now, I hope you have helped us fulfill these two missions. Have fun with this cobra drawing!