Wooper Drawing Is Created In 9 Easy Steps
Creating cute Wooper drawing in just 9 easy steps
Simply follow this easy how-to-draw Wooper from Pokemon step-by-step tutorial and you will have your Wooper drawing finished in no time. We provide the instruction and illustrations in this post, and if you follow it, you will create a complete Wooper from Pokemon. We give detailed instructions, so whether you are a novice or an expert in drawing, you can follow these steps effortlessly. If you are a parent, you can join in this drawing activity with your kids. They will like it sure and drawing activities help your child stay away from electronic devices such as TVs, smartphones, and tablets,…They are not good for their eyes and their evolution. This tutorial only takes about 25 to 30 minutes and has the illustration in the lesson you can easily print or download. Included with the How To Draw Wooper From Pokemon drawing tutorial, we also provide the Wooper Coloring Pages to help you relax and practice your drawing and coloring.
How To Draw Wooper From Pokemon – Let’s Get Started!
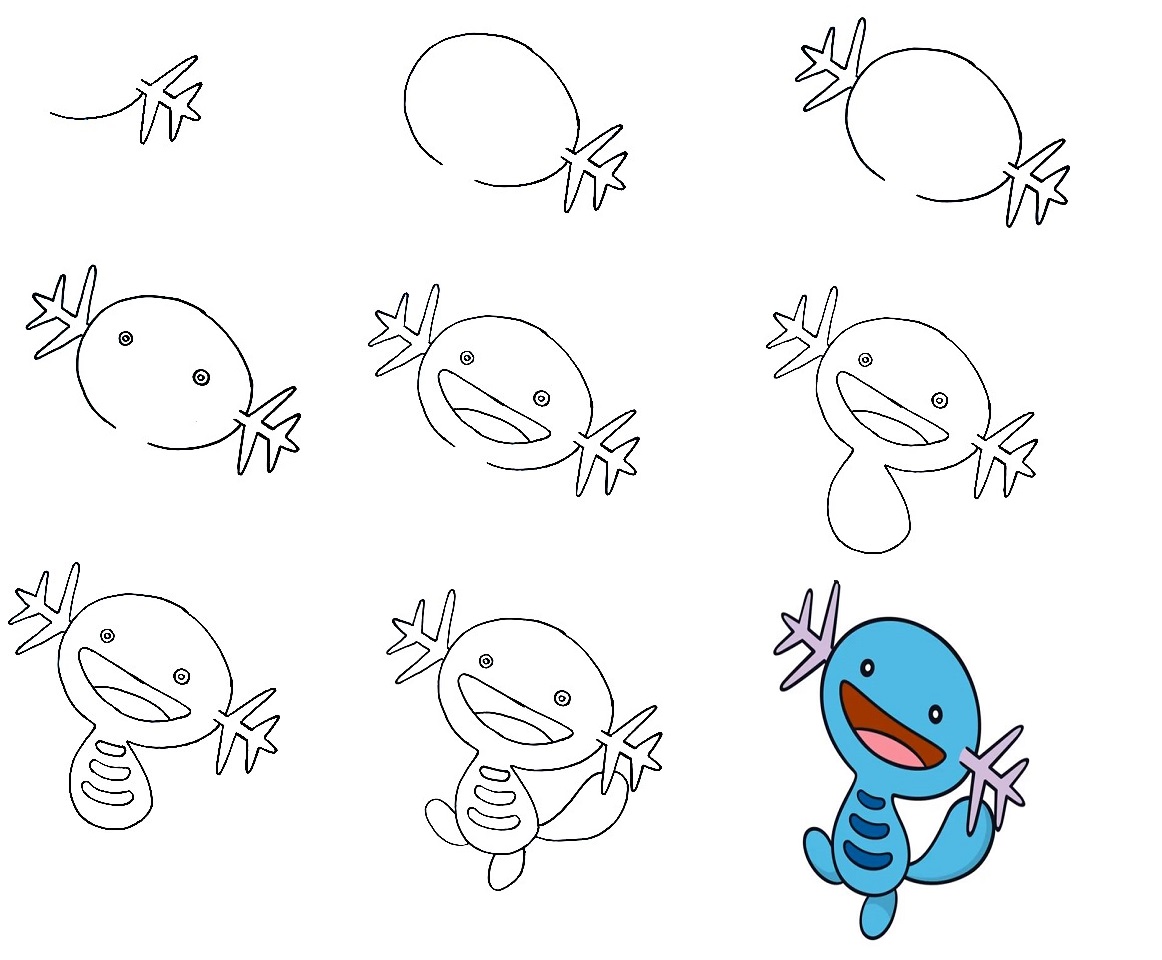
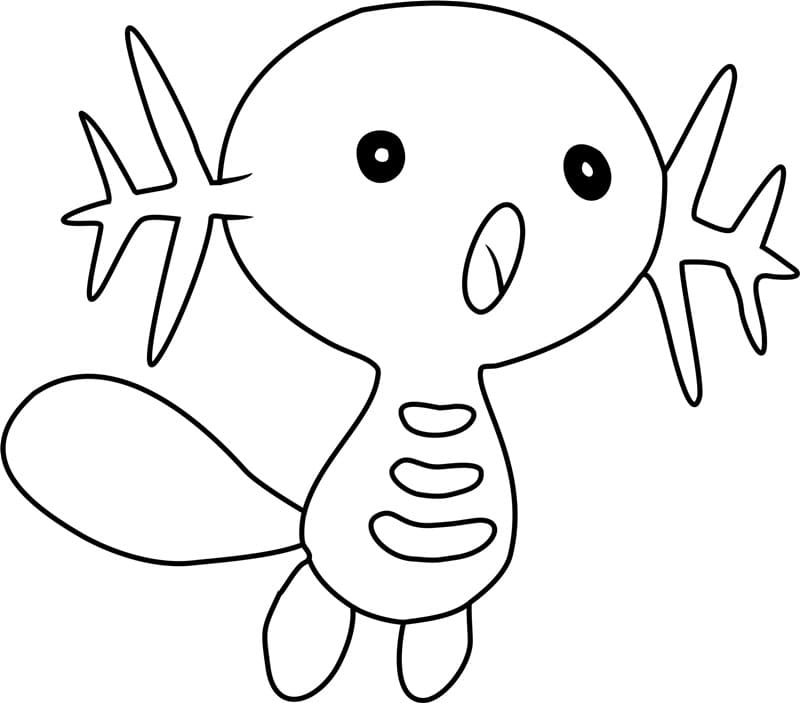
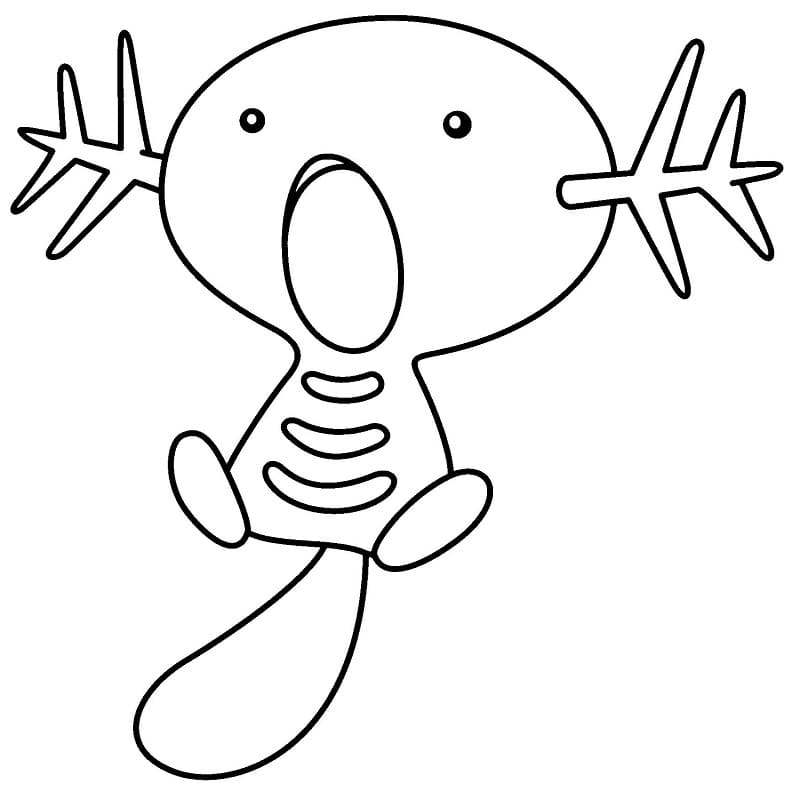
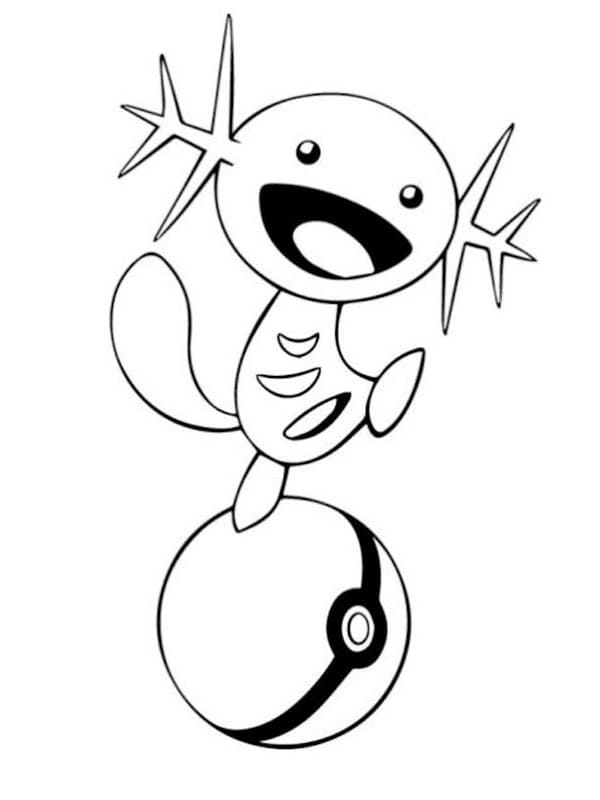
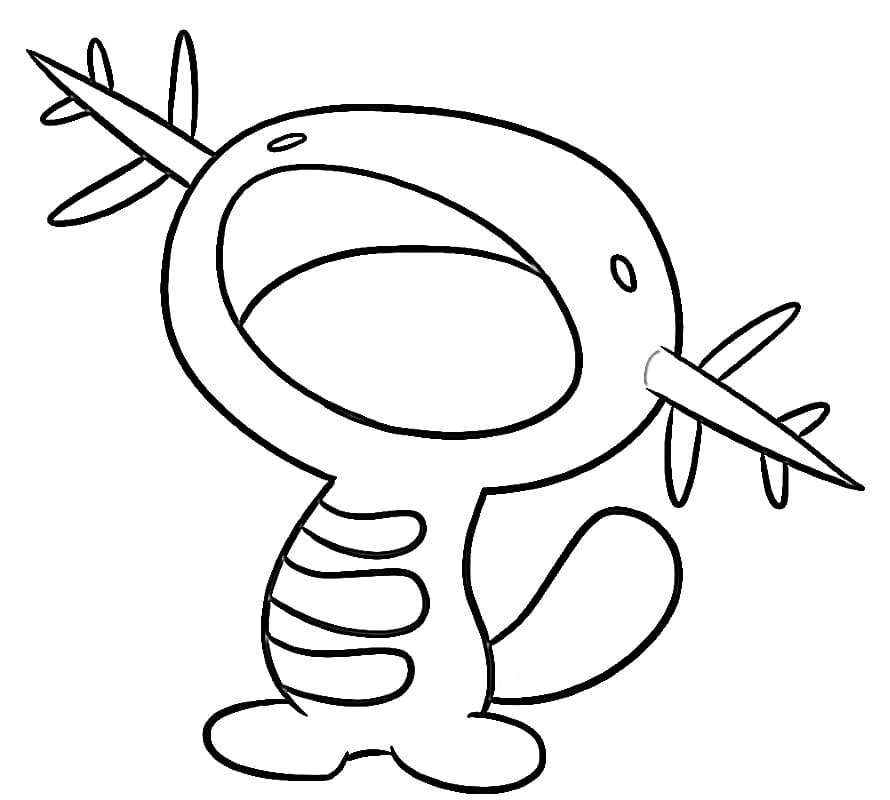
You know that as a document, Wooper is a mostly blue, amphibious Pokemon that resembles an upright, armless axolotl. Wooper’s head is large compared to its body, and it has small, round, black eyes. It has purple, branching gills on either side of its head; the males have more branches in their gills than the females. Wooper stands on two small, round feet, and it has a large, thick tail. On its belly are dark blue curved markings. To draw Wooper from Pokemon is not simple but not too difficult; you will go to step-by-step instructions and complete the Wooper character. This is a character from the Pokemon series and is known to everyone. However, not everyone can draw it, and today, you are lucky to learn to draw this character with us. You have nine steps equivalent to nine missions you must finish. It would help if you prepared a pencil, eraser, and colored pencil before drawing. If you use your pencil to draw on paper, you can erase your mistakes easily. Some steps will require you to erase lines drawn in previous steps. So, please don’t be afraid to draw; you can draw in your comfortable mood. Now, let’s get started drawing Wooper from Pokemon with us!
Step 1- Draw The Antler On A Side

Starting on the upper right portion of your paper, draw the antler-looking spikes on a side. Looks simple drawing for you; you just need to draw a detour and then add some antler with the lines, as you see in our reference images.
Step 2 – Draw Wooper Face Outline
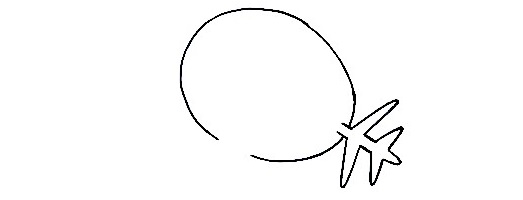
You draw an oval for the Wooper Face Outline. It also is simple for you. Use your pencil to draw a curved line to make a complete oval. So, you finish the face outline for your character, Woope, and now, you can continue drawing on step 3.
Step 3 – Add The Antler On The Rest Of The Side

Like the first step, you add the antler, but this time you draw the antler on the rest of the side. You draw using slightly curved lines to draw the antler. It is very simple, and you can refer to our illustration and follow it. Once you have these elements looking as they do in the reference image, you’re ready for step 4!
Step 4 – Draw Wooper Eyes
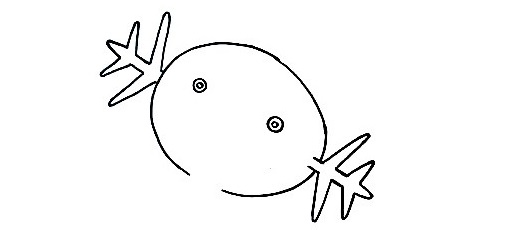
You draw the eyes for Wooper. Wooper eyes are then made of two small circles with a dot inside each one. Then, within the eyes, draw another two tiny oval shapes. Shade the eyes side from the tiny dots inside the eyes to create an adorable “glimmering eyes” effect. You can use black to color the eyes. Once you get two perfect eyes, you will next to the fifth step.
Step 5 – Draw Wooper Mouth
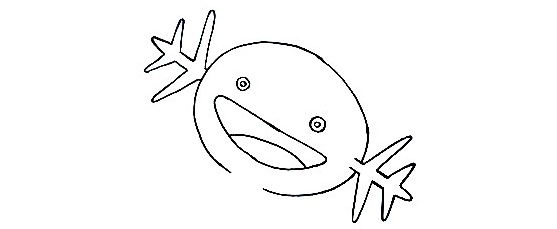
If you drew the Wooper character’s eyes in the previous step, you have to draw his mouth in this step. You use curved lines and straight lines to draw the mouth for Wooper. First, you must draw a straight line to draw line for the upper lip; then, you use a curved line to draw the lower lip. Finally, you add a curved line for his tongue. Don’t hesitate to use any more facial features that you think would look awesome. You can even add eyelashes and whiskers if you like! Once you are pleased with your drawing in this step, you move to the sixth step.
Step 6 – Draw Wooper Body
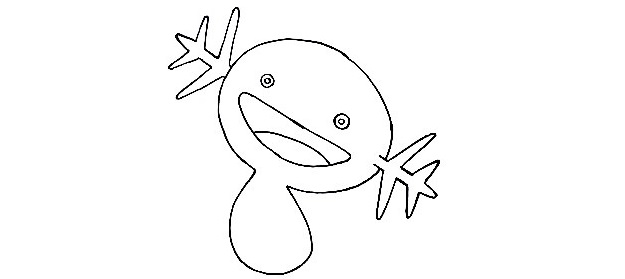
In this sixth step on how to draw Wooper, you draw the small stem for the body. From the head, you use a curved line to draw the neck and belly..and make a body for your character, Wooper. Now, you can move to the seventh step and continue to draw Wooper from Pokemon.
Step 7 – Add The Markings On The Belly
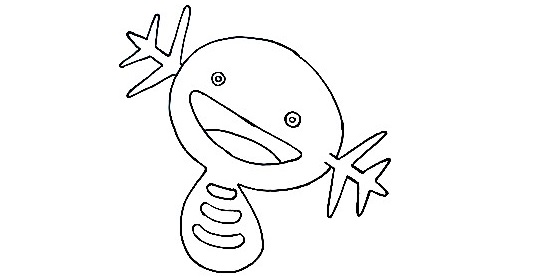
Very simple for you in this step; you use some parallel straight lines to draw the markings on the belly of Wooper. Because your task in this step is so simple, you only need a few minutes to finish it and move on to the next step.
Step 8 – Finish Your Drawing Mission
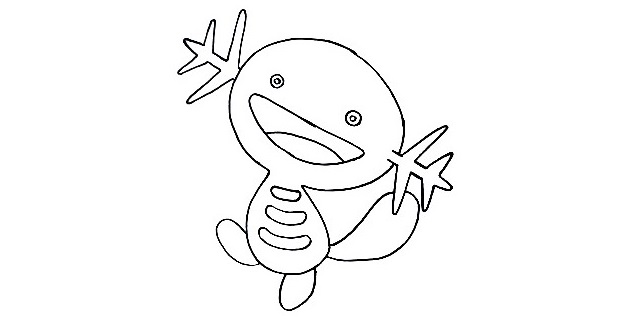
You finish your task on how to Wooper by adding the tail and legs. You will use curved lines for your task in this step. So, you finish your drawing work here and get the last step for coloring Wooper from Pokemon.
Step 9 – Color Your Character Wooper.

You have reached the final step of drawing Wooper. In this last step, you must choose suitable colors for your character. Wooper from Pokemon is blue; you can take blue to color your character. You can add some colors for the decoration of your characters, such as pink for the tongue, brow for the mouth, and grey for the antler.
Your Wooper drawing Is Complete
So, you finish your drawing and coloring mission on how to draw Wooper characters with your skill and our help. You can refer to Wooper Coloring Pages free on our site for free. You can practice your drawing and coloring on our site for free. We update our products related to coloring pages, drawing, and blogs daily, and you can come here with your friends to relax. Have a great time!
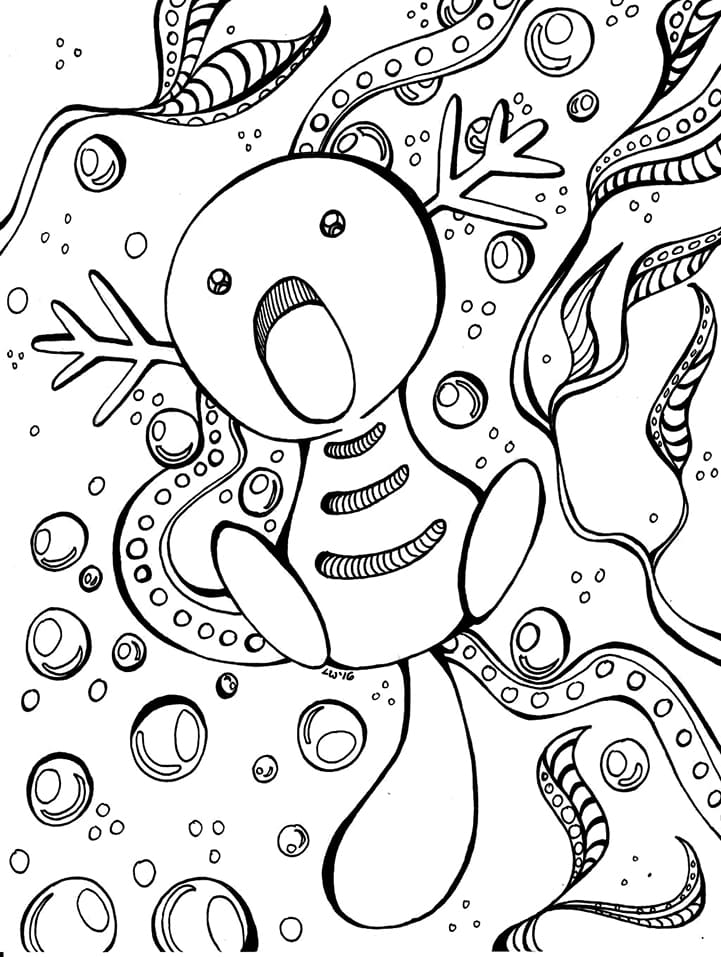
If you want to refer to Wooper coloring pages on our site or this coloring page for the reference images.


