How To Draw Snow White –The Details Instructions
The movie Snow White and the Seven Dwarfs Released in 1937 the film is most loved by everyone, especially the young audience. It is known to be the first full-length animated film so the film producers had high expectations and they also reaped great success for this movie. With breathtaking animation, memorable characters, and timeless music, it remains popular even today. The movie series is about Snow White, an extremely beautiful princess with an evil stepmother. Due to jealousy of her beauty, she was forced to move by her stepmother, fell in love with a Spanish prince, and was poisoned by her own evil stepmother. In this article, you will draw Snow White with six steps, you will go to step by step here. In each step, we have the illustration image to help you draw easier.
How To Draw Snow White – Let’s Get Started!

You must preparer some necessary things such as paper, pencil, colors,..before drawing. Please look at our image and follow us, you will get a nice Princess, Snow White. This simple, step-by-step Disney princess drawing tutorial is here to show you how
Step 1 – Draw Snow White’s Face Outline.

You will start by sketching Snow White’s face. Use curved lines to outline cheeks, jaw, neck, forehead, and hair. It is very simple, you will look at our picture and follow it!
Step 2- Draw Hair And Bow For Snow White.

Here. you will draw a bow where the hair meets at a point on the top of the forehead. Please draw a circle for the knot, and irregular circles on each side. Detail the folds of the fabric by drawing short lines extending from the knot. Then extend the two curved lines from one side of the arc and allow them to meet at a sharp point, indicating the ribbon around the head. You move on to drawing Snow White’s hair. On each side of the bow, extend a series of overlapping curves to meet the side of the face or neck.
Step 3 – Draw Face Detail For Snow White.

Now you will draw Snow White’s face in detail. Use curved lines to draw eyebrows, nose and mouth. The eyes should be round but with a gentle spot on one side. Draw several consecutive small circles in each eye. The shadow between the two is the smallest to indicate the pupil, and use thick curved lines to draw the eyebrows.
Step 4- Draw Body And Arms For Snow White.

In this step, you will draw the body and arms for Snow White. You Draw Snow White’s sleeves. Use overlapping curves to enclose an incomplete circle. Draw short, straight lines on each side of the opening and connect them at each end using curved lines. You will draw some detail for her long dress as well. the dress designed for snow white is fluffy and soft so show it off too.
Step 5 – Finish Your Drawing Mission.

You will finish your drawing task with Snow White shoes, a cape, and some decorations for her dress. Very simple in this step, you can look at our picture and follow it. You draw the body of the dress. Use curved lines to complete the collar and form the sides of the torso. Then remove a seam by placing a curved line in the body’s center. Extend the curves outward and down from the bottom of the torso, indicating the skirt’s skirt. Detail the sleeve by drawing a teardrop shape inside it.
Step 6 – Color Snow White.

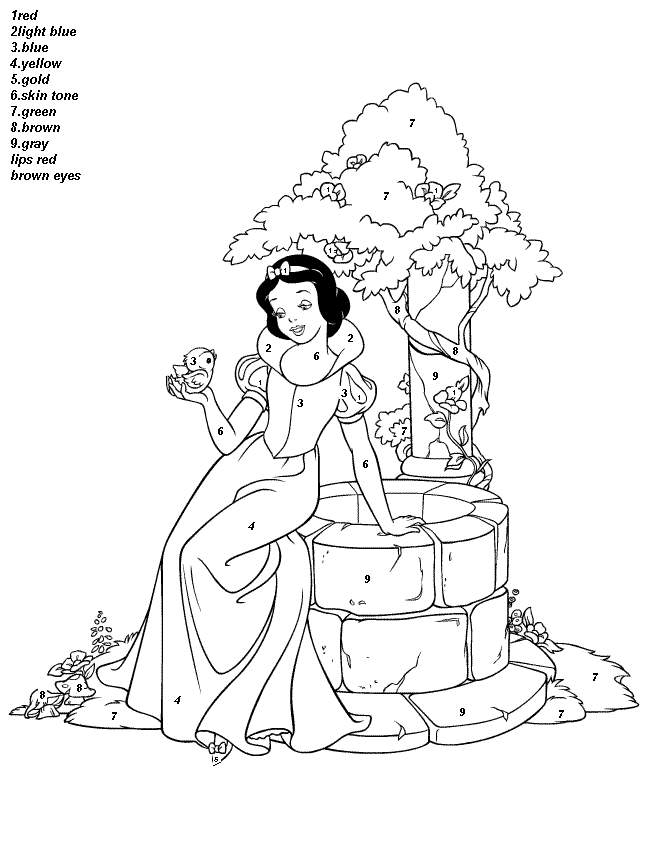
Her outfit usually features a blue bra with red accents and a yellow skirt. So, you can choose blue, yellow, red,.. as she has for her color. You can add some of your favorite colors because there is no one rule for choosing a color for the character, so you can select the color that you feel suits your work.
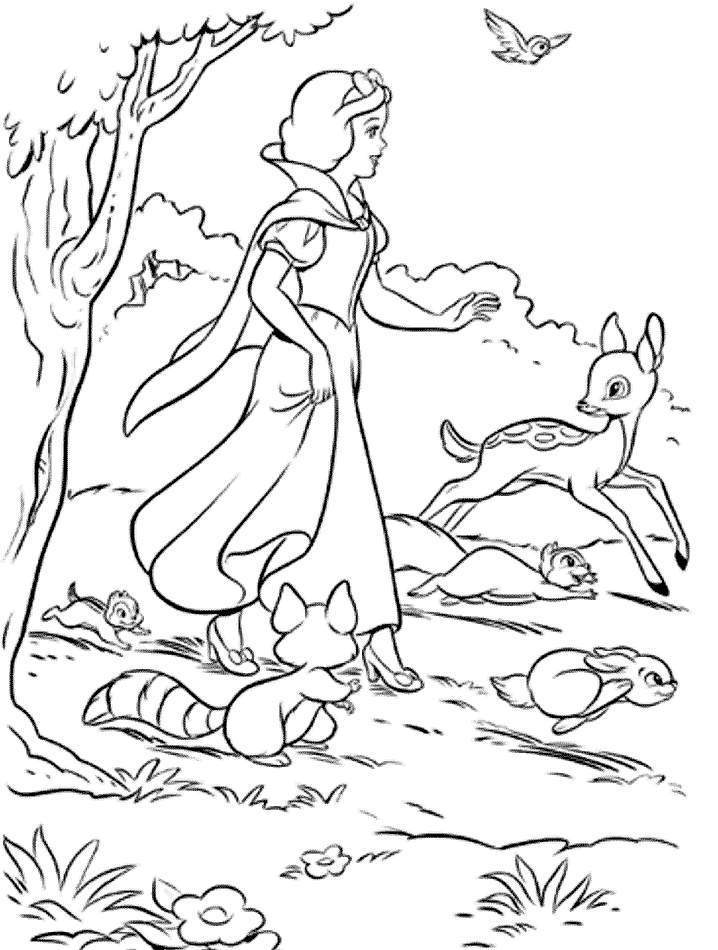
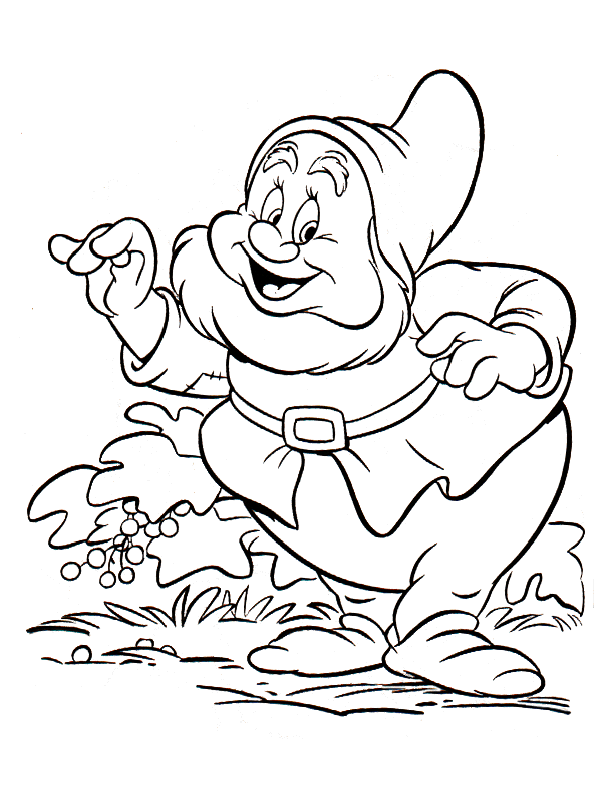
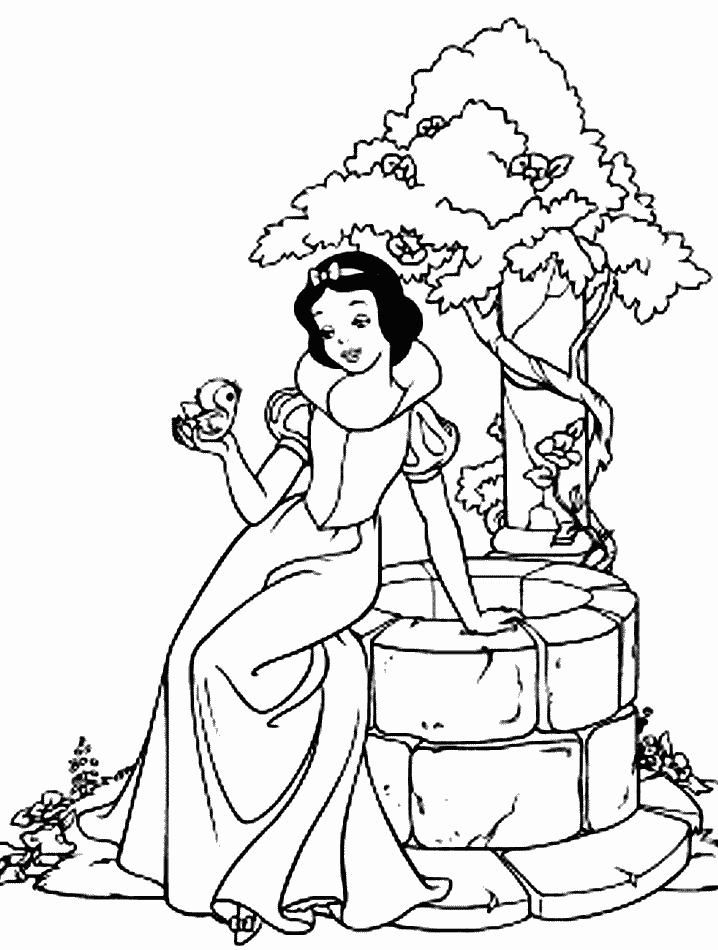
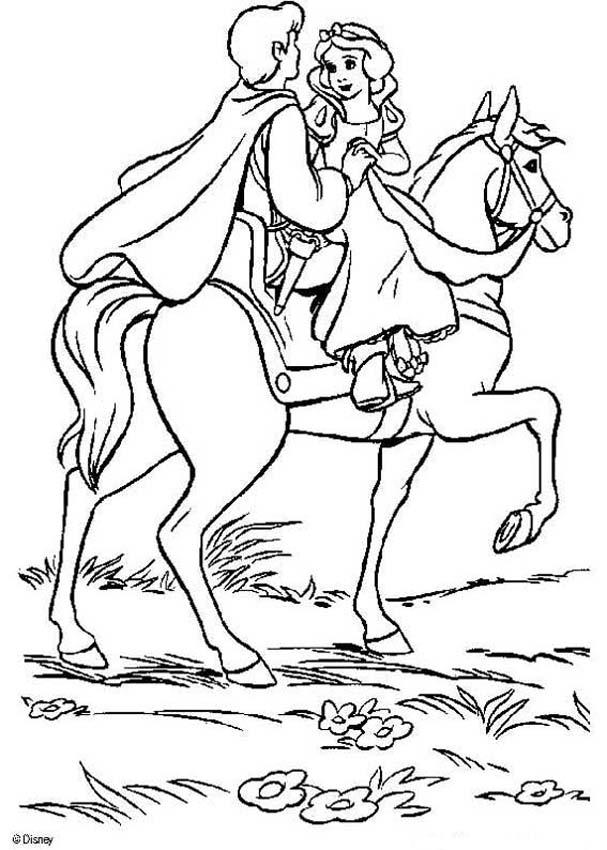
You can go to Disney Snow White Coloring Pages on our site to practice drawing and coloring because we have many Disney Snow White Coloring Pages for you.