6 Easy Steps Creating A Shoe Drawing – How To Draw A Shoe
Creating a realistic shoe drawing in just 6 easy steps
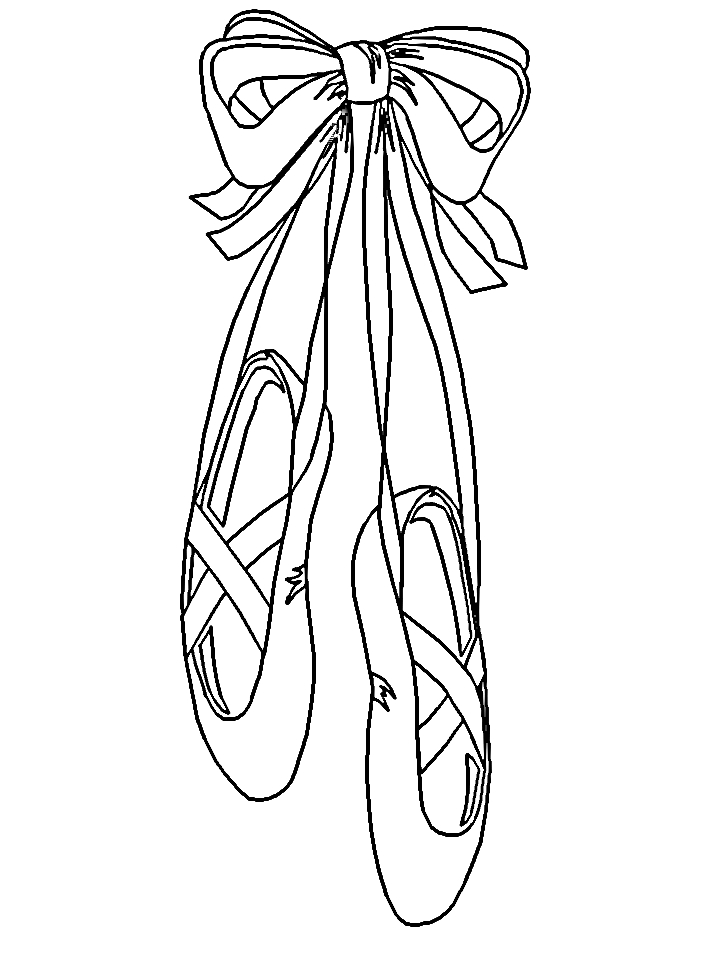
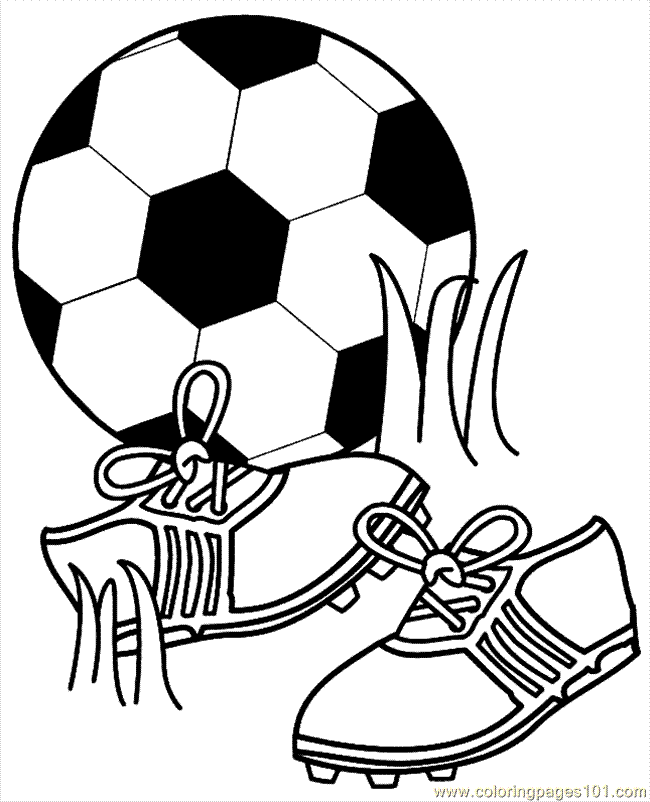
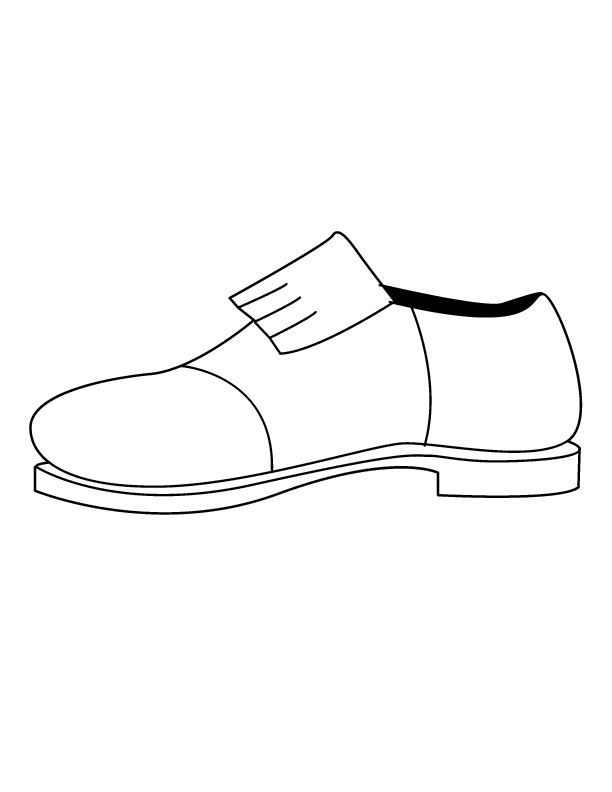
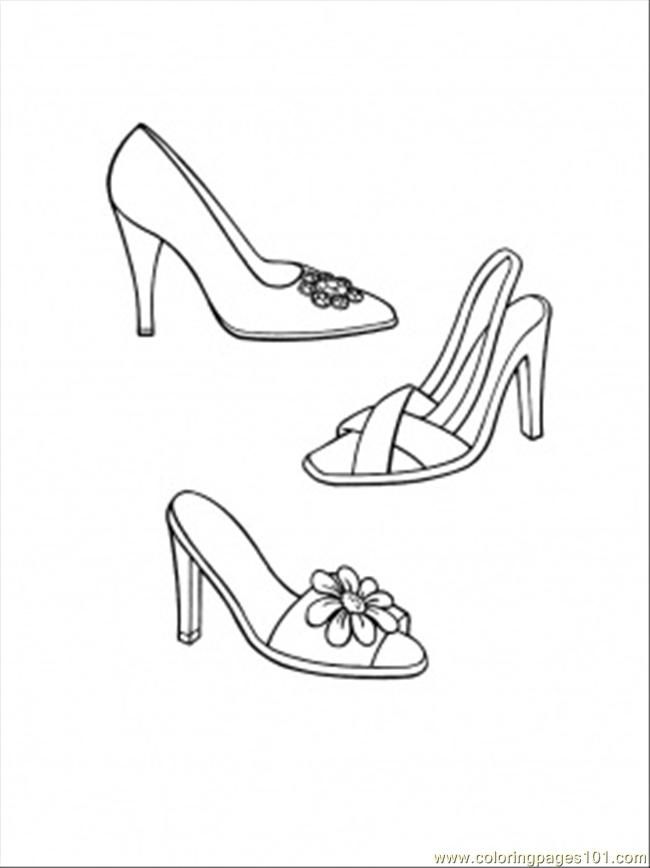
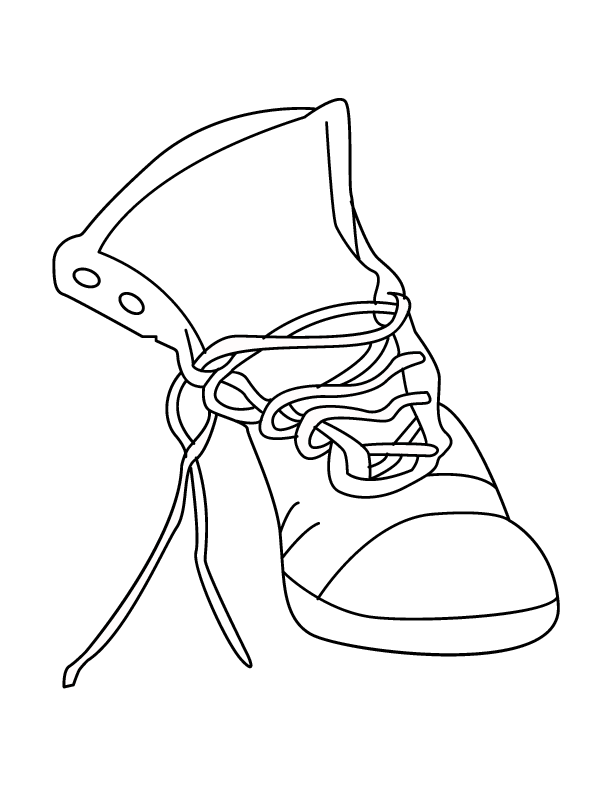
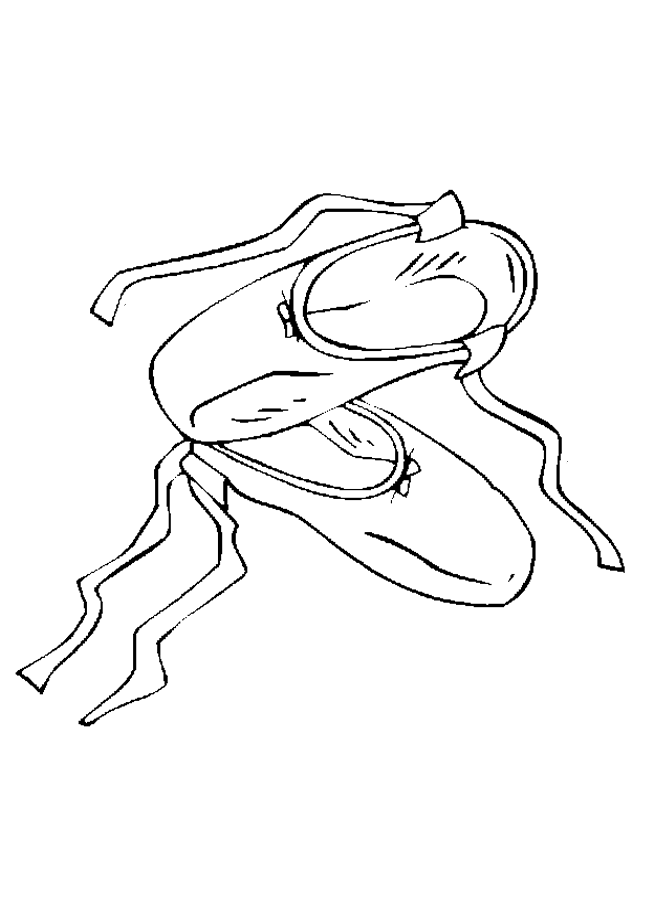
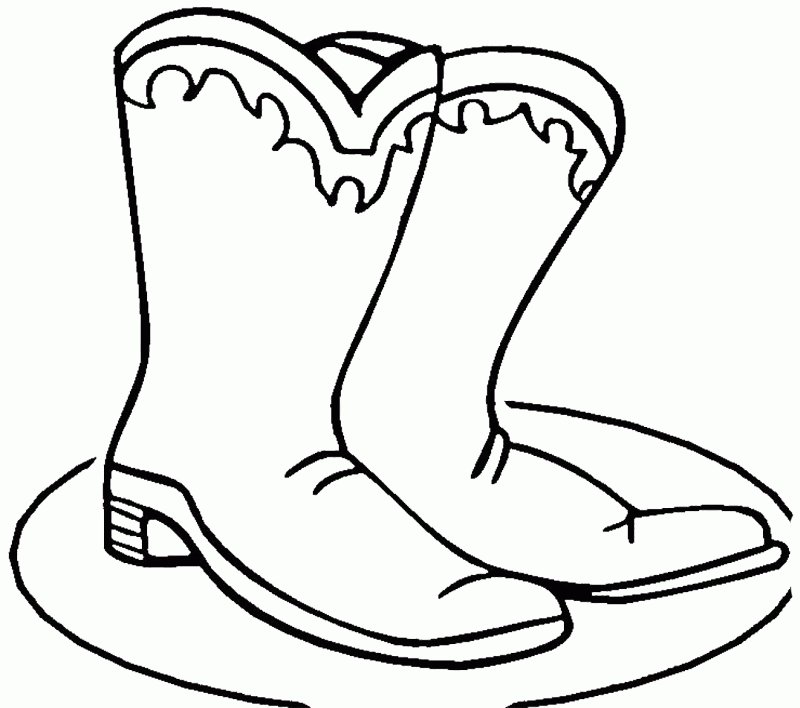
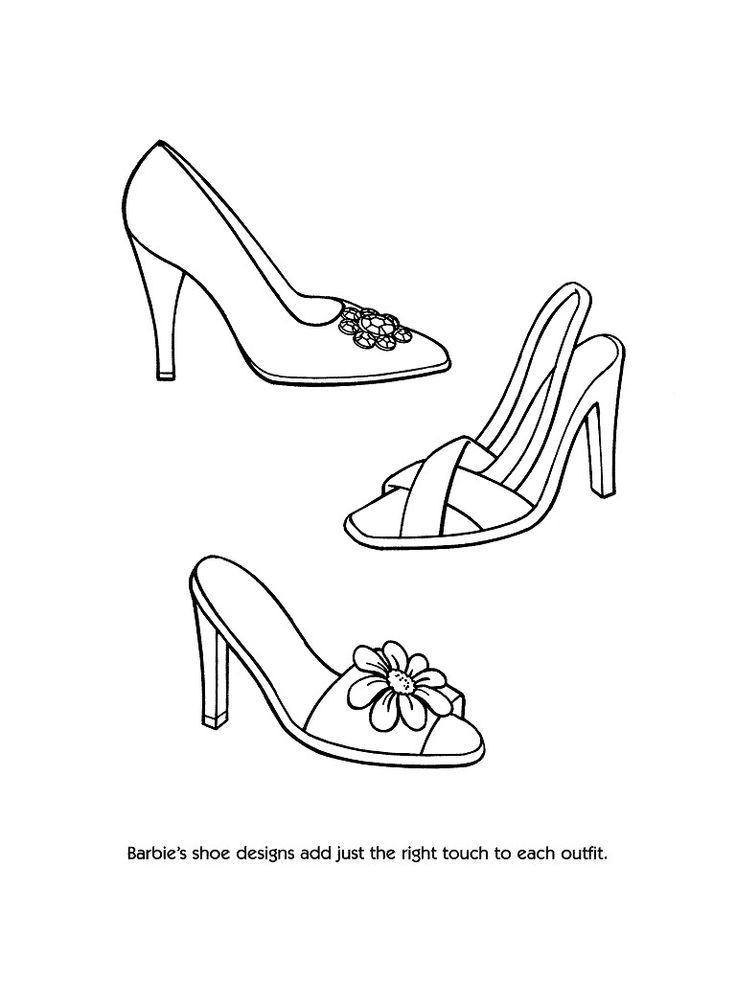
. In today’s drawing tutorial, we guide you through the process of creating a realistic shoe drawing. Everyone loves to sport a new pair of sneakers with squeaky soles and bright, clean colors. You will follow our guide and create your shoe with your skill. We’ll start with a light stroke and then a darker shoe shade eventually, as you can see below. We instruct the six steps, and you will go to step by step to finish your task. Shoes always have two pieces; today, in this article, we give a tutorial to draw only one shoe. If you want you can draw a pair of shoes according to the drawing of this one because it’s completely similar. You can learn to draw a shoe with your kids, and they will like it. More, join in the drawing activity, they can avoid using technical equipment like television, smartphones, and tablets,…They are not suitable for their eyes and evolution. Along with the tutorial, we have also included a couple of free shoes coloring pages that you can print off and give to your kids to color!
How To Draw A Shoe – Let’s Get Started!
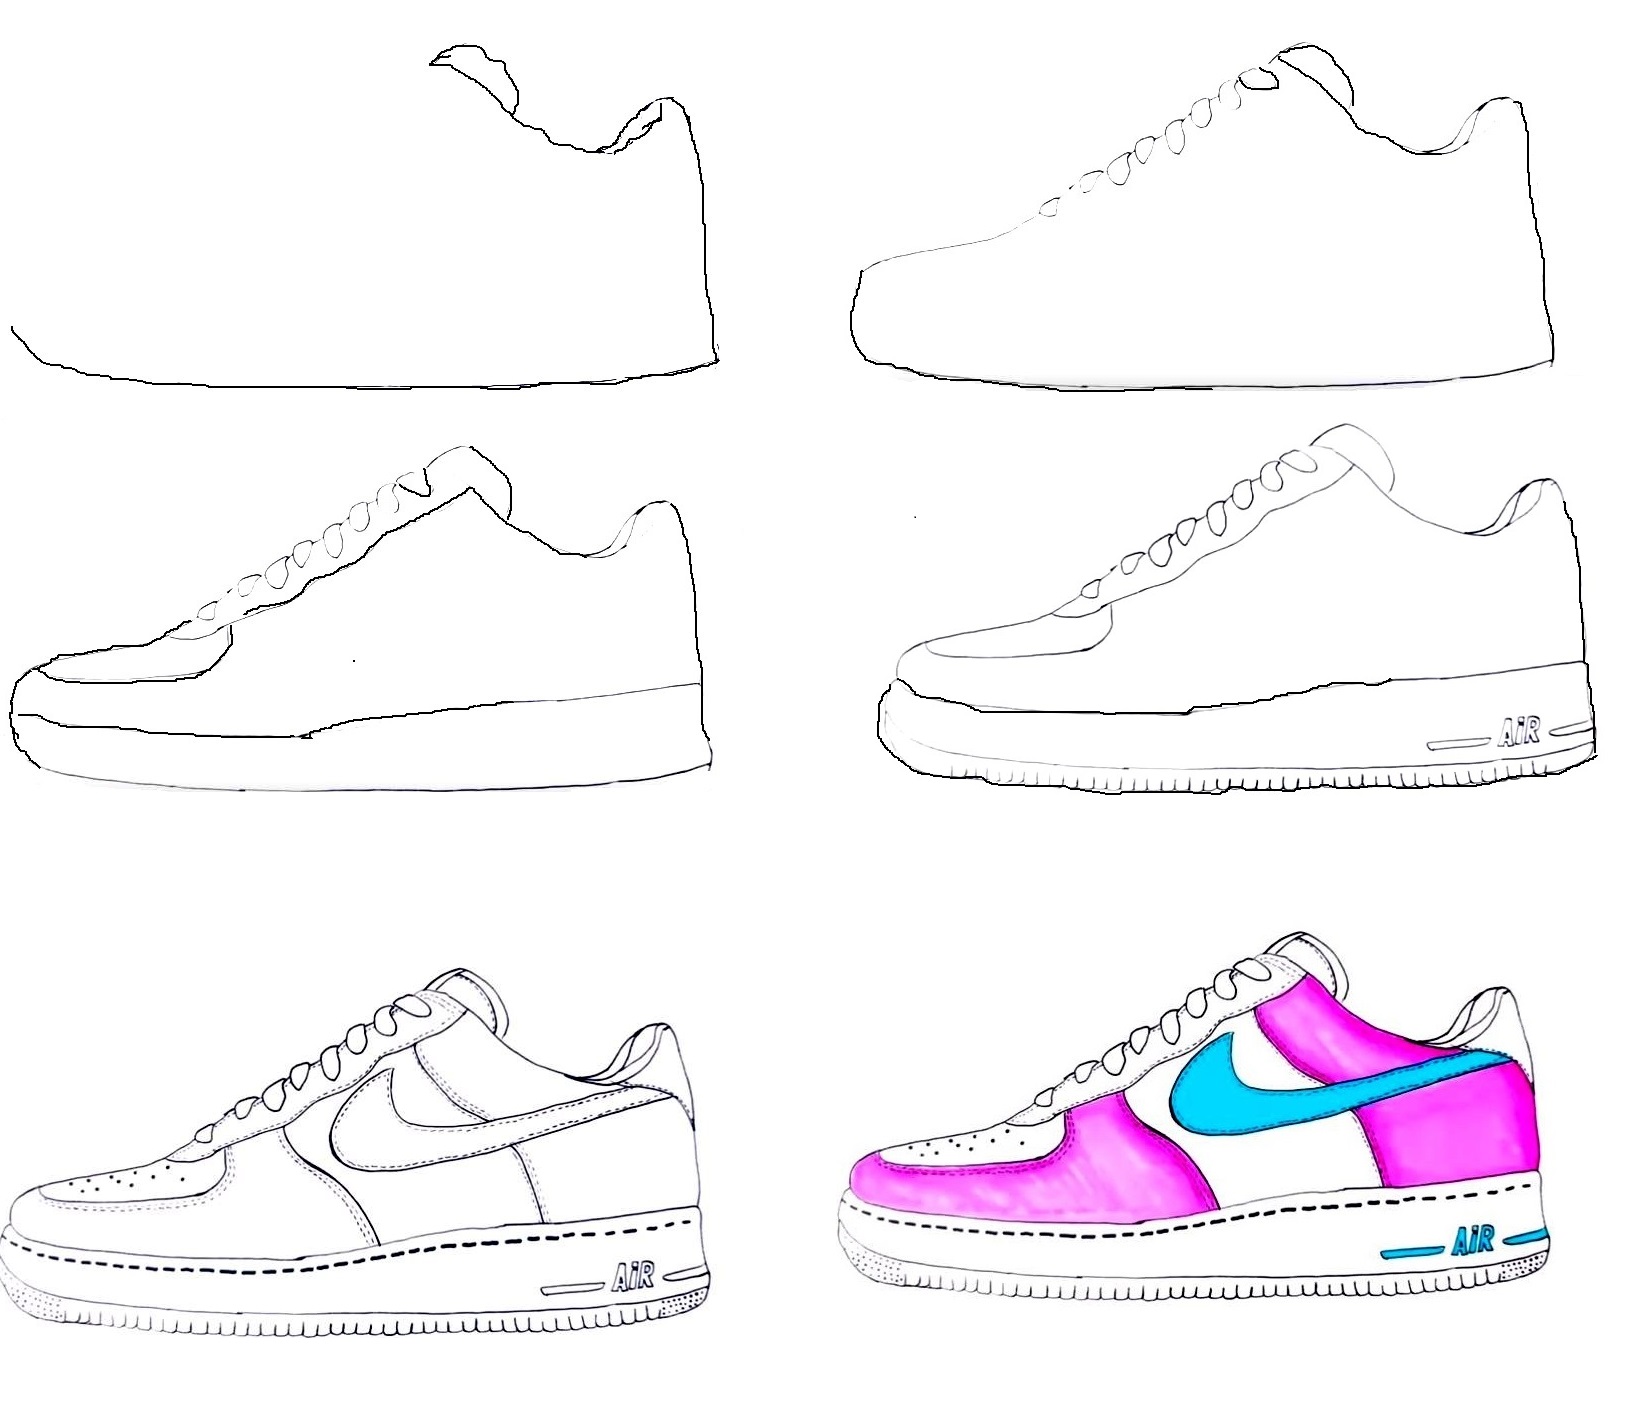
With six simple steps, you will know how to draw a shoe with us. Some steps will require you to erase lines drawn in previous actions. And it would help if you prepared some things such as a pencil, eraser, colored pencils, drawing paper,..before beginning to draw. You use a pencil to draw on paper so you can erase your mistakes easily. There are six missions equivalent to six steps that you must come over. You will go to step by step and comfortably finish your task. If you are a parent, please hesitate to give this instruction to them because this activity will help you get time with your children. You get an opportunity to understand your kids. Through learning to draw, you will understand your child better, through which you will have a better teaching method. The children will work more effectively if they get in a comfortable mood. You can enjoy this learning in your free time after the hard-working hours. It will help you to balance and make your life better. Now, let’s get started drawing a shoe with us!
Step 1 – Draw Soles And Collars For Shoe

You draw a straight line to make the shoe’s sole outline. And then, you use the curved line to draw a part of the shoe’s body and collars for the shoe. You should follow our reference image and follow it. It is not difficult, but you need to concentrate on finishing the task as soon as possible. You can move to the second step now.
Step 2 – Draw Your Shoe Outline
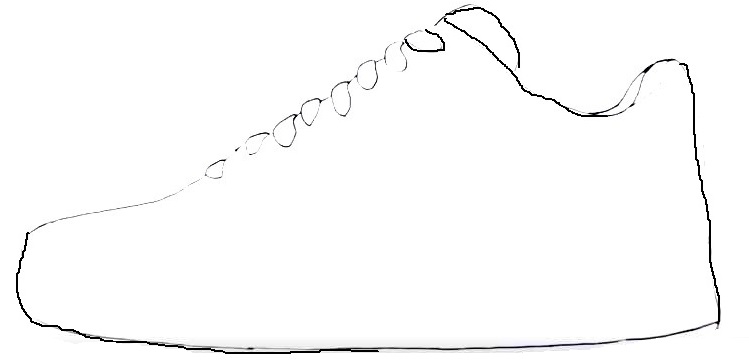
For this second step of your shoe drawing, we will be adding an outline for your shoe. It is a bit complex here, and you can illustrate with blur and then delete unnecessary lines to make your drawing more complete. There is a lot of detail in this step, so you should take it slow, our advice to you is to sketch the shoes first and then draw the laces, and you can make a few indents for the laces as you see in our illustration.
Step 3 – Add Some Details For Your Shoe
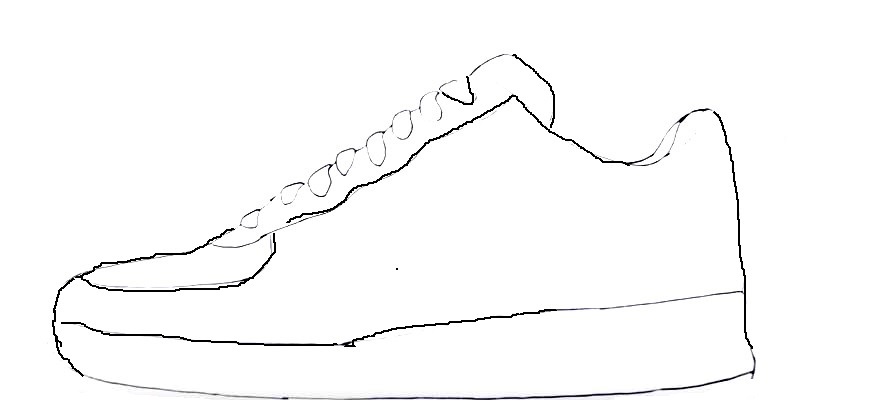
Using the bumpy indents you made in the decoration of the shoe. You can create those detail in your hobby with some different shapes. These may look complicated, but if you look closely at the picture, you will see that they’re made up of pretty simple shapes. Create your own unique shoe. Once you’ve replicated our reference image, you’re ready for step 4.
Step 4 – Create Shoe Brand
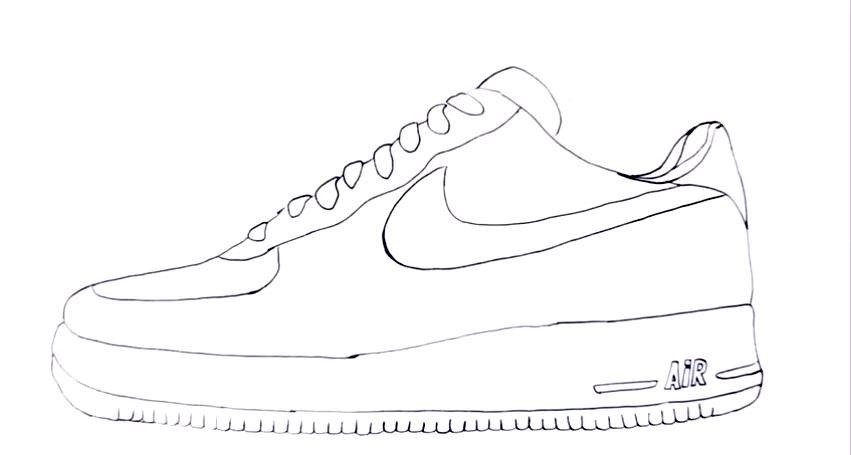
Your shoe drawing is very nearly done! The complex parts are over, so now you can have some fun adding in some fun details… It depends on your hobby that you can create your shoe brand. You can add a logo brand or write some letters if you want. It seems simple in this step, and you can finish it in minutes before going to the fifth step.
Step 5 – Finish Your Drawing Mission
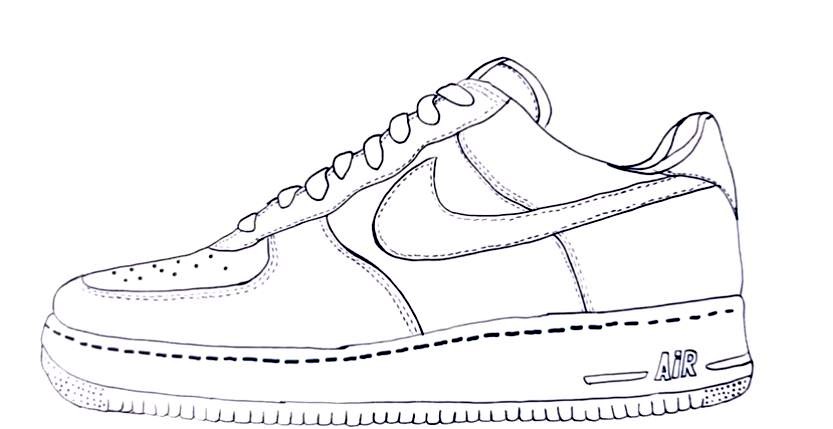
In this step, you can add the final details. You use straight lines and curved lines to add to your shoes. You can refer to our details, but you can add some of your decoration. You could even draw in accessories like buttons, stickers, and other fun patterns to set your shoes apart! You can observe the sensible shoes and use the details you like to create unique shoes here.
Step 6 – Color Your Shoe
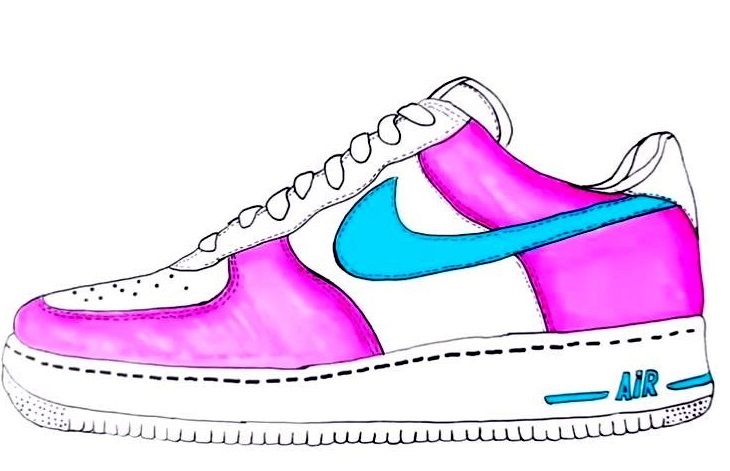
Before leaving this drawing guide, you will add some colors for your product, a shoe. This is the most straightforward mission designed for you. Because you can choose any color you like. You can choose a shoe color with your favorite color as well. We take pink as the leading shoe color and add colors like white, blue, and black…as you see in our reference image. In this tutorial, we have shown you how to draw a shoe in only six easy steps. We hope that you have enjoyed the process of drawing a realistic shoe drawing and that you are happy with your final shoe drawing. You can move to shoes coloring pages and enjoy many images related to shoes. You can refer to other drawing guides on our site. We update them daily.


