Daisy Drawing Is Gotten In 9 Steps
Complete nice daisy drawing in just 9 easy steps
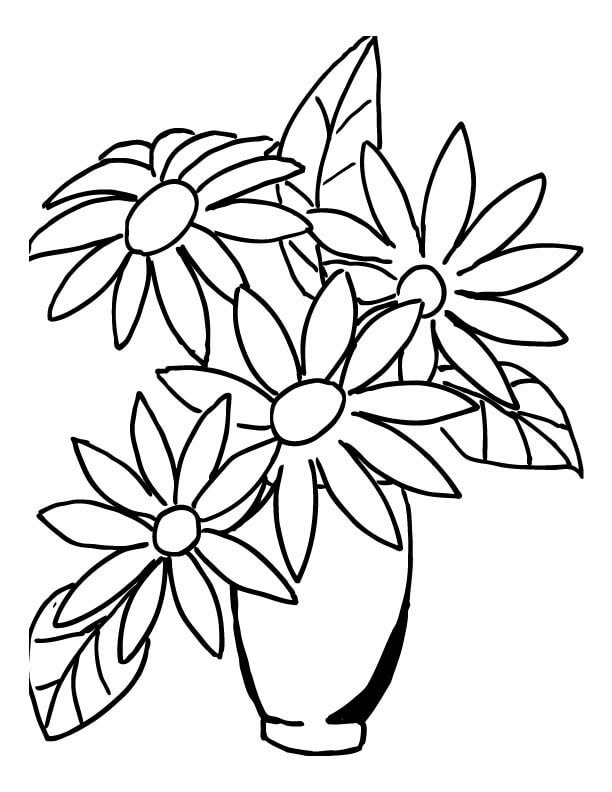
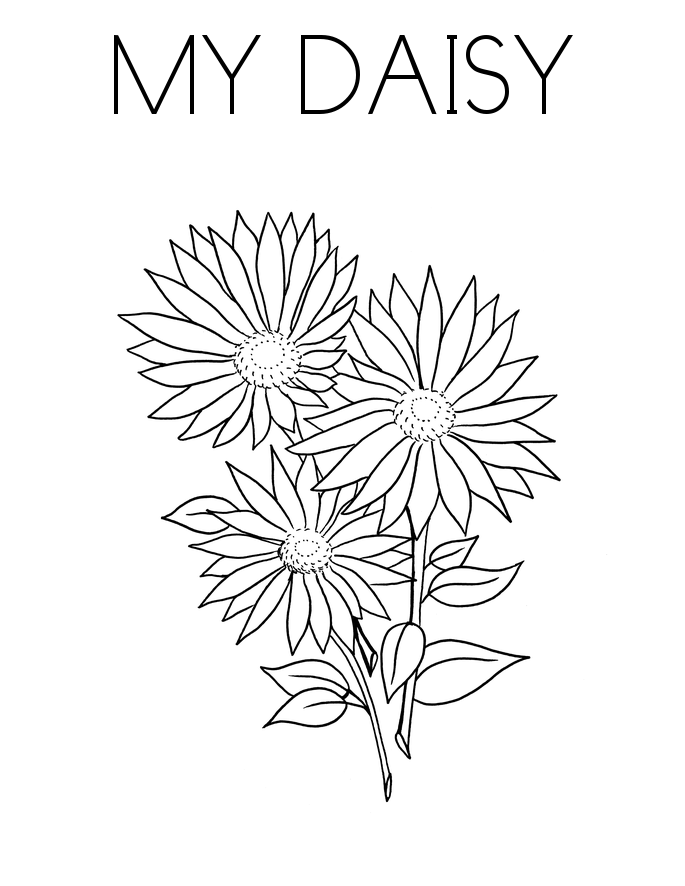
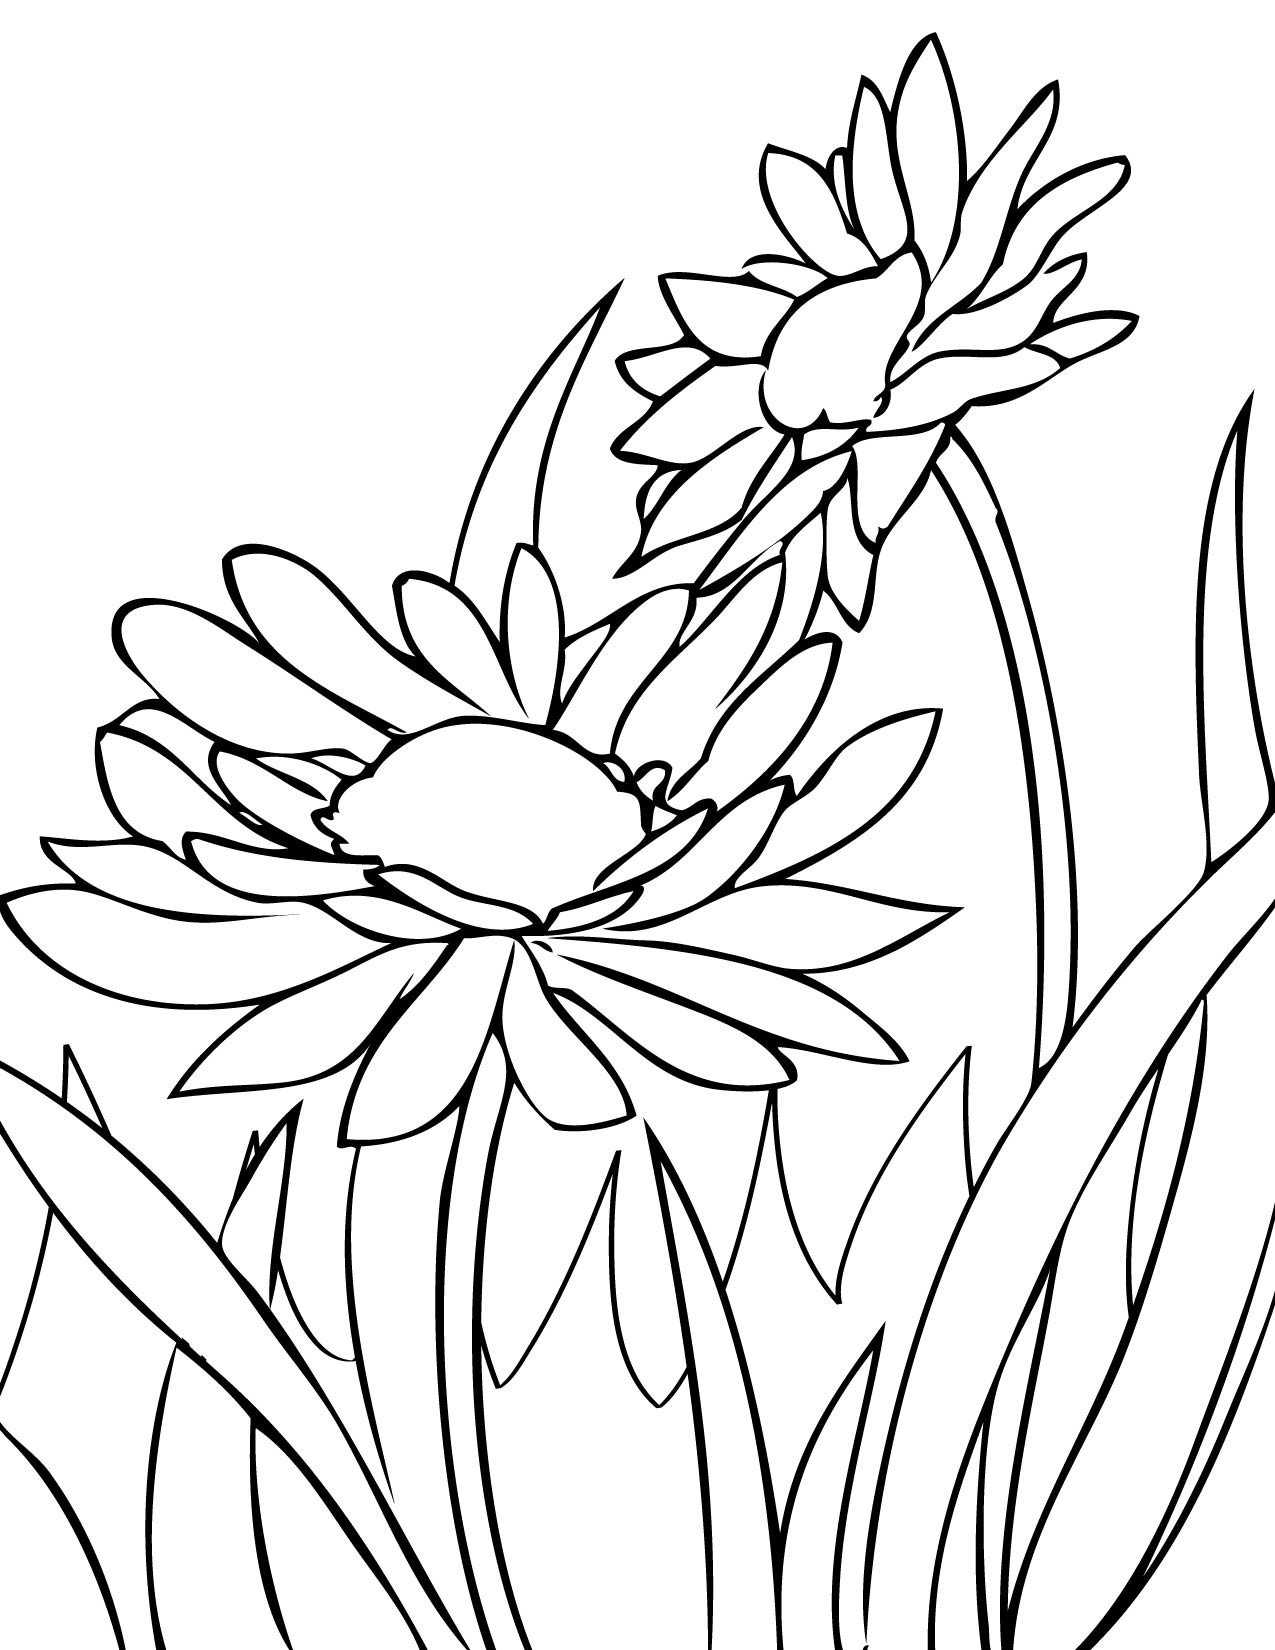
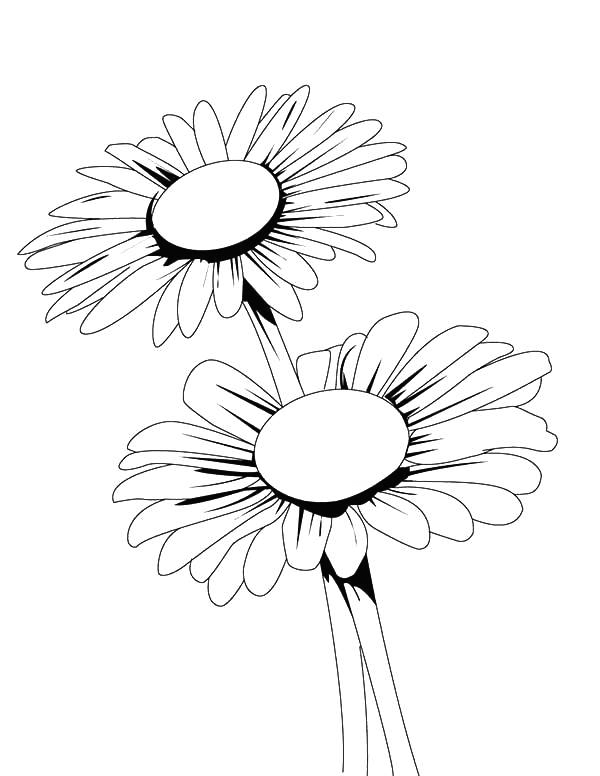
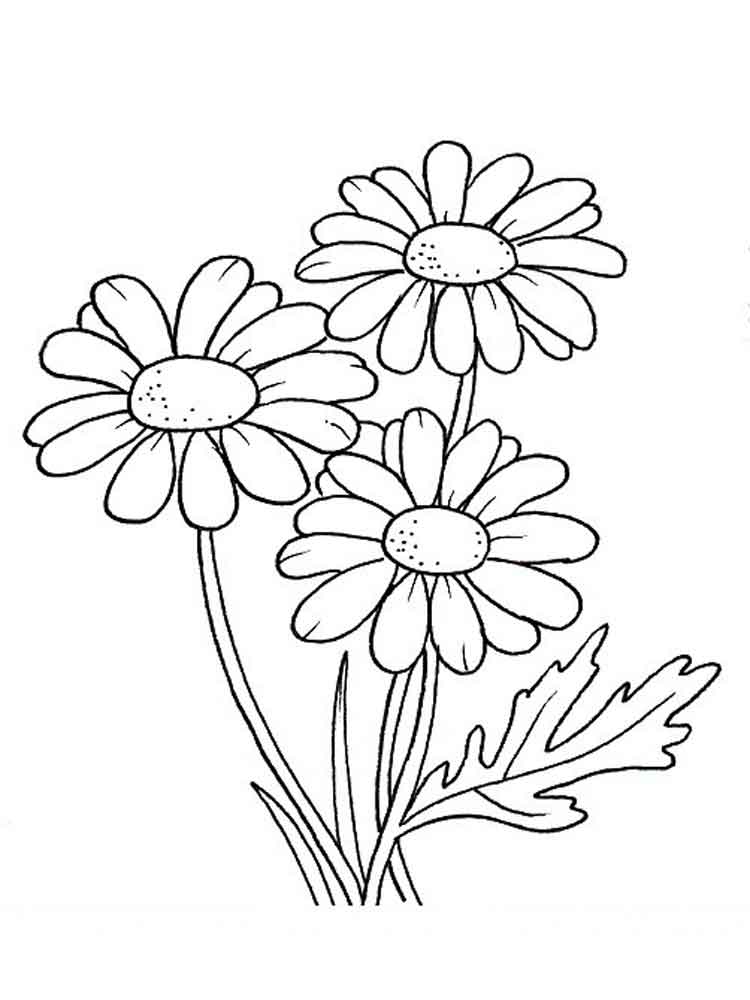
Welcome to our drawing tutorial! Today, you get an opportunity to learn how to draw a daisy or daisy drawing. Feel free to use whatever tools and materials you like the most. You will follow our instructions and our illustration in each step to create a complete daisy. The daisy is as an omen predicting the romantic interest of another. Daisy originated in Europe but has become naturalized – growing in the wild without cultivation – in many parts of the world. The name is probably derived from the English term “day’s eye,” as the flowers are open during the day before closing at night. And now, you prepare some materials such as a pencil, eraser, colored pencils, and drawing paper. And I highly recommend drawing with a pencil when you first start so you can make mistakes without stressing about it! Never be shy about erasing. Along with the tutorial, I have also included a couple of free daisy coloring pages that you can print off and give to your kids to color!
How To Draw A Daisy – Let’s Get Started!

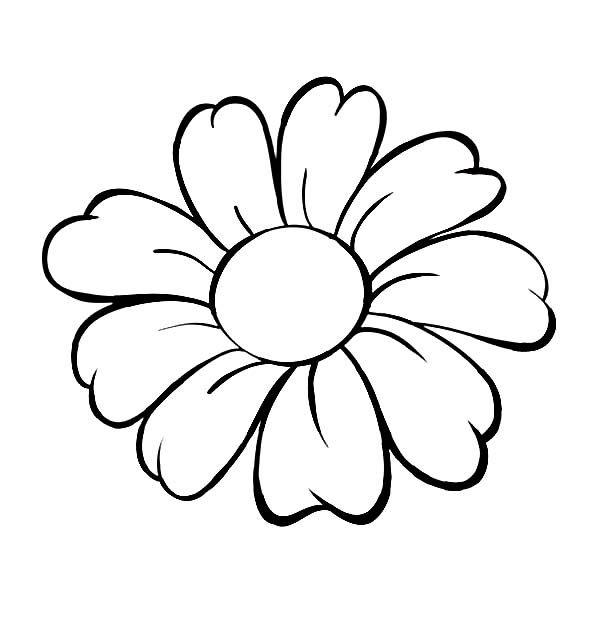
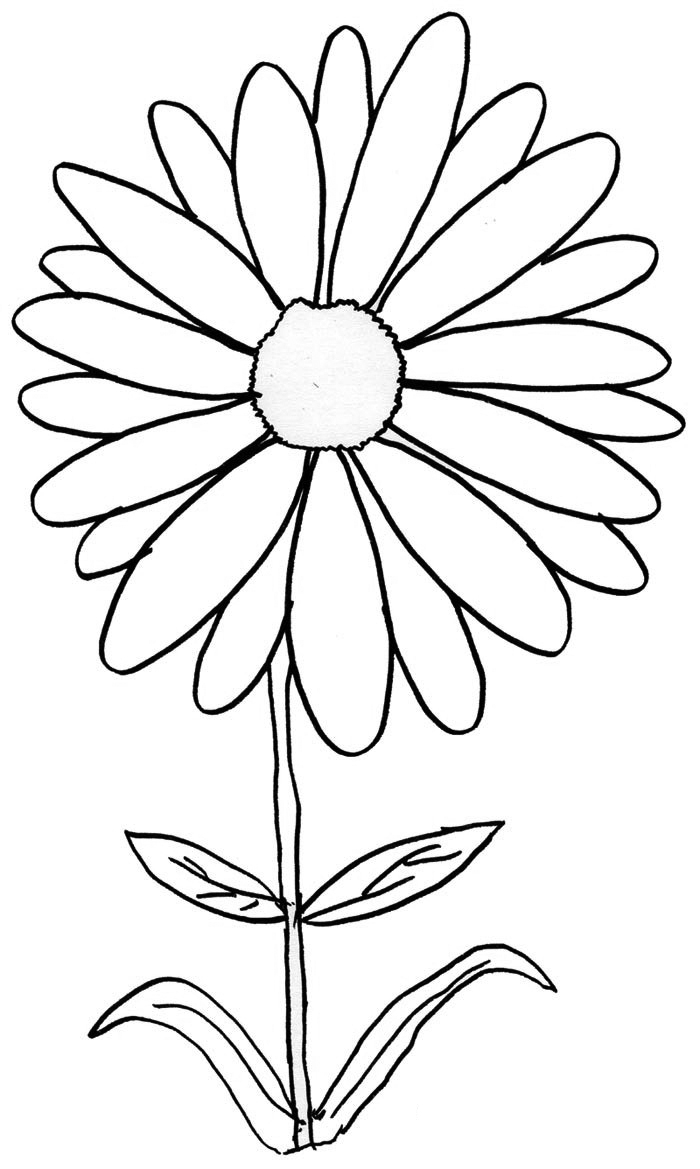
Now, you can look at our image, and you have to imagine the work you need to do to create a complete daisy. Not simple but not too difficult whether you are a beginner or expert in drawing, you can also complete these quests brilliantly. Daisy is made of many petals, and Daisy has many uses in addition to playing a role in beautiful flower bouquets. They are edible and may be used fresh in salads or pickled. Medicinal tinctures are also derived from the blossoms, leaves, roots, and stems. Daisy is not as bright as a rose. It is simple but has its own beauty. So, on special occasions like birthdays and New Year, people can also give each other beautiful daisy bouquets. Here, we explain in nine steps how to draw a lovely daily. With this simple and fun method of learning to draw, you and your kids will become real artists! Dawing and coloring will help you to balance life and make life better. No matter who you are, whatever you do, you also need to have leisure time to relax your mind so you will work more effectively. You can enjoy this activity with your kids after the hard-working hours. We provide instructions for drawing, and coloring pages, etc for free. Now, let’s get started drawing a daisy.
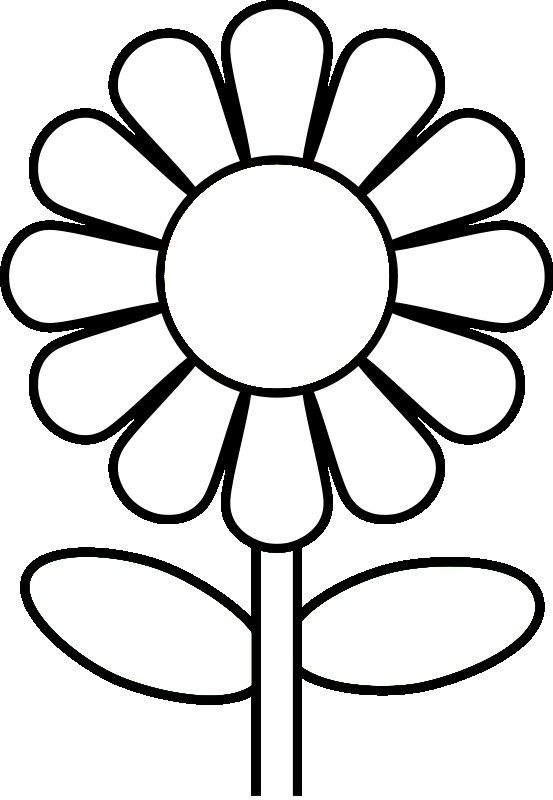
Step 1 – Draw Daiy’s Heart

The straightforward task in this step, just drawing a circle for daisy’s heart. You can use a compass or a small circular object to help you complete the task in this step. Once you have these elements looking as they do in the reference image, you’re ready for step 2!
Step 2 – Draw The First Petal

You will start drawing the first petal for the daisy. From the heart or stigma of the daisy you draw, you will draw two curved lines upwards and meet together at the top of the daisy. So, you get the first of petals for the daisy. So, you can move to step 3.
Step 3 – Draw The Second Petal

Like the first petal, you draw two downward curves to form the second petal. It’s that simple, and you have to finish this task in seconds and move on to the next step.
Step 4 – Draw Third Petal

To the left of the daisy, you will curve to create the 3rd petal. You will use the curved line to create a shape of an oval. And you continue going to the fifth step to draw the rest of the details.
Step 5 – Draw Fourth Petal

you will draw the fourth petal on the right side of the center of the daisy. You use two curved lines and cross at the same point. These will help you to place the daisy’s petals. You finish your task here and go to step 6.
Step 6 – Finish Details On Daisy

You use curved lines to enclose oblong shapes around the petals drawn in the steps above of daisy, forming the petals. The shapes should be roughly ovular, with gentle points on each end. Allow each shape to overlap the end of a minor, straight line. Now, you can move to step 7 and continue your drawing.
Step 7 – Draw Daisy’s Stem

Draw two parallel long curved lines below the oval. This will become the daisy’s stem. Very simple for you in this step and you move to step 8 now.
Step 8 – Finish Your Drawing Mission

From the daisy’s stem, you will create two leaves on two sides like our image. You get a complete daily with flowers, stems, and leaves. You finish the task here and get to the last step in coloring.
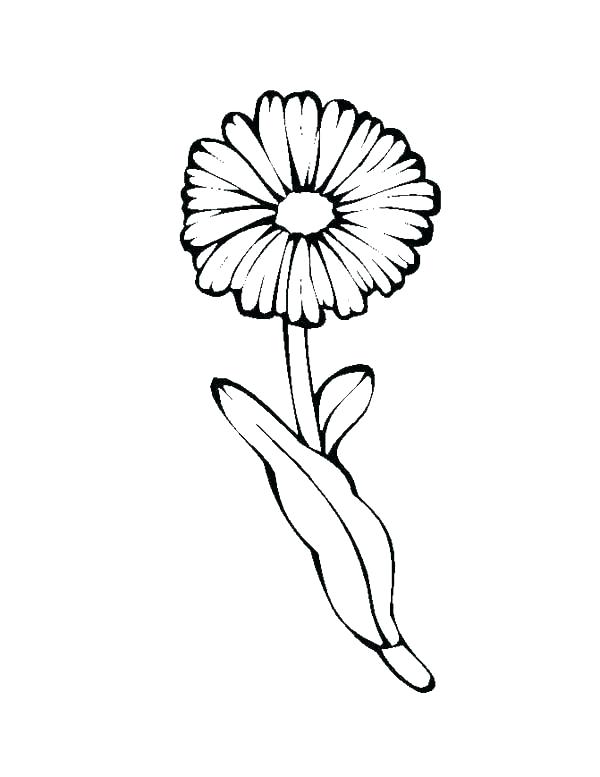
Step 9 – Color Your Daisy

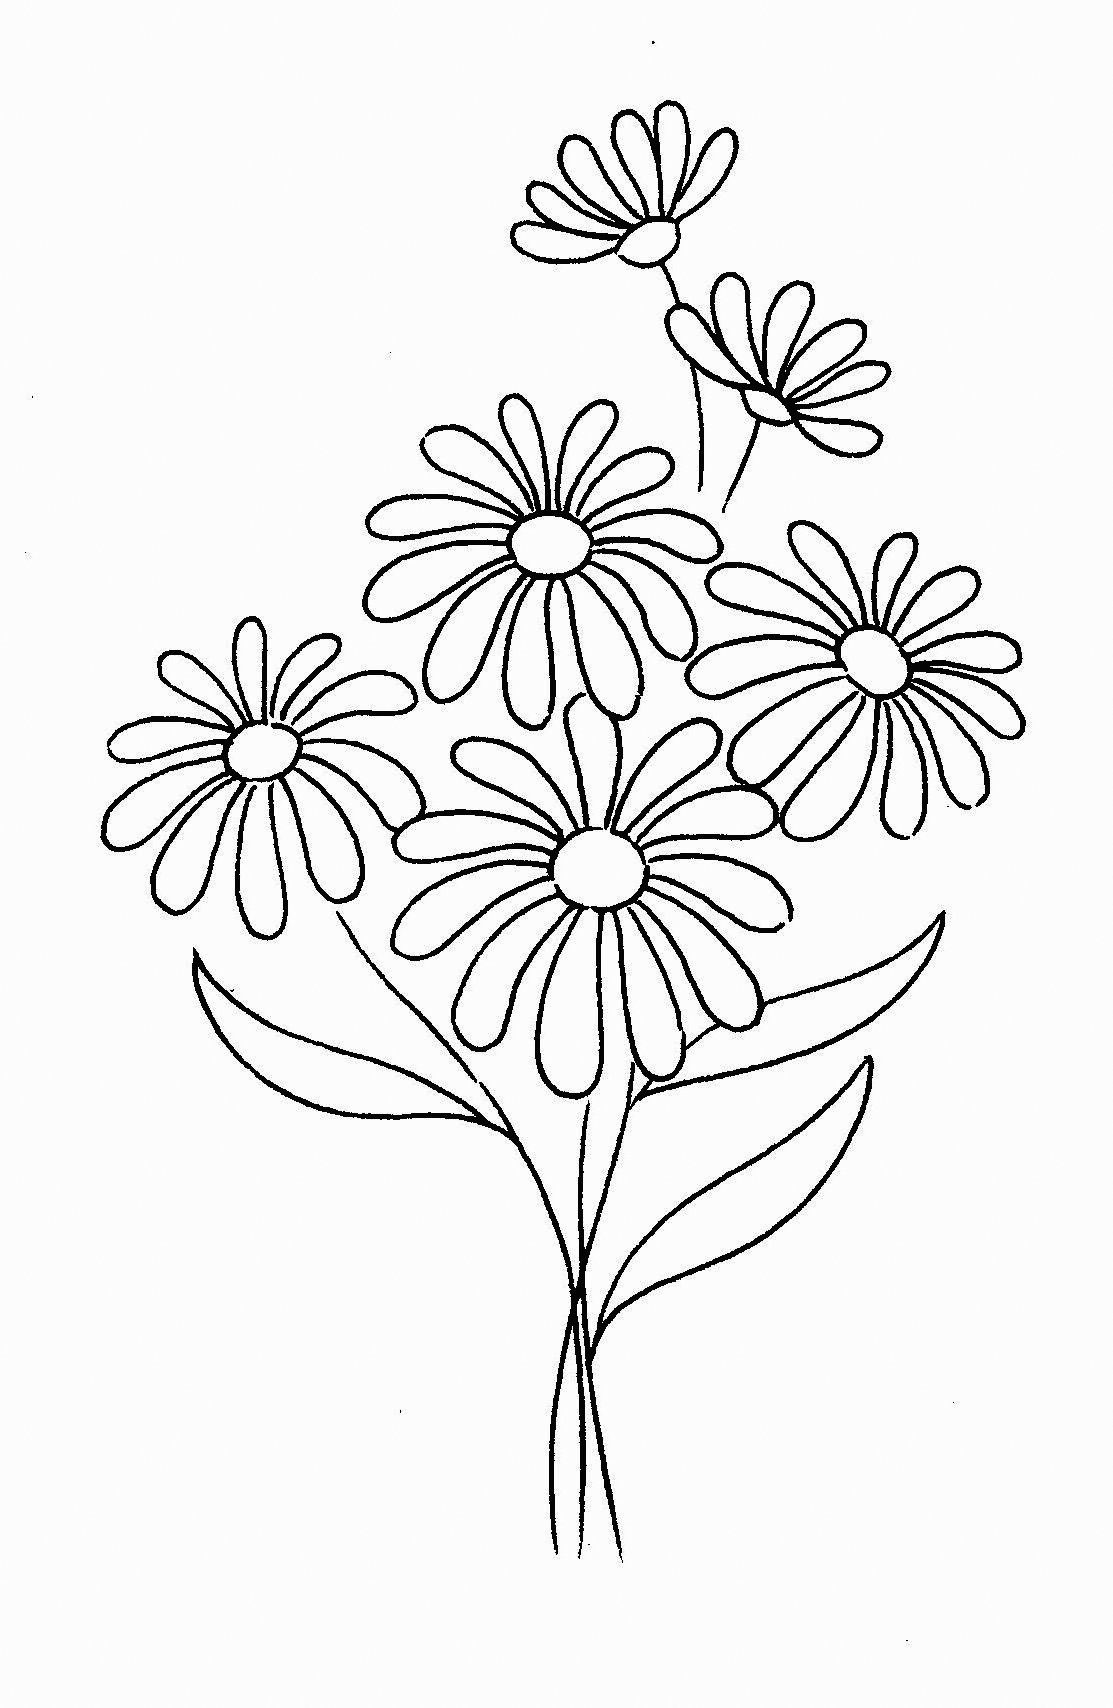
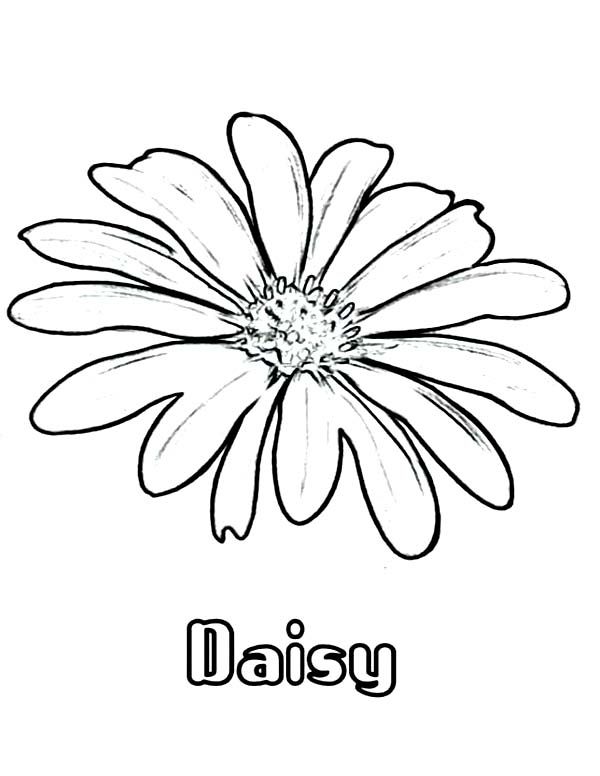
You will choose the suitable colors for your drawing now. In this step, there is no rude in selecting colors for pictures, so you can choose colors you like. You can choose according to the inherent color of the chrysanthemum, which is white petals, yellow center, and blue stems like the color we chose. This step is simple, but it is essential because it decides whether your drawing is nice or not. Drawing and coloring activities are suitable for everyone, from children to adults. You can come to our site and enjoy all actions for free with your device connecting to the internet. You can move to daisy coloring pages and color coloring pages with your favorite colors. I hope you like our tutorials and come back here with your kids. Have fun!