Rosary Drawing Is Created In 8 Easy Steps
Creating a cute rosary drawing in just 8 easy step
Right now, you get a chance to learn how to draw a rosary, you follow ou drawing instructions and illustrations to create a complete rosary drawing with fun time. Your task is not simple but not too difficult, you will concentrate and follow us to realize your work until finishing. There are eight steps equivalent to 8 missions that you come over. You finish your tasks one by one in each step. We give the guide from easy to difficult, so whether you are a novice or an expert in drawing, you can follow these steps effortlessly. More, there are illustrations in our guide to help the drawing learners to realize the mission easier. Finishing the task of how to draw a drawing is not simple but not too difficult, and you need to concentrate during the drawing. Along with this guide, you will enjoy rosary coloring pages for free on our website with many images.
How To Draw A Rosary– Let’s Get Started!

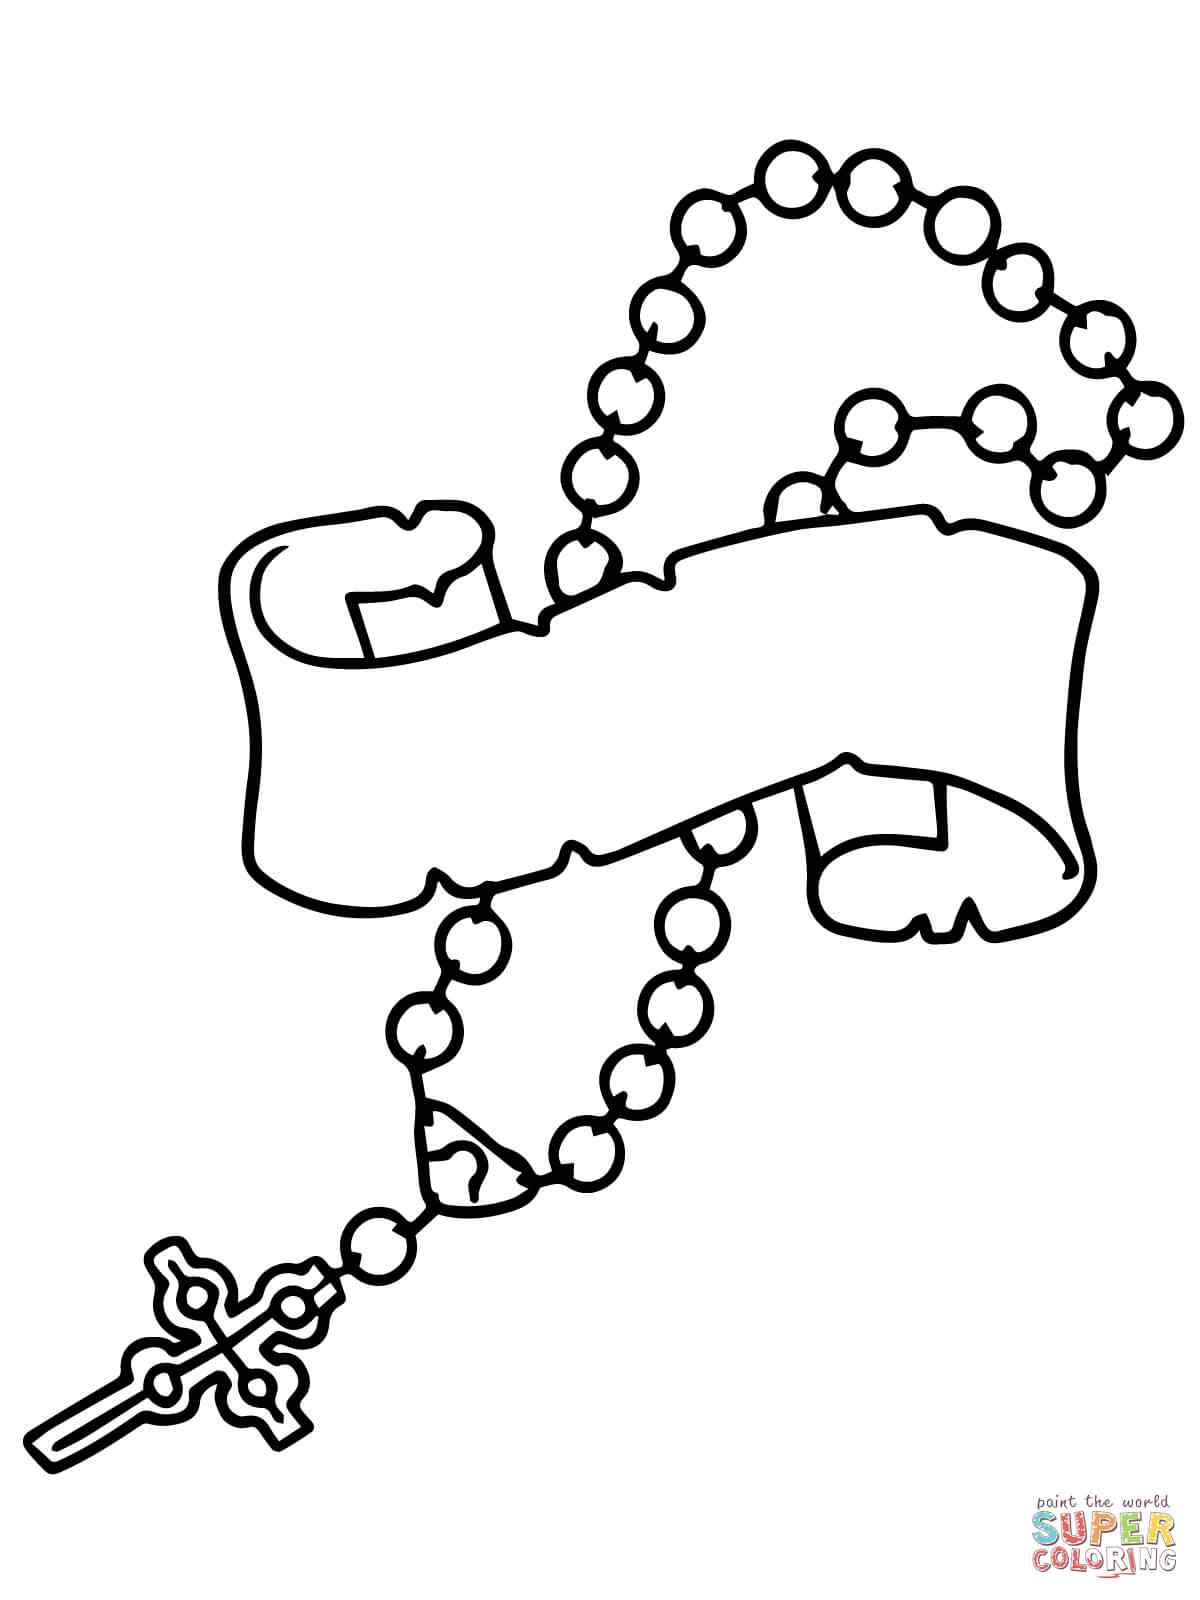
You know that a rosary, also known as prayer beads, is a “religious exercise in which prayers are recited and counted on a string of beads or a knotted cord. According to religious rites, during prayer, one would use one’s fingers and roll each bead until the rosary was completed. Only then will the prayer be effective and will achieve the will of the person praying. Before starting drawing, you must prepare some tools for your drawings such as a pencil, pen, paper, and colors,…You use your pencil to draw on paper and then erase your mistakes if you draw wrong, so please don’t be afraid to draw; you can draw in your comfortable mood and create a great time with us. First, you draw the blurred lines with a pencil then you will bold those lines. Sometimes you will have to erase and redraw the wrong lines to make your drawing more complete. Finally, you will choose the suitable colors for your cute rosary drawing, and your task is done. Now, let’s get started by drawing a rosary with us!
Step 1 – Drawing A Fancy Cross

To start on how to draw a rosary, you must show its fancy cross. Just like drawing a tree, there will be four branches in four directions. There is a bit of complexity here you need to focus on, our advice to you is to look at our reference picture and follow it. After that, you draw the teardrop shape inside each arm, and then you continue to draw the small circles in shape “U”. Once finish the task, you come to the second step and continue your drawing.
Step 2 – Start Drawing The Beads Of The Rosary

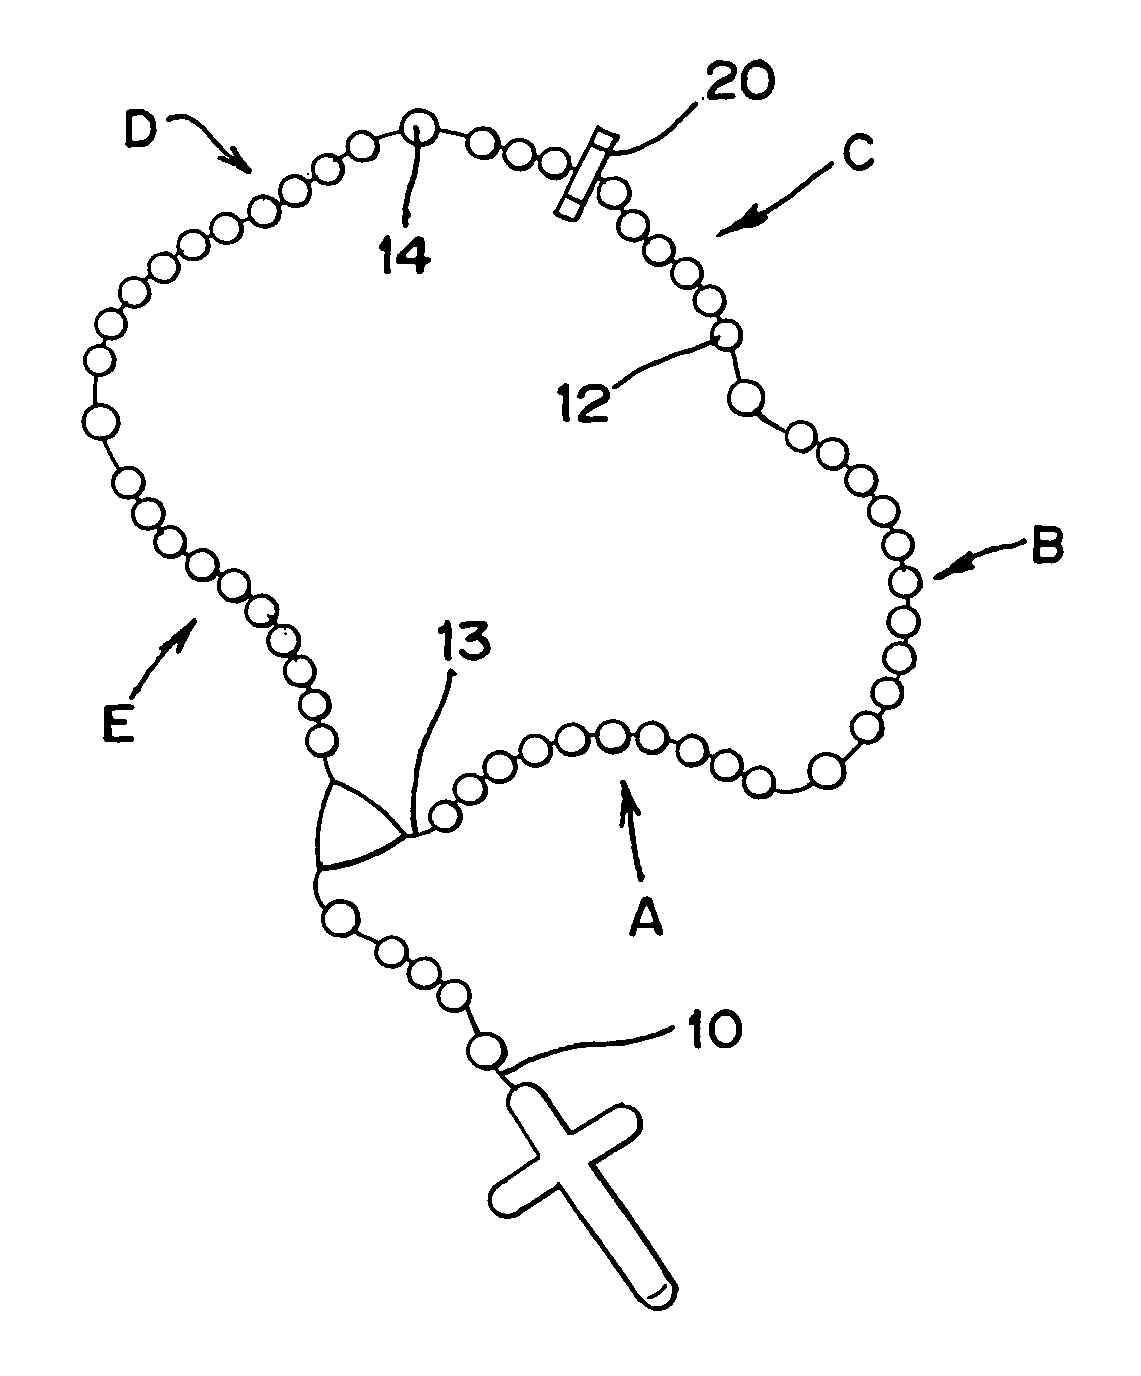
Begin to draw the rosary beads by drawing some small ovals, then draw a larger oval. You continue to draw the small oval and finish the work in this step with an oval larger than the other ovals. You can observe our illustration and follow it for this task to create a perfect rosary drawing before moving to the third step.
Step 3 – Continue Drawing The Beads Of The Rosary

Your task in this step for your rosary drawing is similar to step 2. You continue drawing the rosary beads by drawing some small ovals and then drawing a large oval at the end. At this step, you will gradually get used to drawing beads of the rosary, so it’s not too difficult for you, do it slowly and e.njoy it. You can continue your work on how to draw a rosary in step 4
Step 4 – Add More The Beads Of The Rosary

Once again, you reassemble the task of step 2. Your task here is to draw several small connected ovals. Then, draw a larger oval. it’s very easy for you to do this task, isn’t it? Let’s finish it quickly and move on to the next step in your cute rosary drawing.
Step 5 – Continue Drawing The Beads Of The Rosary

Your mission in this step on how to draw a rosary is to repeat the task of the previous step. You also draw several small connected ovals. Then, draw a larger oval. Are you bored with these repetitive tasks? The drawing is the same, but each time you draw, you get 1 more length for your rosary; that’s interesting. Right now, you are ready to go to step 6.
Step 6 – Continue Drawing The Beads Of The Rosary

In this sixth step on how to draw a rosary, you continue to add the beads for the rosary. You will draw some small ovals and then finish with a larger oval. Notice how the string of beads curls and coils around. Similar to the previous steps, you spend some minutes and continue your final detail on your rosary drawing work.
Step 7 – Finish Your Drawing Mission

Your task in this step on how to draw a rosary is the same as the previous steps. You continue to add the beads for the rosary. You will use the curved lines to draw the ovals until it connects with the second large oval from the cross. It can be said that your rosary is almost complete with your drawings; isn’t it amazing? You get the last step for coloring your rosary drawing.
Step 8 – Color Your Rosary

The last step in your drawing is to select colors for your image. This might be the most fun of all the steps, as now step you get to express your creativity with your colors! We can give the colors to guide you, but the best way is to choose a cassava color for your picture. We recommend it whether you choose the same gray and yellow as ours or any of your favorite colors. You can experiment with different colors and also choose different colors to create a picture with your own nuance. So, you finish your drawing and coloring task on how to draw a rosary. And here, we will give some tips for this learning to draw.
Some Tips To Make Your Rosary Drawing Even Better!
Make this rosary outline as we show you some ways, and you will realize your task easier.
We focus on drawing the beads of the rosary in order to make it easier to learn, but the highlight of this picture is the cross so it was drawn in the first step.
Imagine the line your drawing before you put your pencil
Once you create a complete rosary, you can draw a nice neck to wear your product.
So, you finish all tasks here with us on how to draw a rosary. I hope you find these tutorials for rosary helpful. On our site, besides the drawing guide, we provide coloring pages for free to color. You also come to rosary coloring pages to practice your drawing and coloring with the rosary images to relax