6 Easy Steps To Create A Rainbow Drawing – How To Draw A Rainbow
Rainbow Drawing Is Complete In 6 Simple Steps
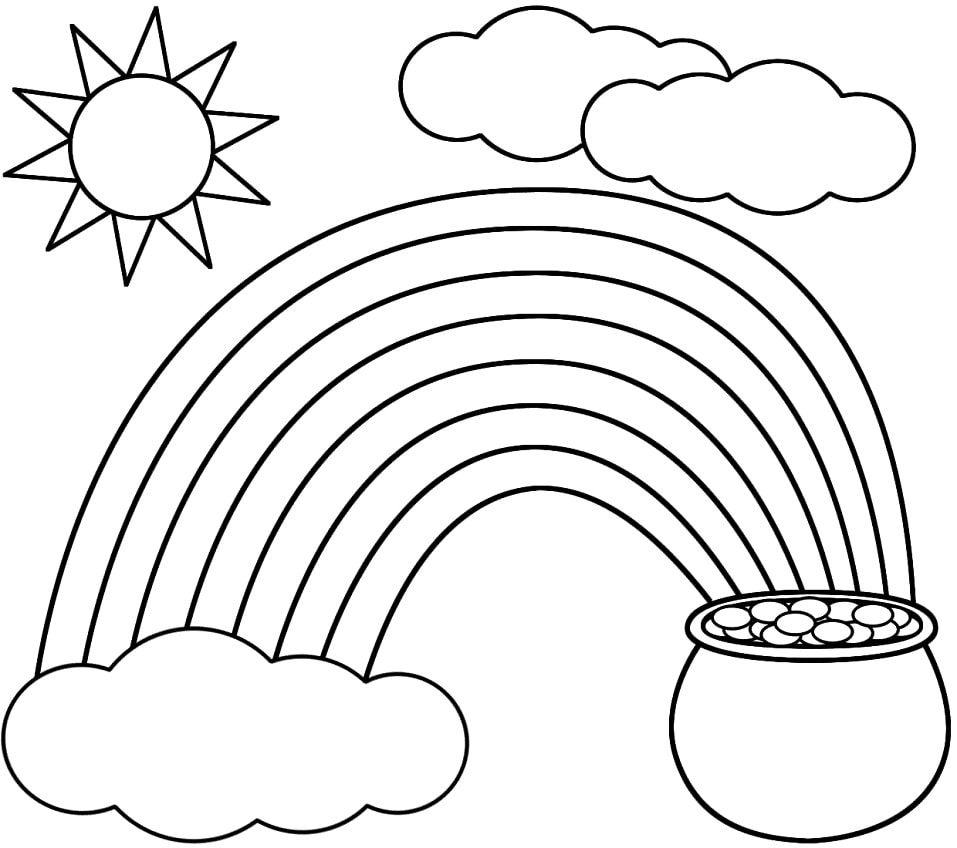
You will get a chance to get a complete rainbow drawing. The Rainbow is a beautiful natural phenomenon. It often appears after the Rainbow. Few people notice that the Rainbow always seems on the opposite side of the sky from the sun. The bands of the Rainbow always appear in a particular order. A simple way to remember the order is the acronym ROY G. BIV. Each letter in this fictional name stands for the first letter of color: Red, Orange, Yellow, Green, Blue, Indigo blue, and Violet. In nature, the exciting thing about rainbows here is that red is always at the top and purple at the bottom in the primary Rainbow. This is because blue and Violet light bends more than red light when filtered through raindrops. In the case of a double rainbow, the colors in the sub-arch are inverted. Rainbows have been featured in art and culture for millennia. One earliest recorded mention of rainbows is in the Bible’s book of Genesis. The Rainbow symbolizes God’s promise never to bring a global flood to the earth in this account. The Greek scholar Aristotle and other ancient philosophers theorized a possible cause for rainbows. In Ireland, elves are said to hide their pots of gold at the end of the Rainbow. Since rainbows appear to move over highways when approached, gold is never discovered by people.
How to Draw A Rainbow – Let’s Get Started!
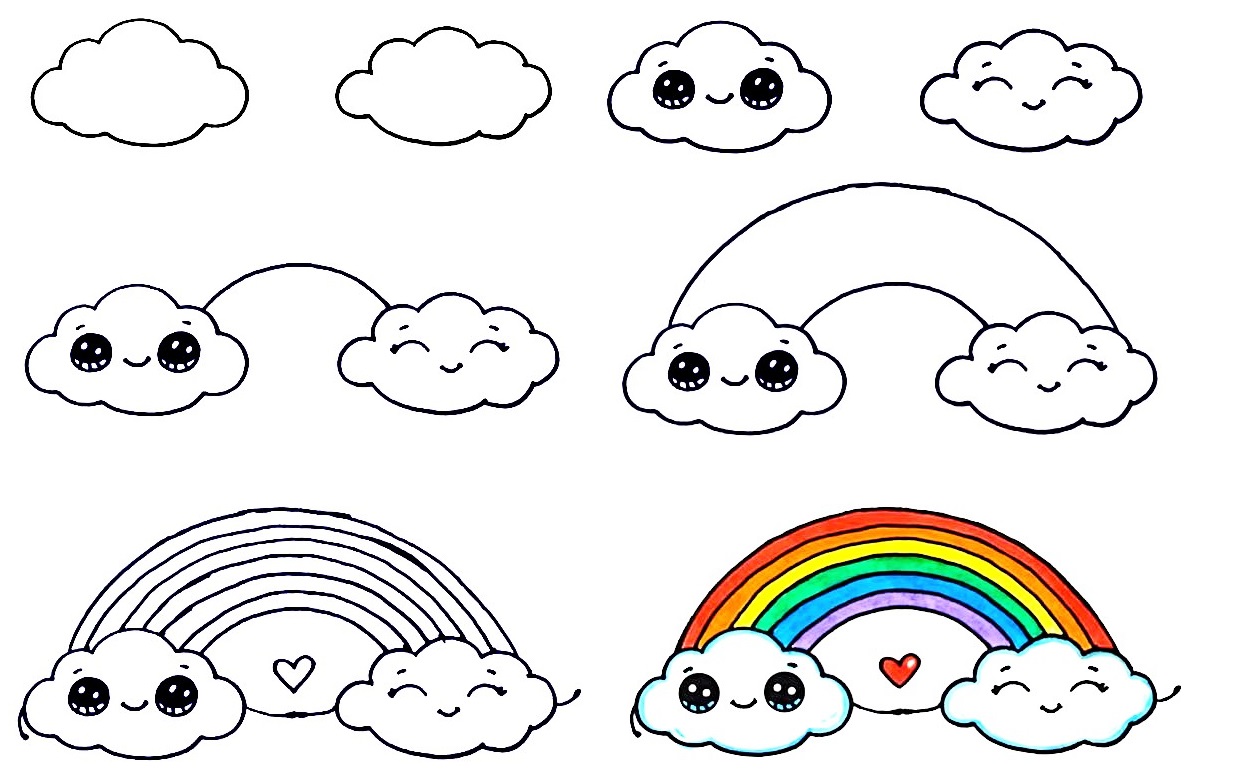
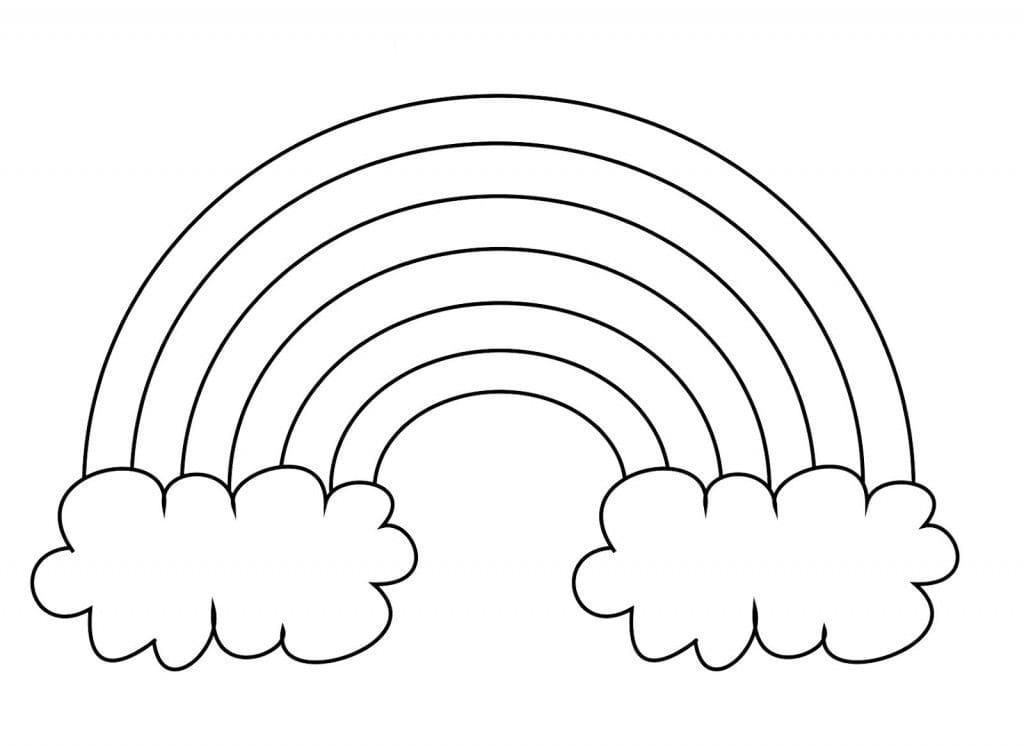
Here, you will learn how to draw a rainbow with six steps. You will use a pencil, paper, and some colors to realize your task. Not difficult. You will be patient, follow our tutorial, and finish your job. Please use your tool and finish your mission as soon as possible you get a complete rainbow picture as our original picture.
Step 1 – Draw Two Clouds For The Rainbow

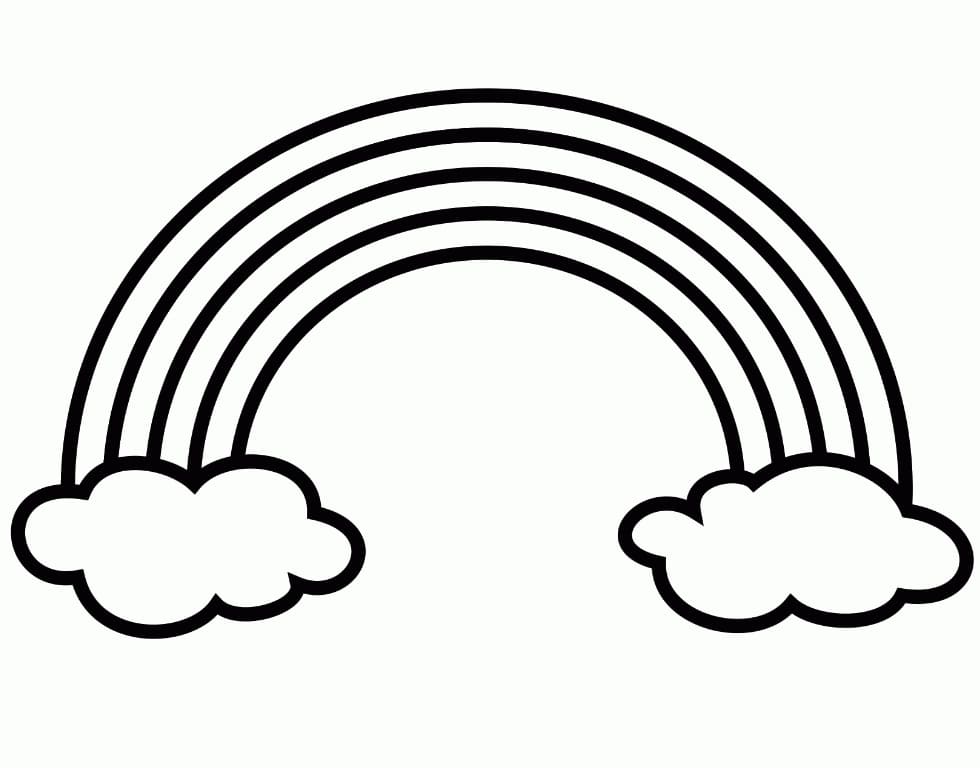
It is simple in this step. To do this, use your pencil to draw the cloud shapes with some rounded lines. these clouds are like supports for the rainbow to pass through. You can observe our picture and follow it.
Step 2 – Draw Face Detail For Two Clouds

Here, you will start drawing face detail for two clouds. You will draw each cloud’s eyes, noses, and mouths with a fun mood. You use the smiley face for the cloud and the smiley face for the other cloud. With a smiley face, you draw eyes with two curves. A funny face with 2 eyes will be two big round black dots, and you will leave a few small white dots in the eyes of a funny face. With the nose and mouth, you are also easy to do. Just one short curve is the mouth and nose. Let’s draw short curves on the eyes to show the hair of the two lovely faces of clouds.
Step 3 – Draw A Curve Connecting Two Clouds Together

In this step, your task is to draw a curve connecting two clouds together. This line will be so curved and rounded that it will appear almost a half circle. For this reason, you can make it much easier if you use a tool such as a drawing compass. You will use a compass to draw it, and remember to draw only half of the circle.
Step 4 – Add The Second Curve

You will continue to use a compass and draw the second curve. It is simple, you must be careful and patient to finish your task. Please realize your mission here and next to the next step.
Step 5 – Finish Your Drawing Mission
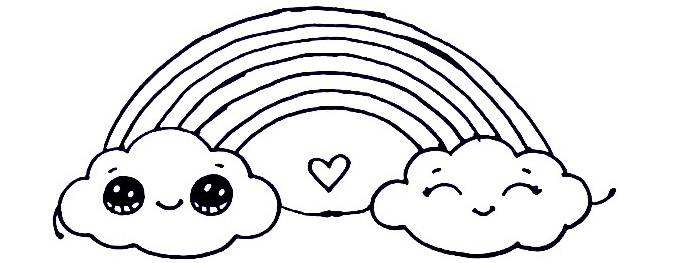
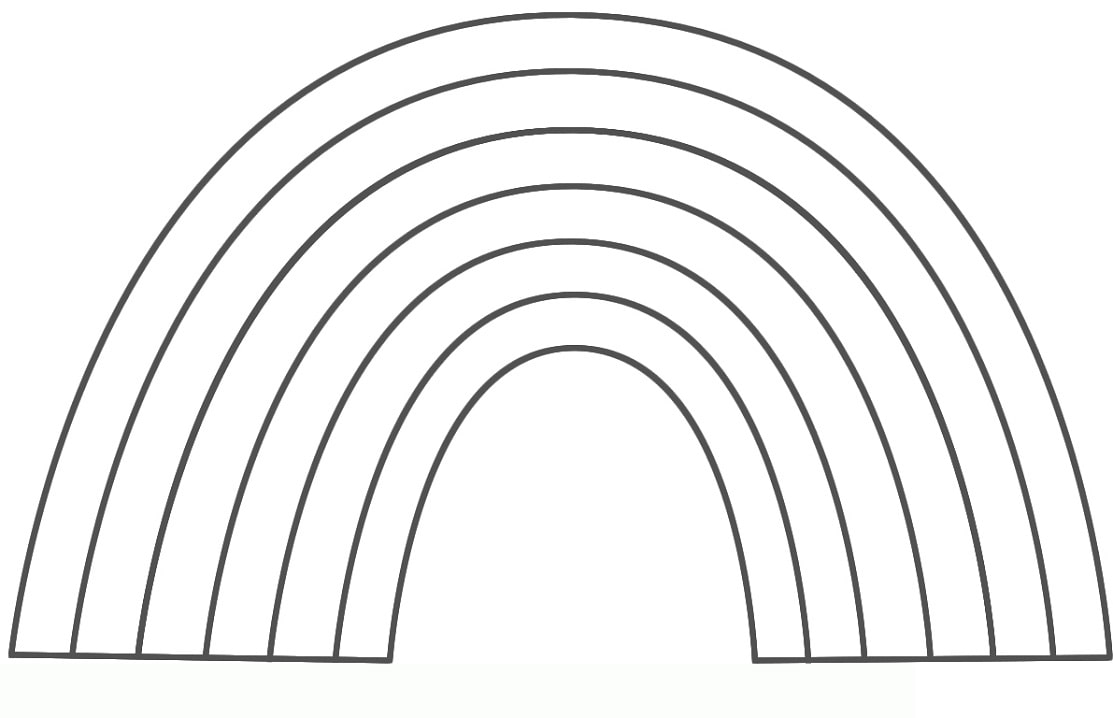
Now, you add multi-curves for your work. In this step of our guide on how to draw a rainbow, you will be adding some more curved lines for your rainbow. You can use your compass to add two more lines to the rainbow, and these will be slightly closer together than the other ones were.
Step 6 – Add Some Colors For the Rainbow

You will use seven colors for your rainbow as our products such as Red, Orange, Yellow, Green, Blue, Indigo blue, and Violet. With clouds, you can let white for it. You can decorate some detail to make your rainbow cute. Hope that you get a great time here.
Your Rainbow Drawing Is Complete!
You can go to Rainbow Coloring Pages on our site to practice drawing and coloring because we have many Rainbow Coloring Pages for you.


