9 Easy Steps To Create Princess Mulan Drawing – How To Draw Princess Mulan
Creating a nice Princess Mulan drawing in just 9 easy steps
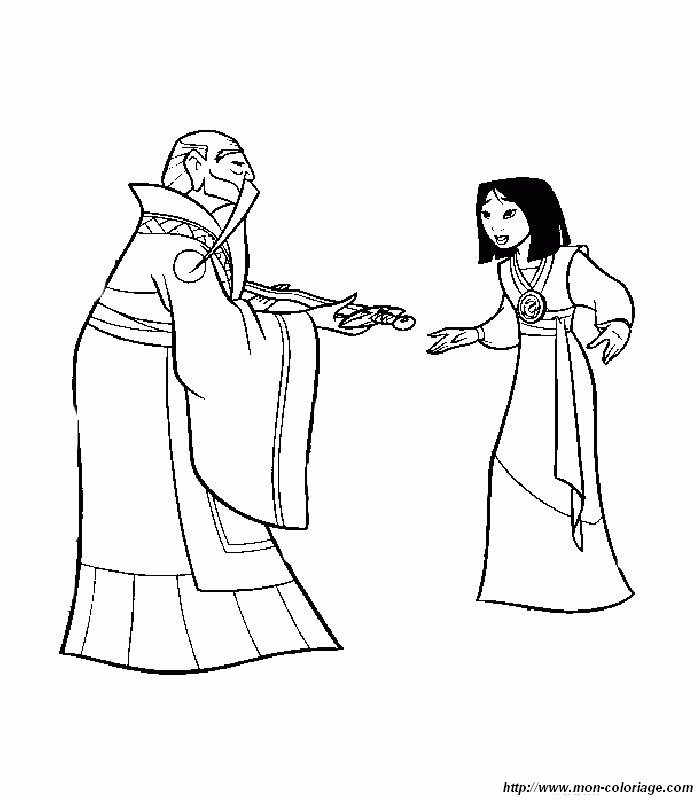
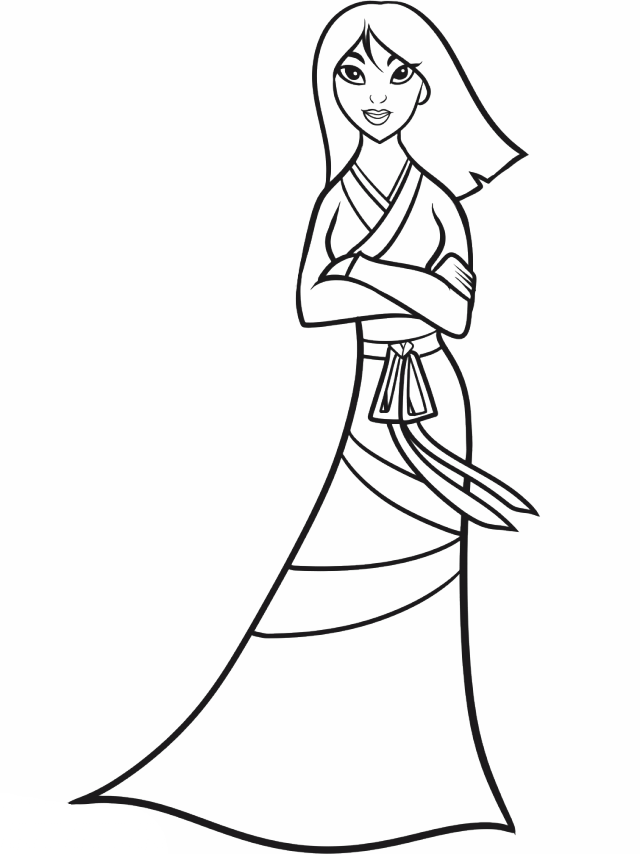
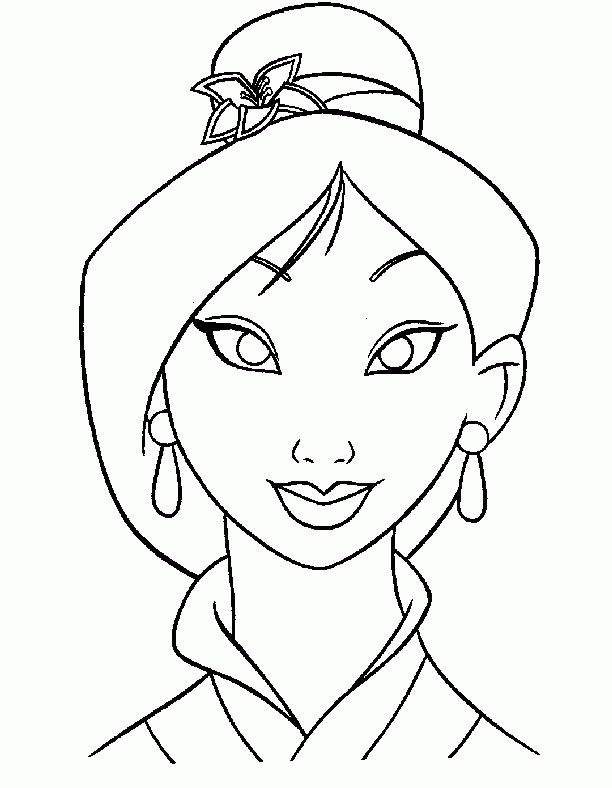
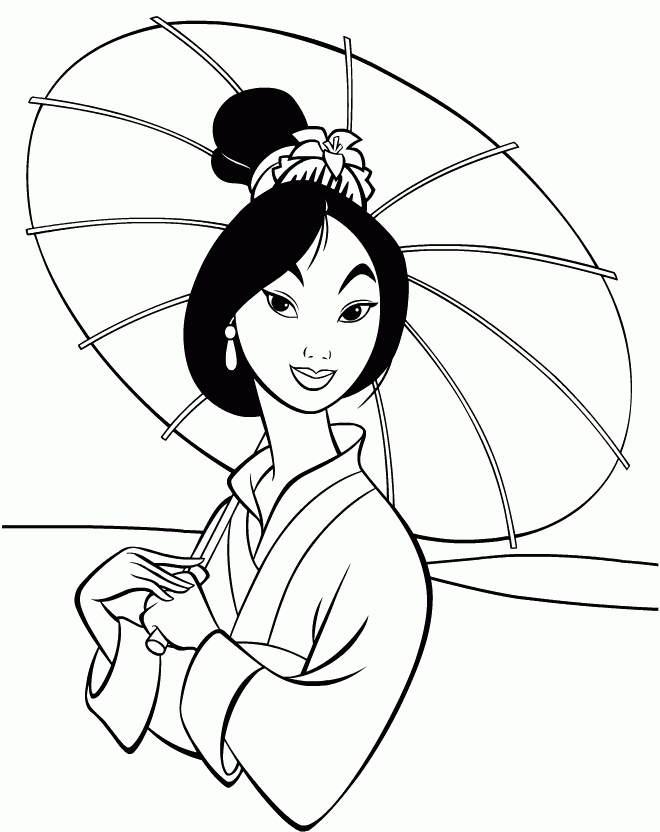
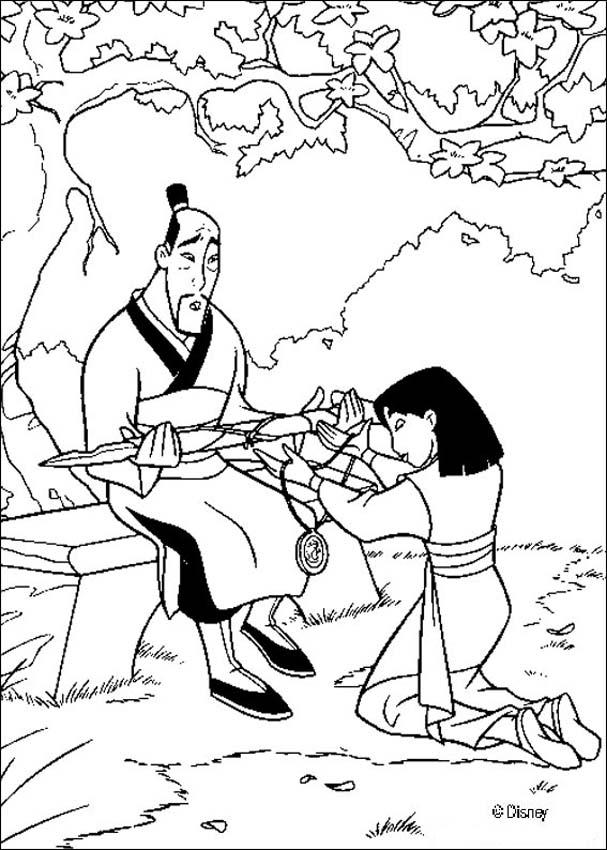
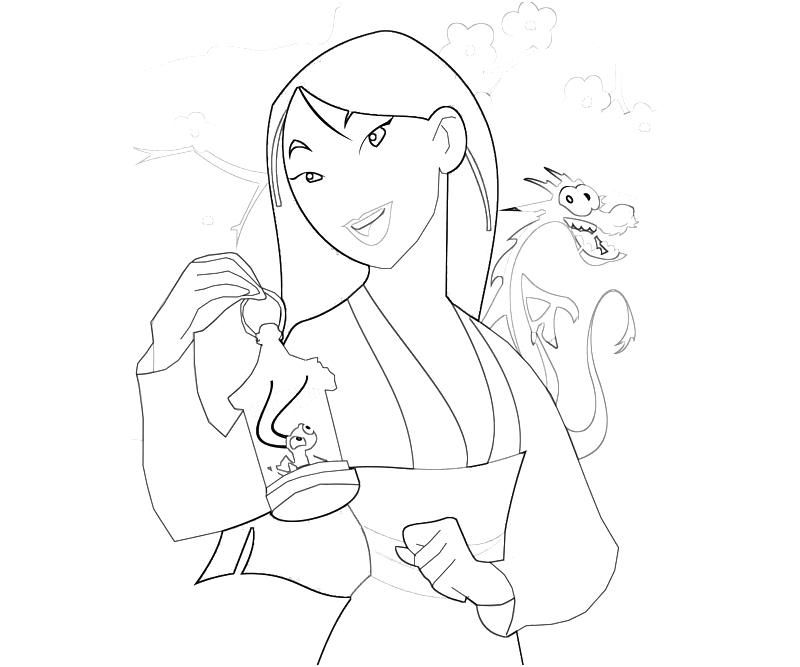
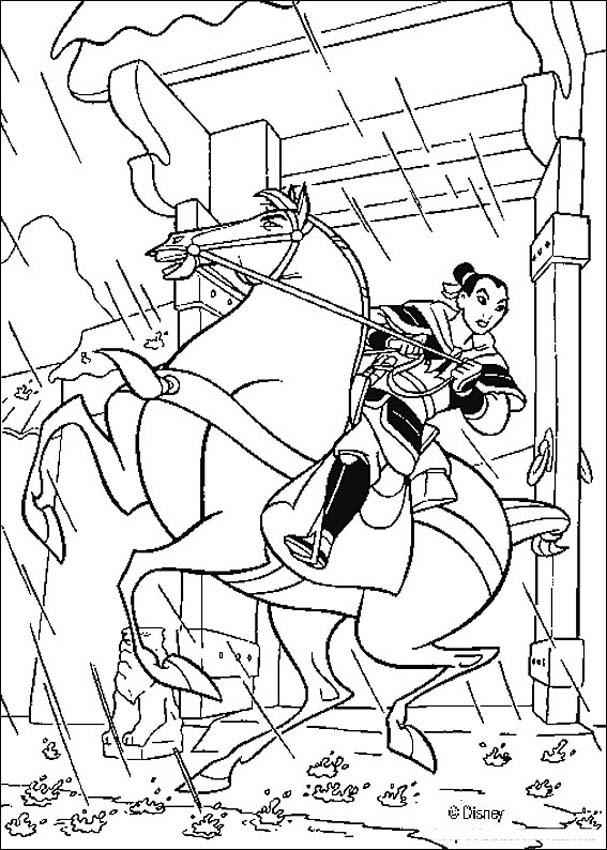
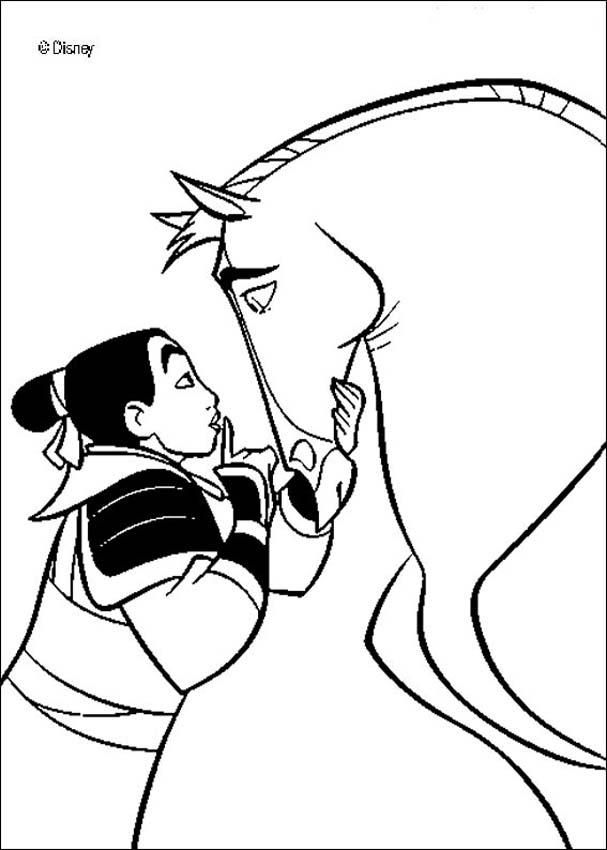
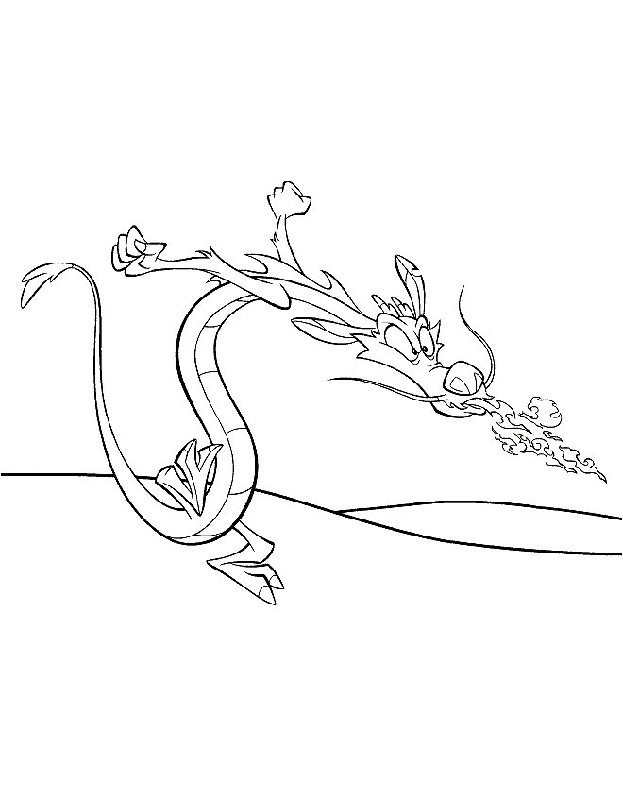
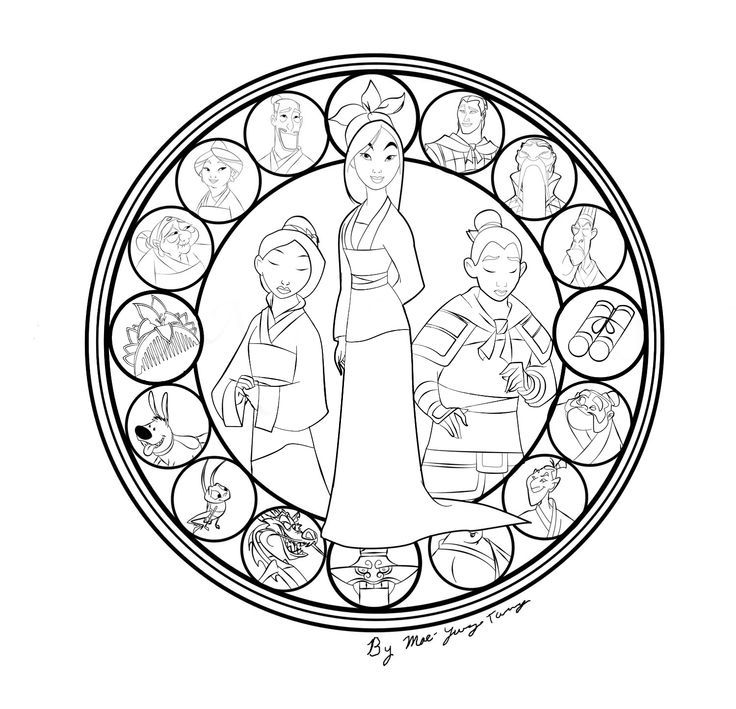
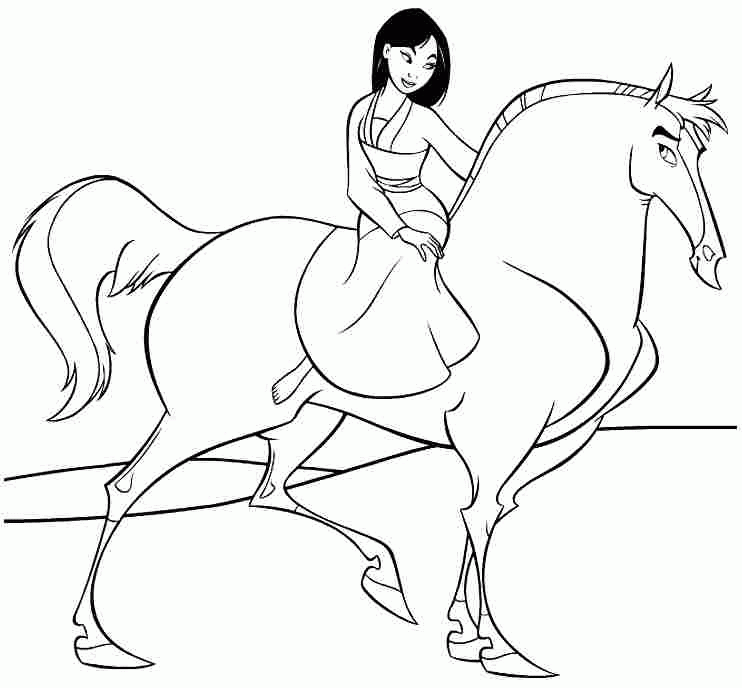
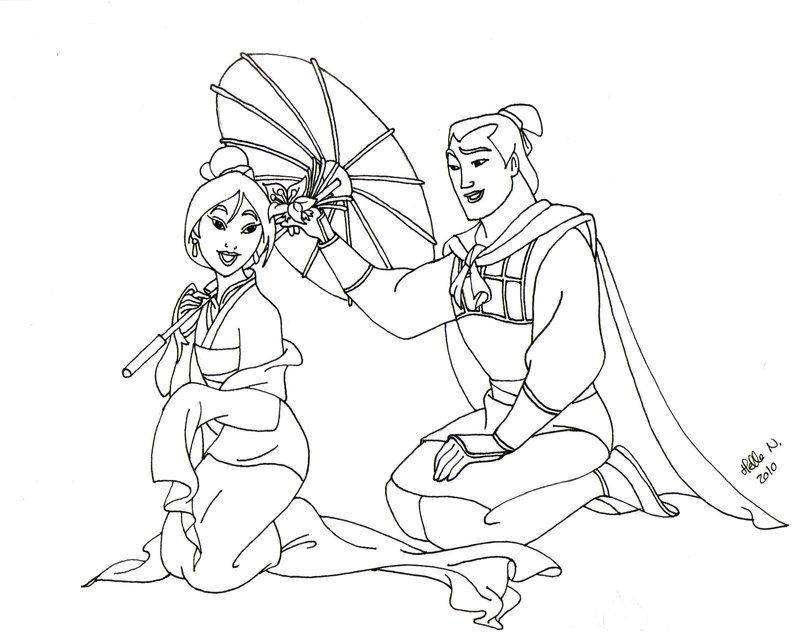
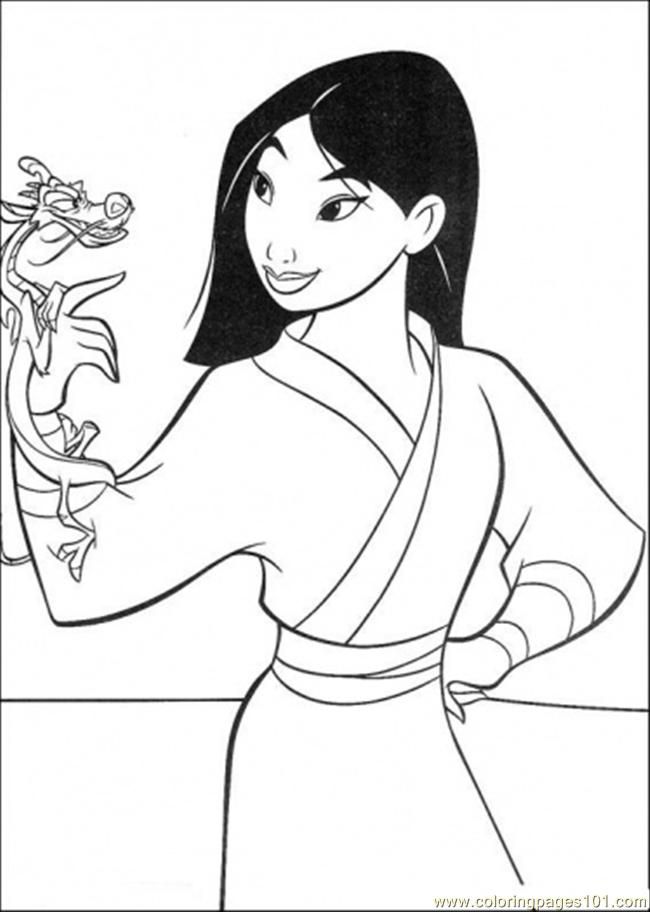
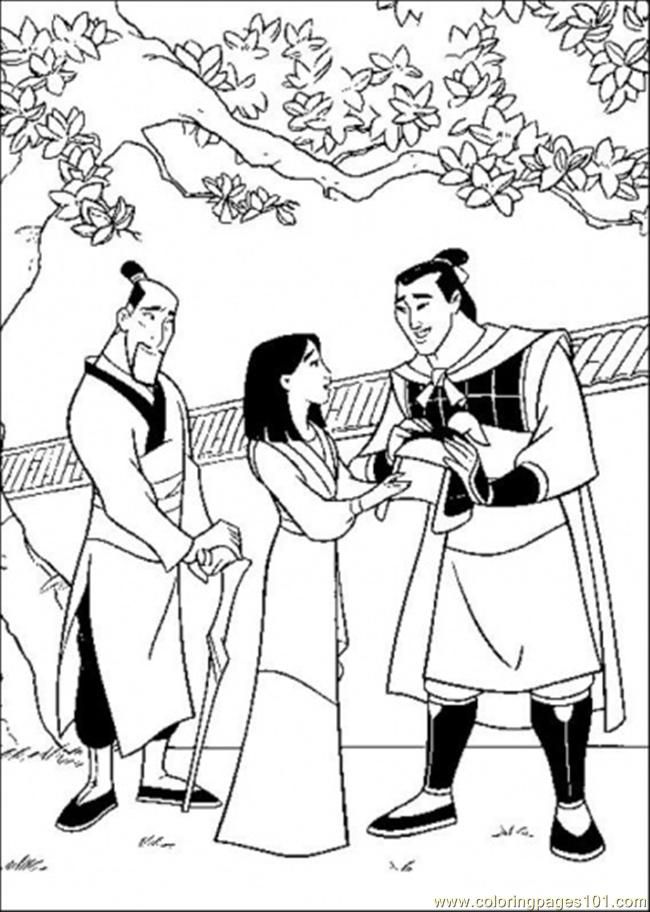
Follow this easy how to draw Princess Mulan step-by-step tutorial, and you will have your Princess Mulan drawing finished in no time. You will follow our instructions to create a complete Princess Mulan. in this cool tutorial, you will learn how to draw Princess Mulan step by step. The detailed instruction will show you how simple this tutorial is. Any kid from any age will have a blast drawing their favorite cartoon character. It only takes about 25 to 30 minutes and has the illustration in the lesson you can easily print or download. You can use the video and step-by-step drawing instructions at the end of this post. Along with the tutorial, we have also included a couple of free Princess Mulan Coloring pages that you can print off and give to your kids to color! In each step. We also update the illustrated image to help you realize your task easily.
How To Draw Princess Mulan – Let’s Get Started!
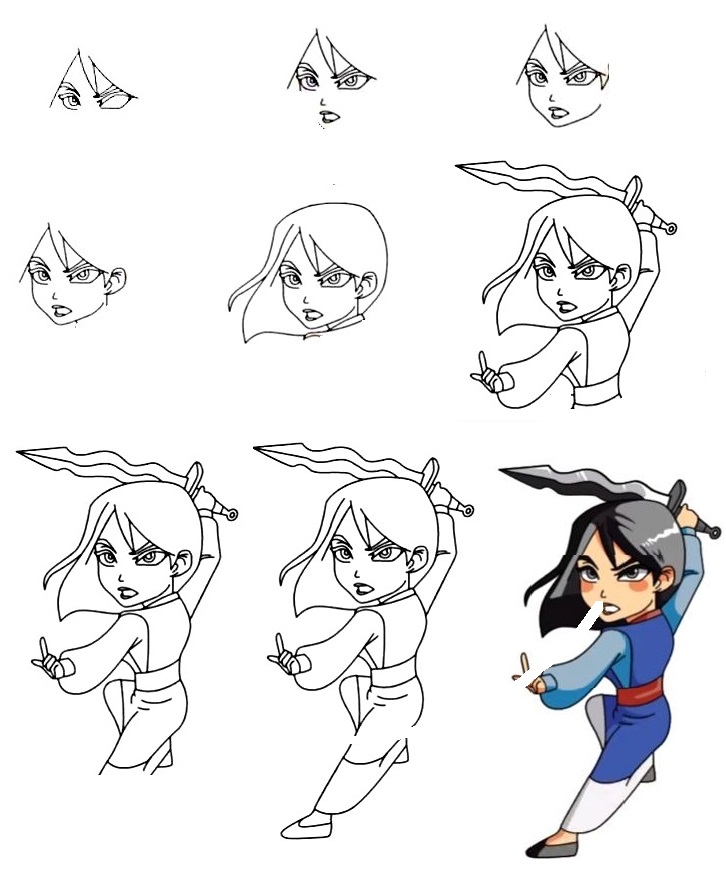
Like most animated Disney film characters, Princess Mulan is detailed and quite realistically proportioned. You get an opportunity to know more about her through this guide on how to draw Mulan. We give nine instructions and steps, and you will go step by step and get your own Princess Mulan. Whether you are a beginner or an expert, you can finish this work easily. This is not a complex mission and needs your patience and mind with a bit of skill. You can show your drawing and painting skills here and get a perfect product. I hope you get a great time and funny here. It would help if you prepared some things such as paper, pencil, pen, colors…before drawing, you use your pencil to draw on the paper, you can erase your mistake easily, so please don’t be afraid to draw, you can create with the comfortable way. Now, let’s draw Princess Mulan with us in nine-step!
Step 1 – Draw Eyes, Eyebrows, And Forehead For Princess Mulan
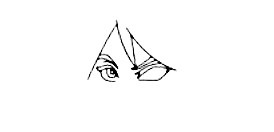
Start drawing Princess Mulan with two ovals of the page. The ovals don’t have to be perfect. It’s just an essential guide for Princess Mulan’s eyes. After that, you use two short lines for her eyebrows. You can add some hairs with curved lines on the forehead. Once you’re happy with how it looks, you’re ready for step 2!
Step 2 – Draw Nose And Mouth For Princess Mulan

You will draw a nose and mouth for Princess Mulan under eyes. On top of the smaller horizontal construction lines, You will draw the tiny curved lines for Princess Mulan’s nose and nostrils. You will continue to show her mouth under her nose. You will use two curves, one upper curve, and one lower curve, that meet at a point that is the corner of the mouth. That are all tasks you must finish in this step and move to step 3 now.
Step 3 – Draw Princess Mulan’s Face Outline

Very simple in the third step because you draw a triangle around the eyes, nose, and mouth of Princess Mulan. You use a curved that has a little tip at the bottom for her chin. She has a slightly pointed chin, so you draw a triangle that also points to her chin. You finish the task here and next to the fourth step.
Step 4 – Draw Princess Mulan’s Ears

From the head, you draw a curved line similar to a backward letter C on the right side of the head as a guide for Mulan’s ear. Darken the shape of Mulan’s ear. You will draw a wavy line within the shape to represent the ear inner structure. Since we are drawing Princess Mulan on the side, we can only see her right ear, and we don’t see her left ear, so we don’t need to draw. So, you continue your task in the fifth step.
Step 5 – Draw Princess Mulan’s Hairs
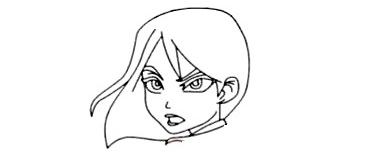
As the previous step of Mulan’s hair on the top part of the oval, continue with a curved line on the left side that follows the outer part of the central oval, then draw another curved line down to her ear. In between those lines, draw another curved line as a stray hair. This image of Princess Mulan practicing her sword, so her hair is also flying to the side.
Step 6 – Draw Shoulders, Arms, And Sword For Princess Mulan
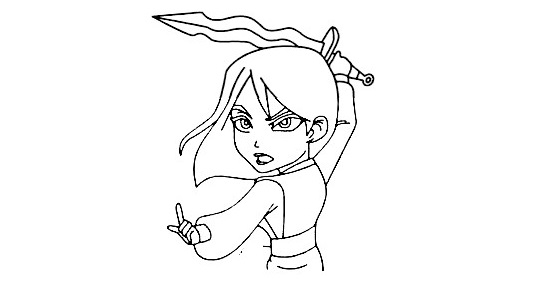
There’s a complication for you, from Princess Mulan’s face, you draw the shoulder with straight lines and curved lines, and you draw detail for her outfits with shoulder, back, arm, etc. You must use two parallel curved to make a belt of Princess Mulan. You can add some detail to the decoration of her clothes.
Step 7 – Draw The Upper Of The Legs
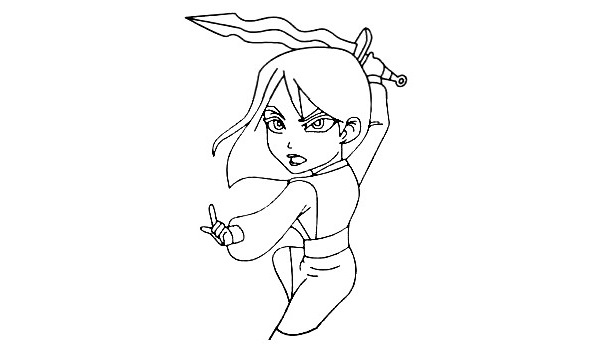
You finish your task with your arms, shoulders, and body. Now, you must draw the upper of the legs for her. You will use a line to draw a butt, and a parallel straight line to make her thighs. To finish off this task, you can then use some more curved lines to have it flowing outward. Now, you can go to the eighth to finish your drawing task.
Step 8 – Finish Your Drawing Misson
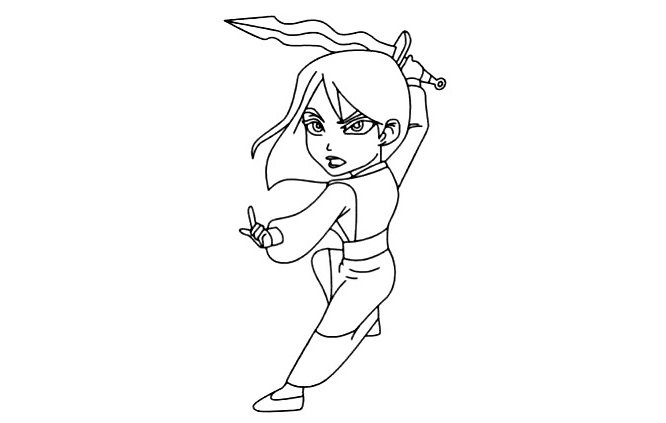
You will finish your drawing mission with the rest of the legs and garment. You can now draw the other side of the sleeve for her arm on the left. You can then finish off this step by drawing her wrists and hands at the ends of the legs. You get a complete Princess Mulan with all the parts of the body and have the last step for coloring.
Step 9 – Color Princess Mulan
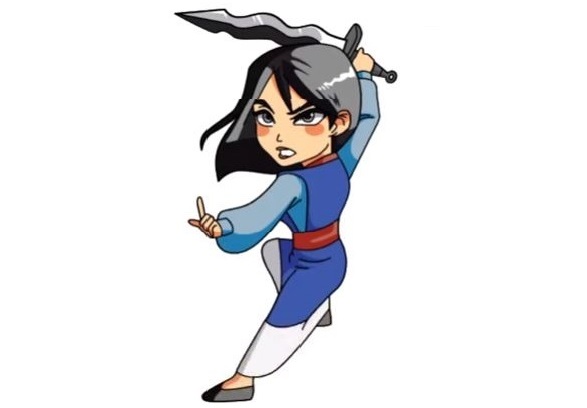
This is the most straightforward step for you, and you will choose the suitable colors for your product. You can take any color you like or select colors that are similar to our colors. We take dark and light blue for her clothes, white for her legs and a part of her hair, black for her hair and shoes, and peach for her skin.
Your Princess Mulan Drawing Is Complete!
So, you get a complete Princess Mulan with your skill and our tutorials. You can move to Princess Mulan Coloring pages to enjoy many images related to Princess Mulan. We update every day. Keep checking our site to make sure you never miss out! And if you like our products, don’t forget to give us a thumb up and recommend them to your friends! I hope you get a great time here!
Use the video and step-by-step drawing instructions below to learn how to draw Princess Mulan. Thanks for visiting! Subscribe to the How To Draw YouTube Channel for a new tutorial.


