Nesquik Drawing Is Created In 7 Easy Steps
Creating cute Nesquik drawing in just 7 easy steps
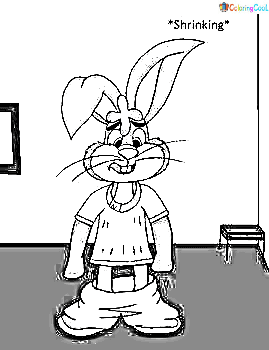
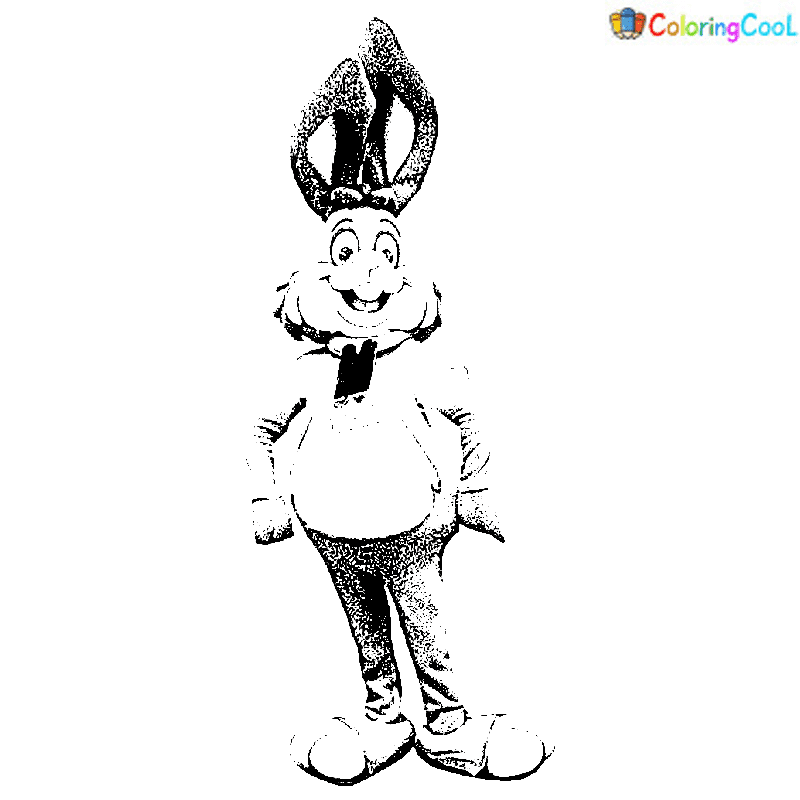
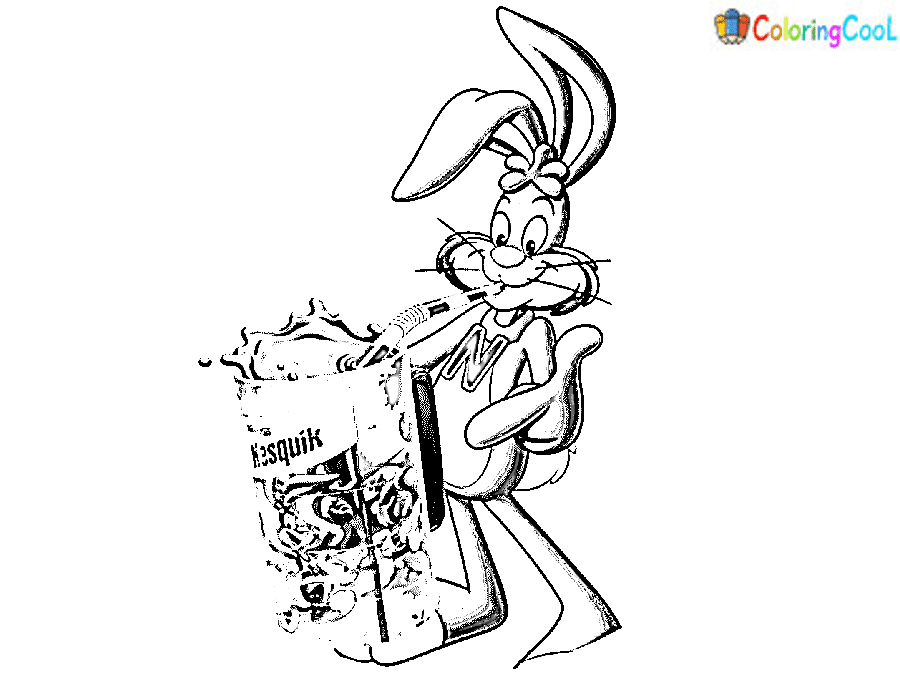
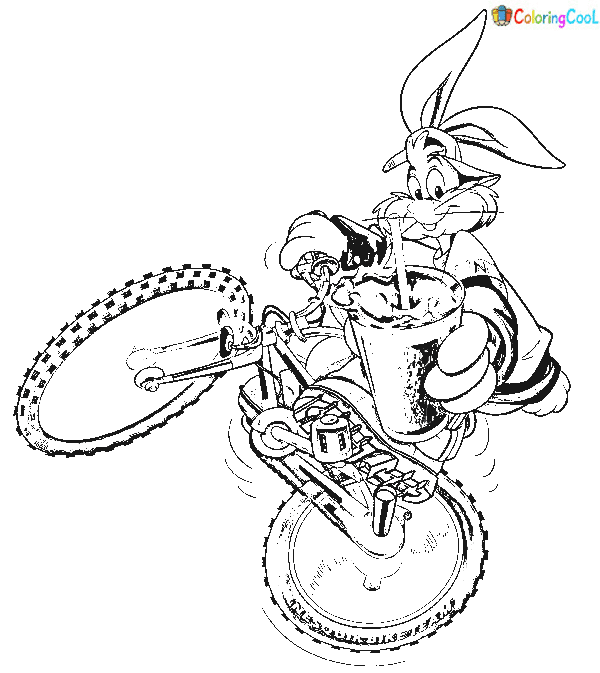
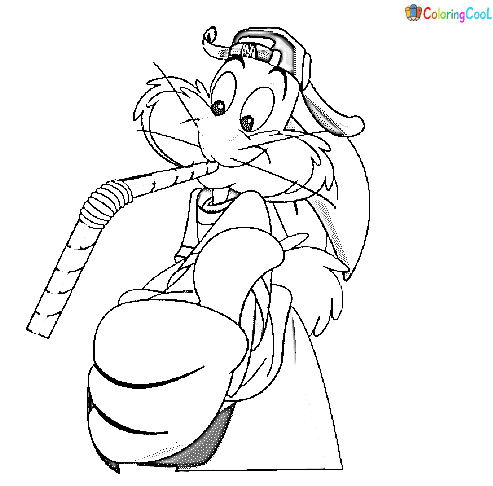
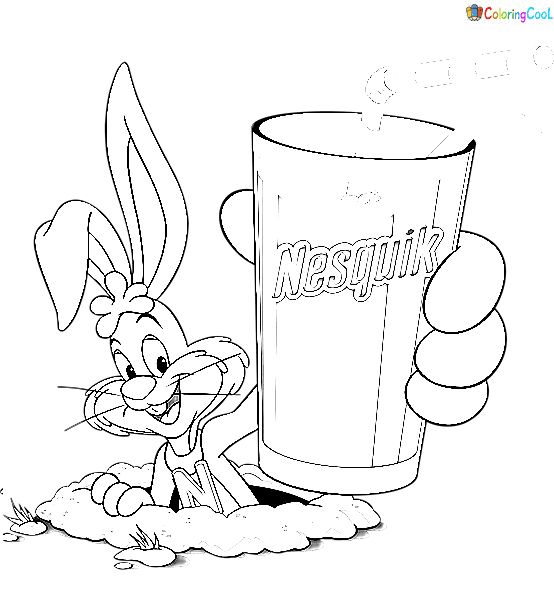
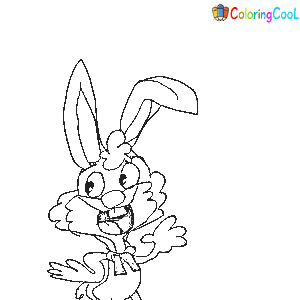
Nesquik is a brand produced by the company Nestlé, in the 1950s it was called Nesquik, always associated with the image of a lovely rabbit. And today we drew that lovely bunny together called Nesquik drawing. You will follow our instructions and our illustration to create the complete Nesquik with a fun time. Nesquik drawing is not a simple task, but it is not too difficult. Even if you are a beginner or an expert in the field of drawing, you can complete this task in the easiest way. Please calmly follow our instructions and complete 7 steps equivalent to 7 tasks you will get complete Nesquik. You will go to all steps one by one and finish each mission. There is an illustration in each step to help you realize your drawing task more easily and now we will have a better understanding of how to draw Nesquick
How To Draw Nesquik – Let’s Get Started!

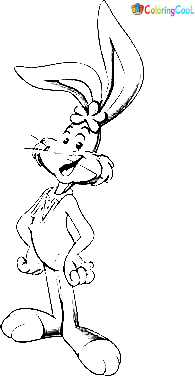
Just like drawing a bunny or rabbit, to draw Nesquick, you will have to imagine what it is like; it is a cartoon animal with two arms, two legs, two long ears, and a lovely, agile, and intelligent tail. This is the character’s personality. Before you start learning to draw, you need to prepare a few necessary supplies such as paper, pencil, pen, and colors, … you can also take advantage of available objects to save money. First, you will draw with a pencil the faint lines, then you will erase the wrong lines and darken the correct ones. Finally, after completing the drawing, you will choose the color for your Nesquik drawing. Overall it is not too difficult and in this post, we have given instructions from easy to difficult to help you perform the task easily and quickly. By completing Nesquik drawing and coloring with us you can also complete many personal development skills such as concentration skills, and painting skills that will help you relieve many of the stresses of life. Along with this tutorial, you also can enjoy Nesquick coloring pages for free on our website. And now, you will know the details of each task in the following seven steps.
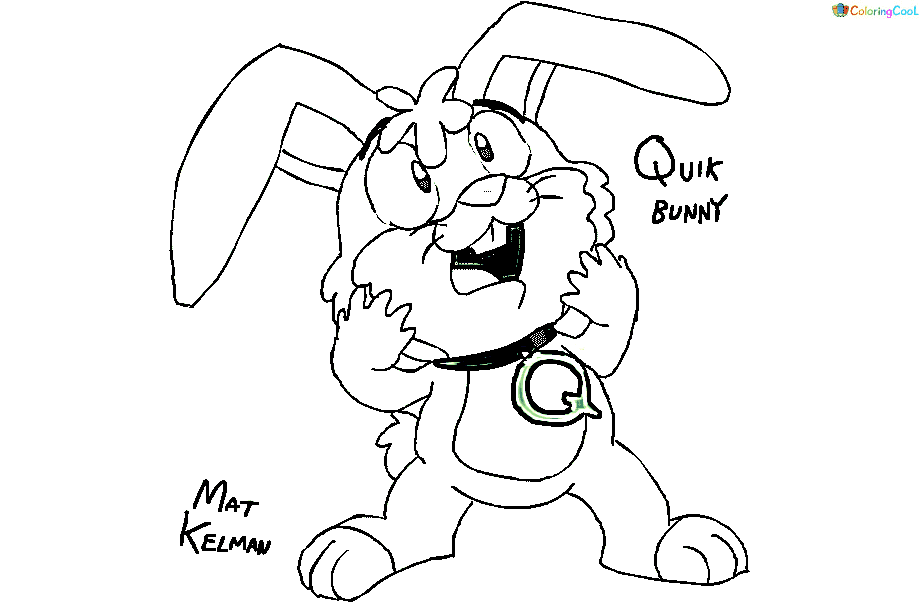
Step 1 – Draw Nesquik Face

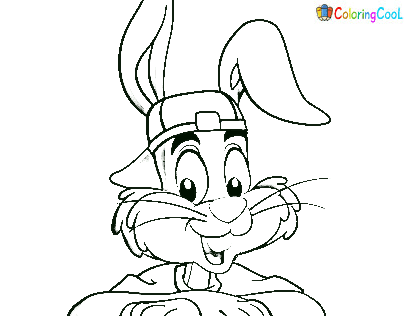
To start this guide on how to draw Nesquik, you draw a face for your character. Like drawing a rabbit, Nesquik will have 2 long teeth with a funny face and 2 long big eyes. You have to show it in this first step. You can see it in our reference image to follow it before moving to the second step of your Nesquik Drawing.
Step 2 – Draw Ears And Neck For the Character

In this second step of your Nesquik drawing work, you must draw two long ears and a neck. As you know, the rabbit has a slim body with long ears, so you will also draw long ears for it. In the middle of your ears, draw a 5-petal flower as you see in our reference image. Then you continue to draw a neck for your Nesquik under the face. Not too complicated here. Our advice to you is to look closely at our illustrations and follow them. You will succeed in this entertainment business.
Step 3 – Draw Nesquik Arms

You will draw 2 arms outstretched for Nesquik with each hand you will draw 4 fingers. Also simple for you right? With our template you try to finish it within a few minutes, then go to the next step for your Nesquik drawing.
Step 4 – Draw The Upper Body Of Nesquik

Your task in this step for your Nesquik drawing is to draw the upper body. From the next, you use the straight. You use a slightly curved straight line to draw the upper body for Nesquik. Remember that we are drawing Nesquik standing with his arms outstretched so his stomach will stick out in front of him. The upper body of Nesquik is composed of slightly curved lines, so please look at our drawing and draw well.
Step 5 – Draw The First Leg For Nesquik

We’re going to start drawing Nesquik’s legs. Its legs will start from the butt and down to the feet. You will illustrate 3 toes with 1 long foot here. It is very interesting; you keep calm and draw details one by one. Once you are happy with your picture, you go to the next step.
Step 6 – Finish Off Your Nesquik Drawing Task

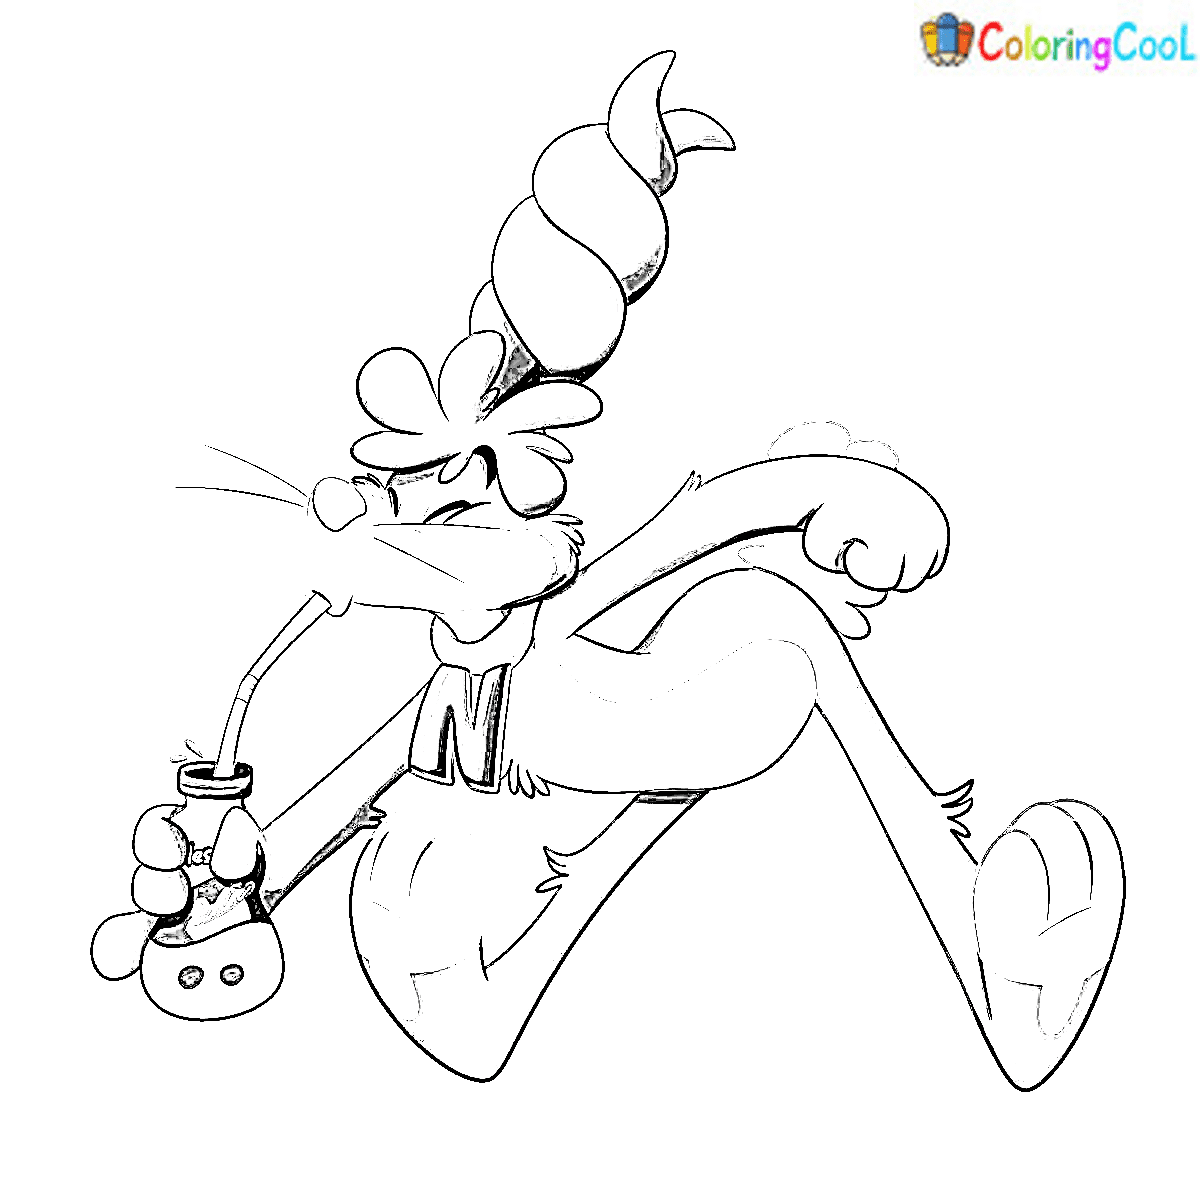
You will have to finish all Nesquik drawing tasks at this step. You simply need to add a few final details for you to complete the drawing. First, you have to add the other leg of Nesquik. Similar to the leg drawn in step 6, this left leg is drawn exactly the same. You also draw a long skinny leg and a bigfoot with toes here. Next, you will draw a pretty tail for Nesquick. It looks like a flower, as you see in our reference image. Finally, you add some details for the decoration of your Nesquik drawing before going to the last step for coloring.
Step 7- Color Your Nesquik

So, you finish your drawing mission, and you must choose the suitable colors for your product. This step totally depends on your preference. You can choose any color you want to color Nesquik. We have combined several colors for the Nesquik character, like blue for the body, yellow for the face, and white for the belly,…you can also mix colors together and create your own special character Nesquik.
Your Nesquik Drawing Is Complete
You finish all seven steps for your Nesquik Drawing, from drawing to coloring. Did you find it difficult in the process of learning to draw with us, and which step do you find the easiest to do? You can let us comment us we will give you some advice to help you choose the drawing way. We always update drawings daily. Besides, we also provide coloring pages for you to practice your drawing skill. You also can refer to drawing other characters that are similar to Nesquik as How To Draw A Bunny or How To Draw A Rabbit. I hope you have understood everything now and get a great time here.