Mushrooms Drawing Is Created In 8 Easy Steps
Creating the cute mushrooms drawing in just 8 easy steps
This tutorial will teach us how to create a mushrooms drawing with essential drawing tools. You will follow our instructions and make a complete mushroom with us. This is not a simple task, but it is not too difficult because we give a detailed guide from easy to difficult. Whether you are a novice or an expert in drawing, you can follow these steps effortlessly. There are eight steps equivalent to 8 missions that you must finish as soon as possible. It takes from 25 to 30 minutes to complete the task here. If you are a parent, you can join in this learning with your kids. You get an opportunity to understand your children. They need time to relax, and it can help them to work more effectively. This is an exciting mission, and you can use it to relax in your free time. It will help you to balance your life and your life become better. Along with the mushroom drawing tutorial, we also provide mushroom coloring pages that help you practice your drawing skill easier
How To Draw The Mushrooms – Let’s Get Started!
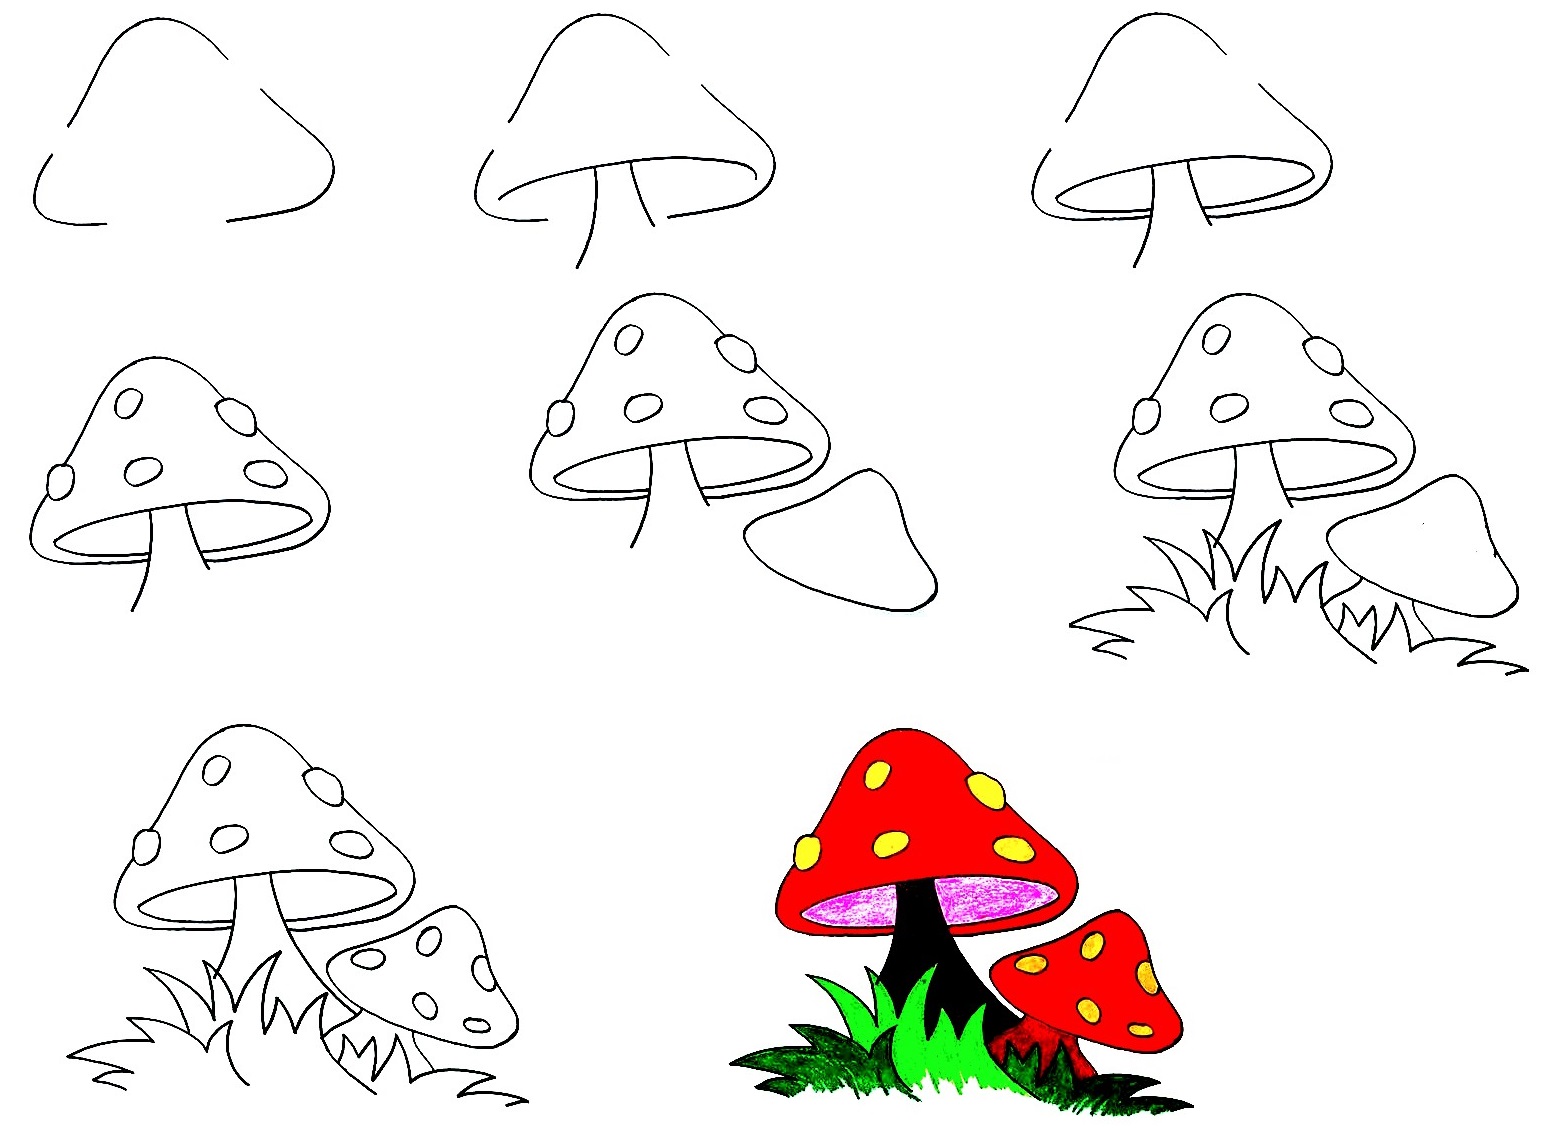
To learn drawing, you need to concentrate and be patient. Because this task requires carefulness and meticulousness, it is suitable for your children. They will develop many skills, such as pen skills, painting development, and teamwork skills,…It is free on our site, and you can come anytime and anywhere. It would help if you prepared a pencil, drawing paper, crayons or colored pencils, and a black marker…before starting to draw. You will go to step by step and comfortably finish your task. By learning how to draw a mushroom, you can learn about this vegetable. Isn’t it interesting because this is an activity that both understands and entertains to help you relax your mind? Returning to this tutorial about mushrooms, they come in many different types, but almost all have the same structure. With the help of this tutorial, you can draw any mushrooms. Now, let’s get started drawing a mushroom with us!
Step 1 – Draw The Mushroom’s Cap

In the first step for your mushrooms drawing, It is starting to draw a mushroom with its cap. It’s the first part that you see, so it’s the first part that we will draw for this first step of our guide on how to draw a mushroom. You draw an incomplete triangle, and you can see our reference image and follow it. It is simple in this step for you, and you can move to the second step, 2.
Step 2 – Draw The Mushroom’s Stalk
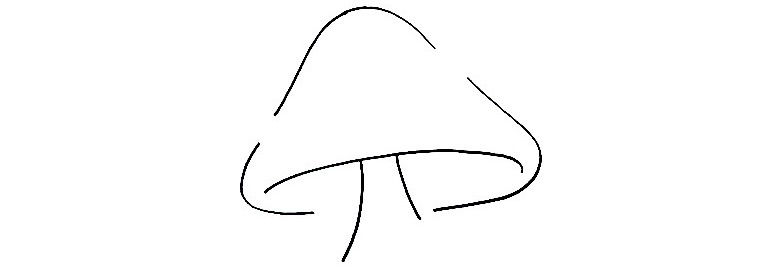
In this second step on how to draw the Mushrooms, you start drawing a stalk for your mushroom, you use a curved to draw in the triangle, and then you continue to draw two curved lines coming down from the cap; the mushroom’s stalk is shaped like a small top and a big bottom as our illustration.
Step 3 – Finish The Mushroom’s Stalk
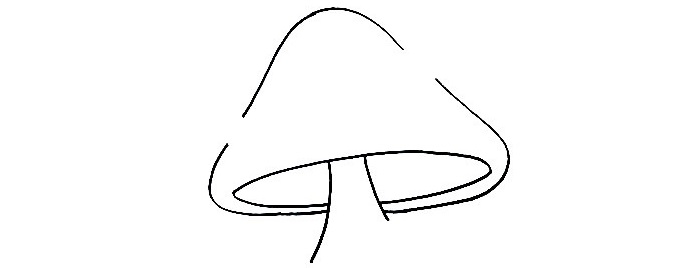
In this step, you realize a perfect circle on the stalk and create a complete mushroom stalk. This task is not complex, and you spend some minutes finishing the task here and going to the fourth step.
Step 4 – Decorate For The First Mushroom
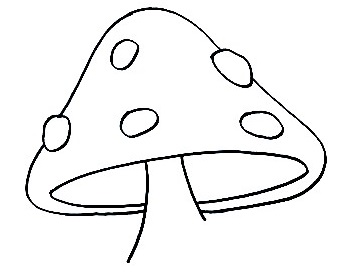
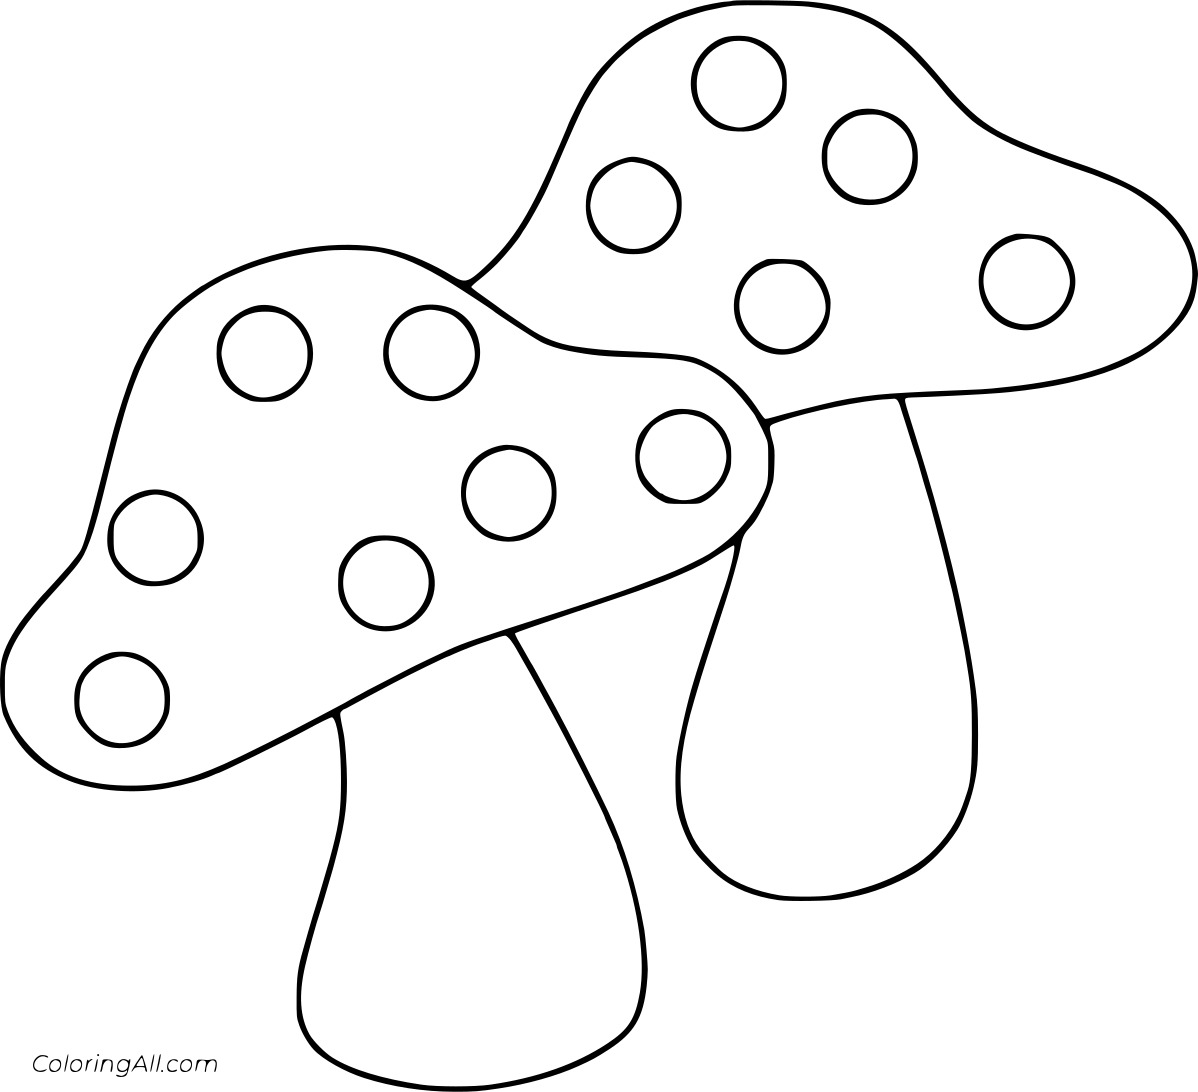
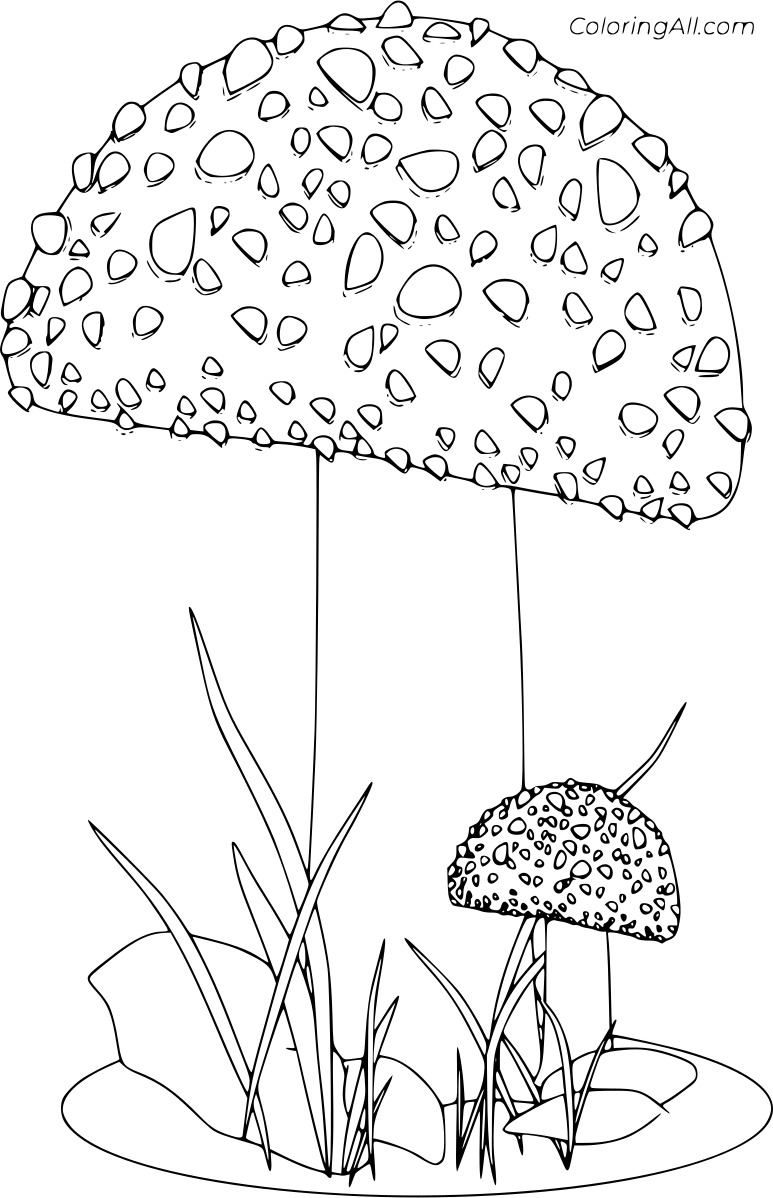
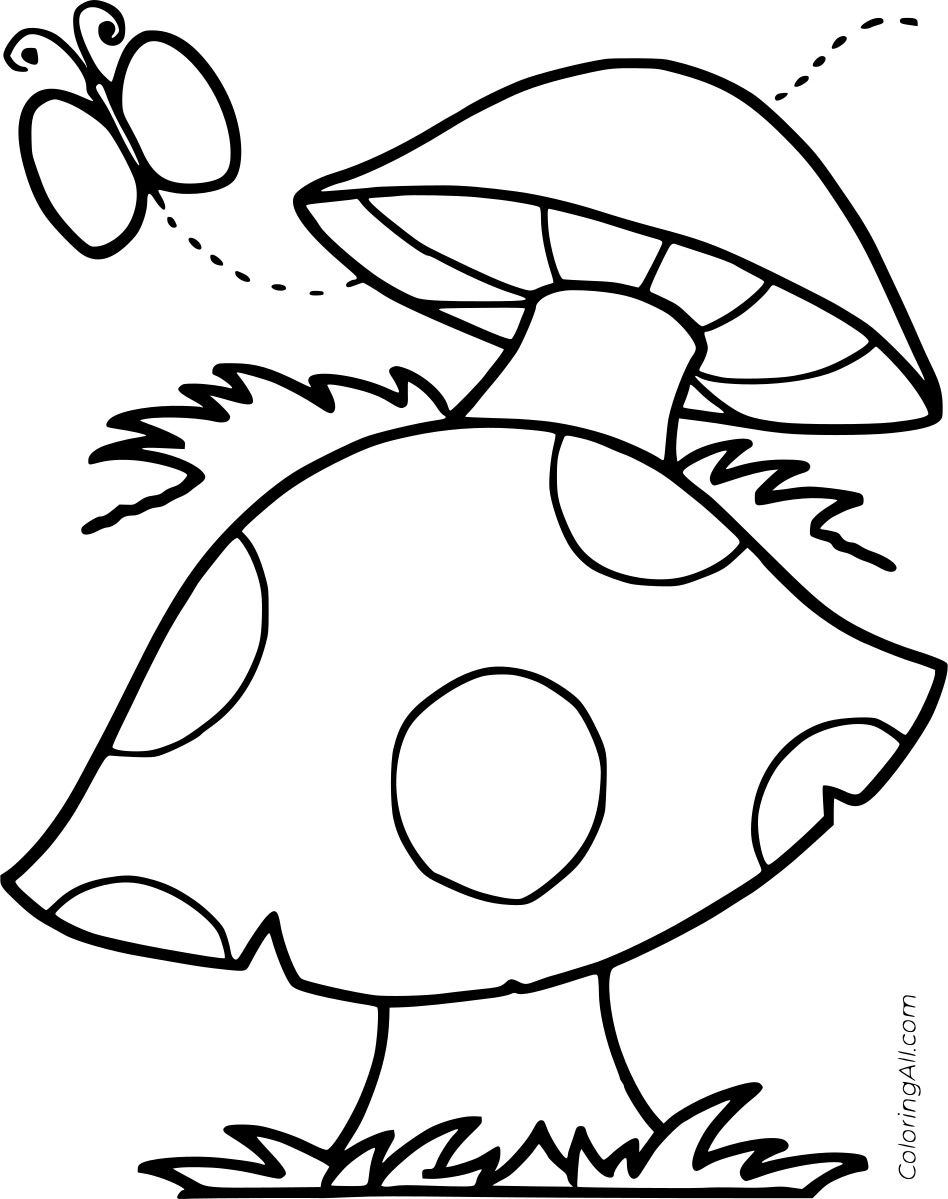
Your mission in this lesson is to draw two mushrooms. And now, you finish the first mushroom. You use some small circles to draw on the mushroom. The distance between the small circles used to decorate the mushrooms is even. You can look at our reference image and follow it.
Step 5 – Add More A Smaller Mushroom’s Cap
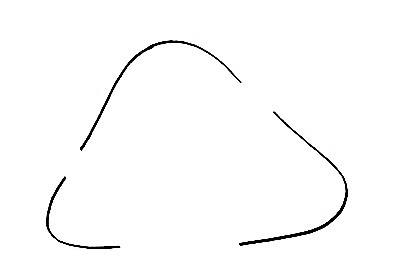
You must draw more of a mushroom cap in this step. Then, just below on the right side, draw a smaller cap, this time as a triangular shape with rounded corners. This mushroom will be drawn smaller than the first one. You will draw similar to the first mushroom cap, which is also not too difficult; it will be helpful if you observe our illustration.
Step 6 – Draw The Grass
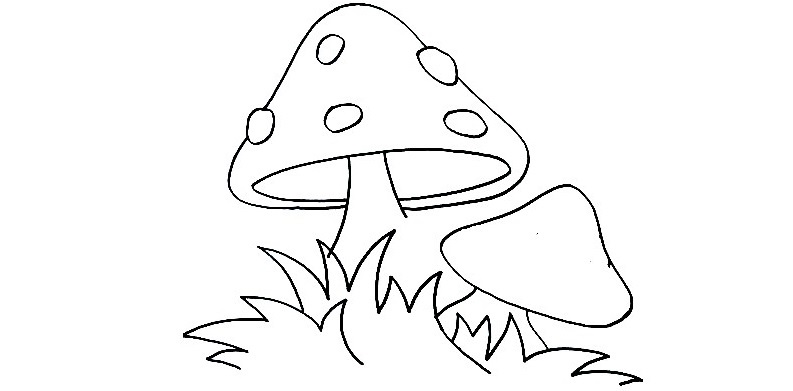
Now we are going to draw the grass underneath our mushrooms. You will draw pointed triangles that follow each other to form the grass under the mushroom. Nothing is difficult for you at this step; you will draw the curved lines to show the grass in this step and move to the seventh step to continue your work.
Step 7 – Finish Your Drawing Mission
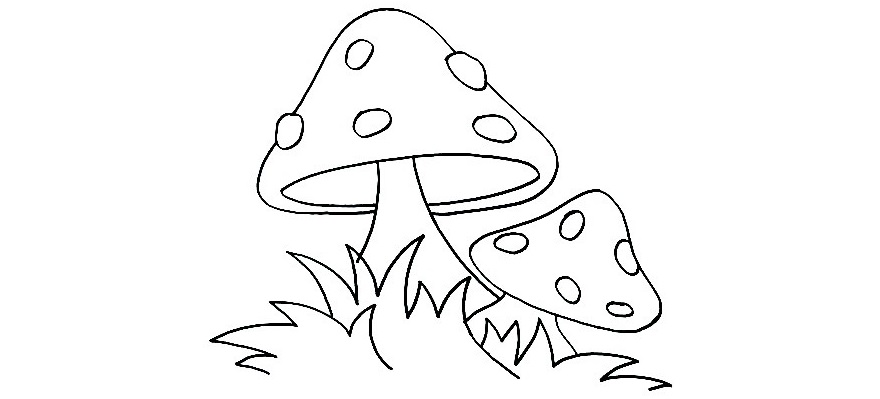
You will finish your drawing mission with the detail for the decorations of the second mushroom. You draw some shapes on the mushroom and finish this task. You will use some details for decorations and finish the drawing task here. You get more the last step for coloring mushrooms.
Step 8 – Color Mushroom
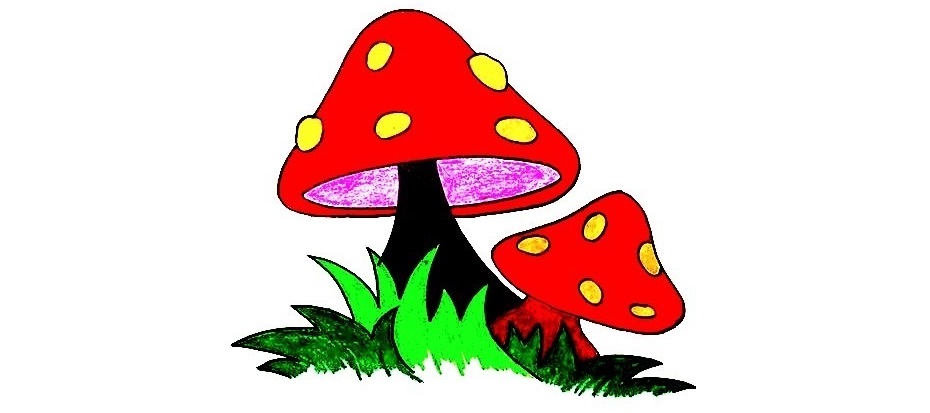
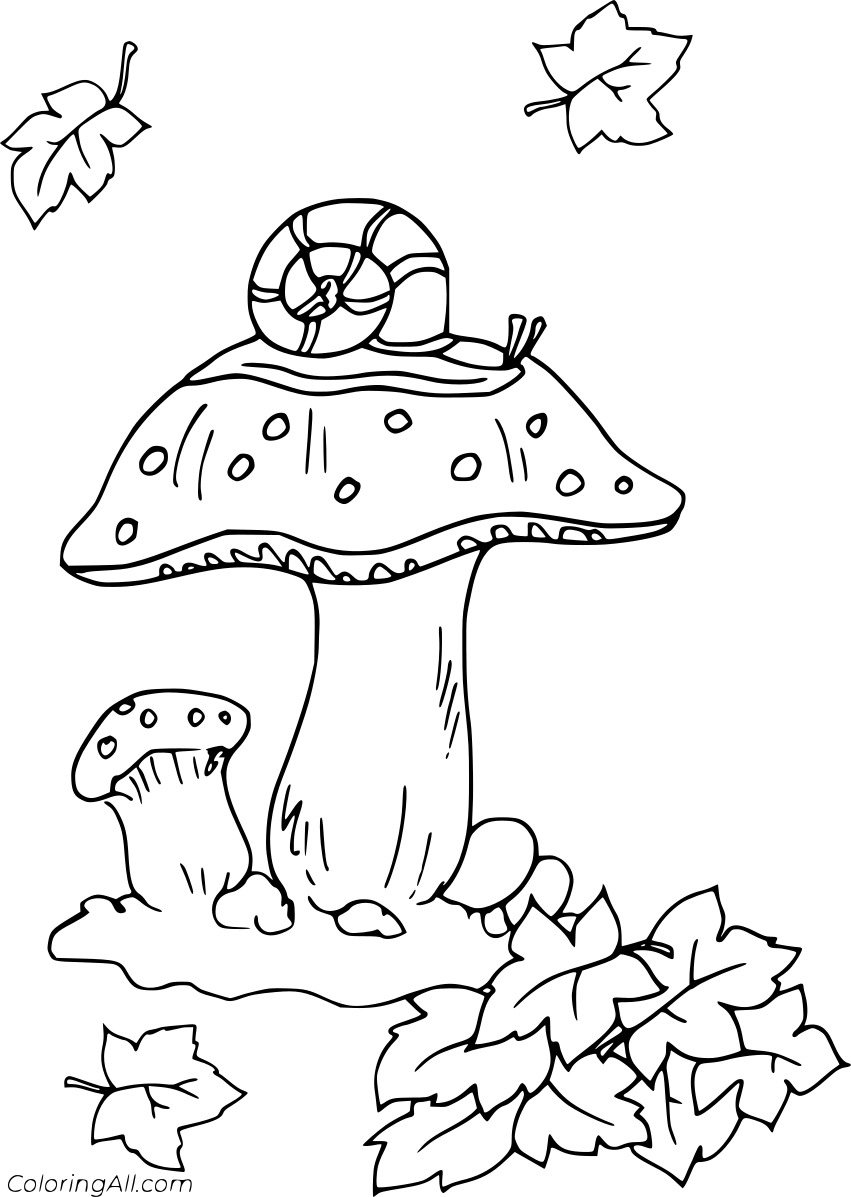
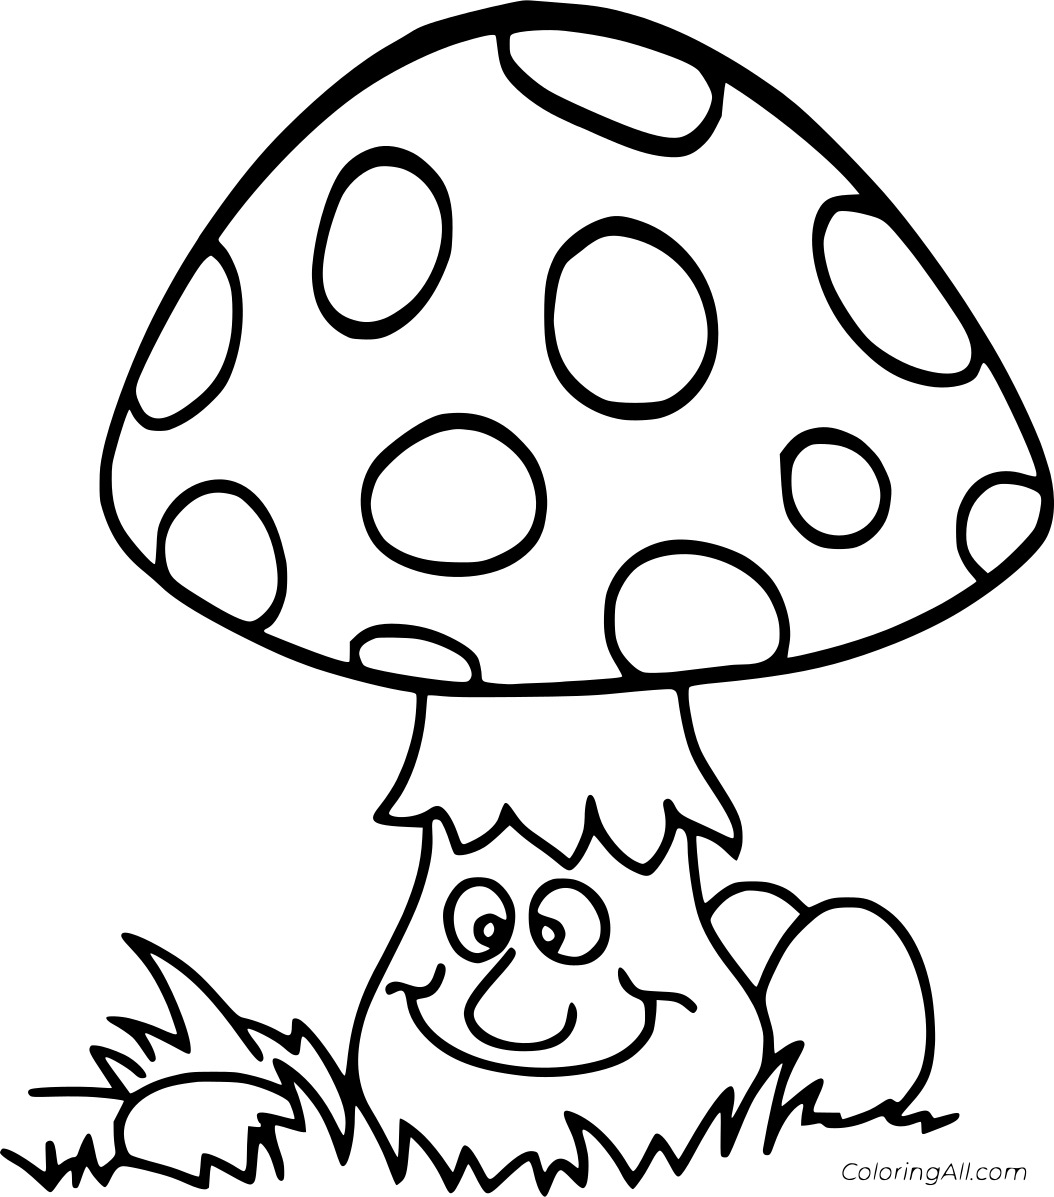
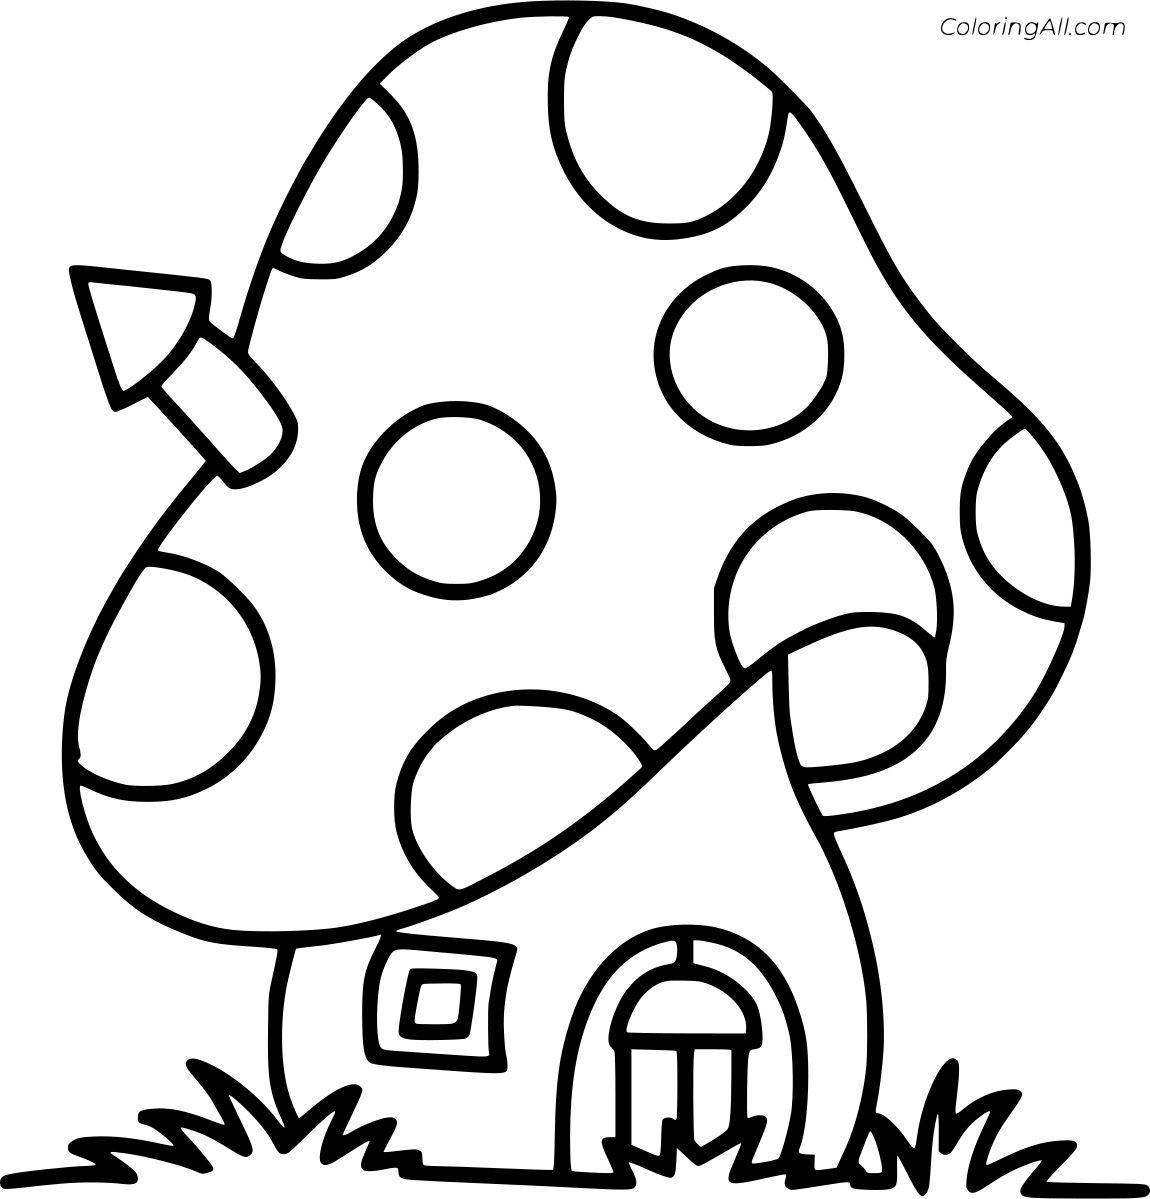
You will choose the suitable colors for your mushroom now. Using your crayons or other coloring materials, begin coloring your mushroom drawing. There are two main types of mushrooms: edible mushrooms and non-edible mushrooms. Edible mushrooms are usually gray in color; Inedible mushrooms are often quite colorful, colorful, and prominent. Mushrooms often have black, red, and white spots… emerging (mainly in the mushroom cap). Mushroom caps have stripes, seeds, scales, mixed colors, grooves, cracks, and rings around the body…So, you can make any color for your mushroom. You use red to make the primary color, yellow for decoration colors, black for stalks, and green for the grasses.
Your Mushrooms Drawing Is Complete
You finish your drawing and coloring task to create a complete mushroom. Now, you can move to mushroom coloring pages and enjoy many images related to mushrooms. Through this post, you know how to draw the mushrooms with us. I hope you have understood everything now and can practice your drawing skill with your kids. You can recommend your friends come here. Thank you for that. Have fun!


