Monkey Drawing Is Created In 9 Easy Steps
Creating a cute monkey drawing in just 9 easy steps
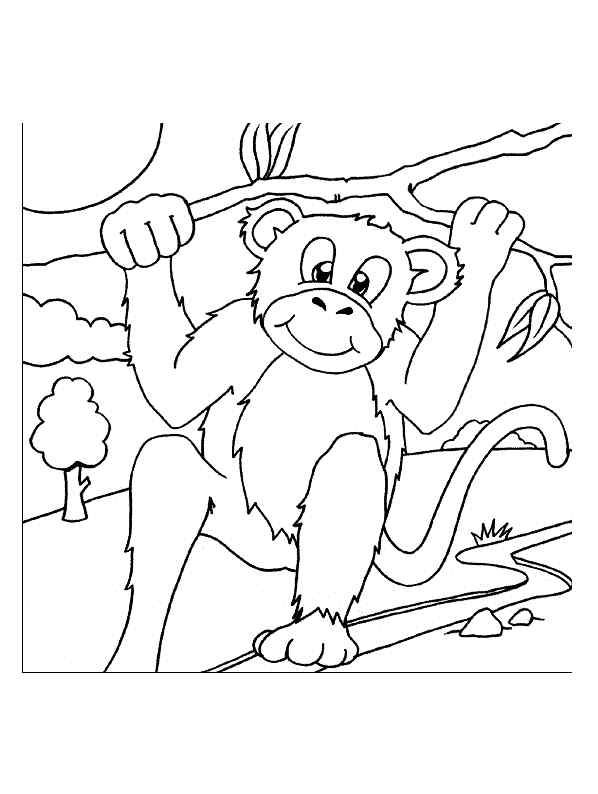
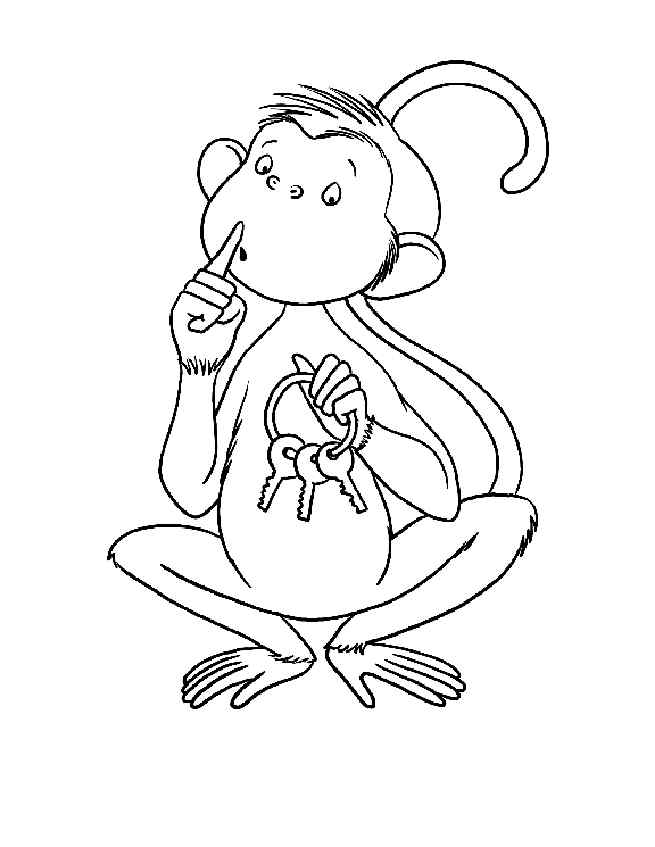
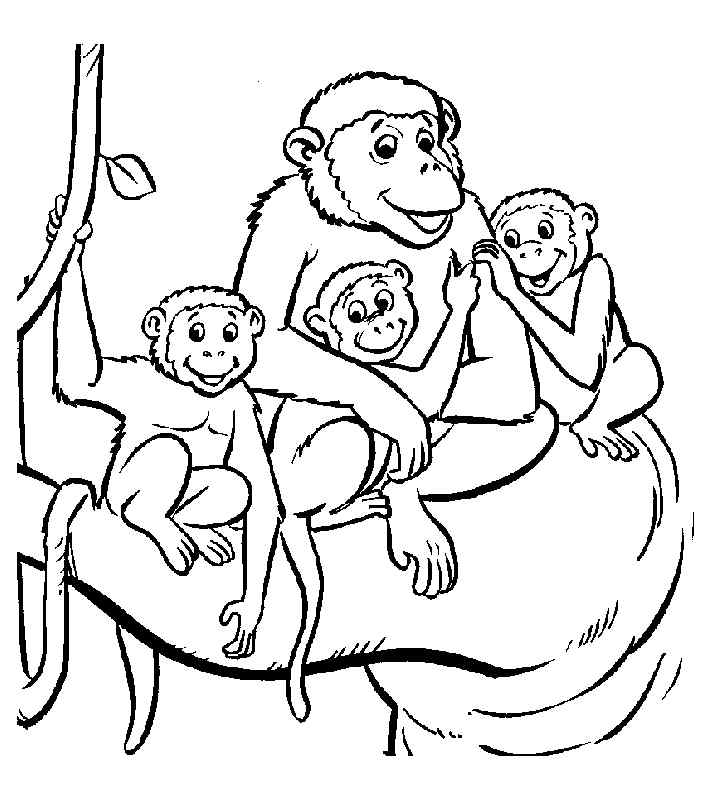
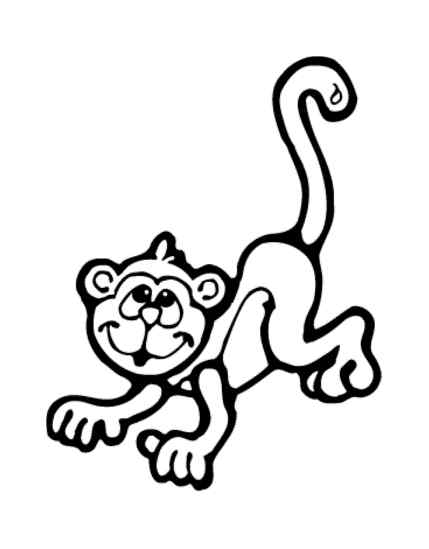
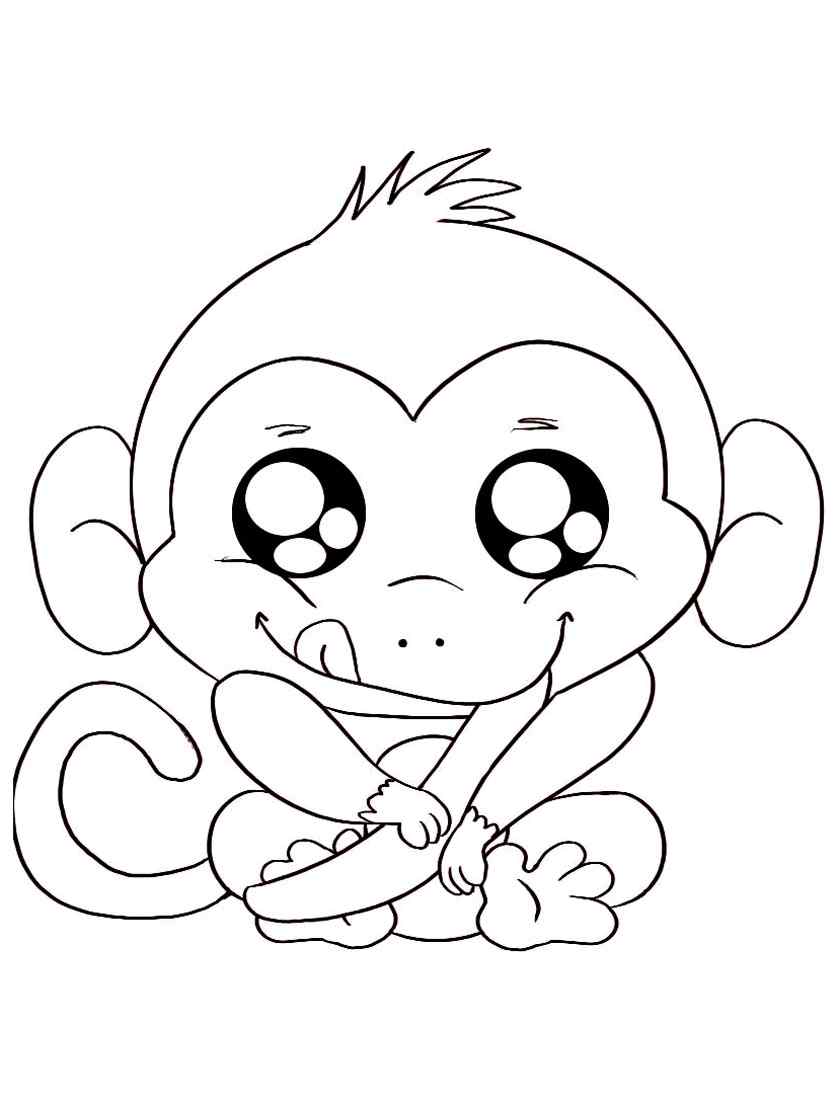
Right, you create a monkey drawing with us. this is a kind of animal that is friendly to our life. You can catch monkeys every time you come to the zoo. If you meet the monkeys, you can give them bananas because they like this fruit. Monkeys live all over the world in forests and in zoos. It is intelligent and has good acrobatic abilities, so it often appears in circuses. If you also love monkeys and want to draw a monkey, you will create a monkey drawing with us. We give the instruction details in nine steps, and you follow is to create a complete monkey. We provide the guide and illustration, and you can use them and realize your task easily. Besides, the monkey is intelligent and has the good acrobatic ability, so it often appears in circuses and creates a lot of acrobatics that amuse audiences, especially children. If you want to know more information about monkeys, you can get it from the internet, or you can meet the monkey in the zoo. You can refer to the monkey coloring pages for free on our site and practice your task on how to draw a monkey.
How To Draw A Monkey – Let’s Get Started!
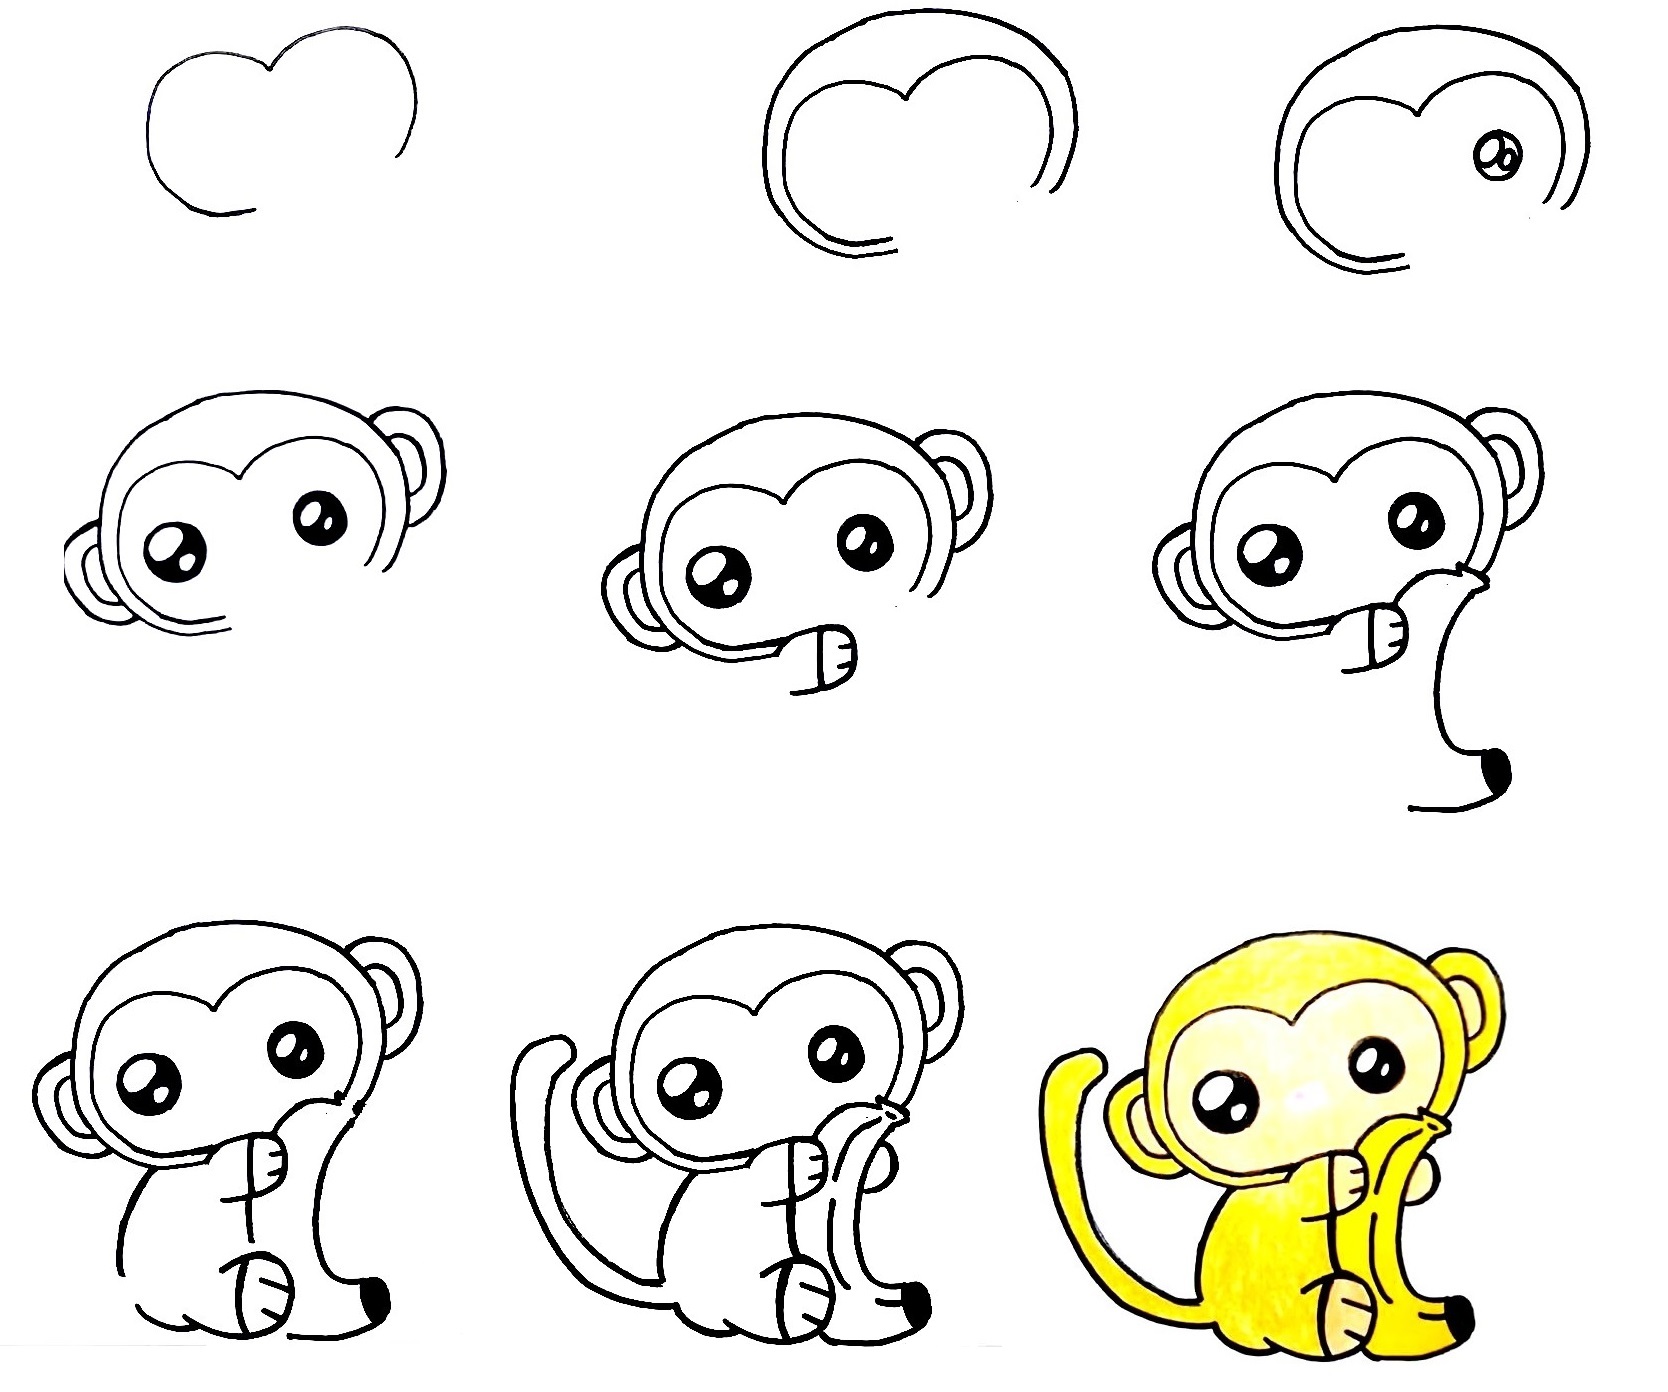
Step 1 – Draw The Monkey Face Outline

Start on how to draw a monkey; you draw two curved lines for the face outline, as you see in our reference image. Your mission in this step is very simple, you can use your pencil, you use a pencil to draw gently on the paper, and you can erase your mistakes and perfect the work in this step before going to the next step for your drawing. The note for you in this step is that you should calmly do the first lines slowly, so don’t rush it will make your strokes blurry. You can move to the second step to continue your work drawing now.
Step 2 – Draw The Top Of The Head
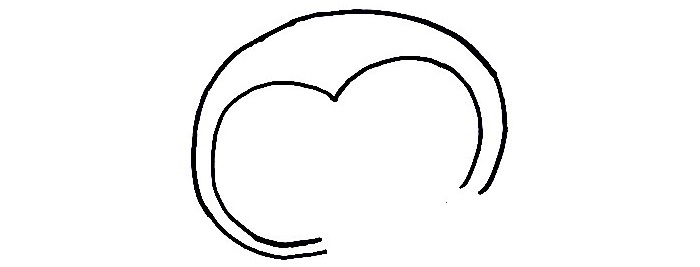
In this second step for the monkey, you realize your task from the top of your head. You will use a large curved line around the contour of the monkey’s face that you drew in step 1. And, of course, your friend leaves an opening for inserting other details of the monkey that will be drawn in the next parts; you can refer to our illustration.
Step 3 – Draw An Eye For Monkey
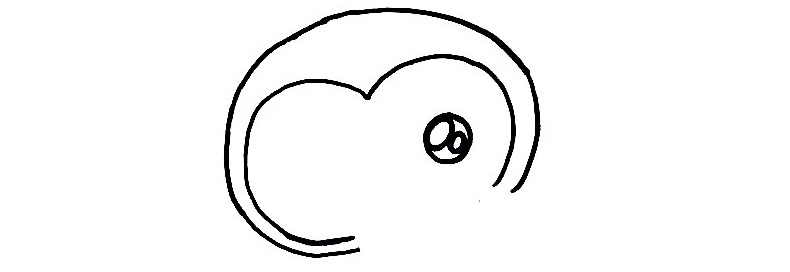
We will draw an eye in this guide on how to draw a monkey, and you draw a circle with a dot inside, then you use black to color the pupil to make the real eye. So, you finish this task here. It is very simple, so you can finish it in some minutes and go to step 4.
Step 4 – Add More An Eye And Draw Ears

Similar to step 3, you add an eye on the monkey’s face, and then you draw a curved line similar to a backward letter C for each side as a guide for the monkey’s ear. in this step is not too difficult you calmly draw one by one to complete all tasks, this step requires a lot of ingenuity, so please pay attention to our reference picture and follow. Once you are happy with your task, you can go to the fifth step.
Step 5 – Draw An Arm For Monkey
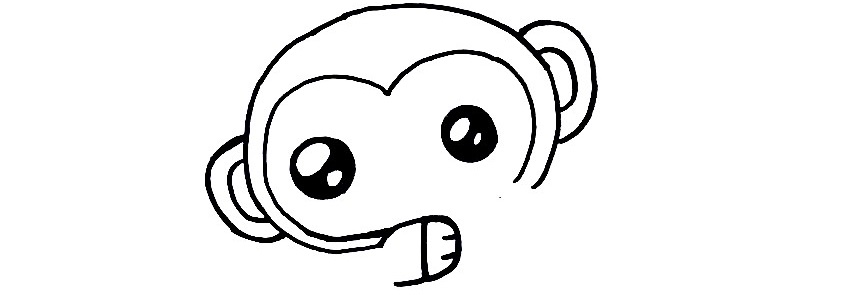
In this step for your drawing, you draw the first arm of your character, the monkey. You use curved lines and straight lines to show an arm with the hand and the finger under the face. it’s not too difficult, is it? You will do this task easily with our reference image. If you are happy with this task, you come to step 6 and continue your drawing in the fun time.
Step 6 – Add A Banana In The Hand
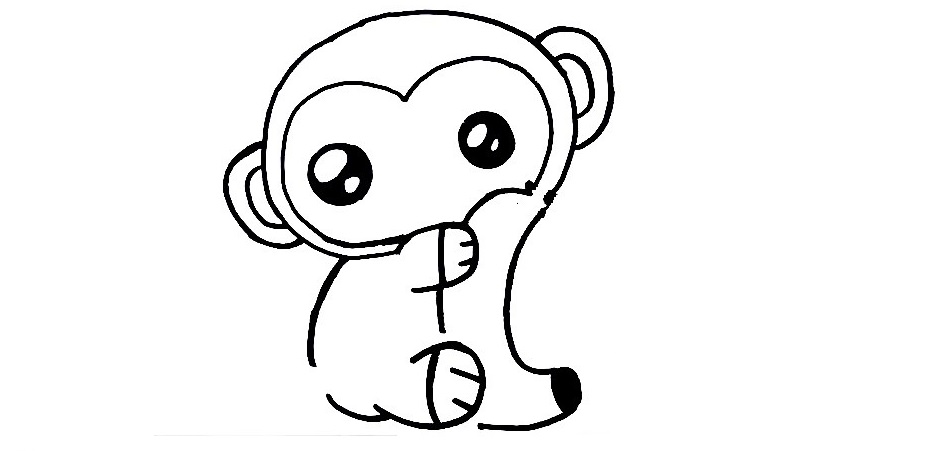
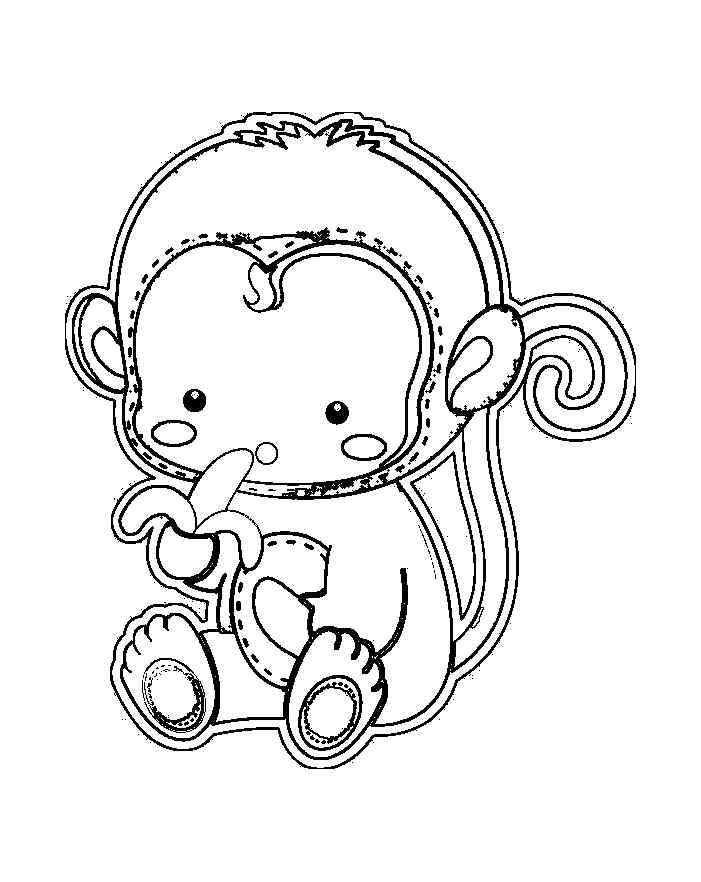
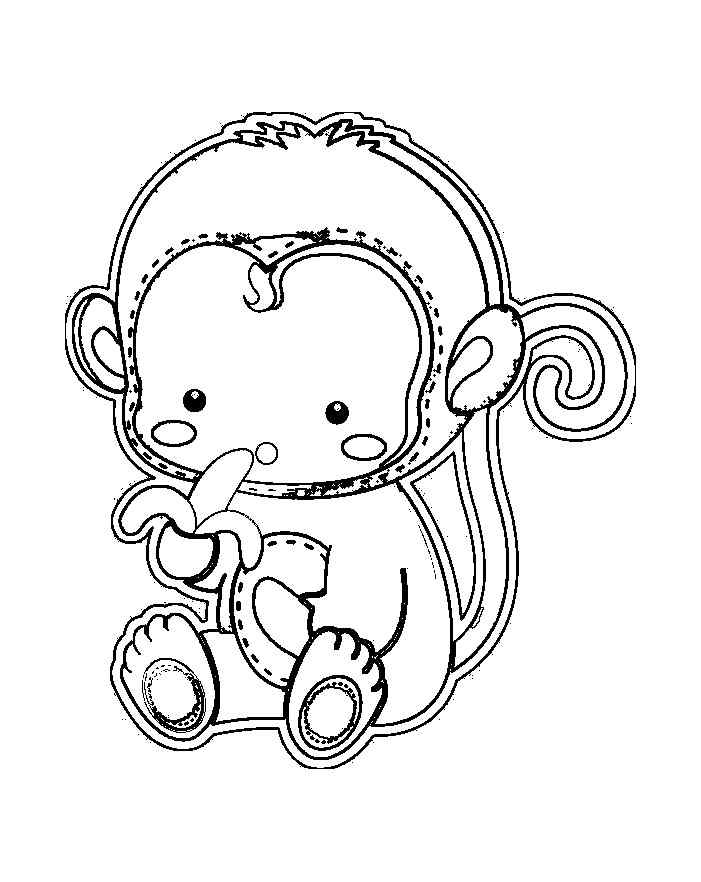
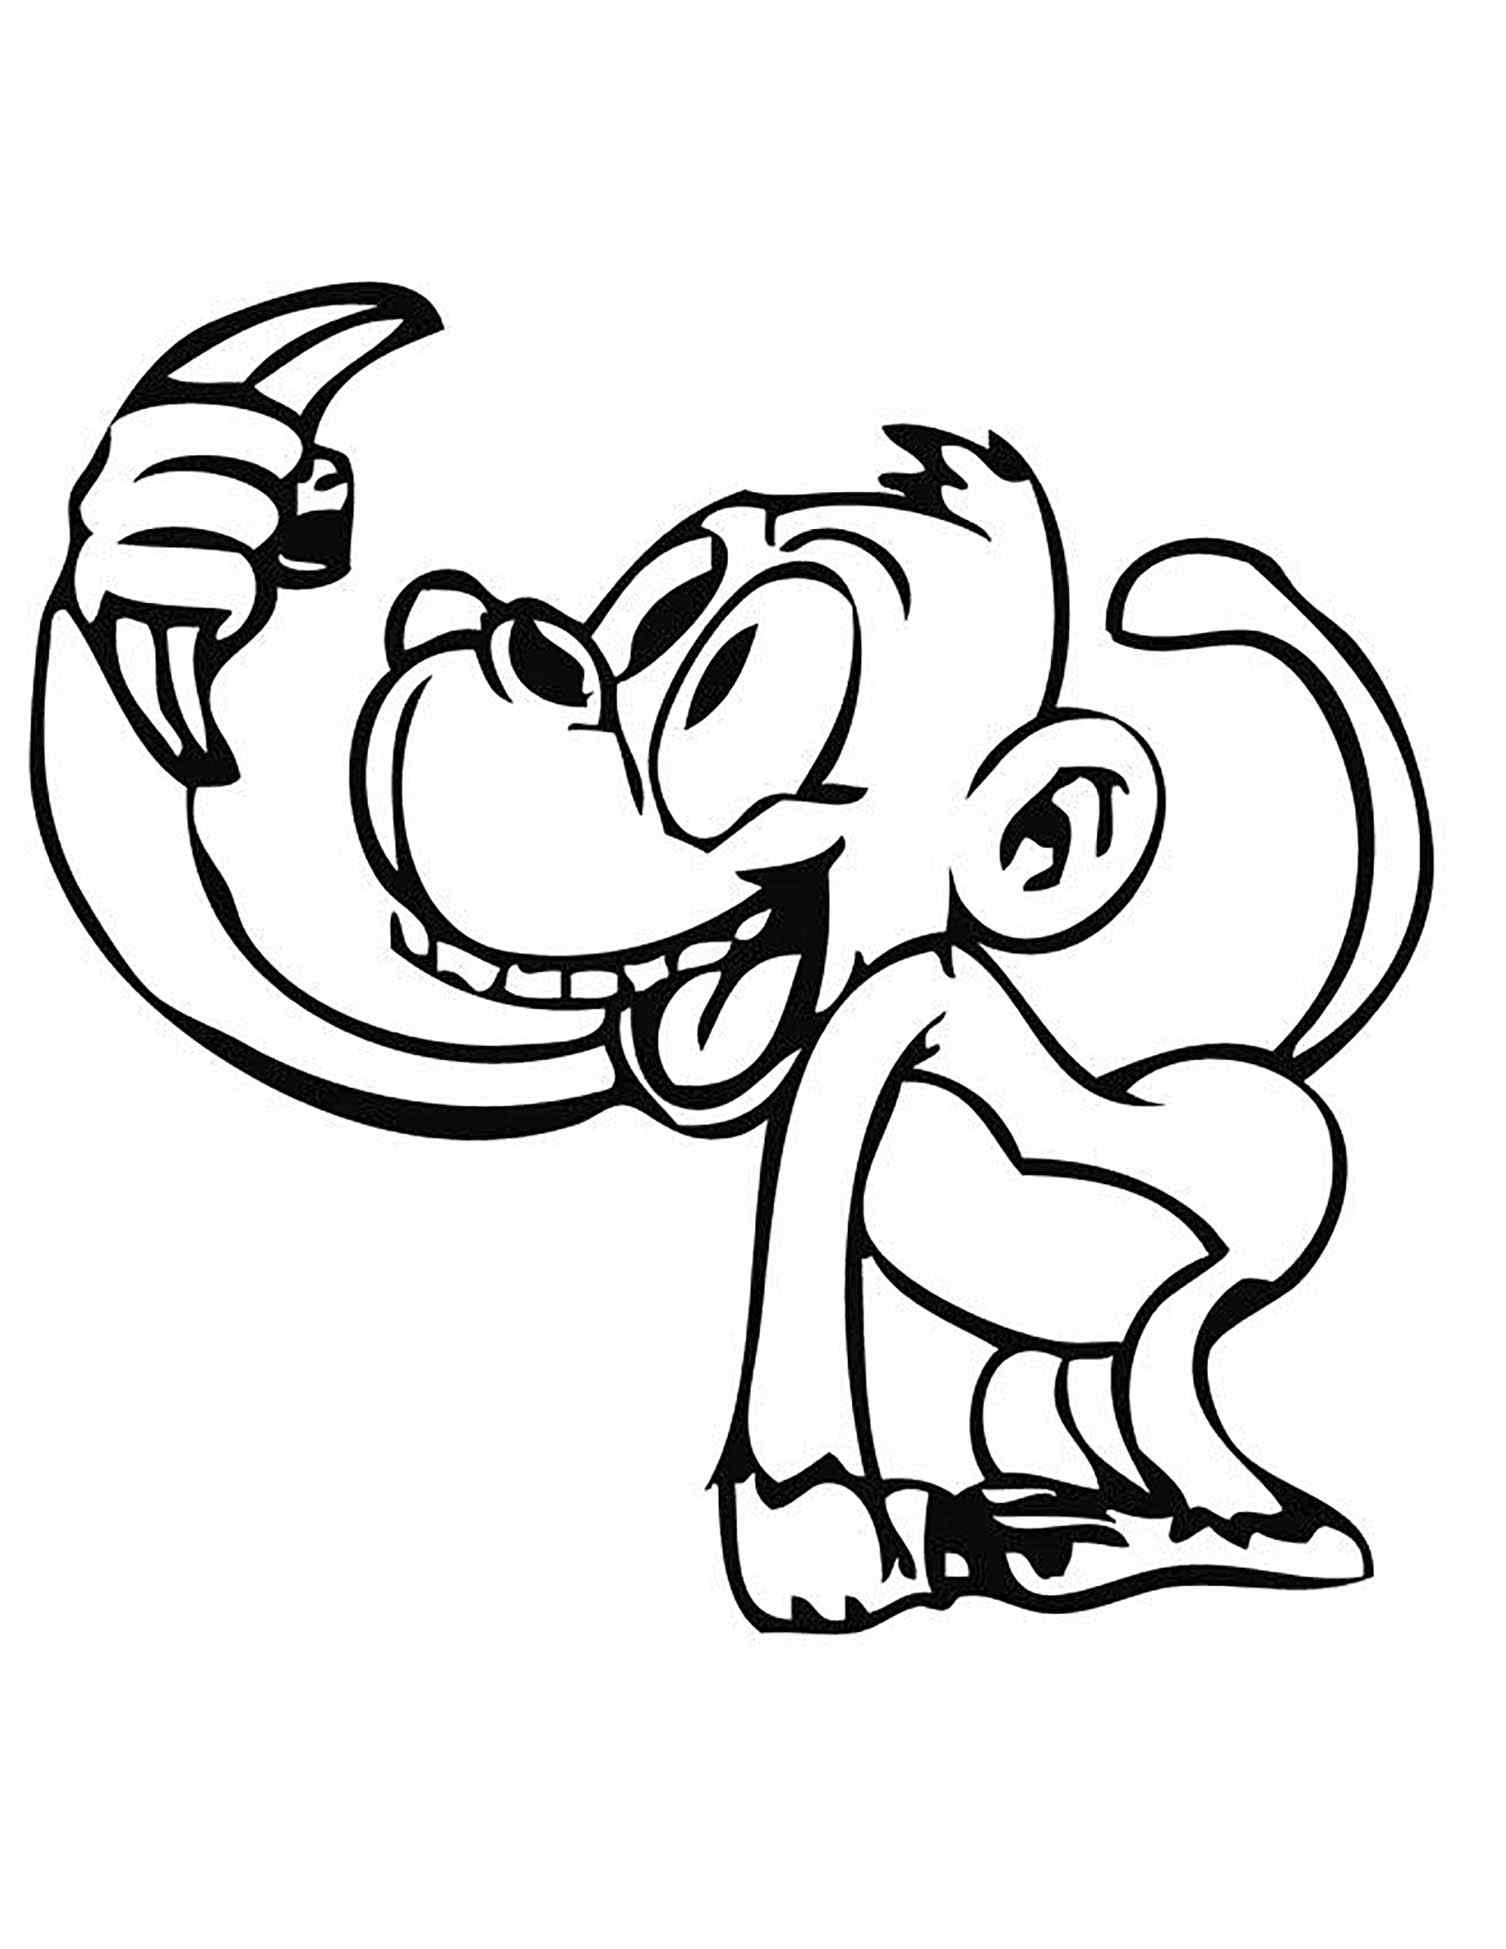
You must use the curved lines to draw a banana in this step on how to draw a monkey. You use two parallel curved lines similar to a backward letter C and create a banana. So you have completed the banana, and the monkey hugs it, you will draw another hand in the next step.
Step 7 – Draw Body And A Leg For Monkey
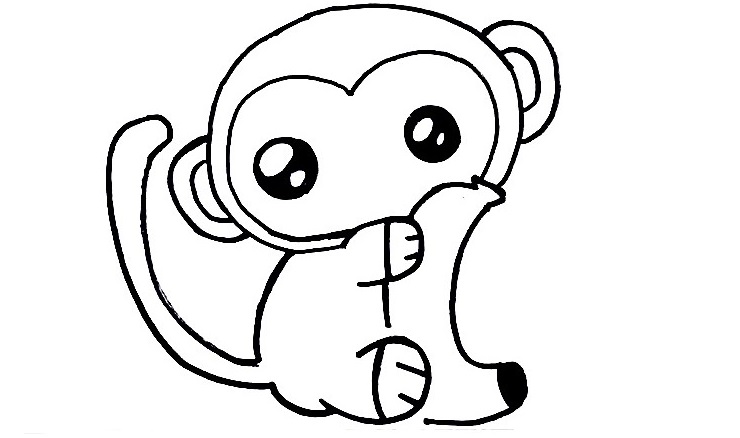
For the seventh step of our guide on drawing a monkey, we shall add the first leg on the left side of the monkey. You use the curved line to draw the back of the monkey from the head. Then you must show the monkey leg with the foot and toes. You can see a cute monkey now with a body, hand, leg, and face. You will do the final detail on how to draw a monkey in the eighth step.
Step 8 – Finish Off Task On Your Drawing
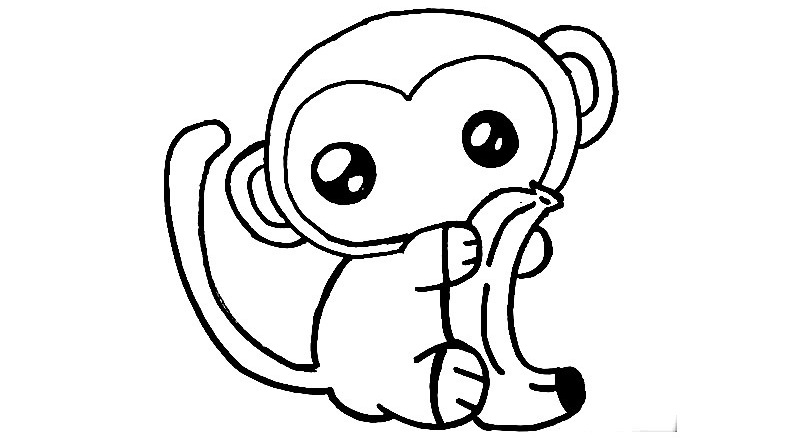
You’ve almost finished your monkey now! For this step, draw in the arm, leg on the right-hand side of the body, and monkey tail. You know that its tail is long, and you will make the monkey’s tail long until it suits your image. You can see this in our reference image. You complete your drawing work here and have the last step for coloring of monkey.
Step 9 – Color Your Monkey
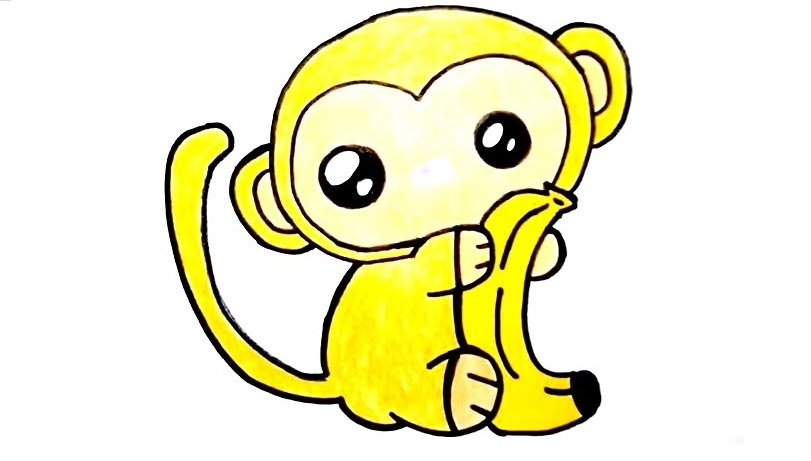
To finish the task of how to draw a monkey, you must choose suitable colors for your pictures. It can be said that out of the nine steps for monkeys, this coloring step is the simplest. We take light yellow to make coloring for monkeys and bananas, white for the face, and black for the eyes. You get a new monkey drawing known with colorful characters.
Your Monkey Drawing Is Complete!
You finish nine steps, equivalent to nine missions on how to draw a monkey. This is not a simple mission, but it is not too difficult; you go to step by step until you finish all. The advice for you here is to focus and move your strokes smoothly. Right now, you get a nice monkey with our help. This is interesting work and suitable for everyone, from children to adults. You can come here after the hard-working hours to relax. If you are a parent, you can join in this activity with your kids; it also is good for your kids because they can practice some skills such as pen skills, painting skills, and concentration skills; they are good for their evolution. More they can avoid using technical devices such as television, smartphones, and tablets,…they will be harmful to children’s eyes. Once you get a complete monkey, you can come to the monkey coloring pages on our site to practice your drawing and coloring activity. The monkey tutorial ends here; thank you very much for reading it; if you like it, please share this article on Facebook with your friends.


