Mistletoe Drawing Is Created In 9 Easy Steps
Creating a mistletoe drawing in just 9 easy steps
in this cool tutorial, you will learn how to draw a mistletoe step by step and create a complete mistletoe drawing. You will follow the instruction in our guide to realize your task until you achieved your goal. The detailed instruction will show you how simple this tutorial really is. Any kid from any age will have a blast drawing their favorite cartoon character. So, if you are a parent, you can learn this mistletoe drawing with your kids. They will surely like it and lets them practice this activity each day. In our guide on how to draw a mistletoe, you have nine steps equivalent to nine missions that you must finish this task. You will keep calm and finish all tasks one by one. Joining this activity on how to draw a mistletoe is very interesting and suitable for everyone. If you like Christmas, Santa Claus with the gifts, and mistletoe,…please don’t hesitate to give this learning to your children. Along with this tutorial, we provide mistletoe coloring pages to download and print, …you can use them to practice your drawing and coloring.
How To Draw A Mistletoe – Let’s Get Started!

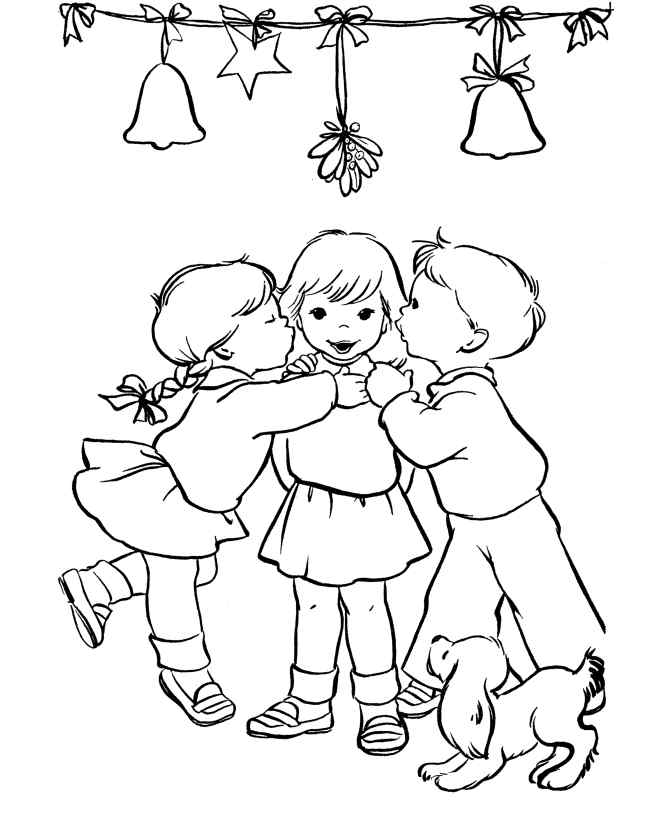
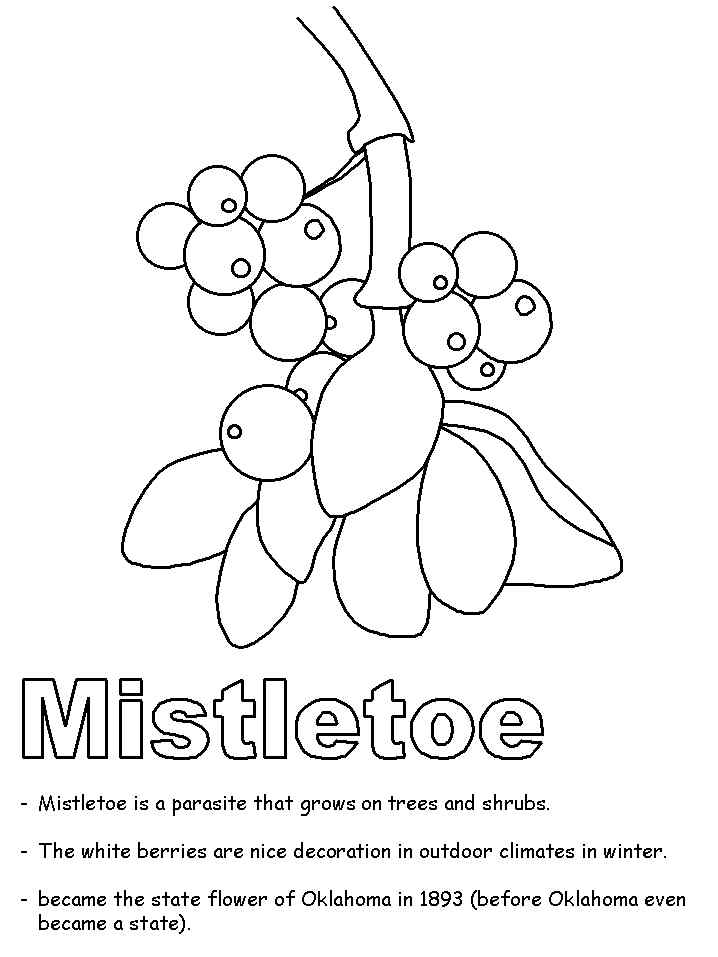
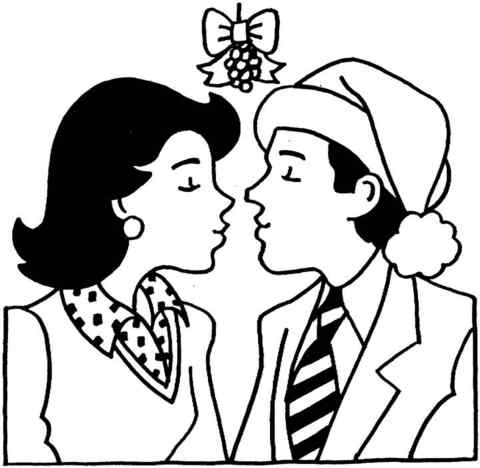
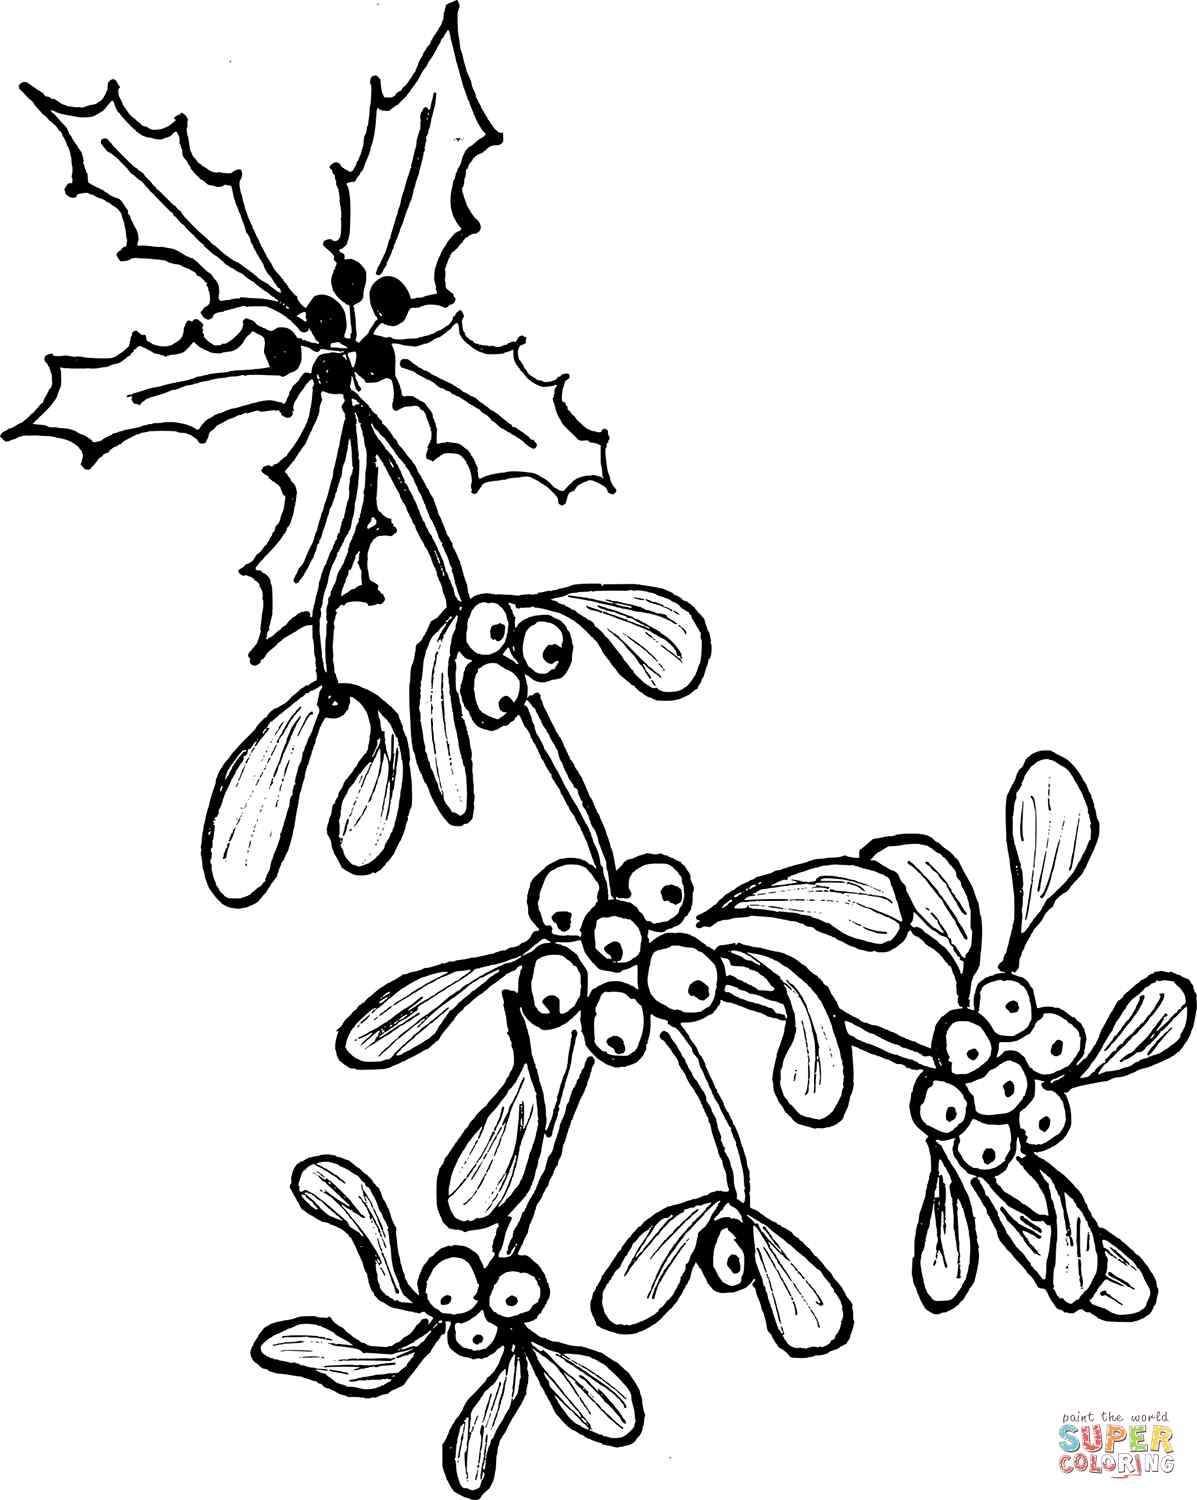
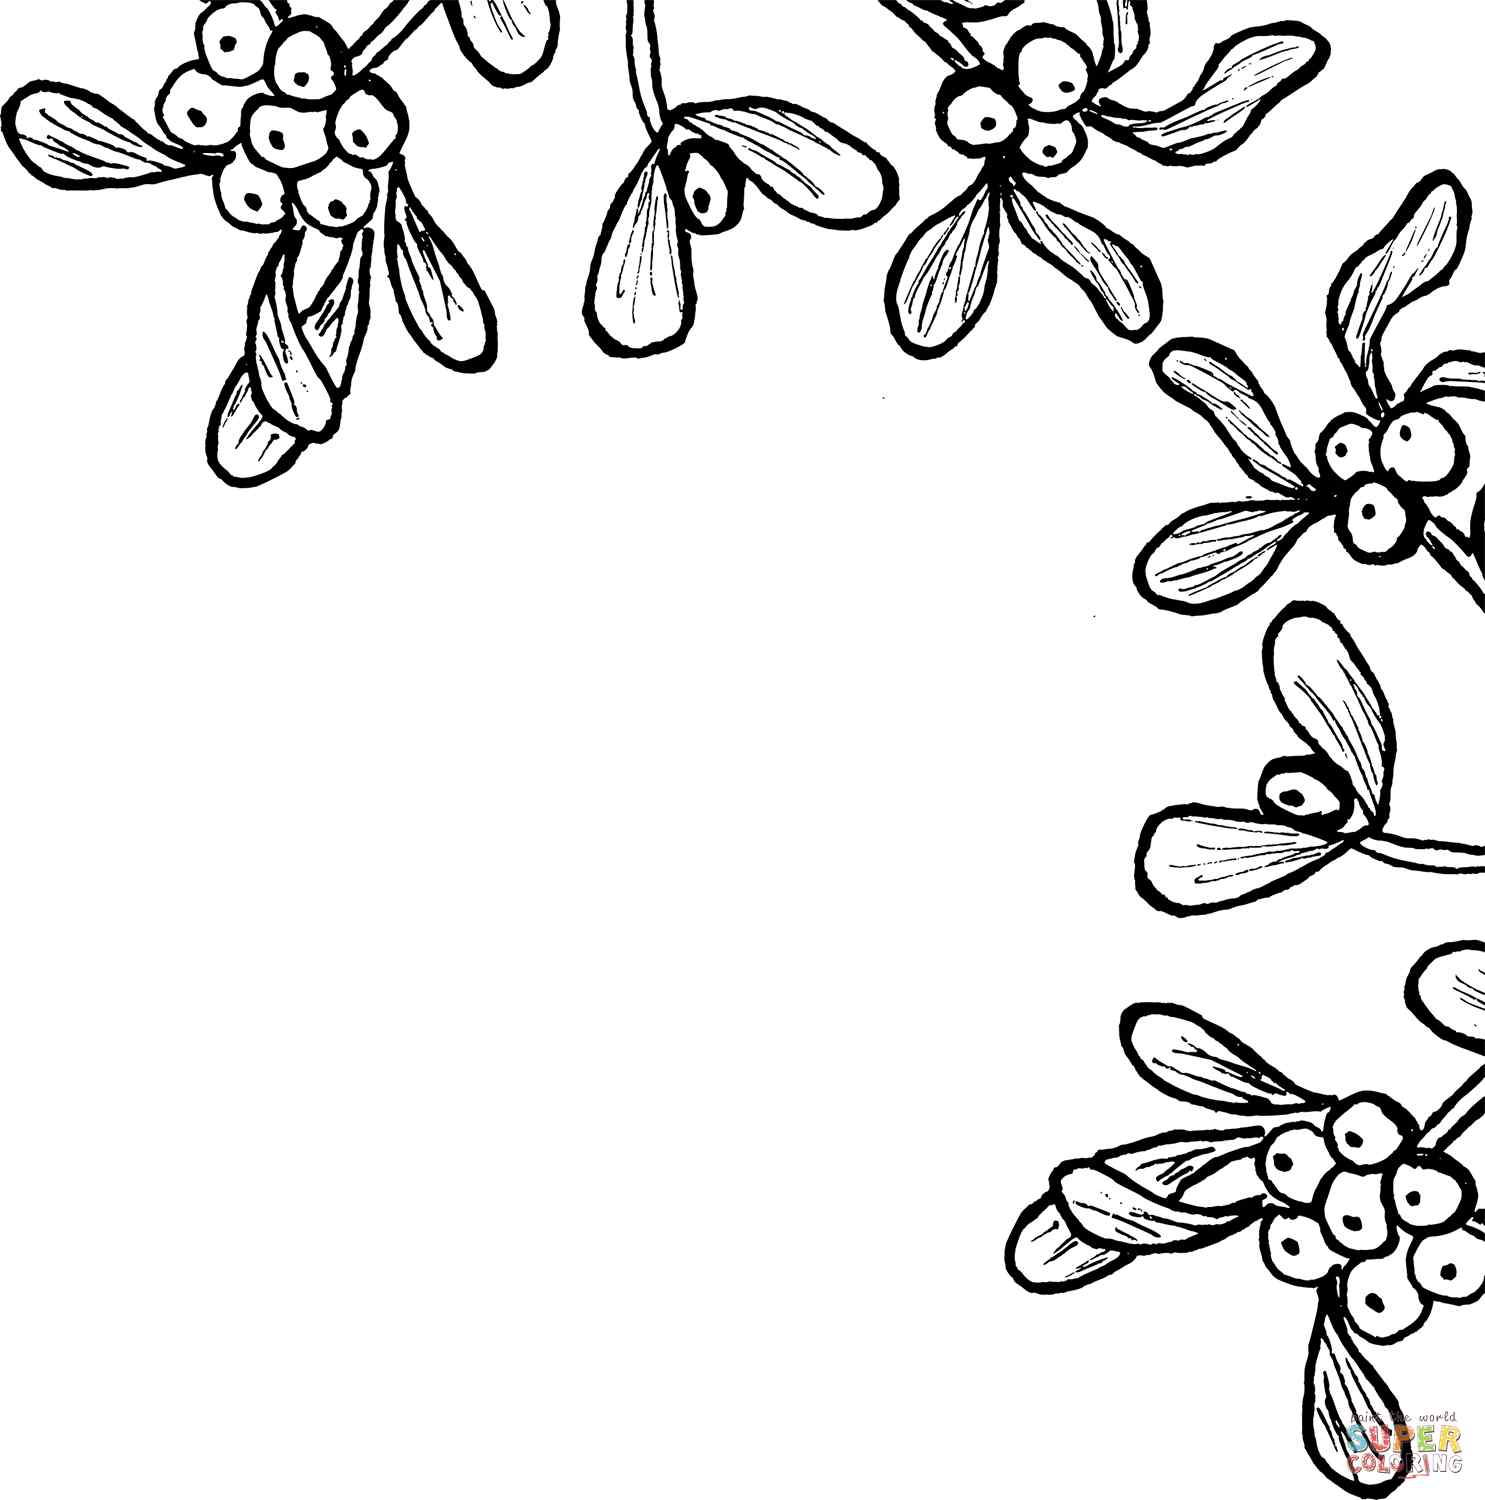
Mistletoe is a plant with pale berries that grow on the branches of some trees. The mistletoe is made for decoration at Christmas. They will often hang over doorways, and the tradition is that you have to kiss anyone you meet under the mistletoe. It can be fun to get into the Christmas spirit by learning how to draw a mistletoe! Today, you get an opportunity to know how to draw a mistletoe with us. Before drawing, you must prepare some things such as paper, pencil, pen, and colors. Then you use your pencil to draw on paper, and you can erase your mistakes easily because some steps will require you to erase lines drawn in previous steps. In first, you will draw blurs with a pencil then erase the mistakes until you complete your mistletoe. Finally, you will choose the suitable for your product. It takes about 30 minutes for this guide on how to draw a mistletoe. You get a fun time to relax and come back working more effectively. Now let’s get started drawing a mistletoe with us!
Step 1 – Draw A Bow For Your Drawing Mistletoe

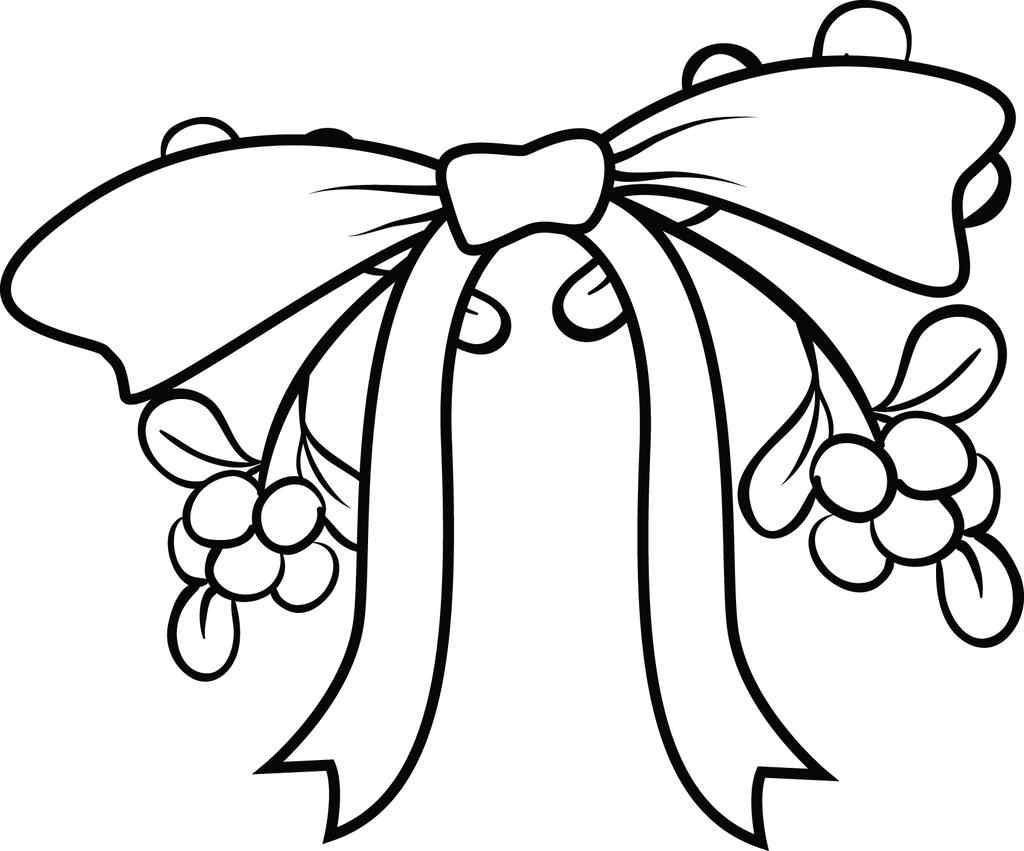
Start on how to draw a mistletoe, and you draw a bow for the mistletoe. Similar to a bow for a tie, you use some small curved lines to make a perfect bow here. It is very simple for you, just spend some minutes and go to step 2 now. Note for you in this part that you should draw, one by one, from the bow outline then to the small details for the bow.
Step 2 – Add Two Lines For Bow

In this second step to creating the nice mistletoe, you will draw two lines at the bow. Very simple for you; you just need to use a pencil to draw 2 almost parallel lines from the top down and through the bow to form a stalk for Mistletoe. You quickly finish work here and next to the third second.
Step 3 – Draw Details For The Mistletoe Plant

You will add some details for the bow and add to the mistletoe plant in this guide to create a Christmas mistletoe. From the mistletoe plant, you add some details; they are two leaves at the stalk end, as you see in our illustration. It is not complex for you in this step, and you can finish it in minutes and go to the fourth step.
Step 4 – Add More Details For The Mistletoe Plant

Your mission on how to draw a mistletoe is more and more interesting but harder. You must draw more leaves for your mistletoe plant. Similar to step 3, you use curved lines to show the leaves, but in this step, you add more than three lives to the mistletoe Plant. Mistletoe’s foliage is drawn one after another on a branch of mistletoe; you can see our image and follow it
Step 5 – Draw Some Round Little Berries

The Christmas mistletoe plant is indispensable for the little berries; you draw a small circle to make the berries on the plant. In this step for your drawing, you add three small berries to the plant. This is a simple task, right? You just need to spend some minutes finishing your work in this step.
Step 6 – Add More Little Berries

Exactly like step 5, in step 6, you add one bunch of berries on the right side and under the berries drawn in step 5. However, the berries in this step will be smaller than the berries above, as you see in our reference. You continue to add the leaves and the berries in the seventh right now.
Step 7 – Keep Adding More Leaves And Berries To Mistletoe Plant

Your drawing is almost finished, and you continue to add some leaves and berries to the mistletoe plant. Similar to the previous steps, you will use curved lines to realize your task in this step. The work to the end of your mistletoe, the more difficult it is to draw so the more focused and persistent you are, the more you will achieve the desired result. Once you are happy with your work, you can move to the final drawing details in the next step.
Step 8 – Finish Your Drawing Mission

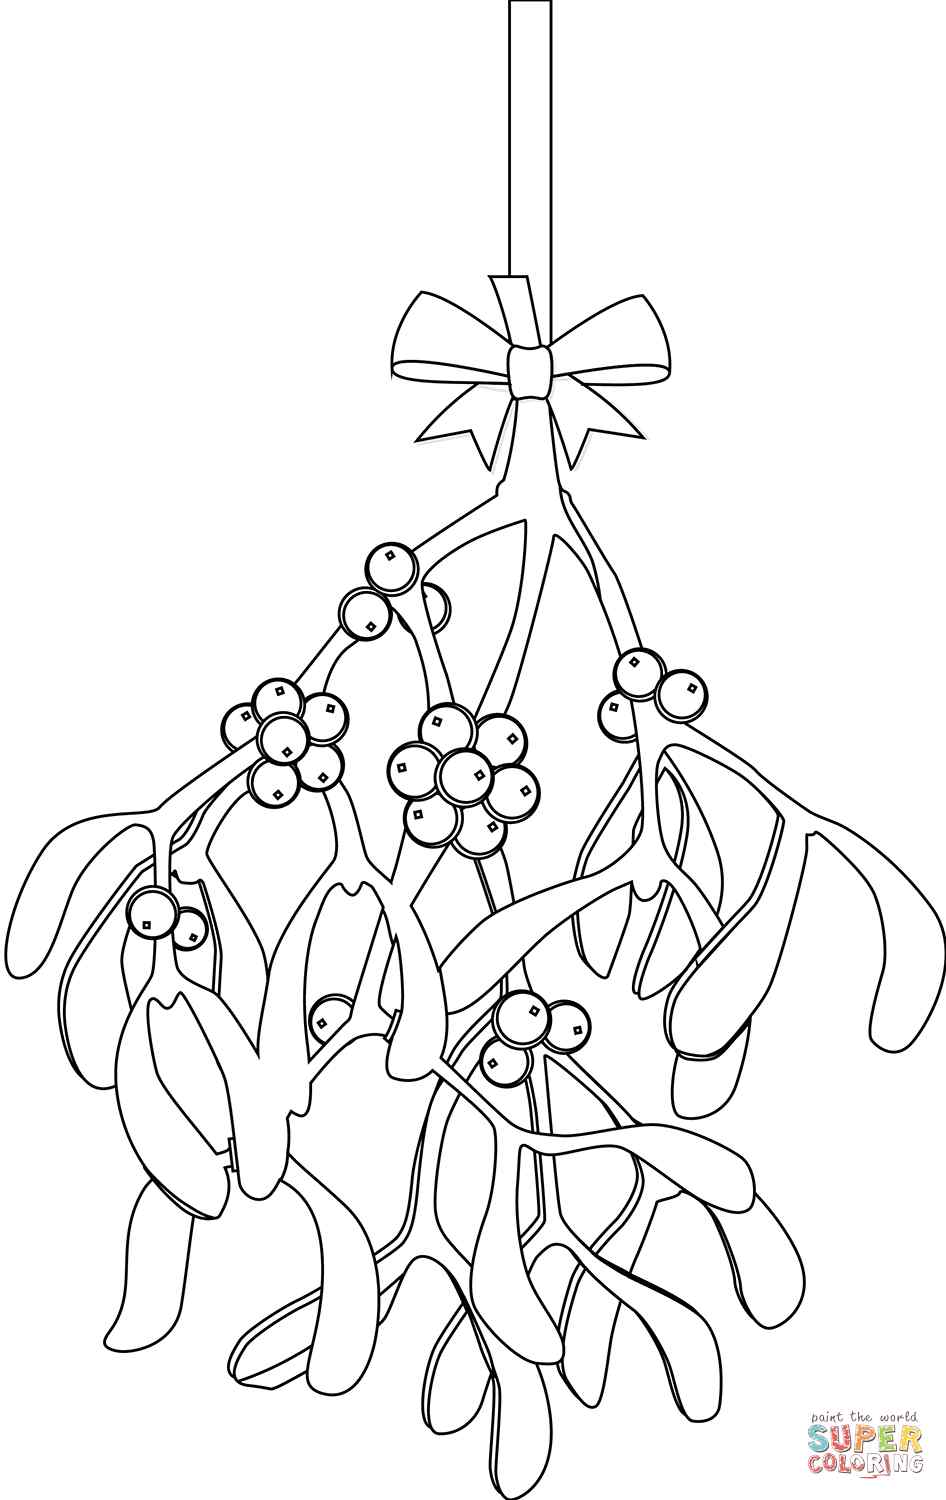
This eighth step of our guide on how to draw a mistletoe will see you adding the final leaves and berries to your picture. Like the previous step, you will add the right amount of leaves and berries for your mistletoe. You can look at our reference and add more details to your mistletoe . So, your drawing work is finished, and before going to the last step for coloring, you can add cute details, such as the number 3 in the bow center and two eyes on two sides of the bow. Those details will make your image drawing nicer and cuter.
Step 9 – Color Your Mistletoe

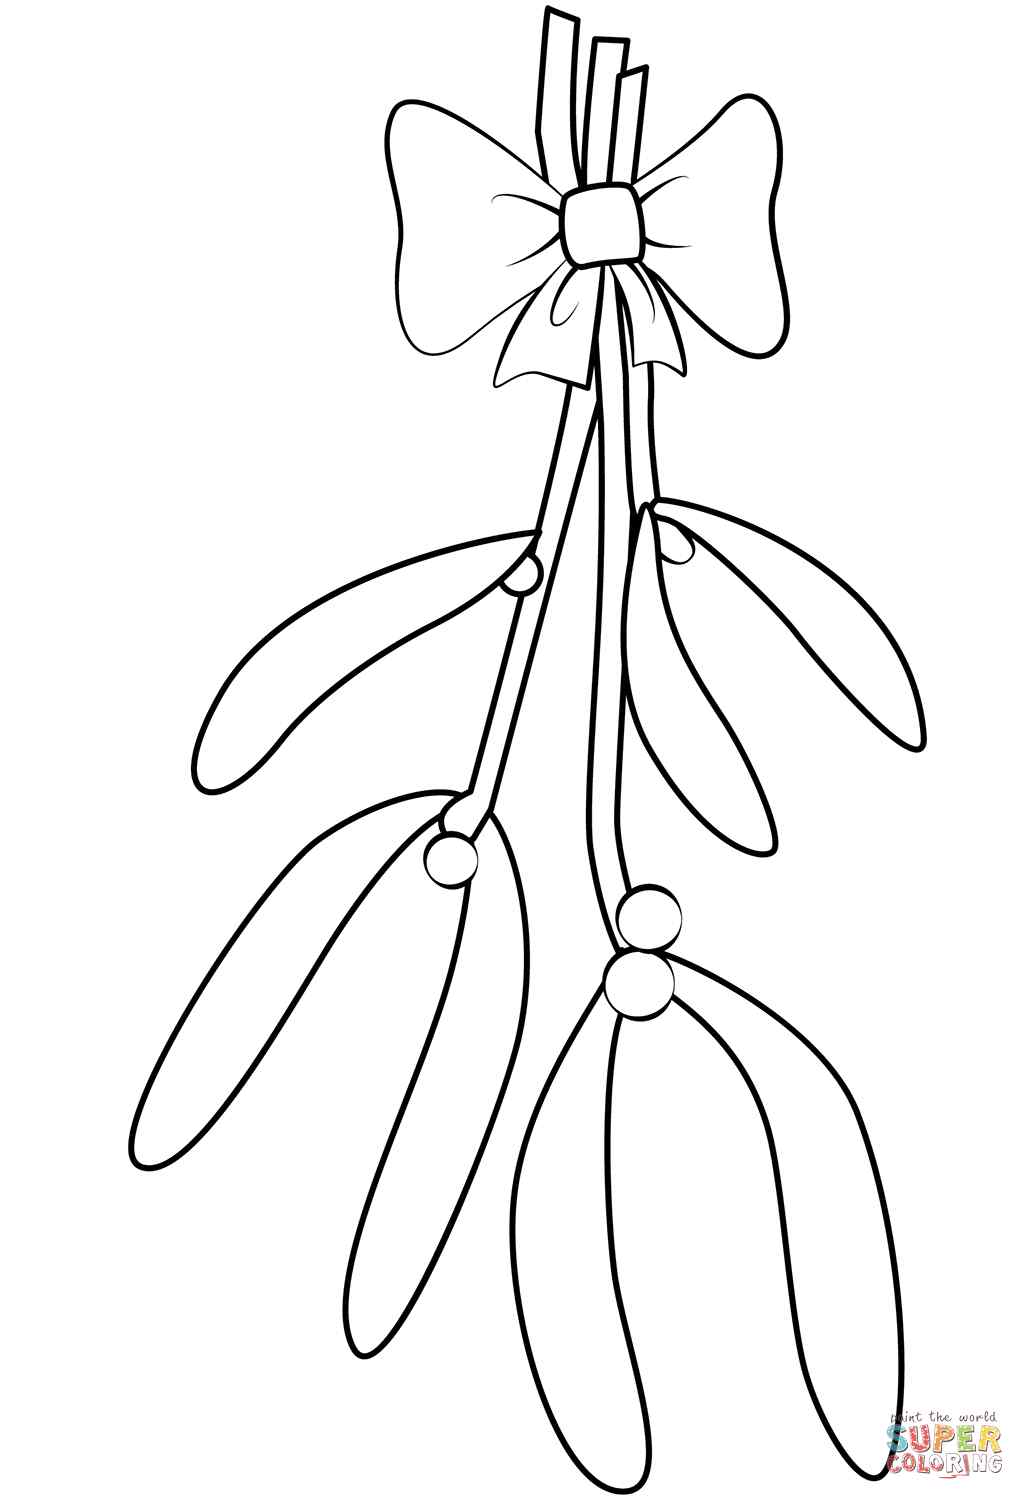
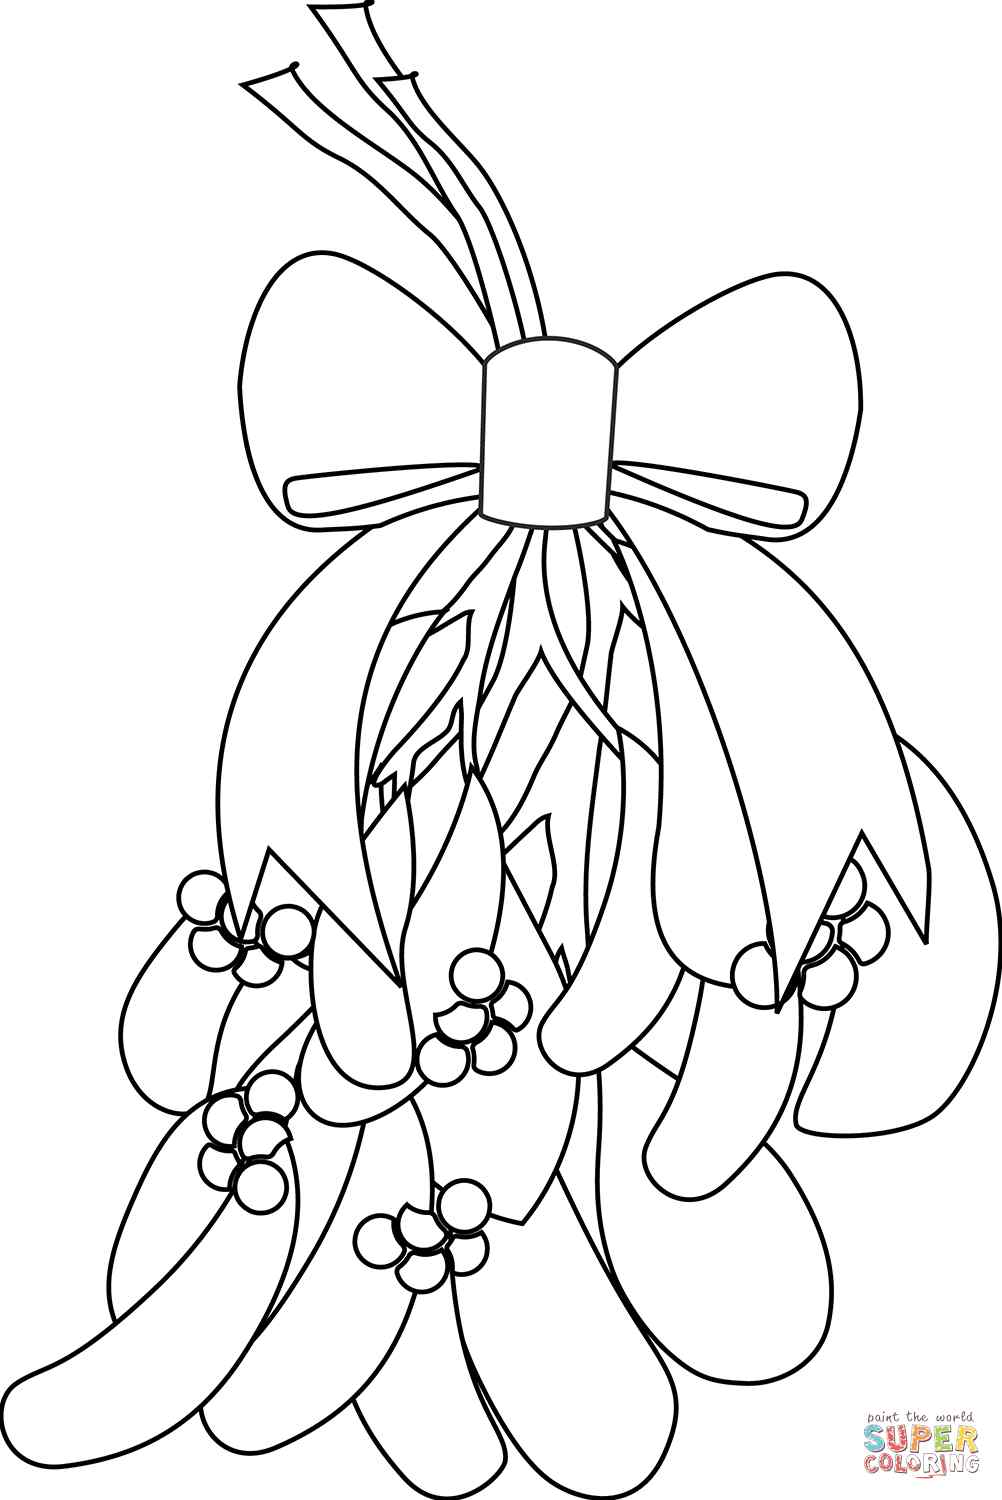
Your drawing picture looks great when you add some color to your drawing. As you see in our reference image, we choose green for the mistletoe plant, grey for the berries, black for the eyes, and red for the bow. You can choose suitable colors for your pictures, or you take the same colors. Great, your mission on how to draw a mistletoe is done.
Your Mistletoe Drawing Is Complete!
With our nine simple steps, you make a complete mistletoe. Drawing and coloring are good activities for everyone. Whoever you are and whatever you do, you still need to take time to relax, and drawing and coloring are good solutions. More, this is a free entertainment channel; you can come here anywhere and anytime with your devices connected to the internet. When you enjoy those activities, you can get an opportunity to understand your kids. through this knowledge; you will have a better method of teaching children. More joining in the drawing and coloring activities, your children can avoid using technical devices such as television and smartphones. They will be harmful to children’s eyes and development. Once you get a complete drawing, you can come to mistletoe coloring pages for free on our site to practice your drawing and coloring skill. With our easy tutorial, you can realize all tasks on how to draw a mistletoe or anything you like.