Ladybug Drawing Is Created In 6 Easy Steps
Complete Beautiful Ladybug drawing in just 6 easy steps
Here you know how to draw Ladybug from Miraculous Ladybug or ladybug drawing in our instructions. You get an opportunity to learn more about this character. Following some documents from the internet, the Ladybug (family Coccinellidae), also called the ladybird beetle, is any of approximately 5,000 widely distributed species of beetles (insect order Coleoptera) whose name originated in the Middle Ages, when the beetle was dedicated to the Virgin Mary and called “beetle of Our Lady.” Most people like ladybugs because they are pretty, graceful, and harmless to humans. More, ladybugs can eat aphids and other plant-eating pests. They compte a ladybug can eat up to 5,000 insects in its lifetime! They get an oval, dome-shaped body with six short legs. Ladybug has most spots and stripes on their wings. You will follow our six steps of instructions and create a complete Ladybug. When you finish your drawing, you can go to Miraculous Ladybug Coloring Pages to practice coloring for images related to Ladybug.
How To Draw Ladybug – Let’s Get Started!

With our instructions, you will follow us and our illustration. We give the details of the instruction, and you just follow them. It would help if you prepared some things such as paper, pencil, and colors before drawing. Whether you are a beginner or an expert in drawing, you can finish your task here easily. In each step, we provide an illustration to explain the mission. If your kids like drawing and coloring, that is great. You can learn to draw Ladybugs with your kids and teach them about this creature. This is not a simple task, but it is not too difficult; you must concentrate your mind, passion, and time here to finish all tasks as one by one. You can enjoy this activity after the hard-working hours. . With our instruction and your skill drawing, I believe you can get the perfect Ladybug. Now, let’s get started drawing Ladybug!
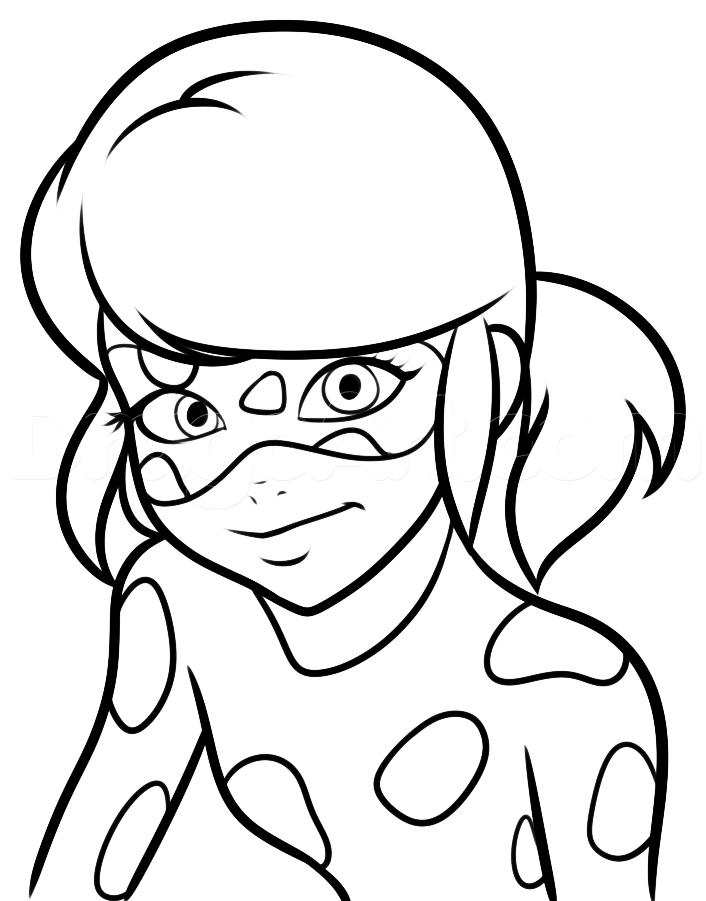
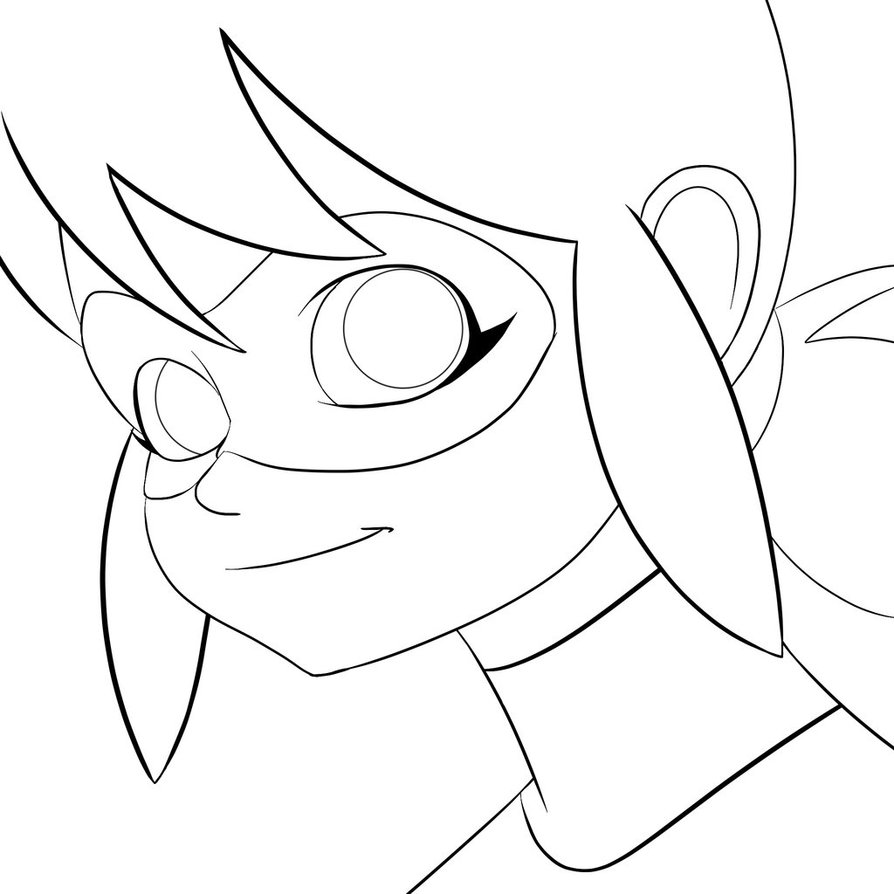
Step 1 – Draw Ladybug’s Face Outline And Her Eyes

To start your drawing mission, you will draw a half-circle to make Ladybug’s face outline. Then you will draw two eyes for Ladybug. You will draw to dog with an oval. Please use black to color pupils to make the natural eyes for Ladybug as well. It is simple for you in this step, and you will move to step 2.
Step 2 – Add More Details For Ladybug’s Face

In this second step of the Ladybug drawing, you will draw the rest of the half-circle to make a complete circle for the face. You will use some lines and curves for the highlight on her face. After that, you will use a small curve to make her nose. Under the nose, you will draw a line and an angle to make an open mouth. Then you use black to color your mouth now. Once you have these elements looking as they do in the reference image, you’re ready for step 3.
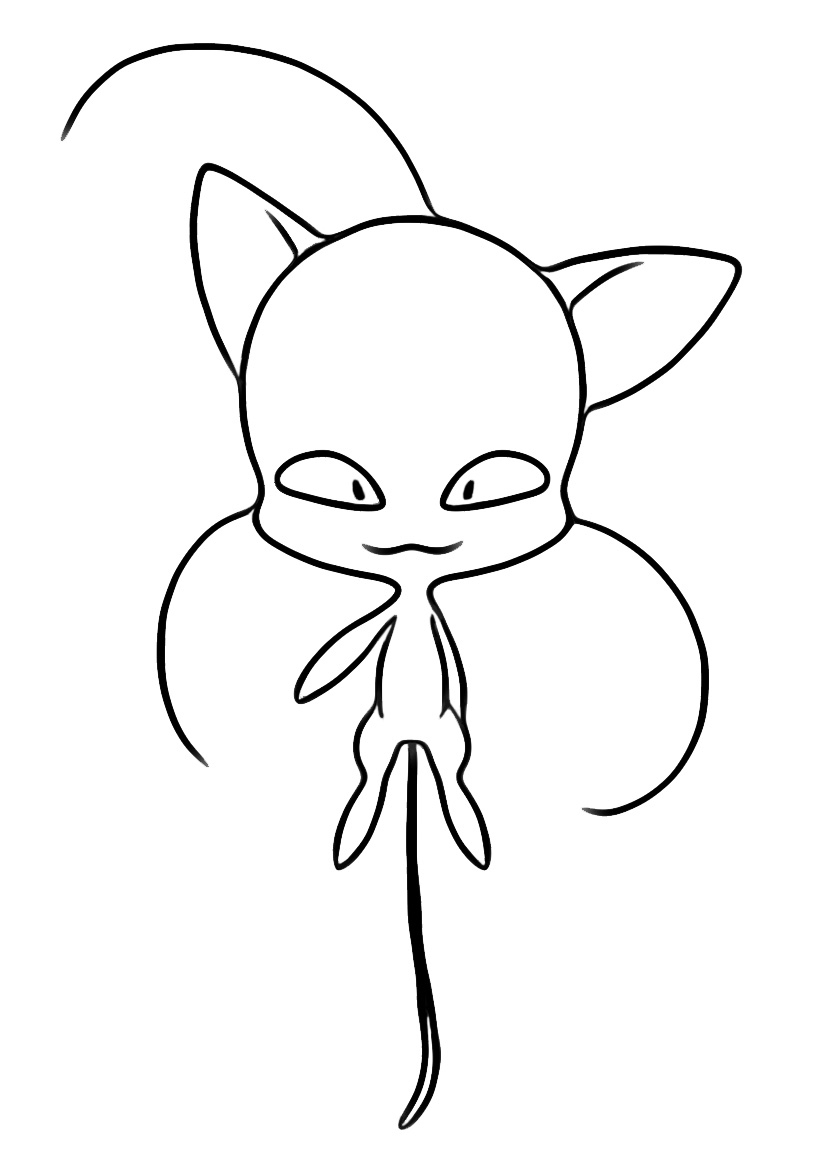
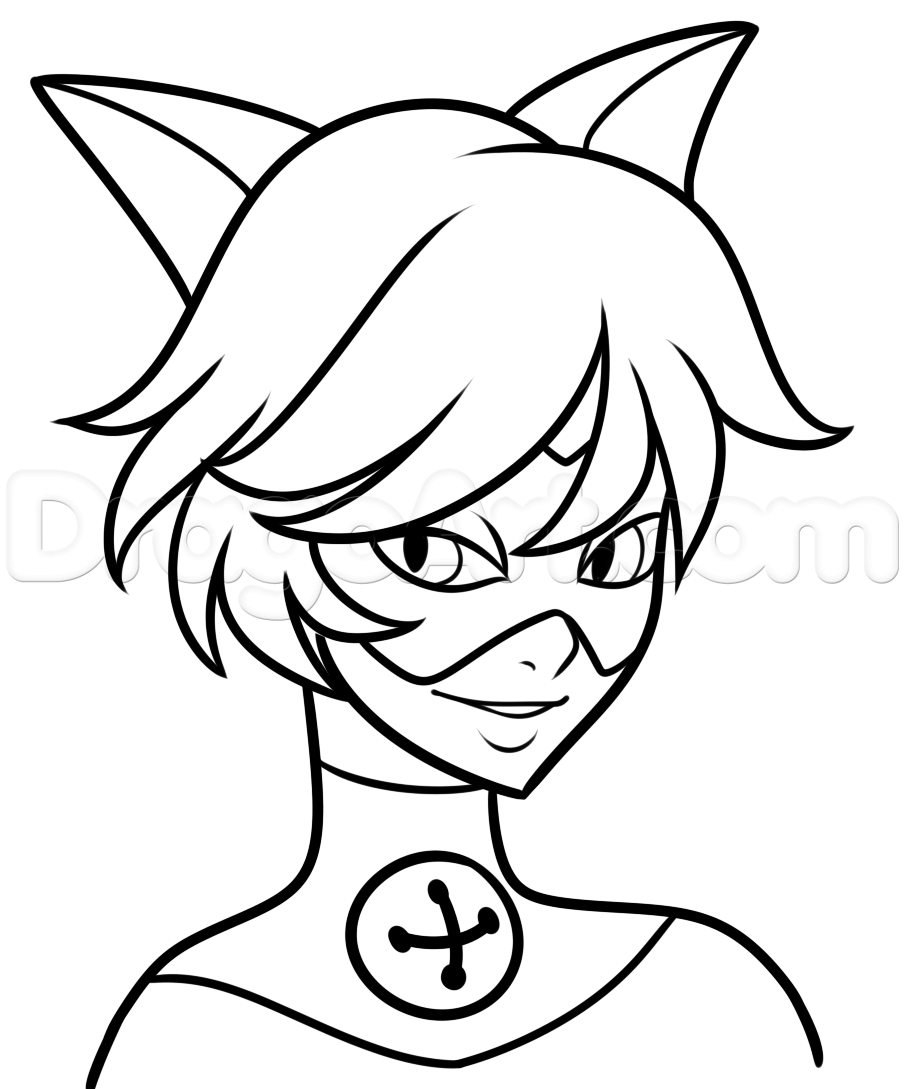
Step 3 – Draw Hair And Ears For Ladybug

Now, you will draw the hair for Ladybug. You will use the lines around the face and head to make the hair. On both sides of your head, you’ll draw two ponytails showing her beautiful hair tied up on both sides. On that, you will draw two curves making a pair of ears for Ladybug. At eyes, you will draw wavy lines to make her glasses. You can use some curves to make the decoration for ladybug hairs. That’s all there is to it for this step, so when you’re happy with the look of it, we shall continue adding to Ladybug in the fourth step.
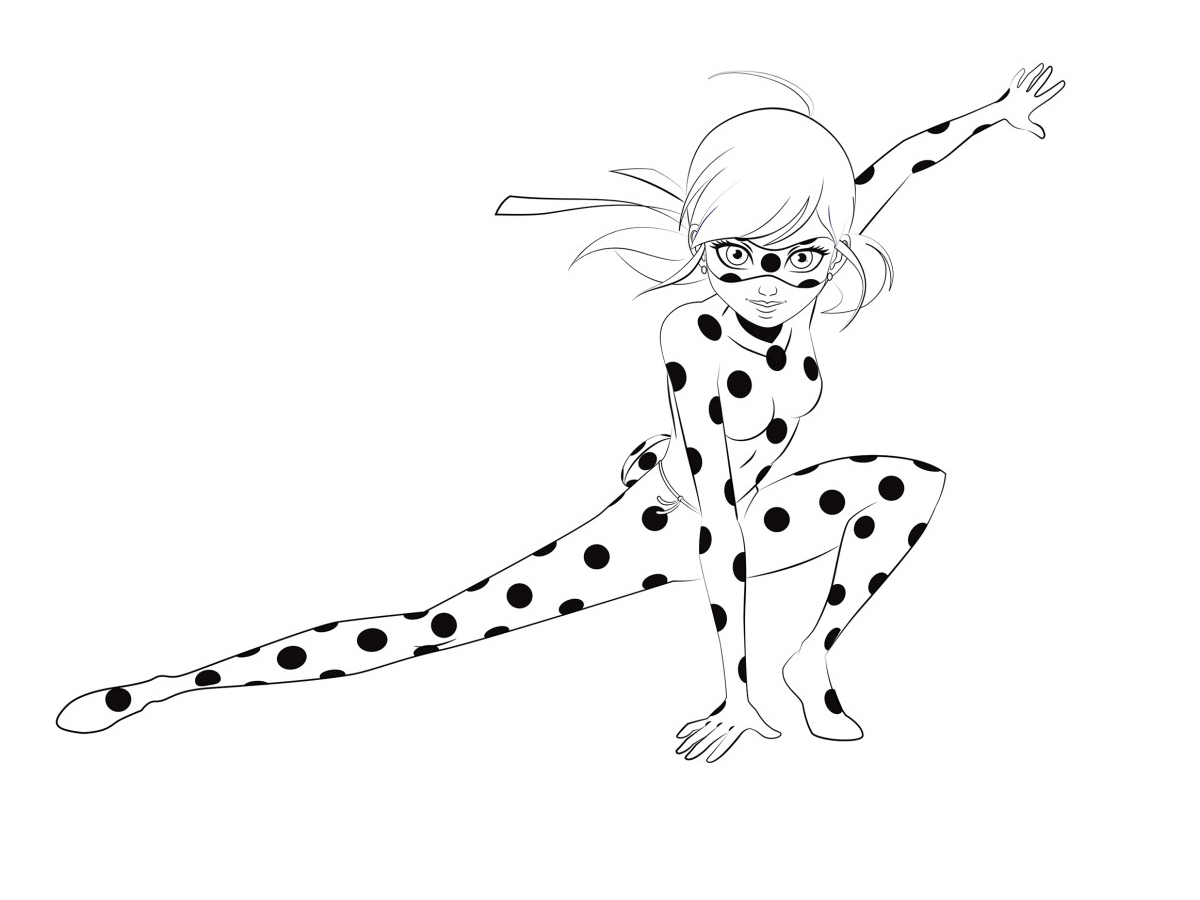
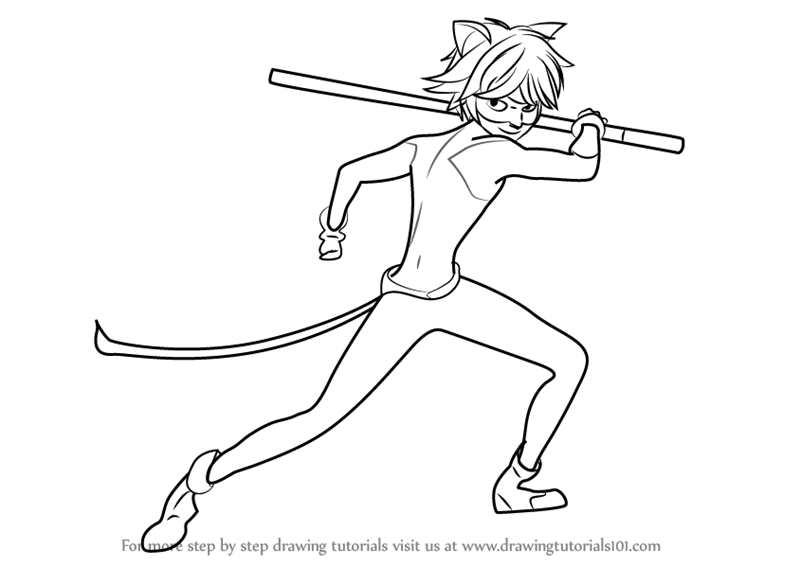
Step 4 – Draw Ladybug’s Body

From the face, you use the line to extend downwards and ends at the feet. These will be parallel lines that are very easy to draw. You can observe our drawing and follow. Straight lines will have accents like feet; the distance between the legs creates strong legs for Ladybug. You can finish your task here and continue to draw in the fifth step.
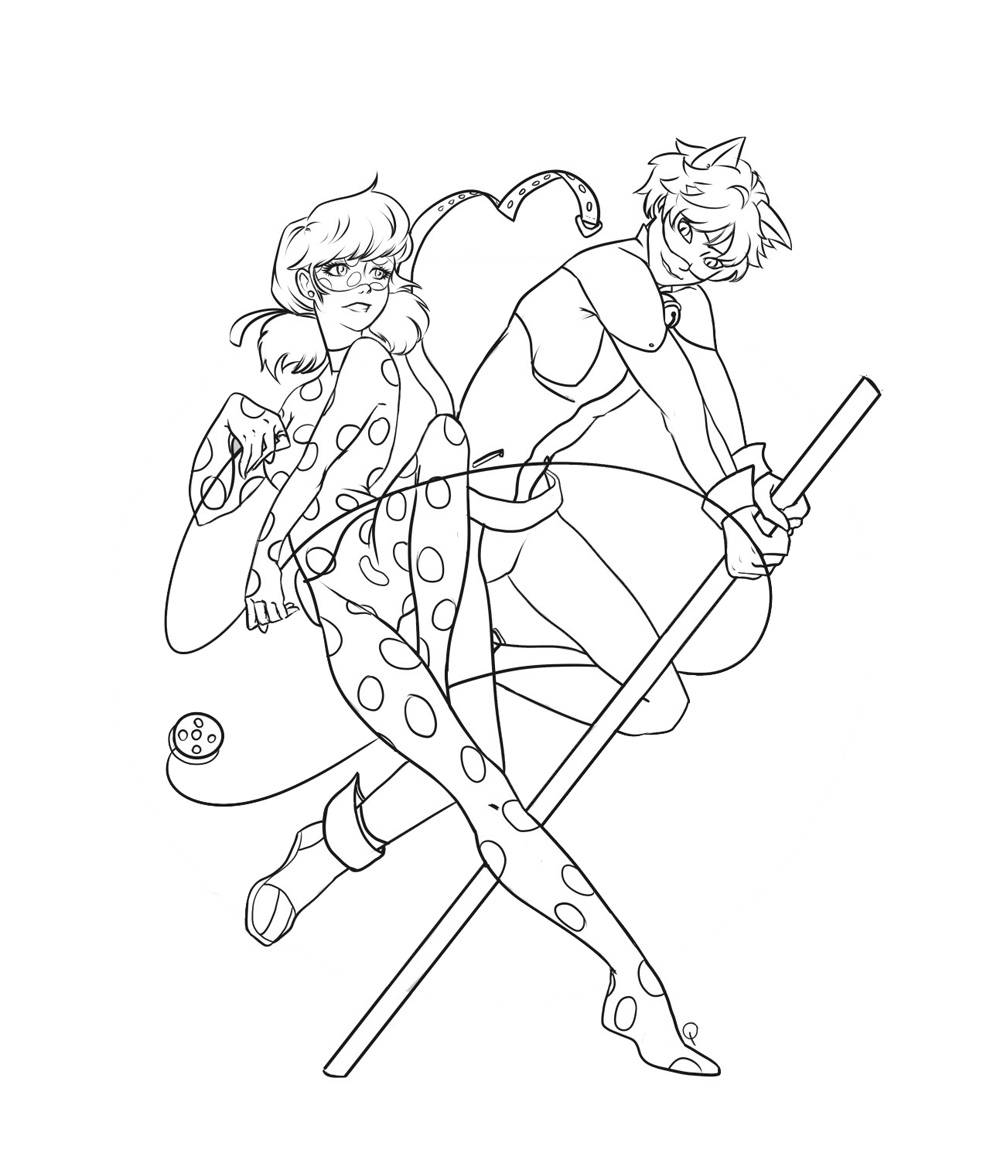
Step 5 – Finish Your Drawing Mission

Right now, you must finish all your drawing mission. You will use the lines to make the hand and complete the fingers. Because some fingers are hidden by the body, so, you draw only two fingers for each hand. After that, you will draw the prominent spots and use black to decorate Ladybug. Spots appear on the body, hand, leg and face of the Ladybug. So, you create a complete Ladybug with our instructions. You have more than the last coloring step.
Step 6 – Color Lady Bug

This is the easiest step for you; your mission is to choose the suitable colors to make coloring for Ladybug. You can take your favorite colors or choose colors the same colors because there is no rule in choosing colors for products. We carry black for hair, eyes, mouth, and spots, red for his body, and for her glasses. Above is a six-step of instruction that helps you to draw and color ladybugs. Once you learn to draw Ladybugs, you can move Miraculous Ladybug Coloring Pages to practice many images related to Ladybugs on our site. Besides instructing Ladybug, we have many instructions for everything and animal. If you like our tutorials, don’t forget to give us a thumb up and recommend them to your friends! I hope you get a great time here and come back with us!