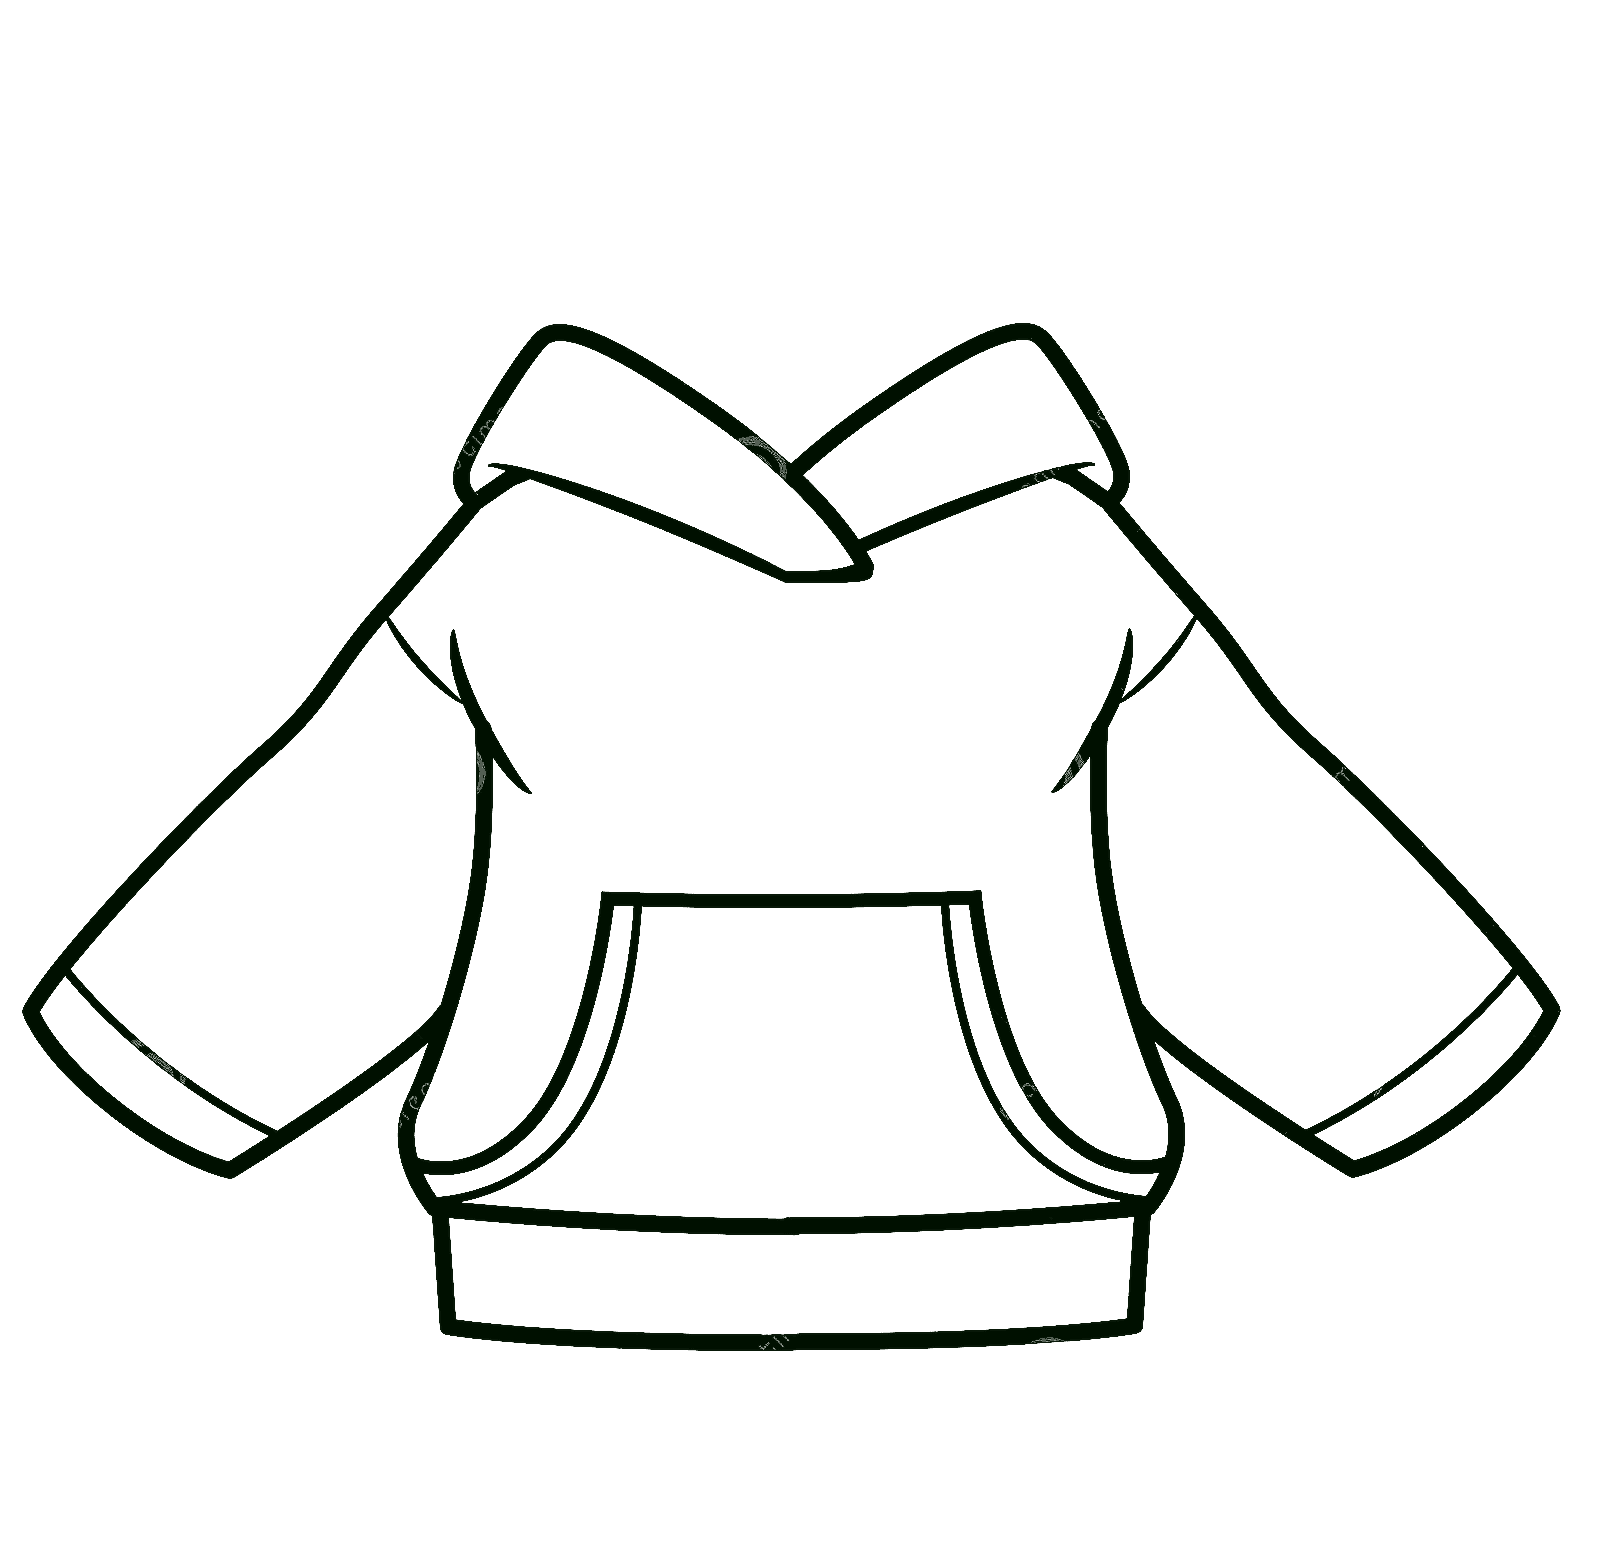
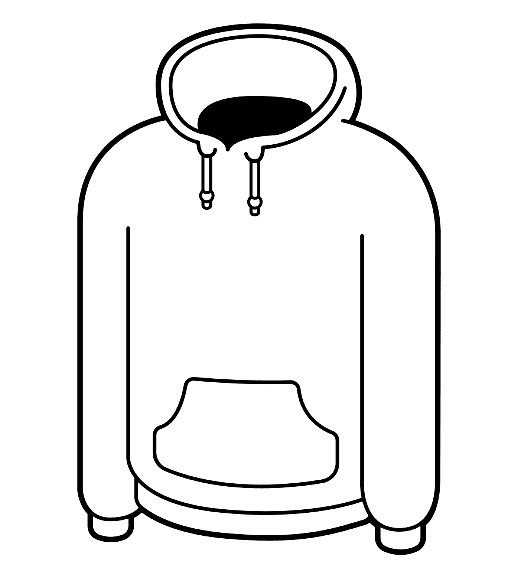
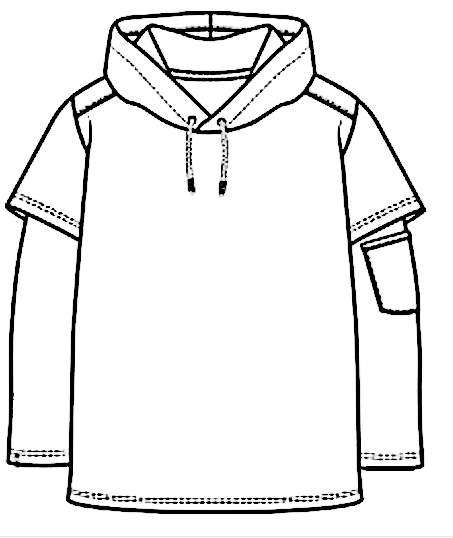
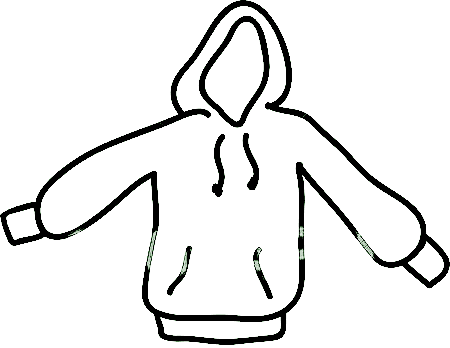
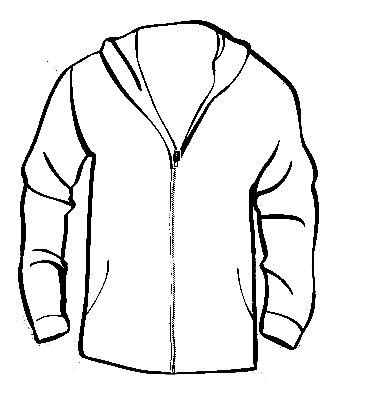
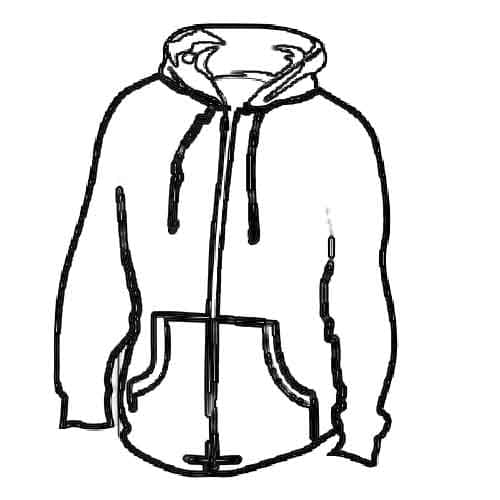
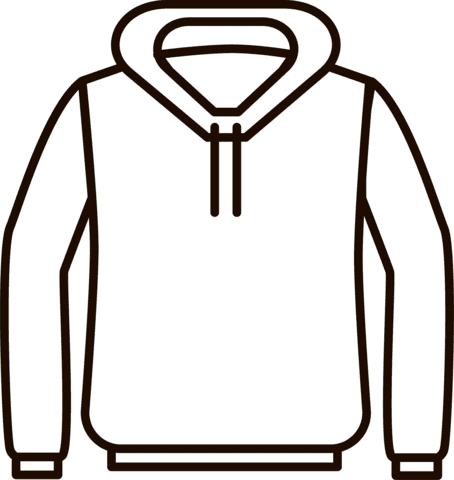
Hoodie Drawing Is Made In 12 Simple Steps
Hoodies Drawing is Complete In 12 Steps
Today you have another chance to join us in a challenge called Hoodie drawing in 12 steps.
Fashion is always a subject of interest to many, especially young people. Although it is familiar, drawing some things related to fashion is sometimes more complex than we think.
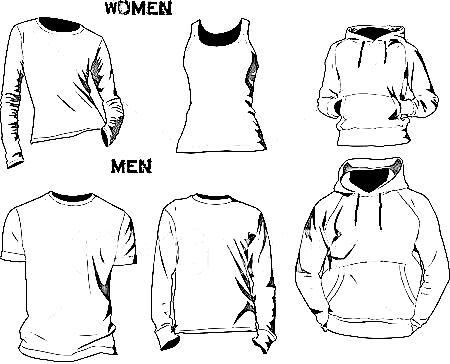
Hoodies are a popular style, and most of us wear them too; today, we will create a perfect hoodie with drawing and coloring skills.
We’ve tried to create a simple hoodie tutorial and broken it down into several steps suitable for everyone from a beginner to a drawing expert.
There are 12 steps equivalent to 12 tasks you must overcome; they are not simple but not too complicated. You need to focus on the process of learning to draw.
It takes 25 minutes to draw hoodies; later on, if you are good at drawing, you can finish it in less time.
As with other drawing tutorials, we always ask that you have all the supplies, such as a pencil, pen, colors, paper, and eraser, before you start learning to draw.
Always use a pencil to draw because if you make a mistake, you can easily erase your mistakes.
Once you get a hoodie, you will choose the suitable colors for your product.
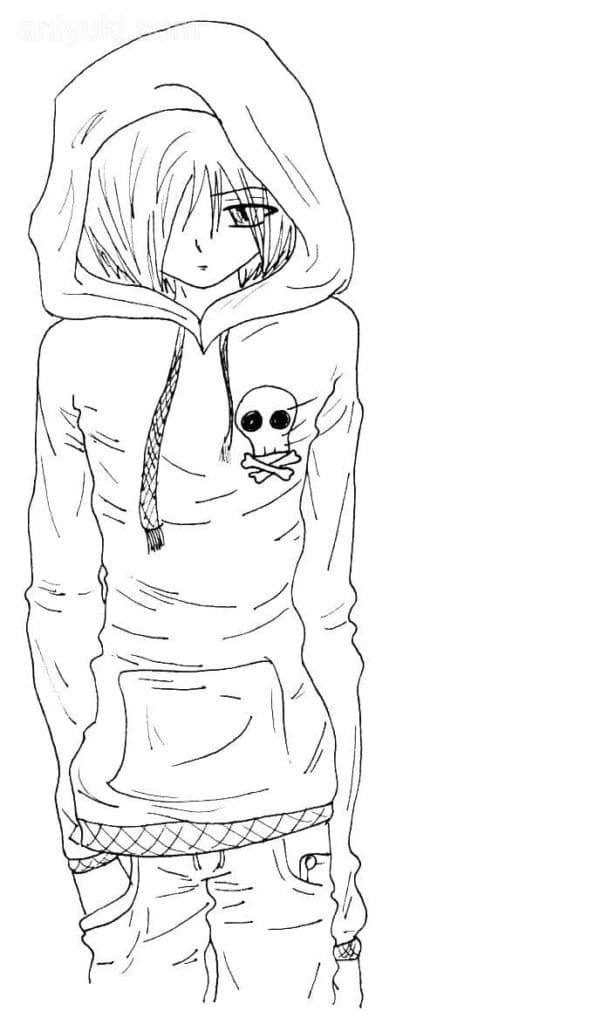
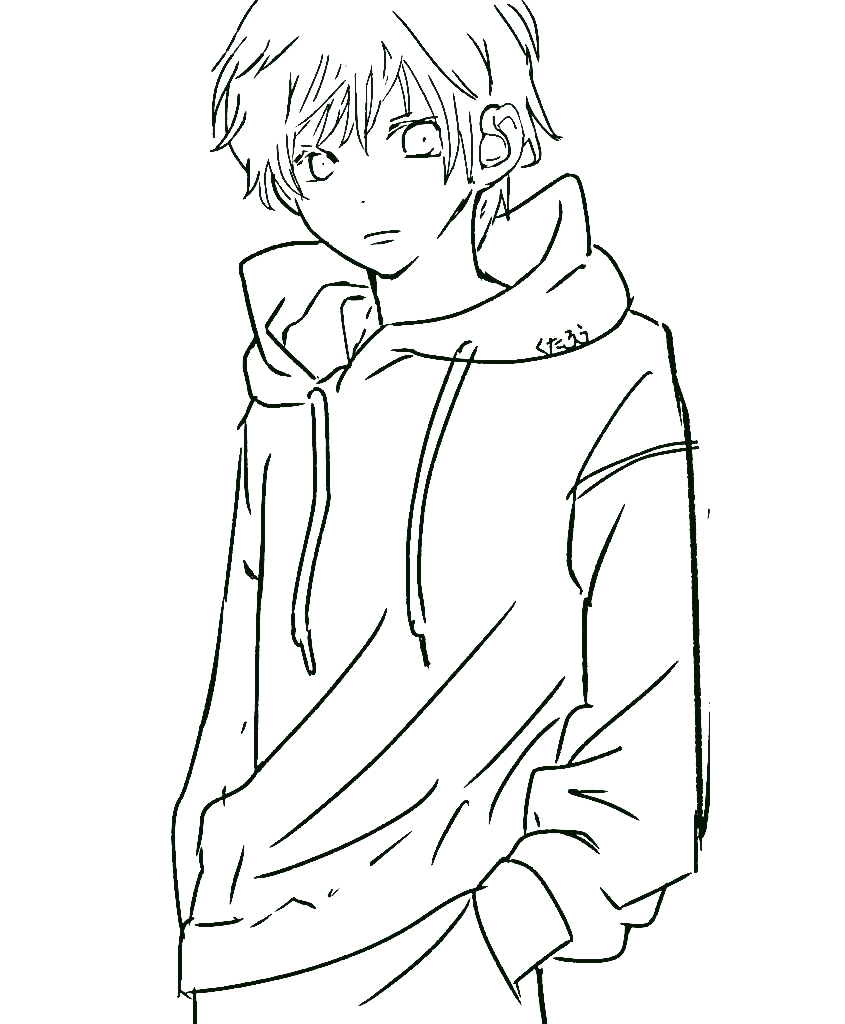
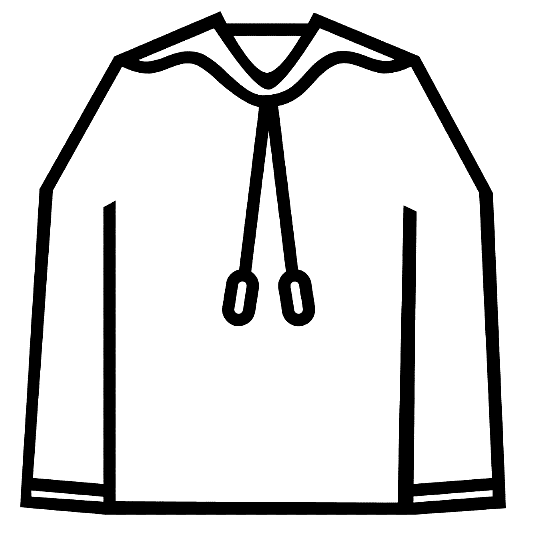
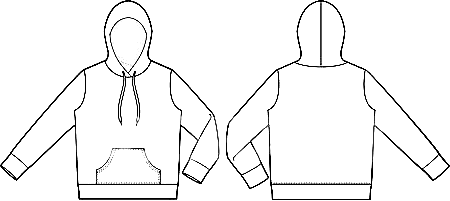
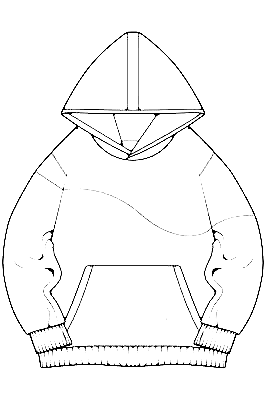
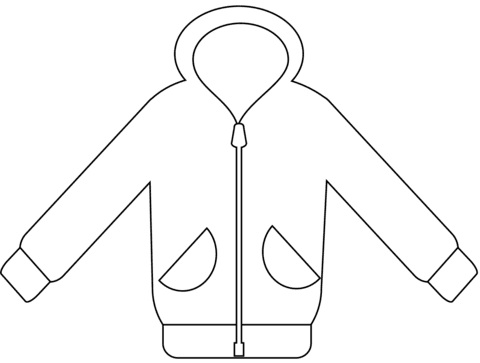
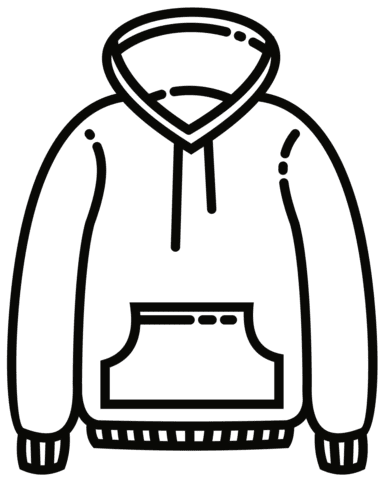
Included with this tutorial, you will have a chance to enjoy hoodie coloring pages for free to practice your drawing and coloring skill. If you practice drawing and coloring regularly, then you will improve your skills and coloring.
Right now, you will go to 12 steps of our guide on how to draw a hoodie with us!
How To Draw A Hoodie – Let’s Get Started!
Step 1 – Draw A Part Of The Hoodie

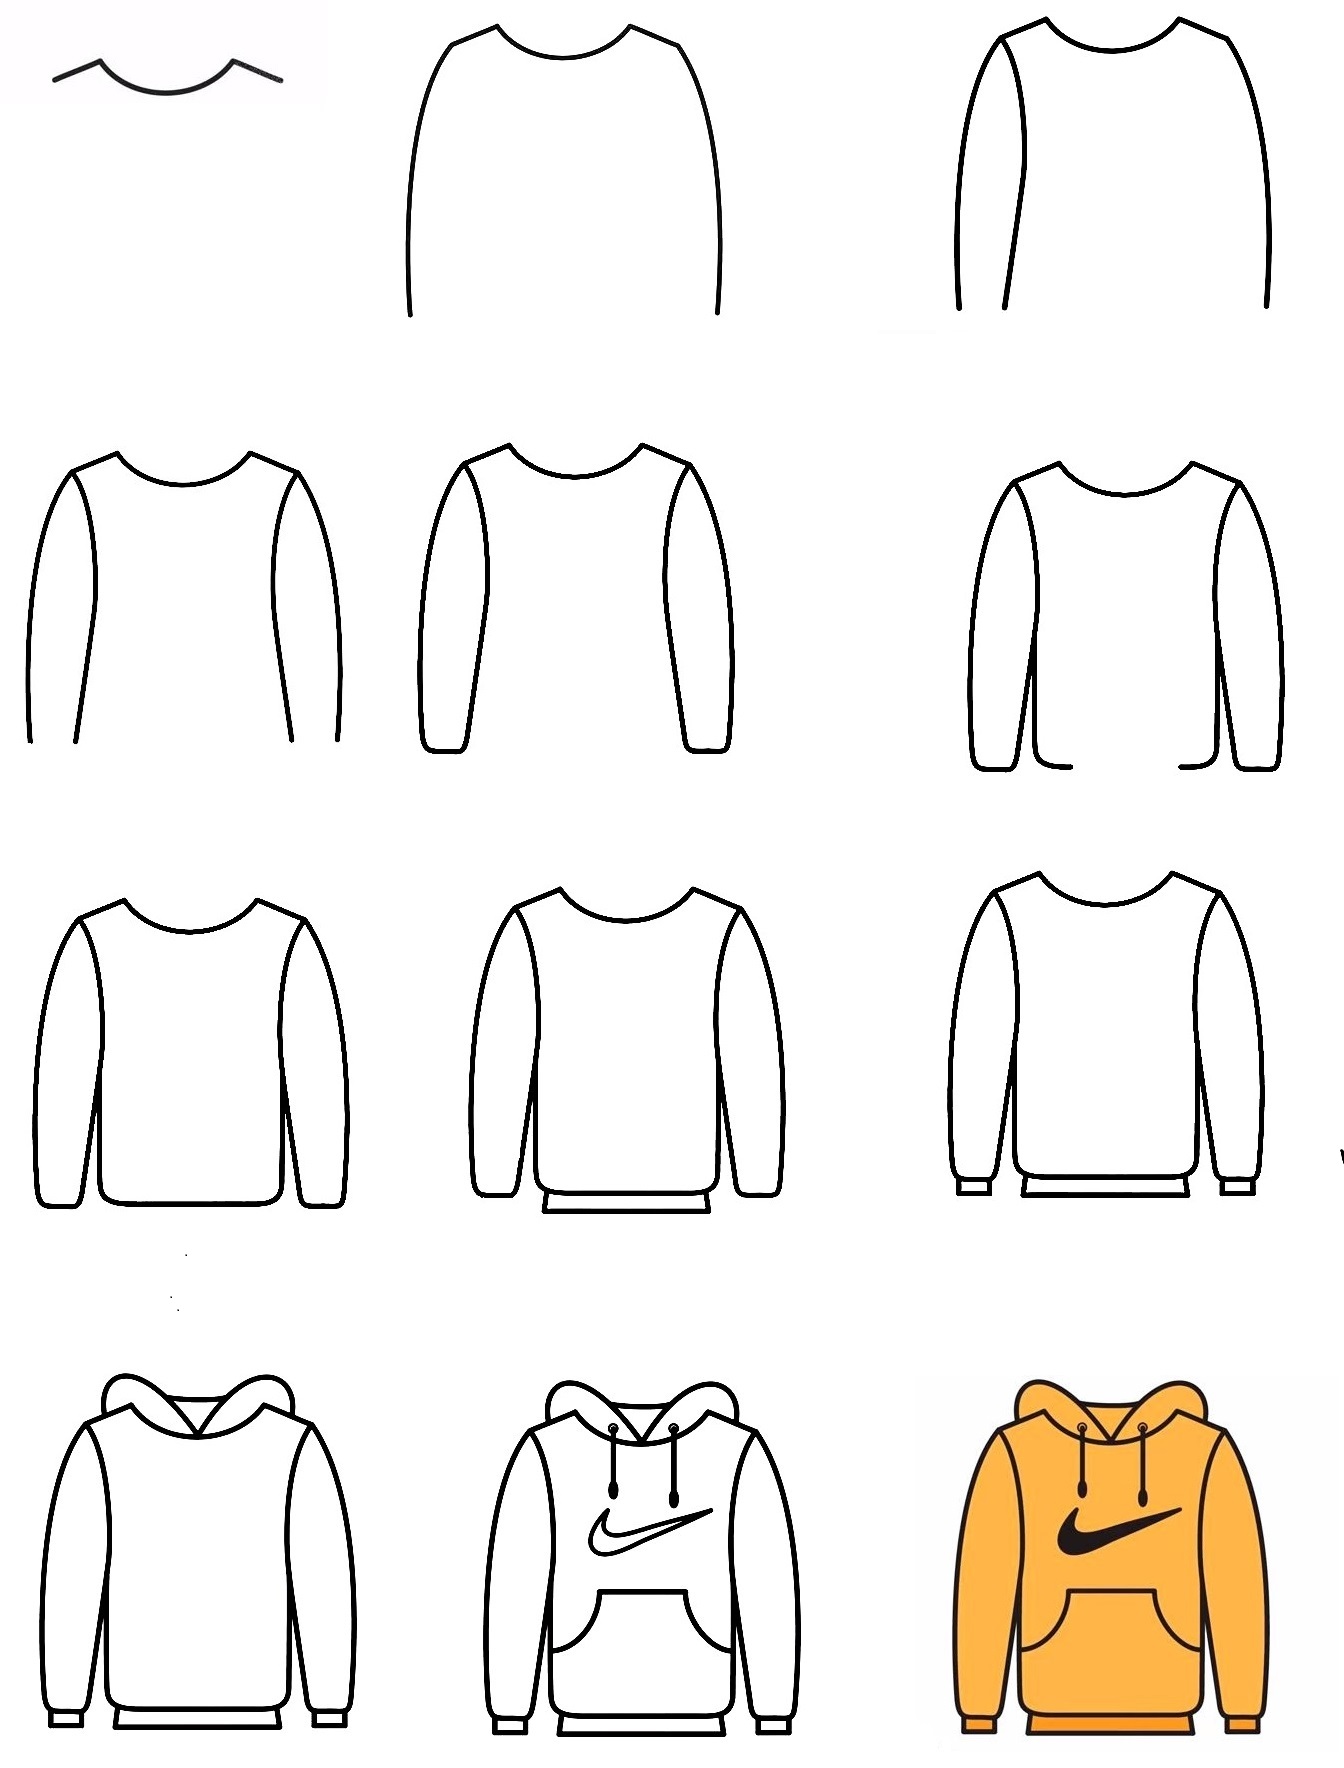
Starting this guide on how to draw a hoodie, you’ll start with some lines which will illustrate the hoodie’s neck and shoulders.
It’s also simple because you need to use a pencil to draw a curve for the neck and then draw two lines for the shoulders of the Hoodie, as you see in our reference image.
Step 2 – Begin To Draw The Arms For Hoodie
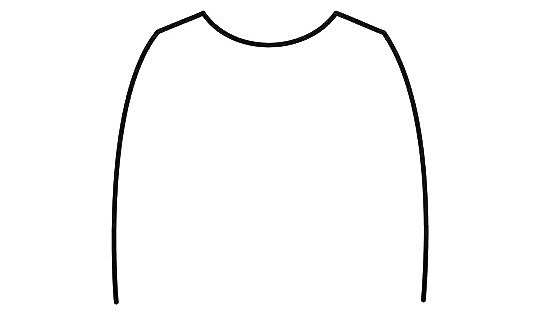
For your task in this second step of our guide on how to draw a hoodie, you will draw one of 2 sleeves. You will use two long curves for this step.
It’s also simple to do this mission, and you need a few minutes to complete this mission before moving on to the next step.
Step 3 – Keep Drawing Details For The Arms
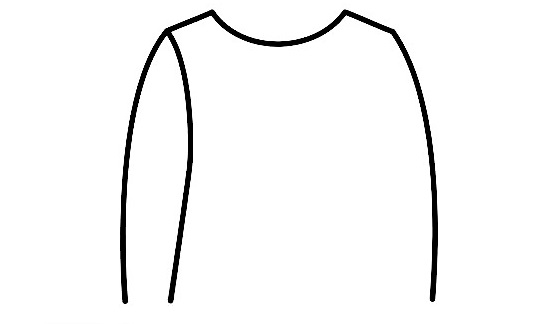
Your task in this step is easy; simply draw a line from just above where the left side of your Hoodie. Just one curve, and you have completed this task. Follow our references to make sure you don’t get lost.
Step 4 – Continue To Draw Details For The Arms
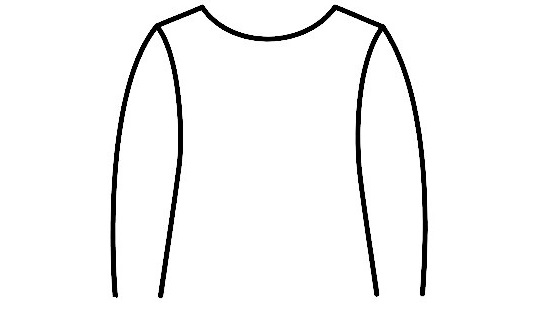
Similar to step 3, in this step, you need to draw a more curve to add detail to the second arm.
Your hoodie now has two arms outline. You will continue to draw more details for the arms in the fifth step.
Step 5 – Add Details To The Hoodie’s Arms
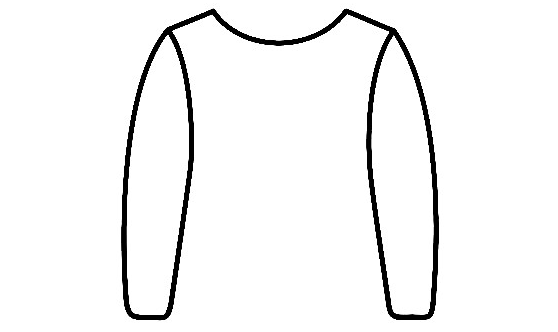
In this fifth of our guide on how to draw a hoodie, you will draw two short curved lines on the sleeves to complete the outline for your hoodie.
So, you finish off the arms outline of your hoodie; you can move on to the following steps to draw more details for the hoodie.
Step 6 – Start Drawing The Hoodie’s Body
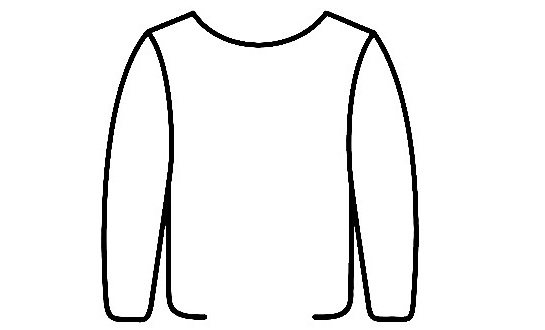
You will start drawing the bodice from this step. As you see in our reference image, use some lines for this mission.
You’ll get some lines for the hoodie’s body from the sleeve section.
Step 7 – Complete The Hoodie’s Body Outline
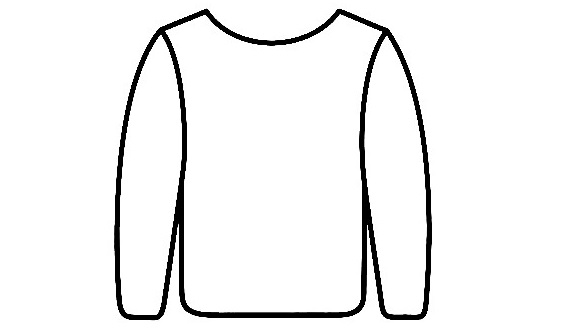
In this seventh step of our guide on how to draw a hoodie, you’ll draw the line at the bottom of the shirt to complete a hoodie outline.
It takes you a few minutes to complete this task and move to the eighth step.
Step 8 – Add Details To Your Hoodie
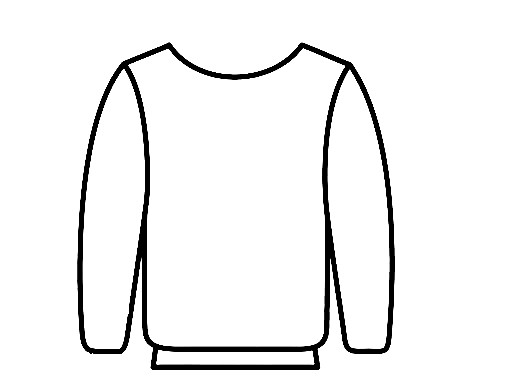
You will draw one more line for your hoodie to complete the bottom for your product, a hoodie.
You have completed the bottom part of the hoodie; you will continue the drawing task in the next section.
Step 9 – Complete Drawing The Hoodie’s Arms
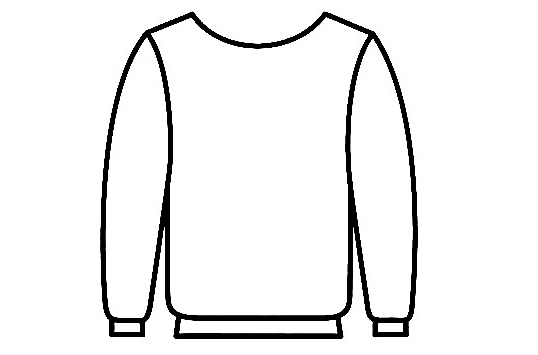
You will add a line at the end of the sleeve to give the sleeve a more excellent and realistic look, as you see on our reference image.
Too simple. Let’s finish it and move on to the next step for your hoodie drawing.
Step 10 – Draw The Top Part Of The Hoodie
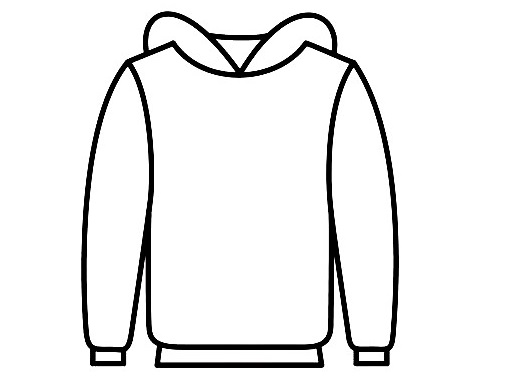
This is the key part of the garment that gives the Hoodie the name. You use some curved lines to draw this part, this is the hood when we wear the hoodie, or you can also leave it behind.
You can move to the next step when you’re happy with your image.
Step 11 – Draw The Last Details For Your Hoodie

This step has quite a few details before you move on to the final step for coloring your product, hoodie.
First, you will use wavy lines to draw two holes for the wire; then, you will draw the wire for your hoodie.
Next, you will draw some lines to make a pocket for your hoodie. You can have one or more pockets, as seen in our reference image.
Finally, in this section, you will add some details to decorate your hoodie more admirable and realistic.
You can now move on to step 12 for coloring your product, a hoodie.
Step 12 – Color Your Hoodie
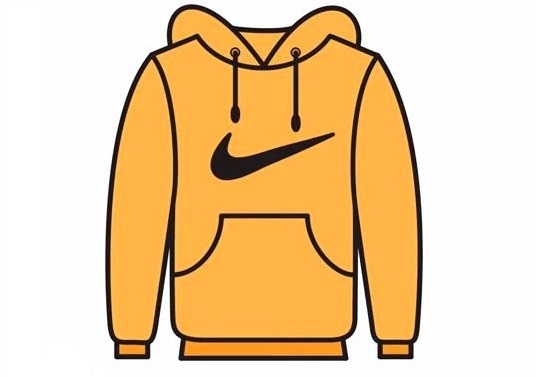
It’s time to choose colors for your hoodie. You can choose any color you like for your hoodie. Since hoodies can come in various colors, it’s entirely up to your preference. Because there is no limit to creativity, you will have the opportunity to choose the color according to your taste.
Your Hoodie Drawing Is Complete!
So, you get a complete hoodie drawing of our guide on how to draw a hoodie in 12 easy steps. I hope our drawing a hoodie tutorial will help you find the right entertainment channel and have a great time.
On our website coloringcool.com, you can enjoy more of our educational products about coloring pages and drawing guides. You can also find similar tutorials for hoodie drawing, such as Jeans drawing, or Dress drawing for free on our site. These are fashion-related drawing tutorials; I hope you enjoy them and respond enthusiastically to your fun. Enjoy with us!


