9 Easy Step To Get Guitar Drawing
Complete Perfect Guitar drawing in just 9 easy steps
As you know a guitar is a stringed instrument usually played by plucking or strumming. And today, you know how to draw a guitar or a guitar drawing with our instructions in this article; our tutorials will help you to draw a guitar. It is a familiar and loved musical instrument but not everyone has the ability to draw it and today the opportunity to draw the guitar is for you. You will use paper, pencil, and colors and follow us in step by step. In each step, you will get our illustration that helps you to draw a guitar easier. This is an interesting and completely free entertainment channel. You can come here with us daily after the hard-working hours. Once you finish all your drawing tasks, you can move to Musical Instruments Coloring Pages to practice guitar images because we update many images related to guitar and Musical Instruments. Whether you are a beginner or an expert in drawing, you can realize those missions well.
How To Draw A guitar – Let’s Get Started!
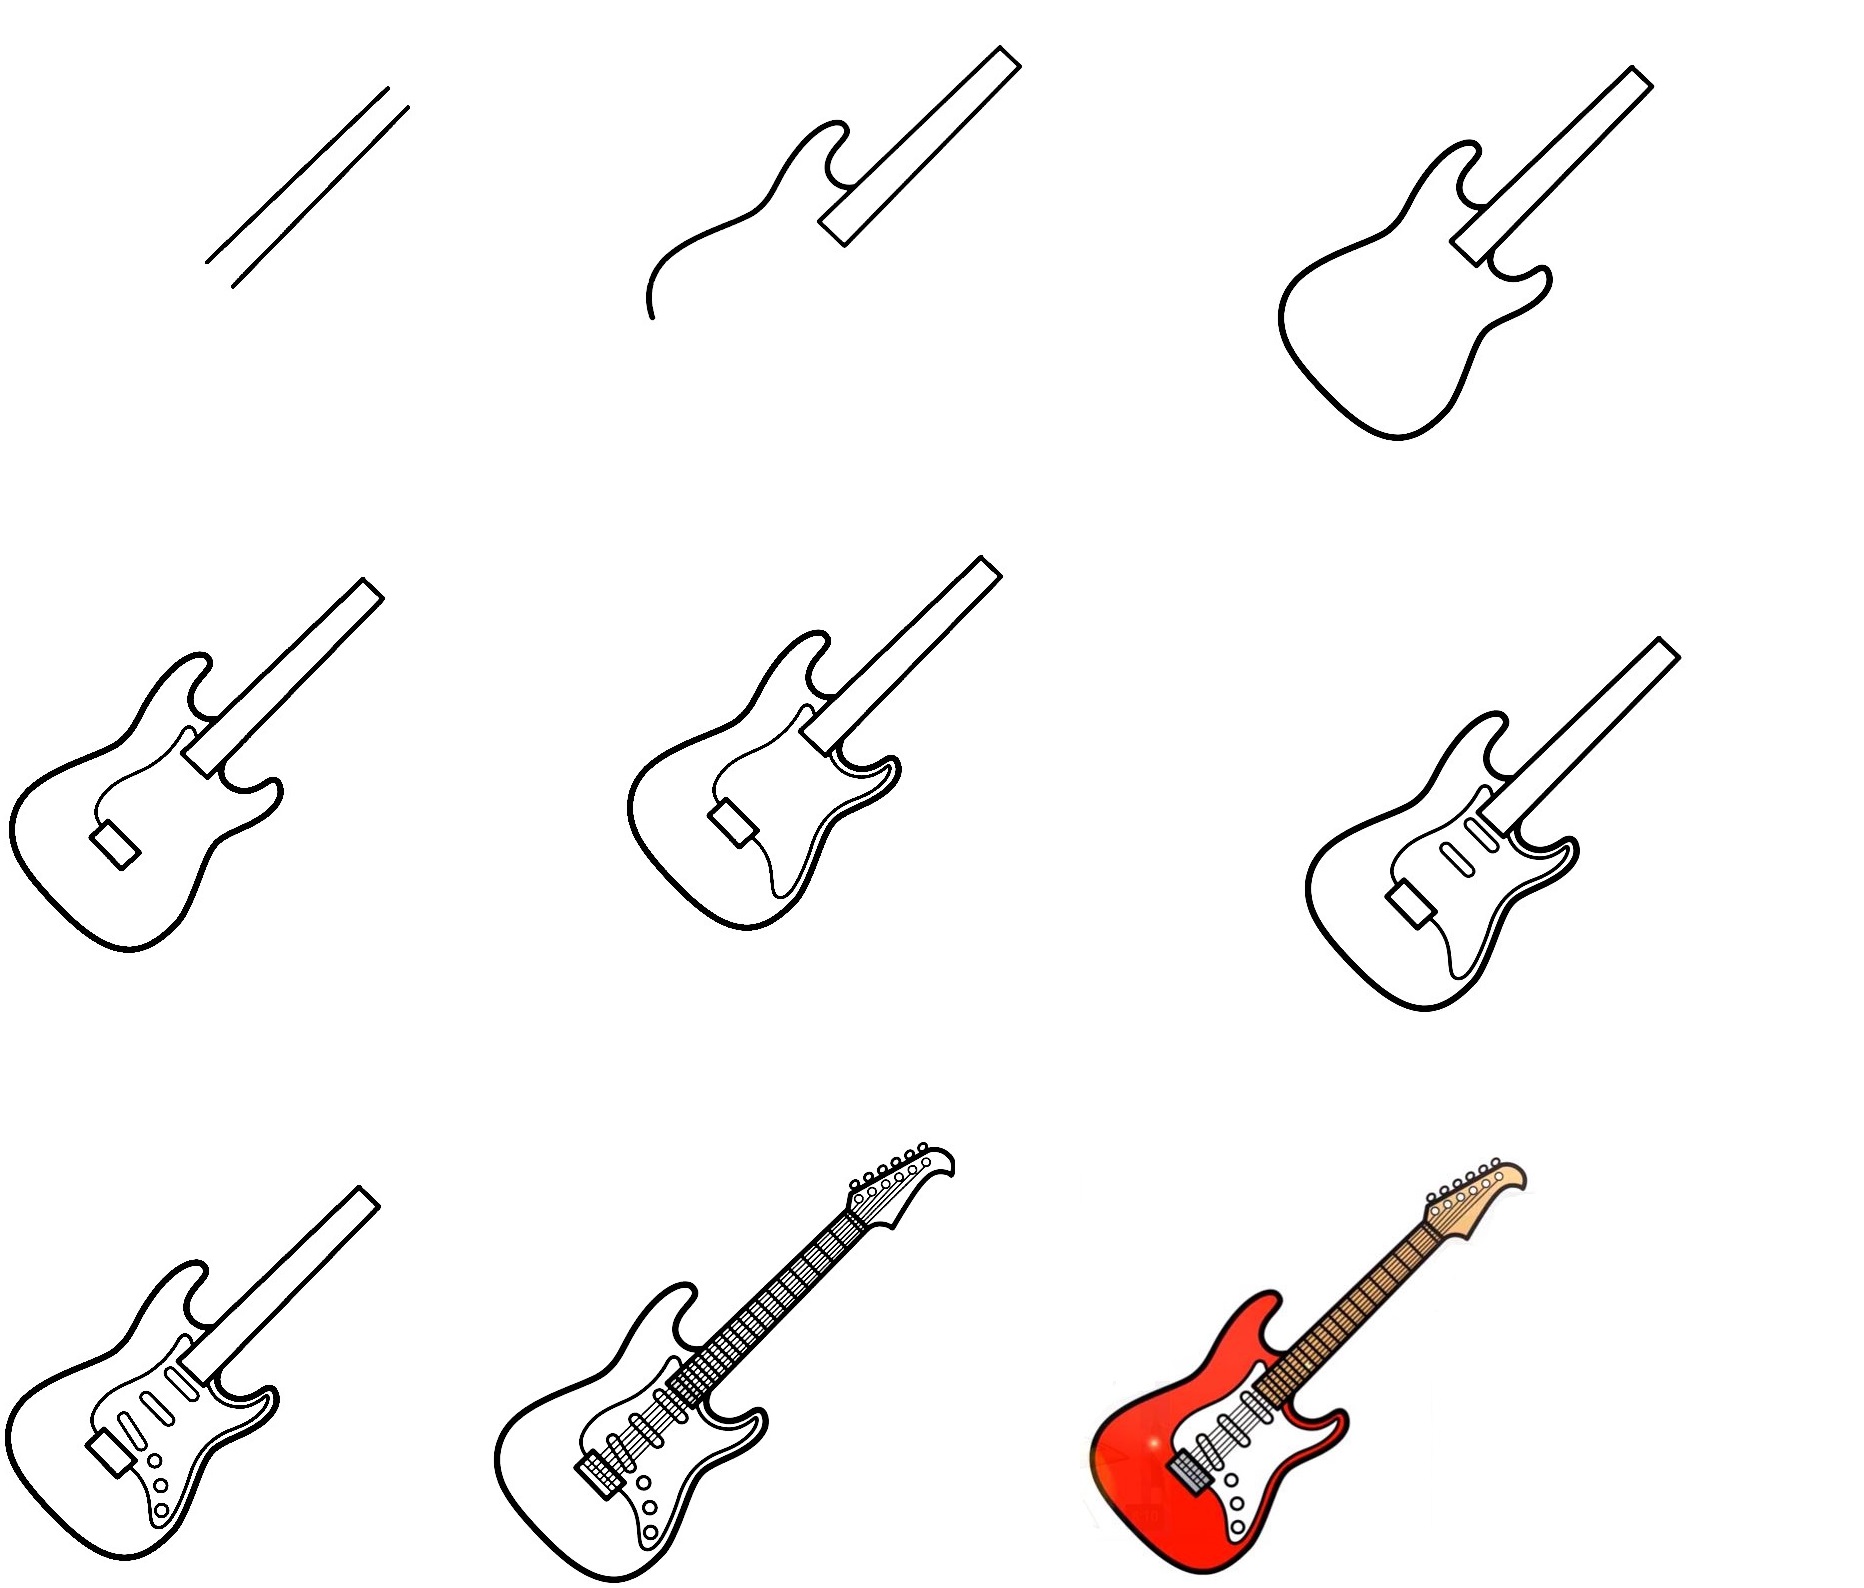
With our nine simple steps, you can create a complete guitar. If your kids love musical instruments, especially the guitar, you can direct your kids to this article. They can get more information about this musical instrument, and they are good for your kids. More, drawing will help children to avoid to contact with technical equipment such as tablets, television, and smartphone. They are not good for kids’ eyes and their development. Here you will practice drawing a guitar with us. You will go to step by step in this article. This work requires perseverance from you. Be patient and follow our step by step to create your own guitar. It is very interesting, Drawing is a very good recreational activity for us; it helps us relax and makes our minds more at ease. More, all activities on our site are free, you can come here with your friends, and your children. Now, let’s get started by drawing a guitar with us!
Step 1 – Draw Guitar Fret Board
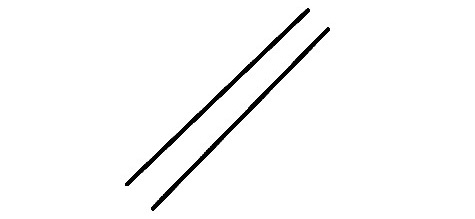
You start to draw a guitar with two parallel straight lines, and you can look at our image to refer to. Very simple to realize this task; you will finish it in some minutes and move to step 2.
Step 2 – Draw A Part Of Guitar Body
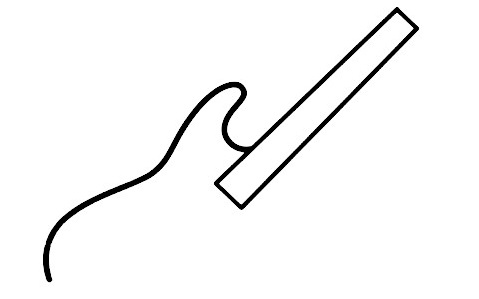
From the fretboard, you draw the lines and curves to show a part of the guitar’s body. This also is simple for you. Once you have these elements looking as they do in the reference image, you’re ready for step 3!
Step 3 – Finish Guitar Body
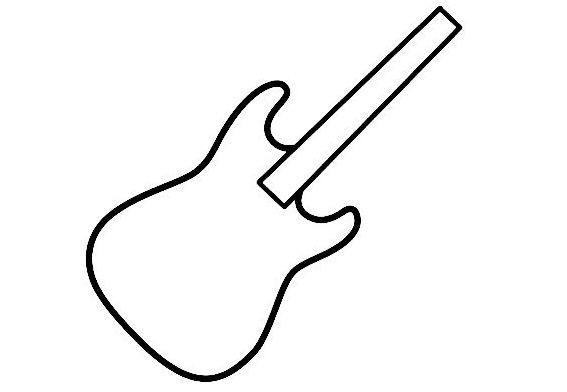
In this step, you use the lines to draw the body of your guitar. You will use a curved line around the guitar that is the body of the guitar. To make your guitar nicer, you can accentuate the guitar with a few curves and make the body slightly deviated, like in our drawing. You can continue to draw the guitar in the fourth step.
Step 4 – Add The Thickness Of The Body
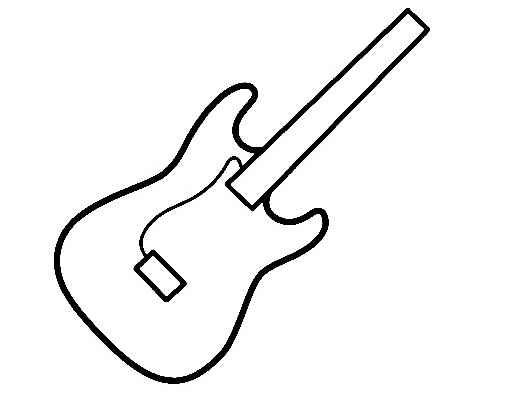
Now you will add the thickness of the body. This thickness will be determined by the shape you want the guitar to have. This tutorial will use the basic shape. inside the guitar’s body, you draw a small rectangle, and then you will draw a line to connect to the fretboard and this rectangle. That’s all there is to it for this step, so when you’re happy with the look of it, we shall continue adding to this guitar in the fourth step.
Step 5 – Continue To Draw Guitar Strings
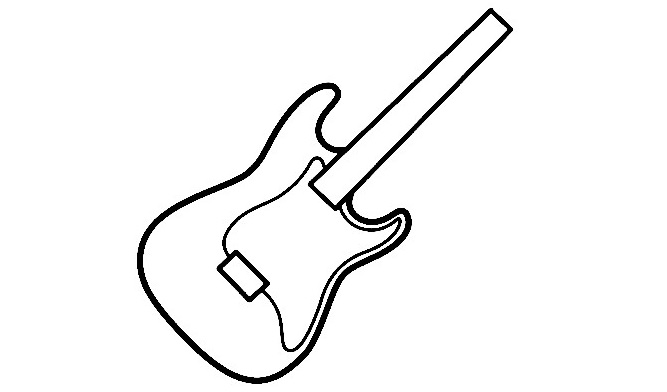
In this step, you will add more lines for guitar strings. It is not complex here, you use a pencil to draw, and you can erase a mistake. If you finish the task in this step, you can move to step 6 and continue.
Step 6 – Add Some Details For Fret Board
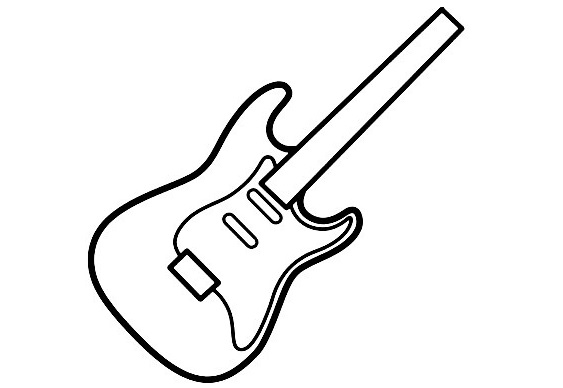
Now, you will draw more than two rectangles within the guitar’s body. that’s all the tasks you need to do in this step, and it’s that simple right? You can go to step 7 now.
Step 7 – Add Details For Tuning Pegs
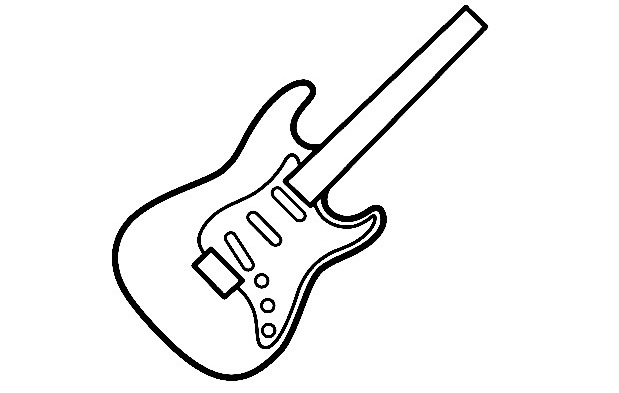
Now, you continue to add a small rectangle to the guitar’s body. Then, you will draw three tiny circles. You can observe our image and follow it. it’s also pretty simple for you at this step. Try to complete your mission as quickly as possible
Step 8 – Finish Your Drawing Mission
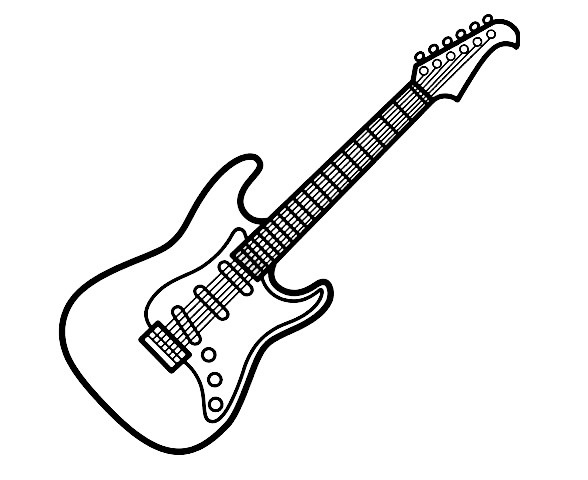
Right now, you need to finish all drawing missions. At the end of the fretboard, you will draw tuning posts. Then you will continue to draw the lines to make six guitar strings from the bridge pins to the tuning posts. Finally, add the frets, and pickguard, and round off the top of the head of the guitar. Your drawing is ready for coloring. You will move to the last step.
Step 9 – Color Guitar
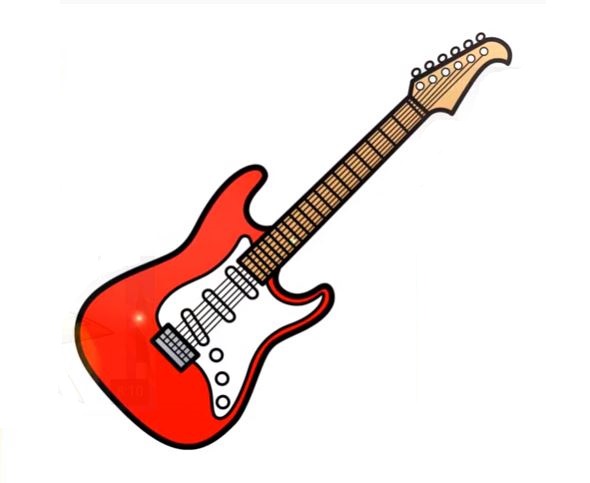
Now, you can show your idea for the colors of your guitar. Normally, the guitar is brown so that you can take this color for your product. We choose brown for the fretboard, and strings, etc., and white red for the guitar body because there is no rule for choosing a drawing for each product. So, you can take your favorite color and make coloring for your product. Now, you create a complete guitar with our nice above steps. You can refer to Musical Instruments Coloring Pages to find guitar coloring pages on our site. We update the hundreds of guitar coloring pages for you, free. You can come here anywhere and anytime with your devices connected to the internet. If you like our tutorials, don’t forget to give us a thumb up and recommend them to your friends! We update the instruction daily, and please be sure to keep checking our site to make sure you never miss out! Have fun!


