How To Draw A Christmas Bell – The Details Instructions
Drawing and coloring are effective learning methods to help children promote creativity, exercise memory, improve observation, imagination, and interest in learning. Today, we will show you how to draw a simple Christmas bell. Observe and apply with your baby and welcome the coming Merry Christmas!
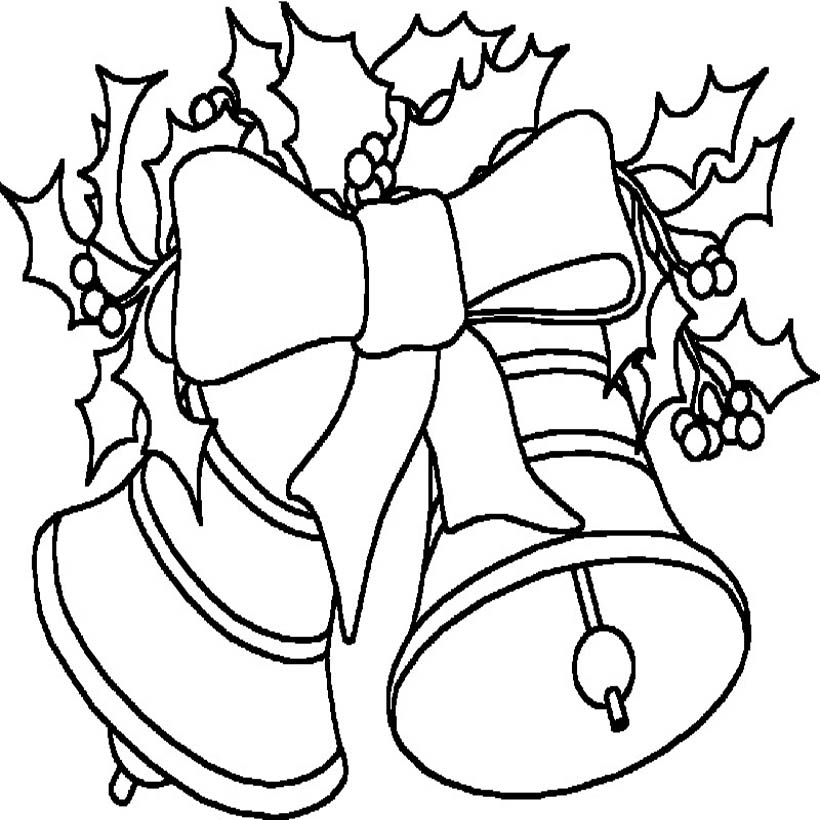
Christmas bells and benefits for Kids’ development
Christmas bells are one of the indispensable symbols of Christmas. Colorful bells decorated in front of the house, on the pine tree, and familiar to young children.

Scientific studies have proven that drawing and coloring according to available pictures help children develop comprehensively. When children’s language ability has not yet developed, painting is the most effective means to help children express emotions. The simple, innocent doodles give children the ability to perceive beauty, creative thinking, and the ability to observe and be sensitive to life.
Drawing and coloring pictures of Christmas bells is also an effective way for parents to help children better understand the unique culture of Christians.
How To Draw A Christmas Bell – Let’s Get Started!
Step 1 – Draw An Arc.

Step 1 is straightforward; you need to draw an arc-like drawing and finish it. This step is so simple that even beginners can do this task easily. Would you please observe and follow our image coloring page?
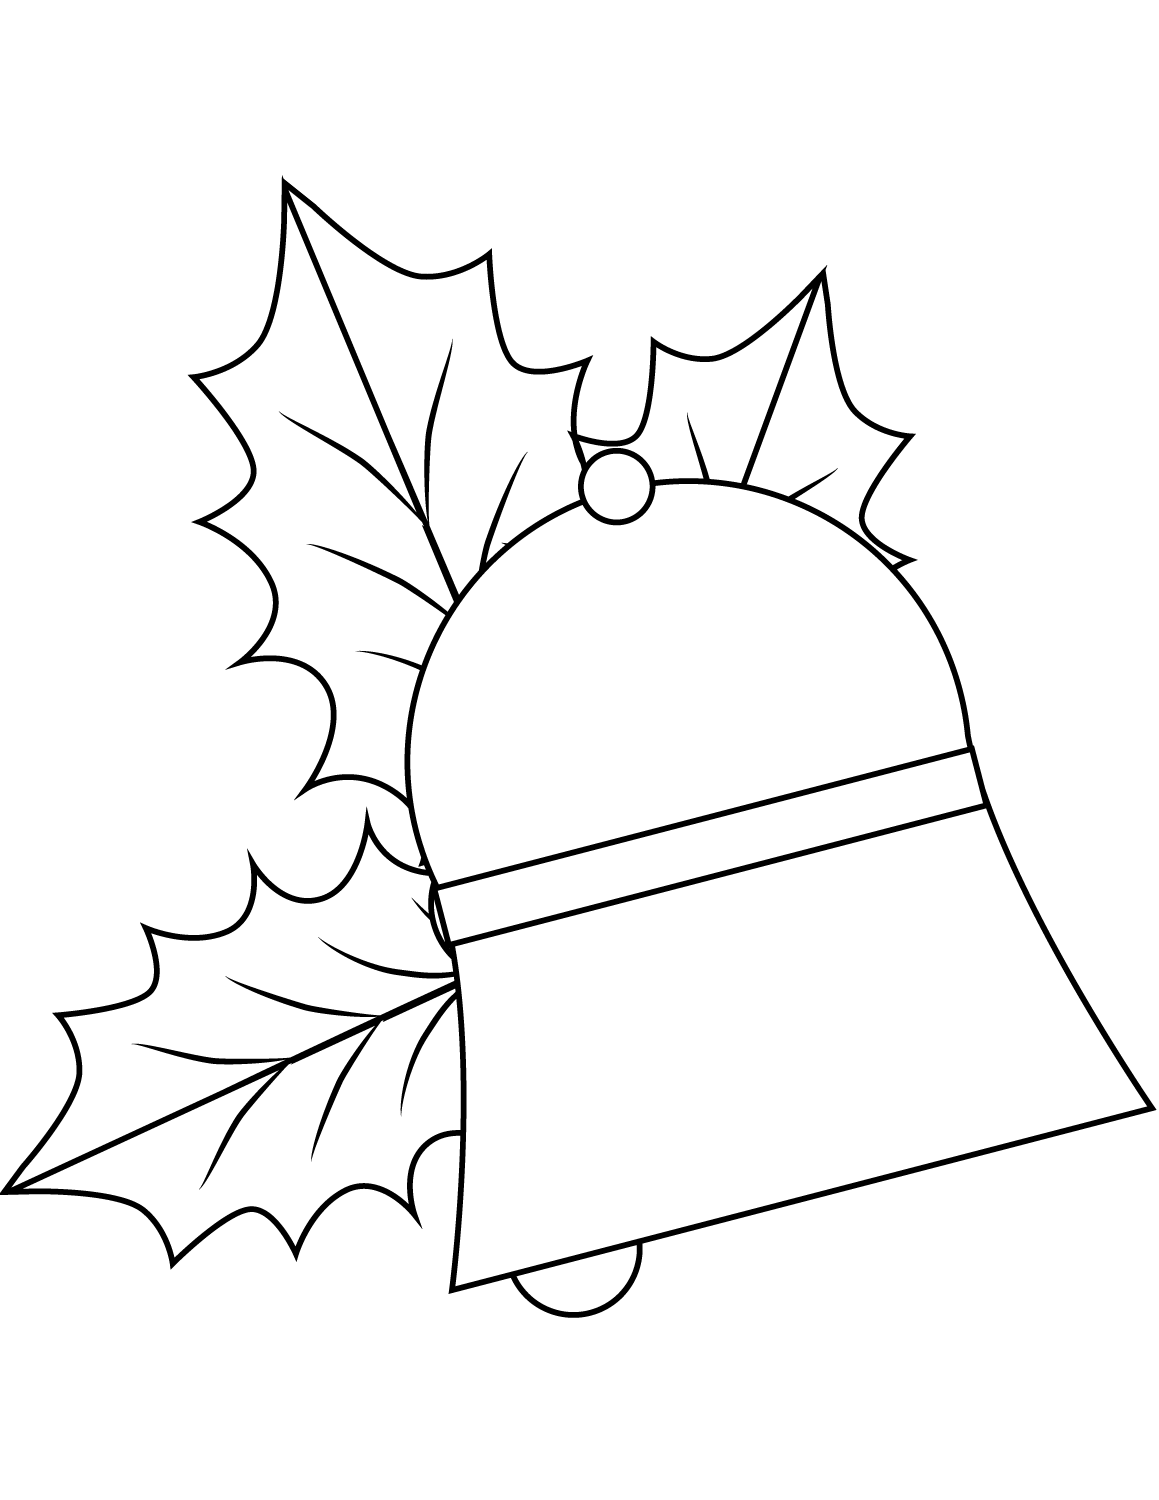
Step 2 – Complete Christmas Bell Body.

After drawing the arc, follow that arc and complete the body for the Christmas bell. Now, look at your result. You have completed the shape of the Christmas bell. With the starter, I advise you to be patient and follow us to get the focus so that you will draw a better Christmas bell.
Step 3 – Draw A Bow Above The Christmas Bell.

Imagine if the Christmas bell had a bow on the top, it would be much more beautiful, wouldn’t it? Yes, adding a bow on top for the bell is excellent. And now draw that bow as we did in step 3.
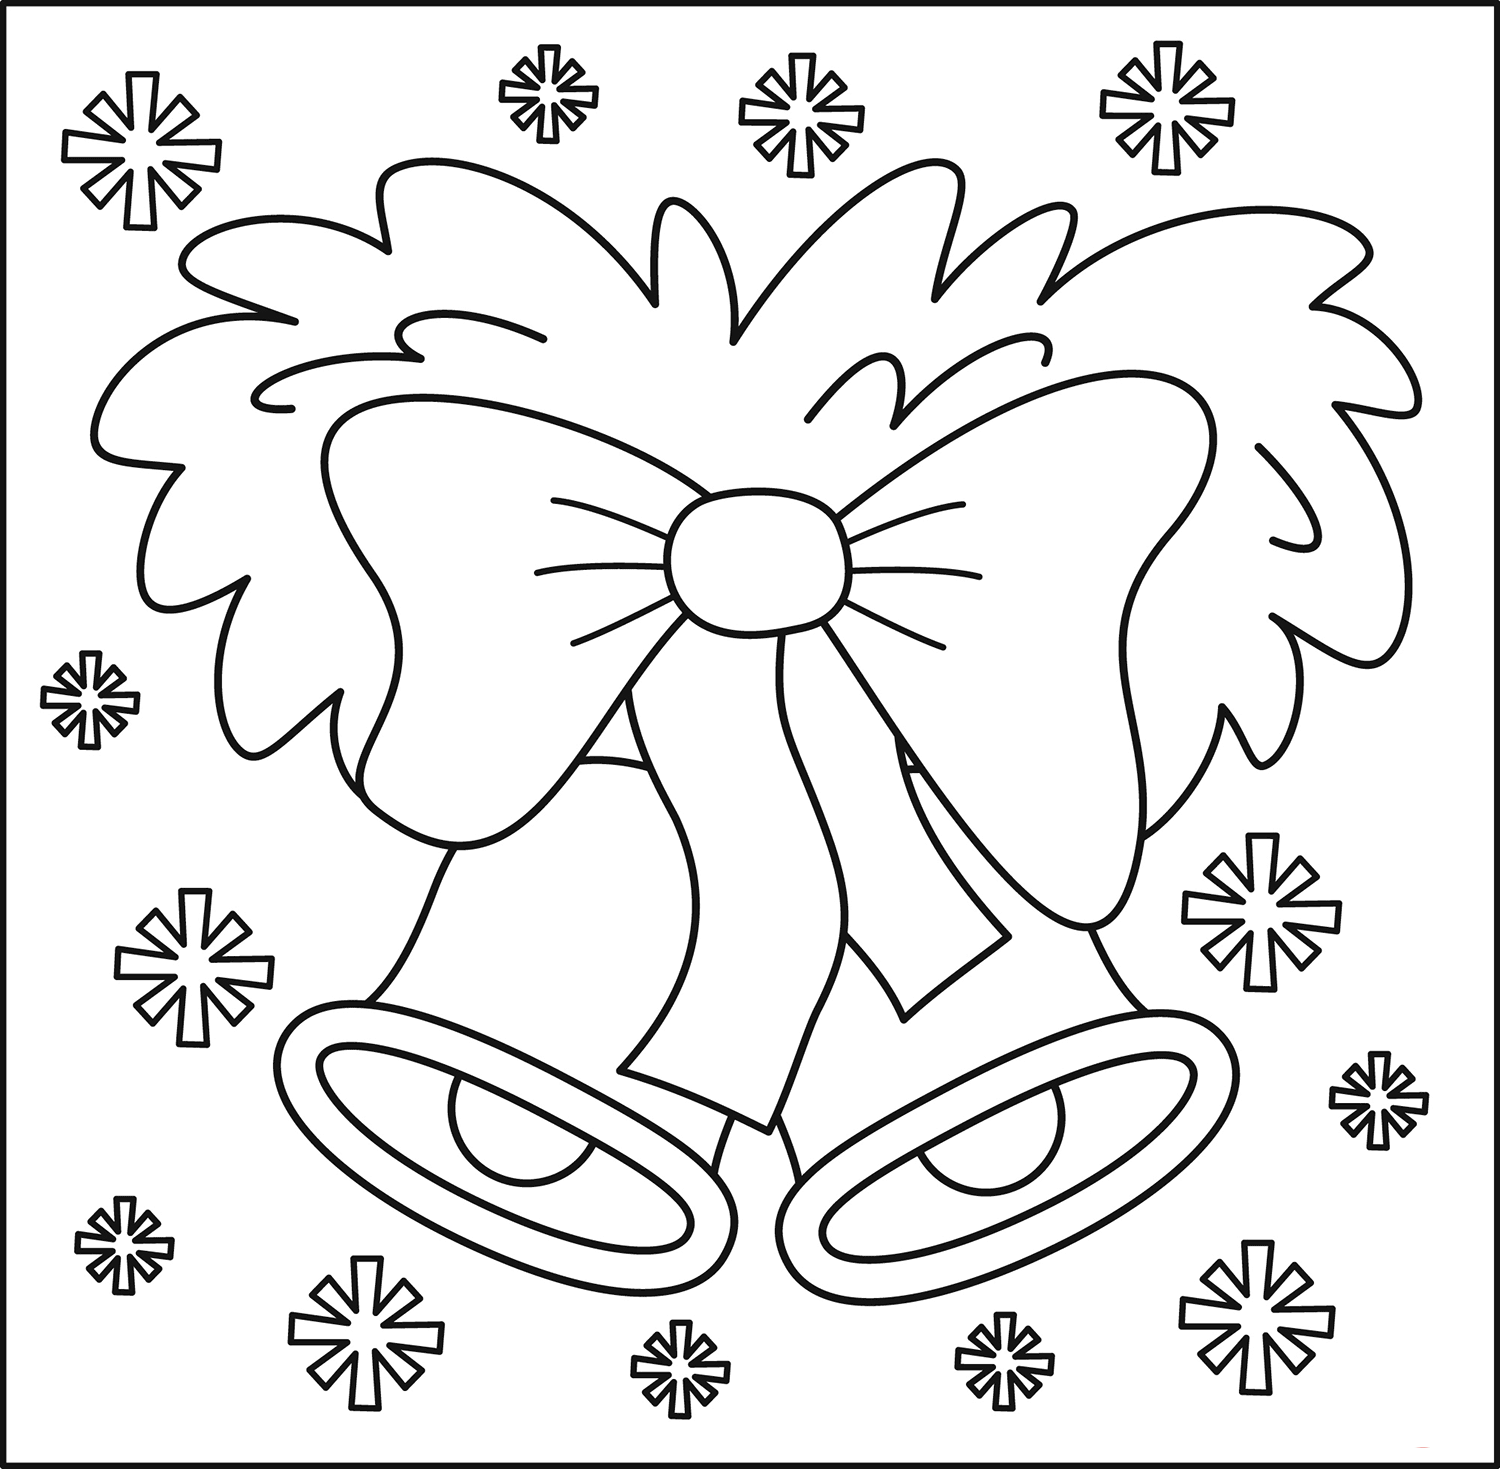
Step 4 – Complete the bow for the Christmas bell.

Your job in this step is to complete the work in step 3. It’s not too difficult because you need to follow the shape of the bow and add small details. Now, look at the Christmas bell; delete the extra information to get a pretty Christmas bell and bow.
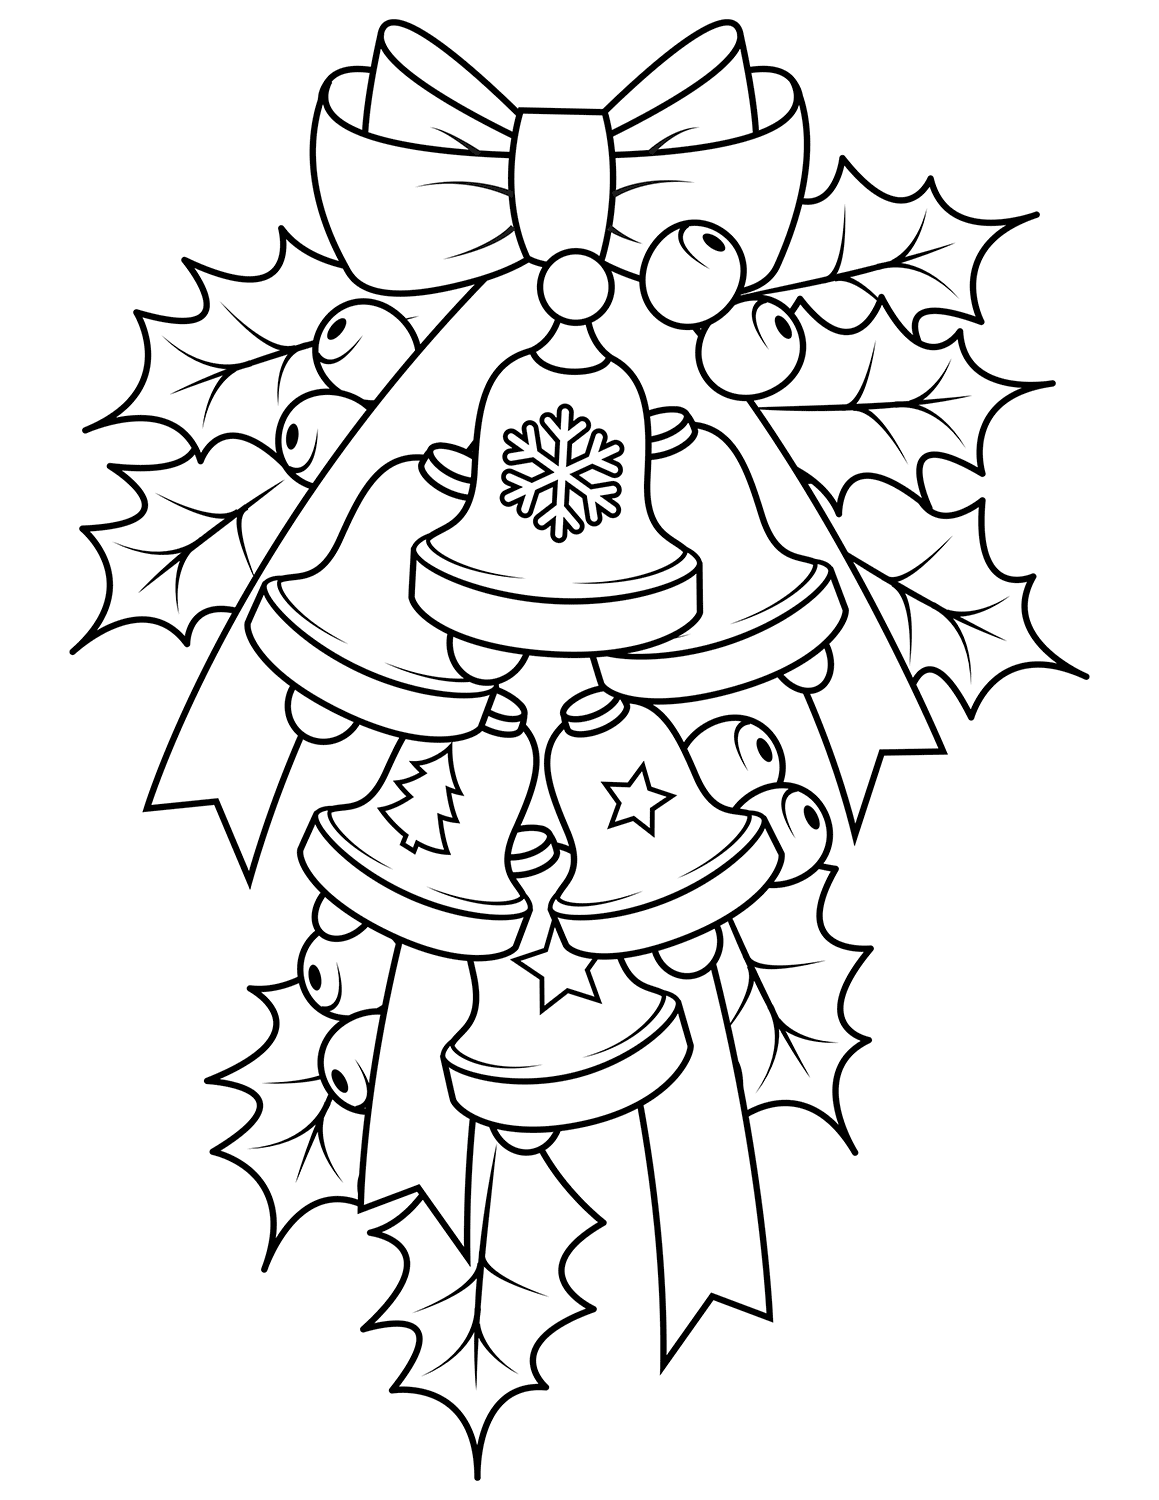
Step 5 – Adding In Some Small Details.

In this step, you will complete the Christmas bell with a few minor details such as eyes, nose, mouth, and some other minor details so that you have the most fully textured bell. Isn’t it great, you have completed your own Christmas bell. You keep practicing drawing and drawing every day, your drawing level will be higher and higher, and you will be able to attract many different pictures, unique and in your way.
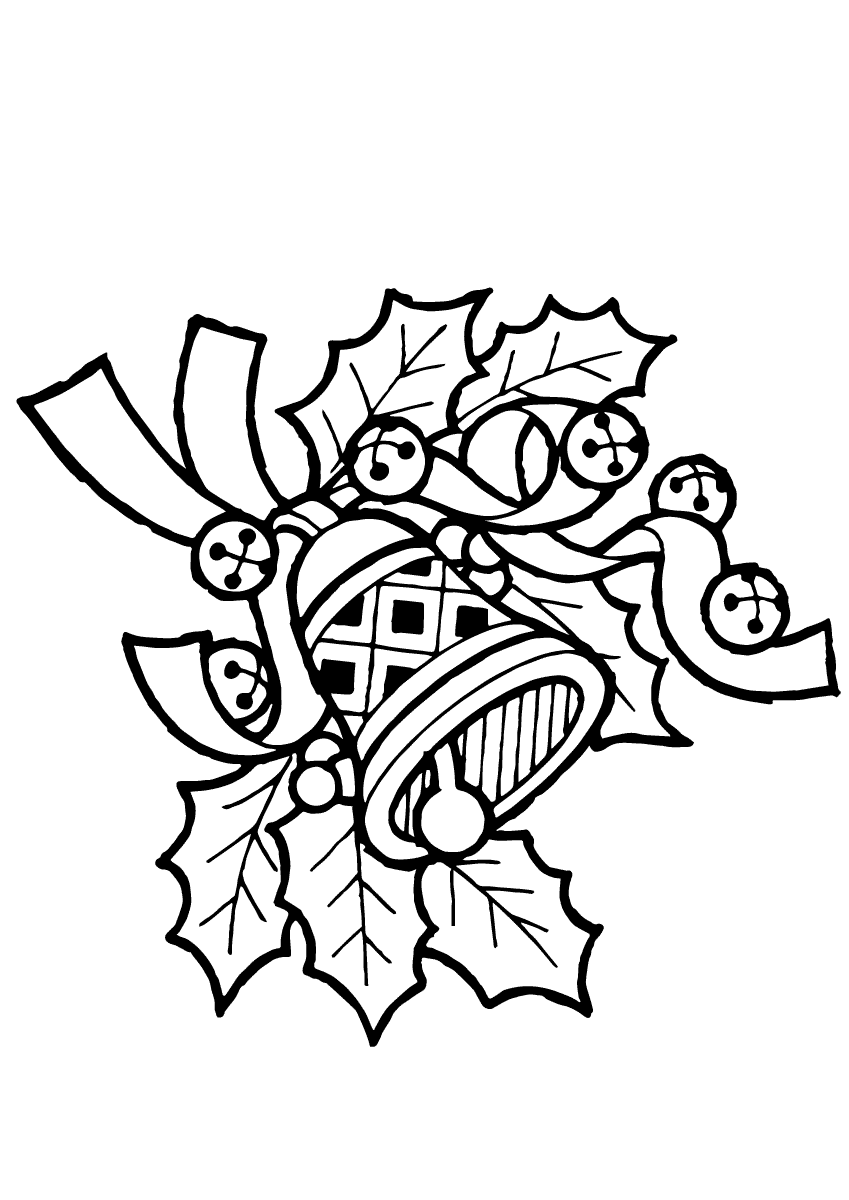
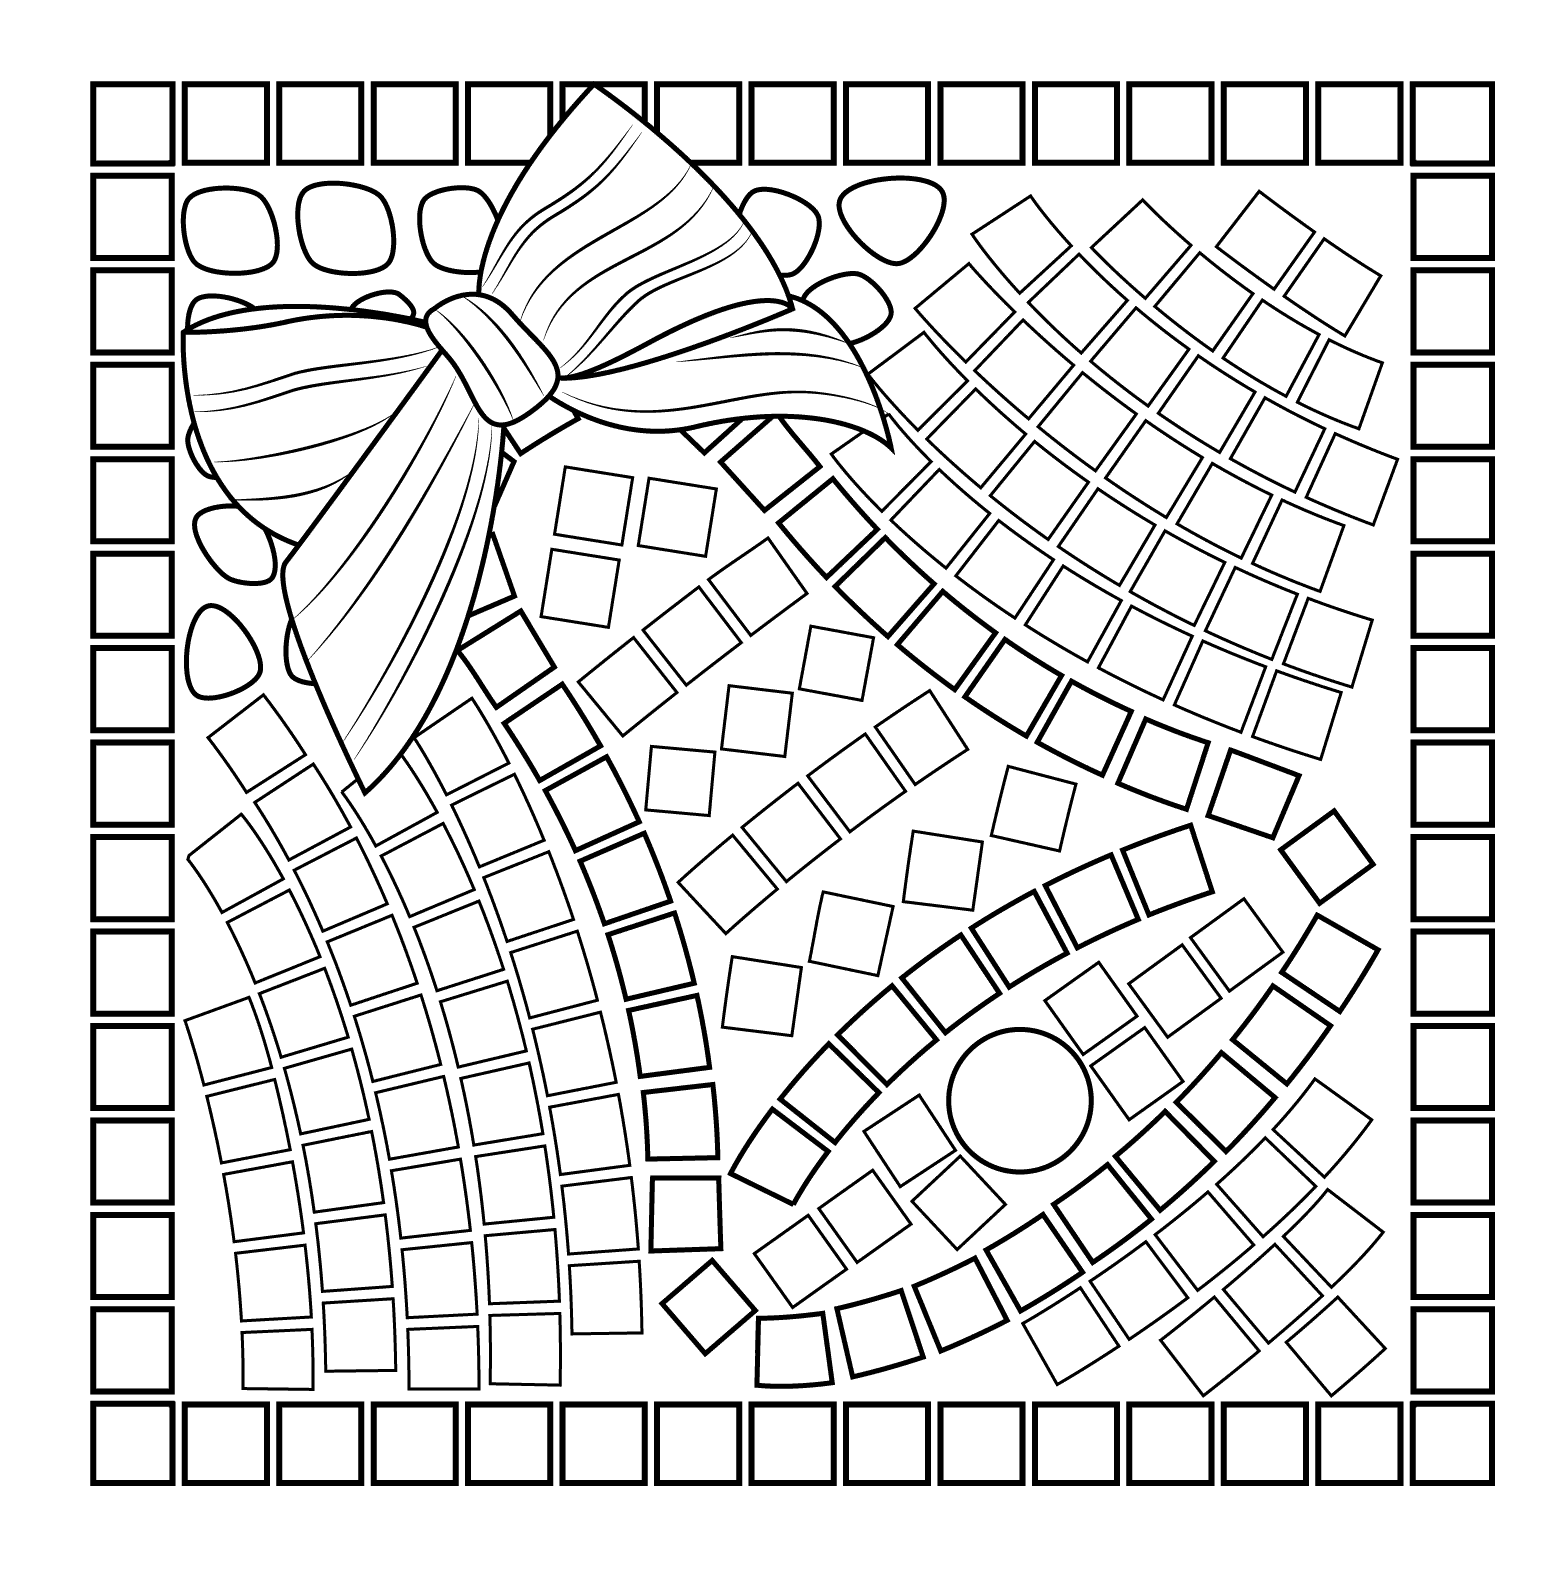
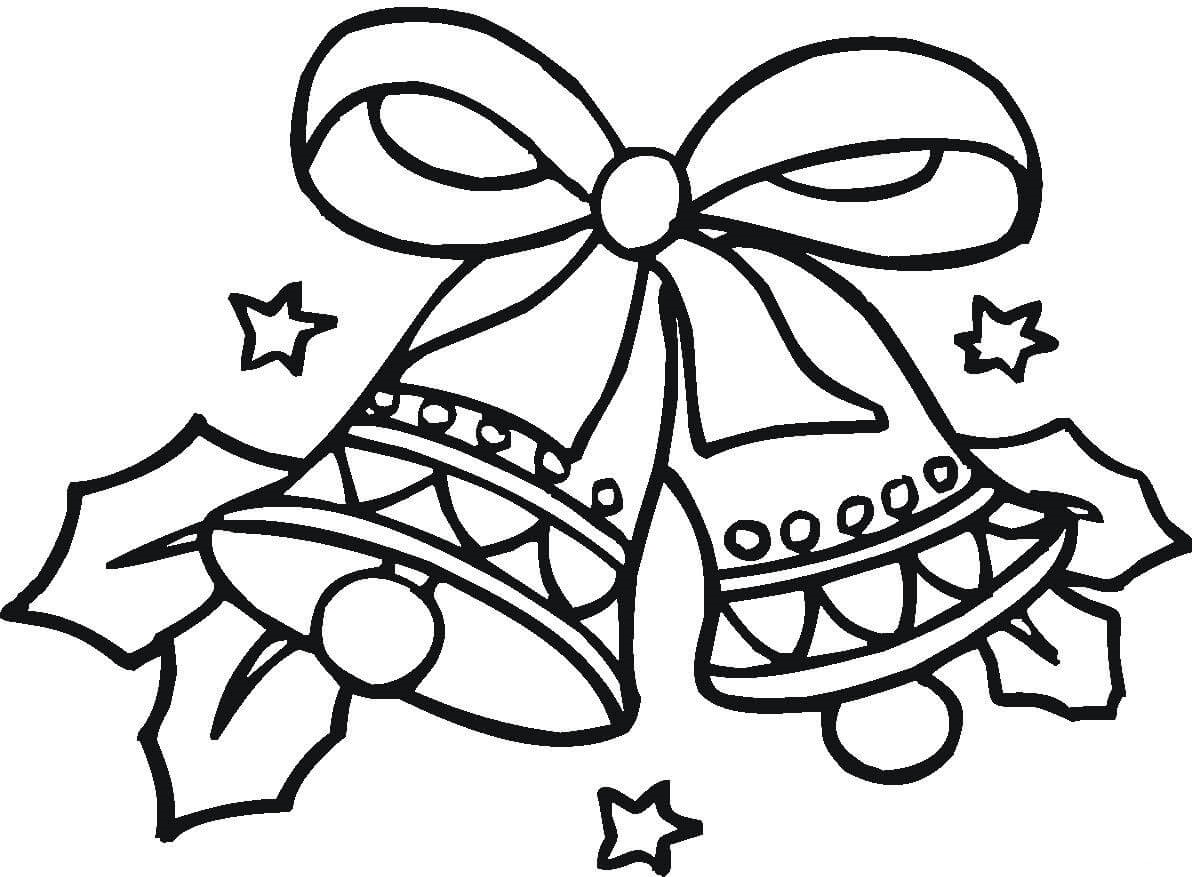
Step 6 – Finish Your Mission With Some Color.

Congratulations, you have completed the picture of the Christmas bell, now your job is to choose the right color and make the Christmas bell more beautiful. Here, we use a yellow tint to make coloring for the Christmas bell. But you can choose other colors by following your hobby.
Drawing. coloring requires children to have a little ingenuity and care. Let’s change the atmosphere, dispel boredom and help your child help them maximize their creativity with the available coloring Christmas bells.
You can read How To Draw to learn drawing more coloring pages