Cherries Drawing Are Cretaed In 7 Easy Steps
Creating the fresh cherries drawing in just 7 easy steps
Simply follow this easy how-to-draw the cherries step-by-step tutorial, and you will have your cherries drawing finished in no time. Great for you and your kids. You can become a real artist! You will follow our instructions of six steps and finish your task in each step to create the complete cherries with your skill. This is not a simple task, but it is not too difficult to concentrate your mind, passion, and time in the course of learning. Our tutorial is to go from easy to difficult; whether you are a novice or an expert in drawing, we’re sure you can follow these steps effortlessly. This activity is free on our site, and you can come here to enjoy it after the hard-working hours. Drawing will help you balance your life. If you are a parent, you can learn drawing with your kids, they will surely like it, and this activity is good for your kids as well. More, they can avoid using technical devices such as television, smartphones, and tablets,…they are not good for their eyes and evolution. Along with this guide, we also provide cherry coloring pages for free to color.
How To Draw The Cherry – Let’s Get Started!

It would help if you prepared a pencil, eraser, colored pencils, and drawing paper before drawing. You will go to step by step to create the complete cherries. In this guide, you will use your pencil to draw on paper and erase your mistakes easily. So, don’t be afraid to draw; you will draw in your comfortable mood. Drawing is a good activity for everyone, from children to adults; you can give this learning to your kids when they are free after the hard-working hours at school. Why not? They are free and you can come here anywhere and anytime with any device connecting to the internet. This is an interesting task, and you need to enjoy yourself in your free time to relax. More this is a cheap entertainment channel, and you can come here every day because we update them daily. Now, let’s get started drawing the cherries!
Step 1 – Cherries Drawing, Draw A Stem For Cherries

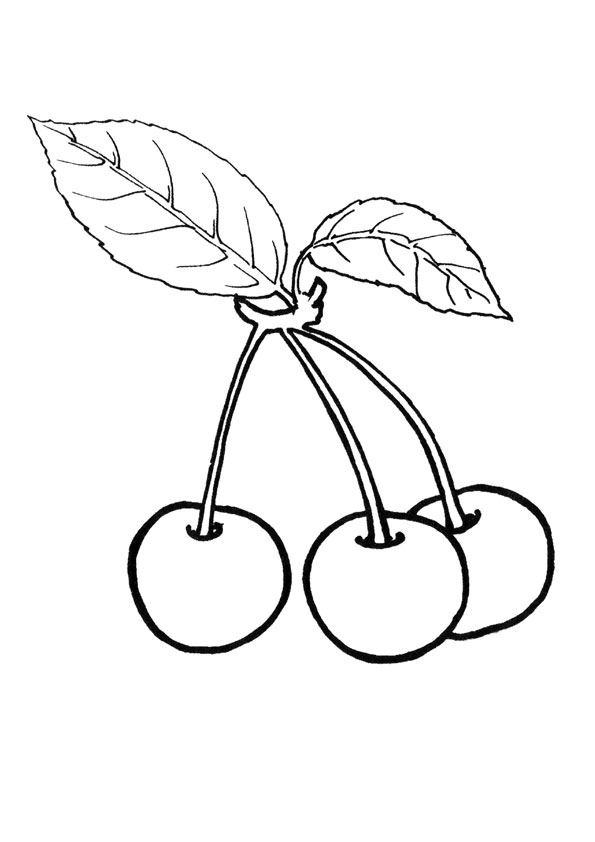
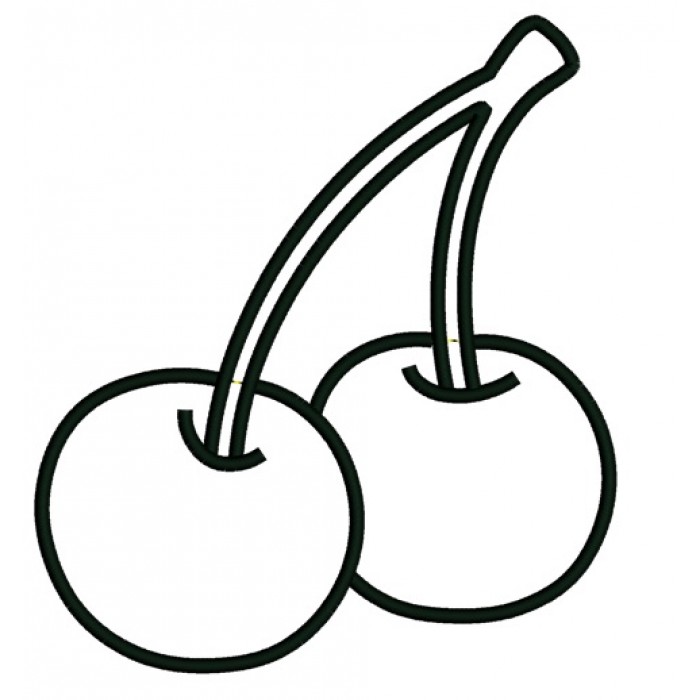
Your task in this tutorial is to draw two cherries, and in this step, you will draw the stem for the first cherry. This step isn’t too complicated. However, it may require a slightly steady hand. Carefully draw two lines coming from the top of the right-hand cherry up and curved into the shape that you see in our reference image. Once you are happy with your drawing, you can move to the second step.
Step 2 – Draw The Second Stem For Cherries

Similar to the first step in this step, you draw 1 more stem for the 2nd cherry. They should be quite close together, as the stem of the cherry is very thin. Once you have that stem drawn, then you can draw another one coming from the cherry on the left. It is simple for you; you can look at our reference image and follow it.
Step 3 – Draw The First Cherry

This step of your cherry drawing should be quite a simple one! All you need to do for this step is draw two curved lines, one for the first cherry. It’s also not too difficult with this task for you, draw with a pencil and if you make a mistake, erase it and do it again. Once you have these elements looking as they do in the reference image, you’re ready for step 4!
Step 4 – Draw The Second Cherry

Your task in this step is completely similar to step 3. You will draw a circle for the 2nd cherry. You will draw the second cherry on the existing stem, as you see our reference image and you can continue your drawing in the fifth step.
Step 5 – Draw The First Leaf For Cherry

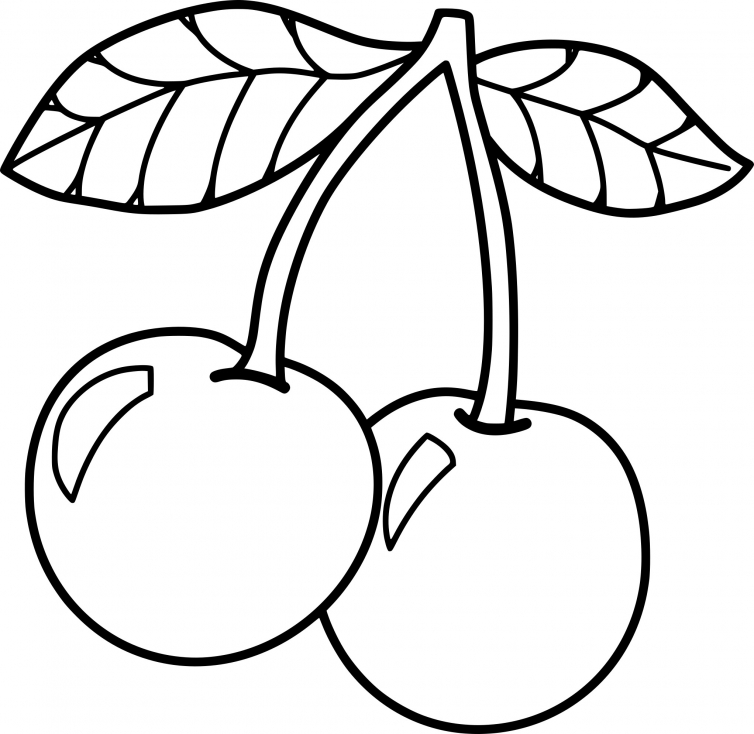
In this part, we shall add some leaves to the stem of the cherries. You will create the right leaf on the stem. Use two curved lines and t meet at a point to create a leaf near the top of the stem. Once finish the task here, you go to the next step to continue your drawing.
Step 6 – Add Another Leaf

This step of our guide on how to draw a cherry is all about adding the final details and touches that the drawing needs before the final step. You must draw another leaf on the left side. Your task in this step is only that, in addition, you can add some details to decorate your cherries and make a difference in your drawing image. You finish your Cherries drawing work and have the last step for coloring of cherry.
Step 7 – Color Your Cherries

In this final step of your cherries drawing, we will finish it with some amazing colors. In our reference image, we showed you just one way that you could go about coloring your picture. We used a gradient of different shades of red to create the cherries. Then, we used blue for the leaves and brown for the stems of the cherries. Here are the colors that we chose, but there are loads of options available for how you could color this in.
Your Drawing Are Complete!
So, you make the complete cherries with your skill now. You can move to cherry coloring pages for free on our sites for free to practice your drawing skill and you can color for the coloring pages as you like. You also know how to draw cherries with us in this post. I hope you find these tutorials helpful. Please enjoy and happy drawing! Have a great time!