9 Easy Steps To Get A Bat Drawing
Creating a complete bat drawing in just 9 Simple steps
Now, you learn how to draw a bat with our super easy-to-follow step-by-step bat drawing tutorial. These drawing instructions are fun and easy. With just nine steps to follow, you will be drawing your nocturnal animal in no time. Here, we created a guided drawing lesson that is easy to follow, so it’s great for younger kids too. As a parent, you can learn to draw a bat with your kids. This activity will help kids to develop some skills such as pen skills, painting skills, and concentration skills. They are suitable for your kids, and you can relax after the hard-working hours. Along with the tutorial, I have also included a couple of free bat coloring pages that you can print off and give to your kids to color! You will go to step by step in the instruction to create a complete bat. It is not a simple task but not too difficult if you concentrate, and you will follow our instructions and our illustrations.
How To Draw A Bat – Let’s Get Started!

Before starting to draw a bat, It would help if you prepared something pencil or marker, paper, an eraser, and colors. You will use a pencil to draw on paper because you can erase it easily if you make mistakes. Whether you are a beginner or you are an expert, you can finish your task excellently. It is fascinating, and you get an opportunity to understand more about this creature, bat. Please Be patient and follow us, and you will have a perfect drawing. Then you can make coloring for your product or images related to bat. Here, we update many bat coloring pages that you can enjoy for free. If you have free time, you can come here anywhere and anytime with your device connecting to the internet. We give easy instructions for all people can follow. Now, let’s get started by drawing a bat with us!
Step 1 – Draw A Ear For Bat

In this step, your task is simple, draw a short line, and then you add a triangle to make a part of the head and ear for the bat. Once you have these elements looking as they do in the reference image, you’re ready for step 2!
Step 2 – Draw The Rest Of Ear

You will continue to realize the task of the first step, you will use a line to continue drawing a part of the head, and then you draw a triangle to make the rest of the ear for the bat. Now, you can finish your task in this step and move to step 3.
Step 3 – Draw Bat’s Face Outline

You will start by drawing a circle for the bat head and, at the same time, make a face for the bat. Here, you can use a compass to realize this task. Very simple, and you take some minutes to finish your job.
Step 4 – Draw Bat’s Eyes

Now, you draw two dots for the bat’s eyes. Then you use black to the color pupil to make the actual eyes. for. Bat. You have to leave white spaces in your eyes for the bat. Now, you finish the task for the bat’s eyes and move to step 5.
Step 5 – Draw Bat’s Eyebrows

Very simple in this step, you draw two-shot curved lines for the eyebrows of the bat. It’s so simple. It only takes a few seconds to complete this task. You continue drawing your bat in the sixth step now.
Step 6 – Draw Bat’s Mouth

You will draw a mouth for the bat now. You use a curved line and add two dots making two fangs of the bat. That’s all there is to it for this step, so when you’re happy with the look of it, we shall continue adding to this duck in the seventh step.
Step 7 – Draw Bat’s Body

Under the circle for the face, you draw an oval shape for the bat’s body. You can observe our image and follow the effortless task for you. And now you will go to step 8 and continue drawing your bat.
Step 8 – Finish your Drawing Mission

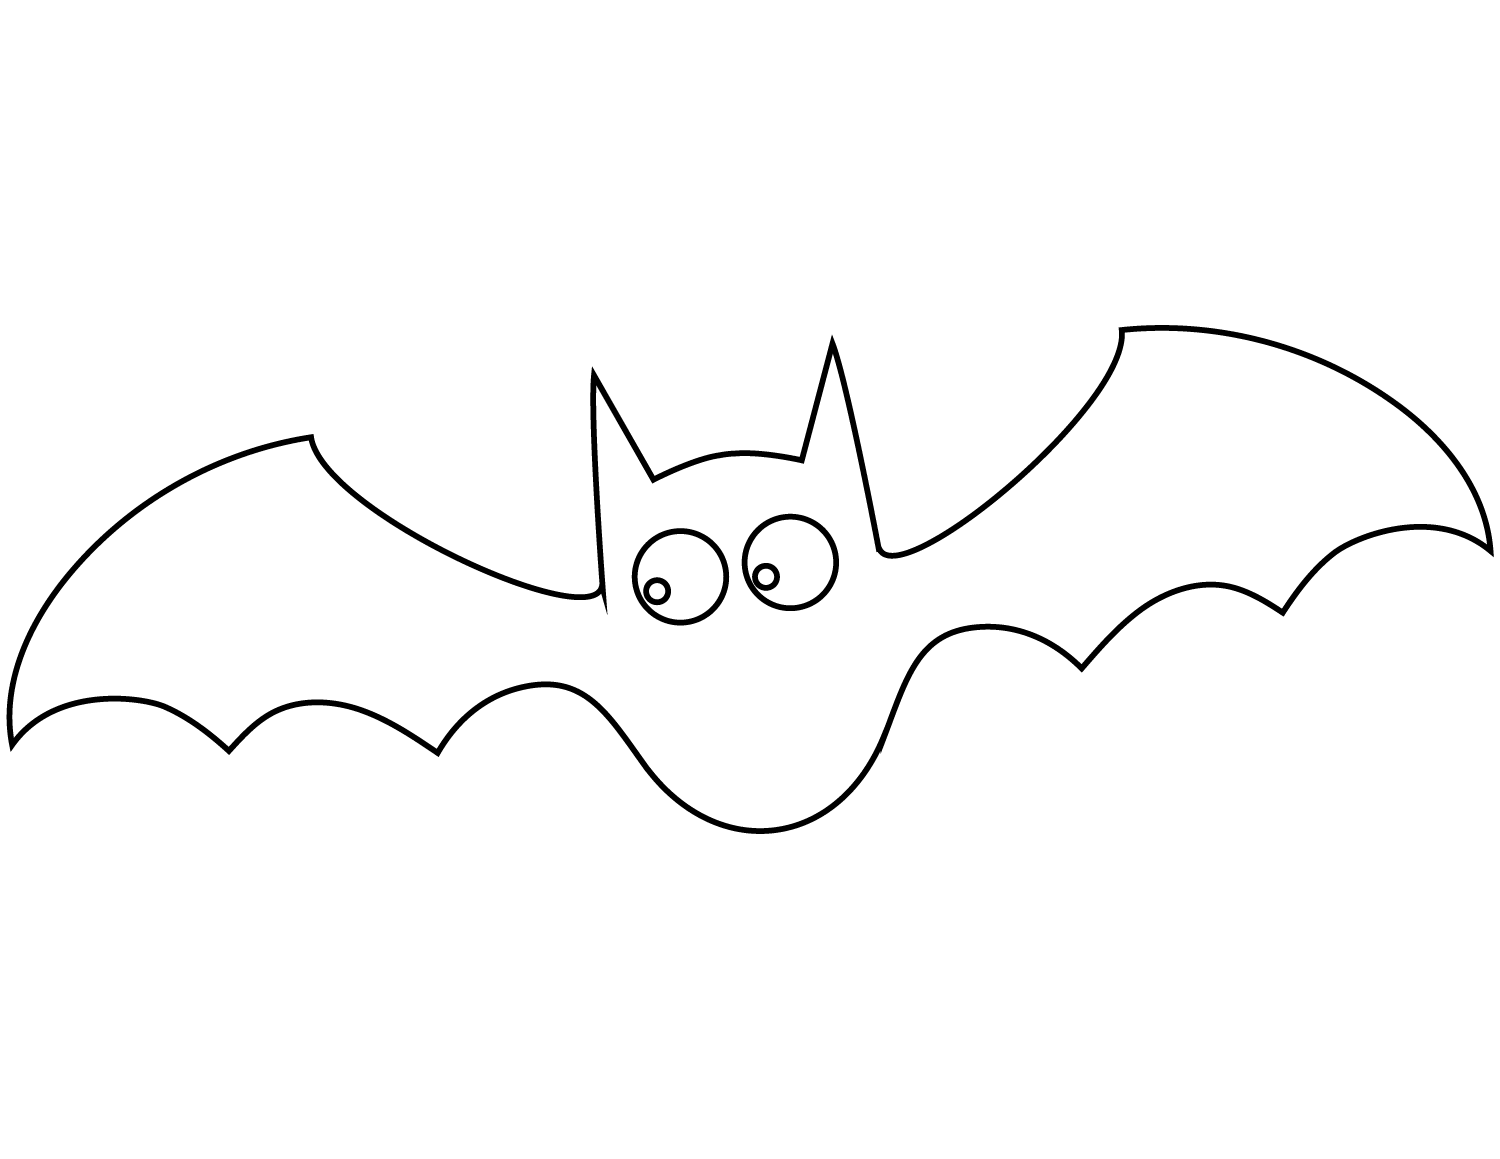
You must finish all task missions and add wings for the bat. You will follow our reference picture which will be very helpful for this step. Now, you will go slowly and carefully, drawing in the wing’s frame as you can see it in the picture. You will be using a combination of straight and curved lines to do this. Now draw in the opposite wing. You’ve drawn in the first wing of your bat drawing, so now all you need to do is create a mirror image of the branch on the opposite side. You will do the same as the first wing of the bat. You will continue adding the bottoms of the wings. Now, you can finish the task, and you have more of a last coloring step.
Step 9 – Color Your Bat

This is a simple task, and you will choose the suitable colors to make coloring for the bat. You can choose any color you like or take colors similar to our colors. We take purple for the bat’s body and blue for the bat’s ears. It’s too easy for you, isn’t it? So you have completed all the tasks for drawing and coloring the bat. Whether you are a beginner or you are expecting. You also get this job done efficiently. You can enjoy bat coloring pages to choose colors and make coloring for images related to bats. It is exciting with this task. I hope you get a great time and come back here with us.