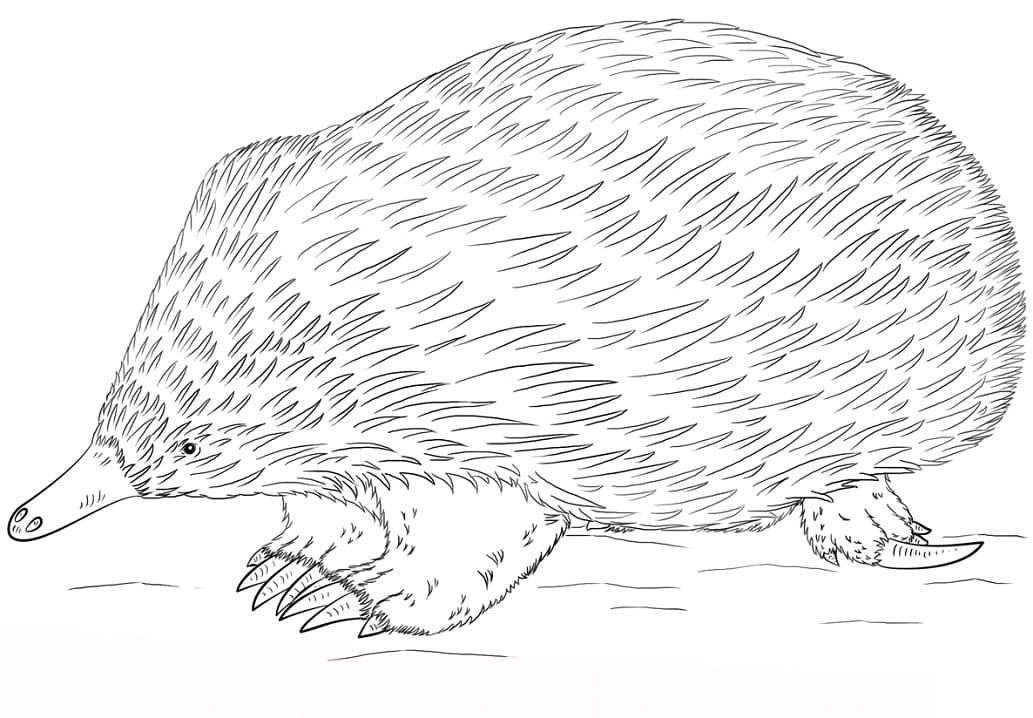
Echidna Drawing Is Complete In 9 Easy Steps
Creating a cute Echidna drawing in just 9 easy steps
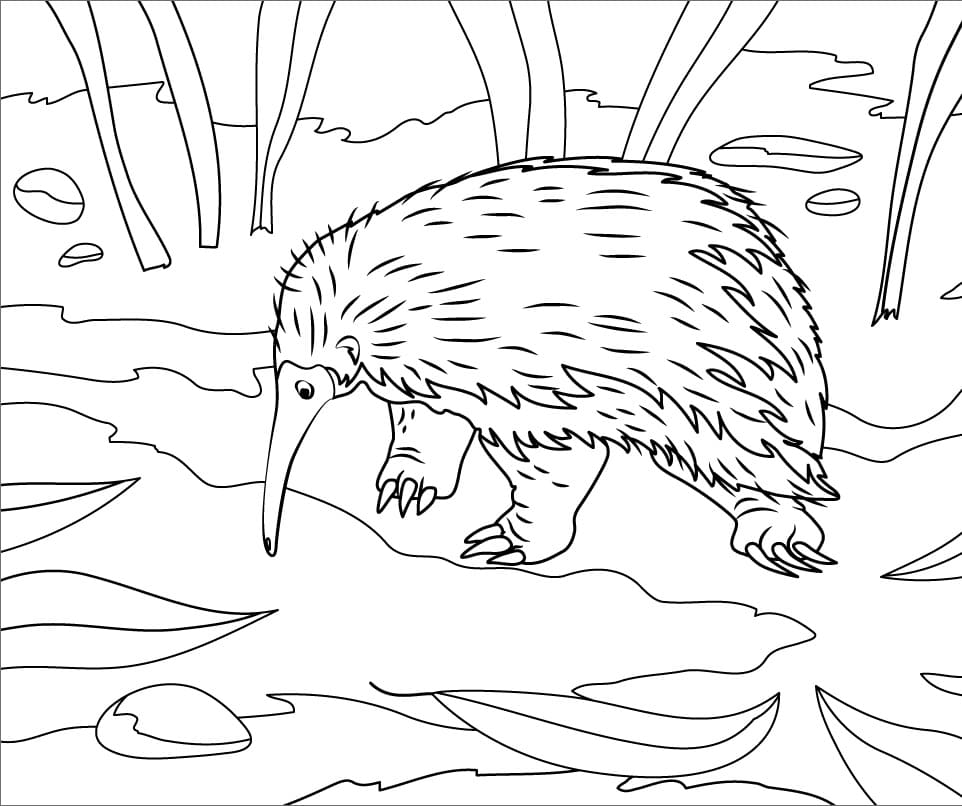
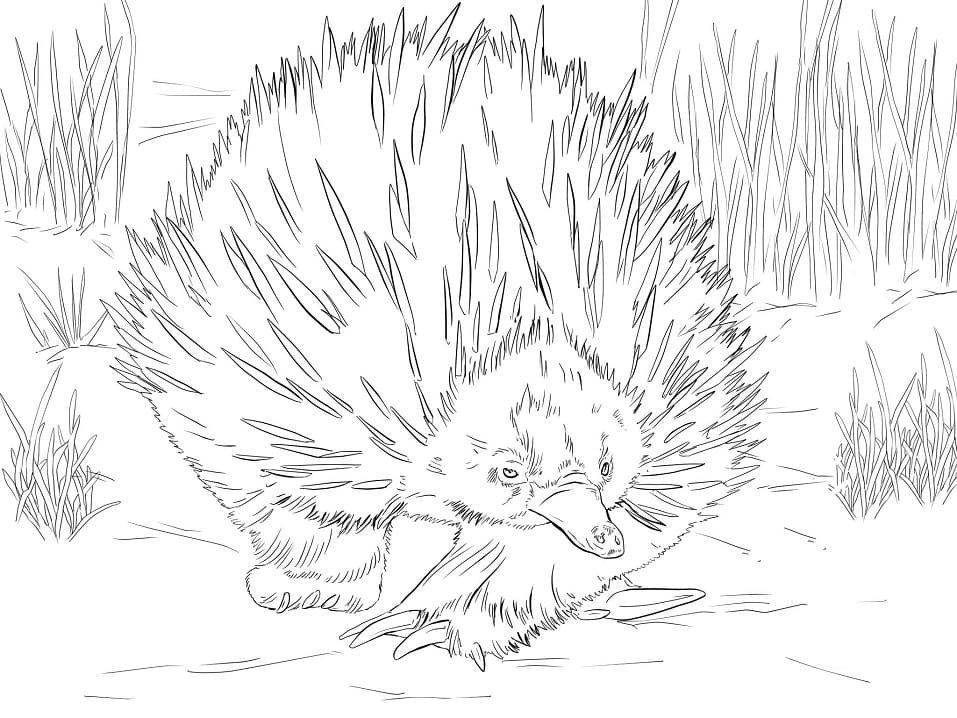
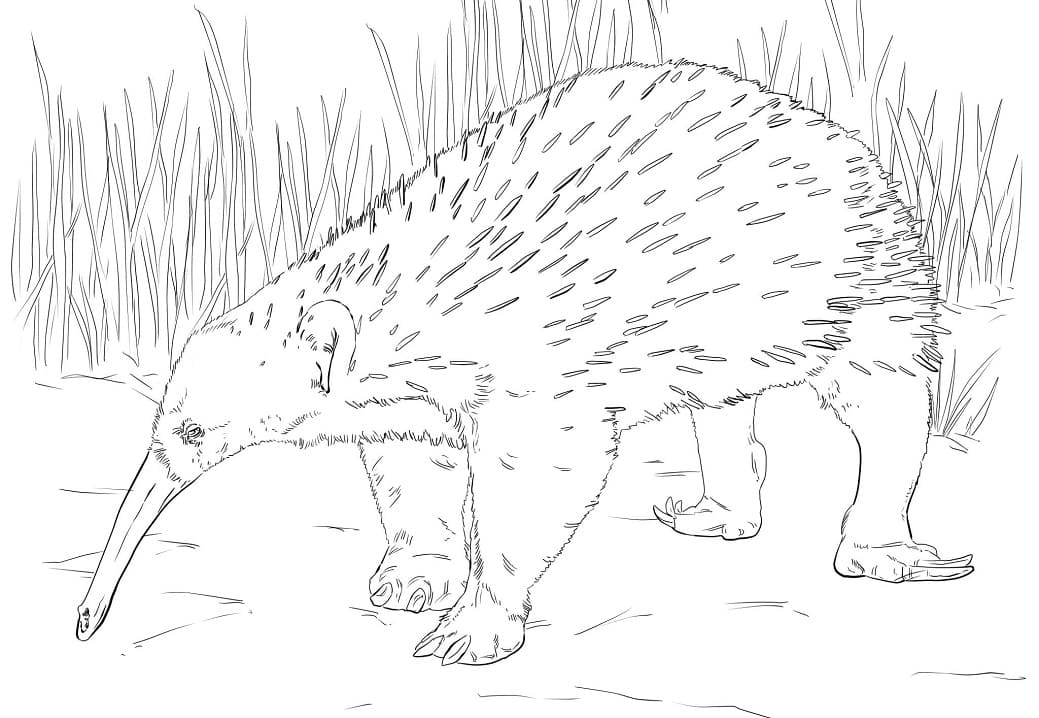
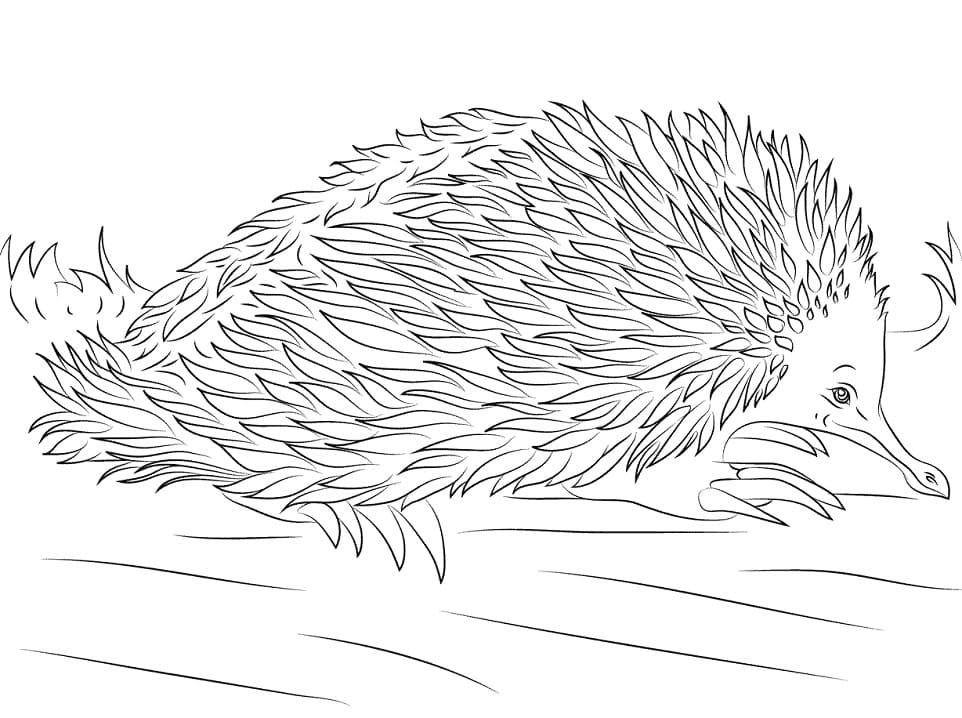
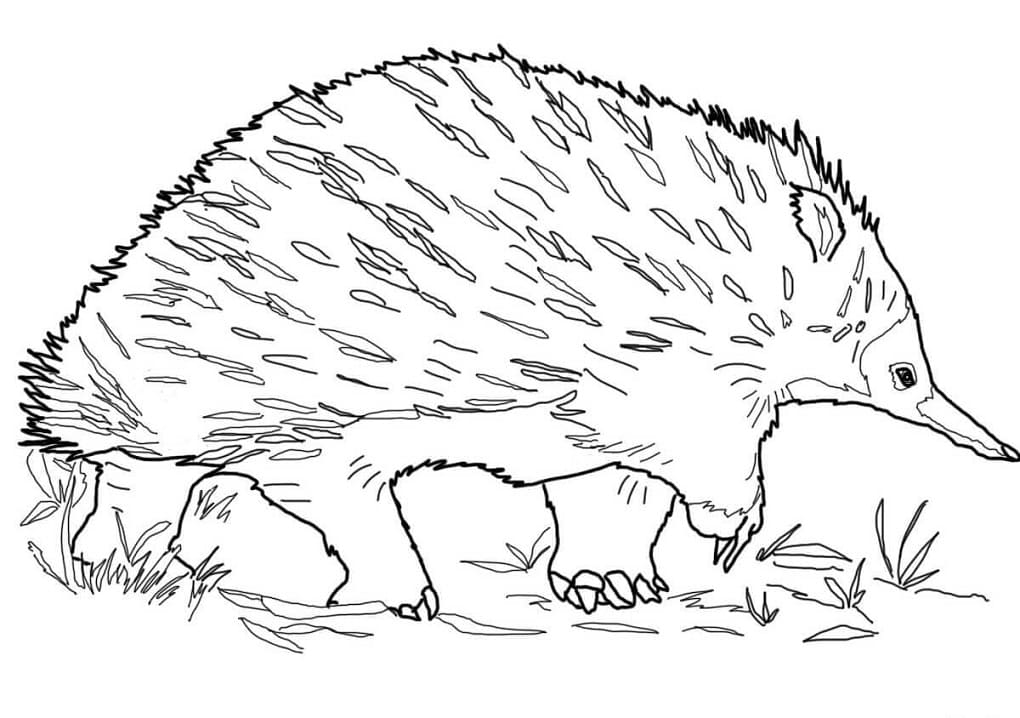
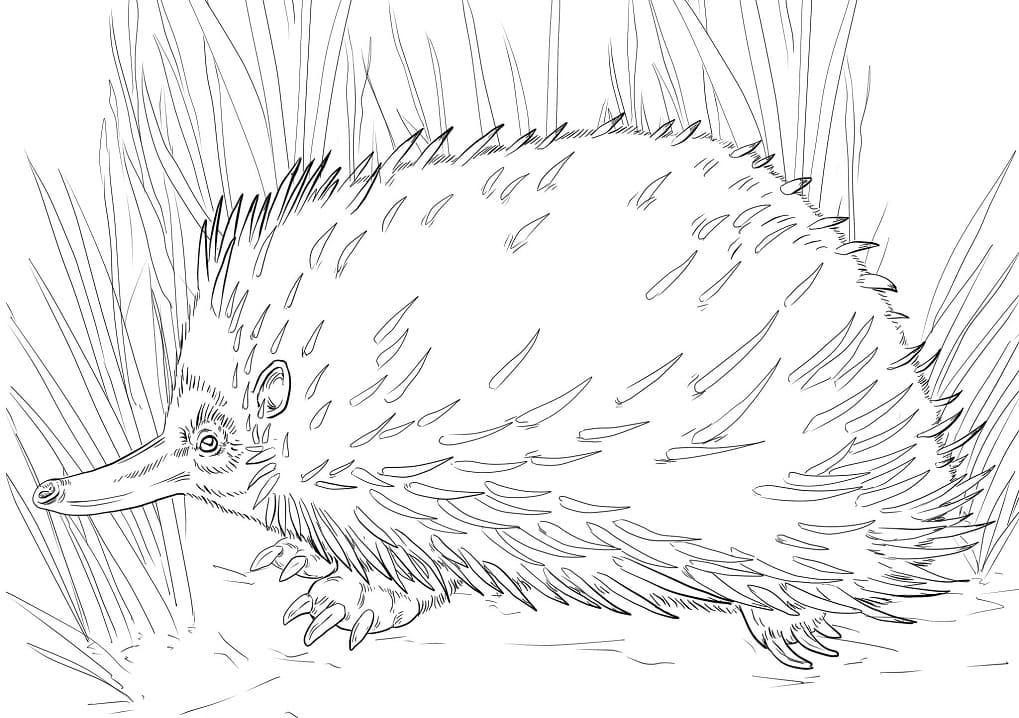
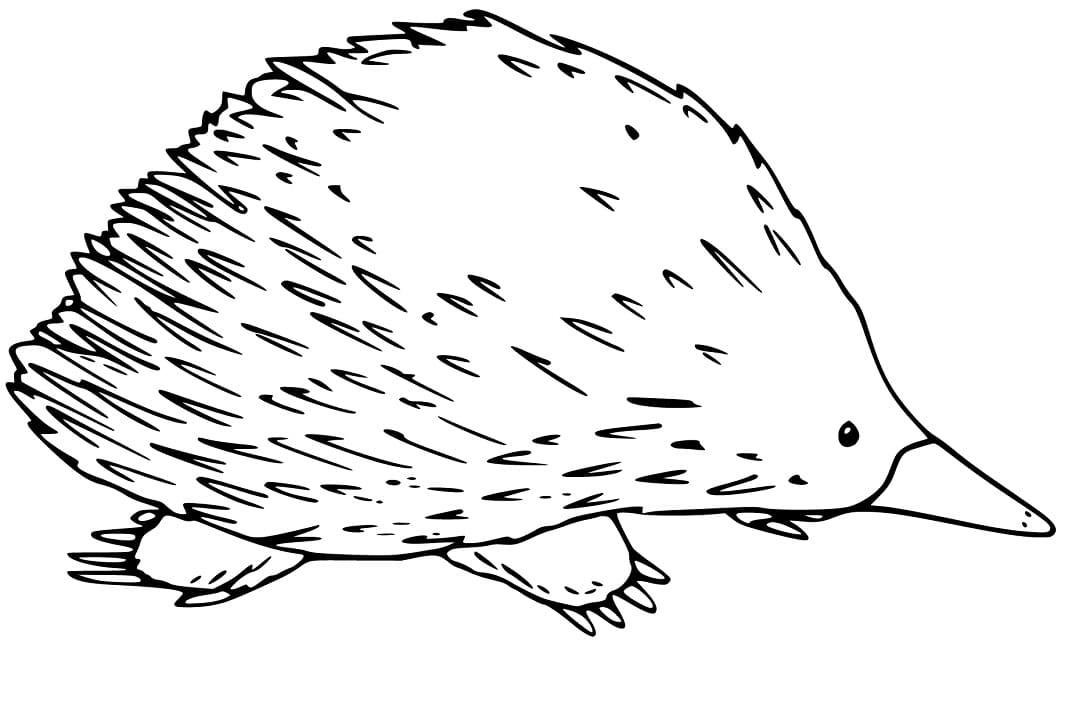
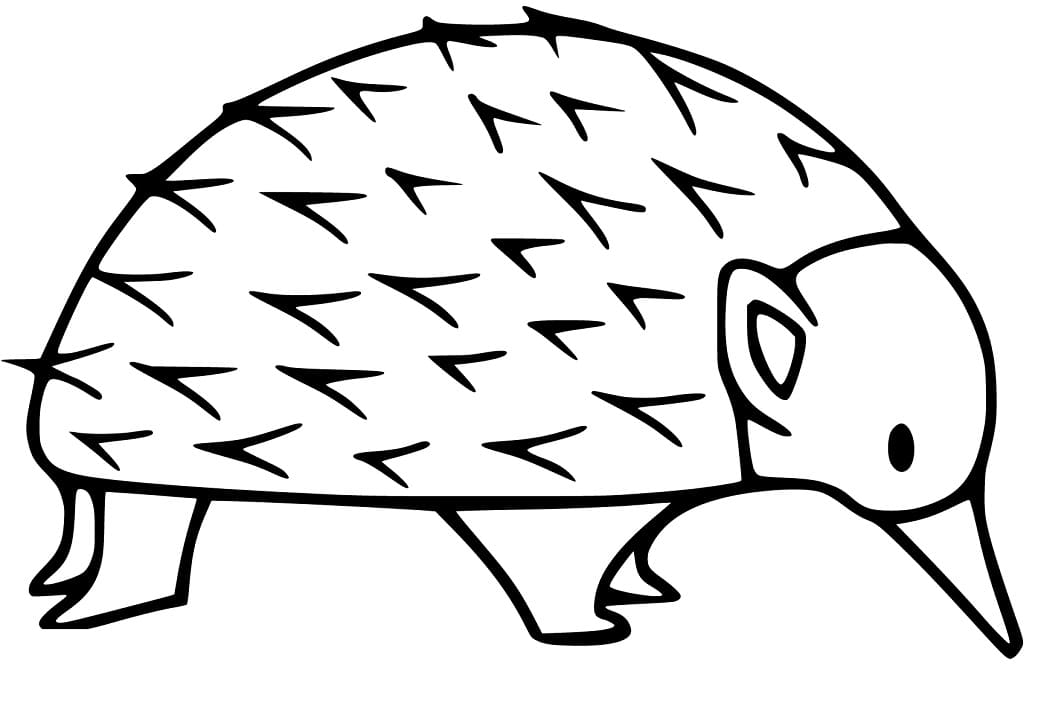
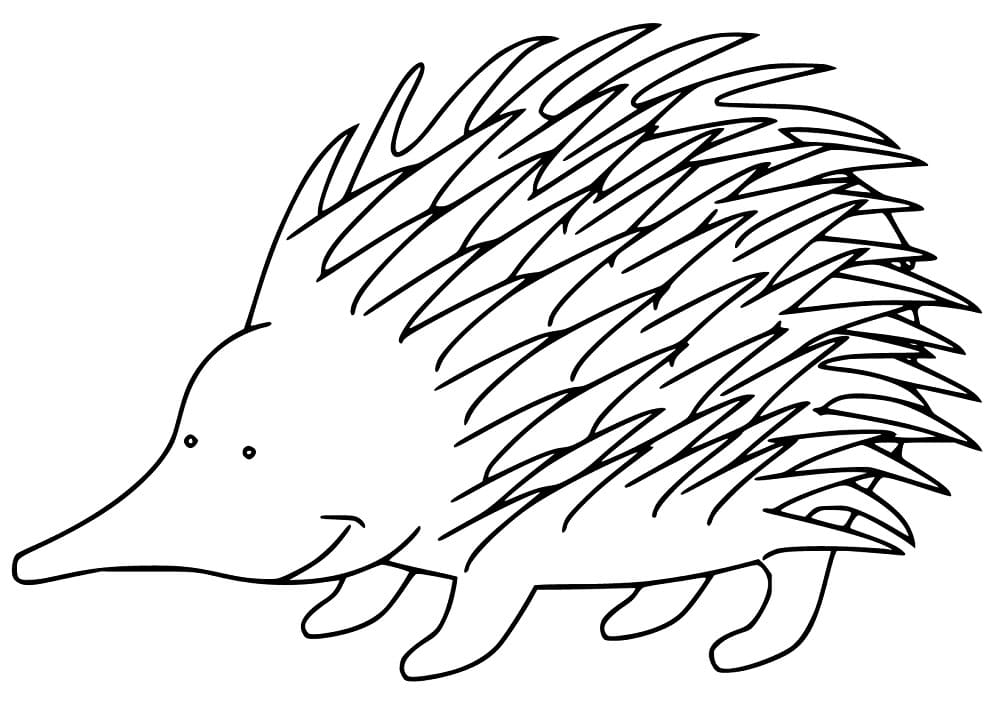
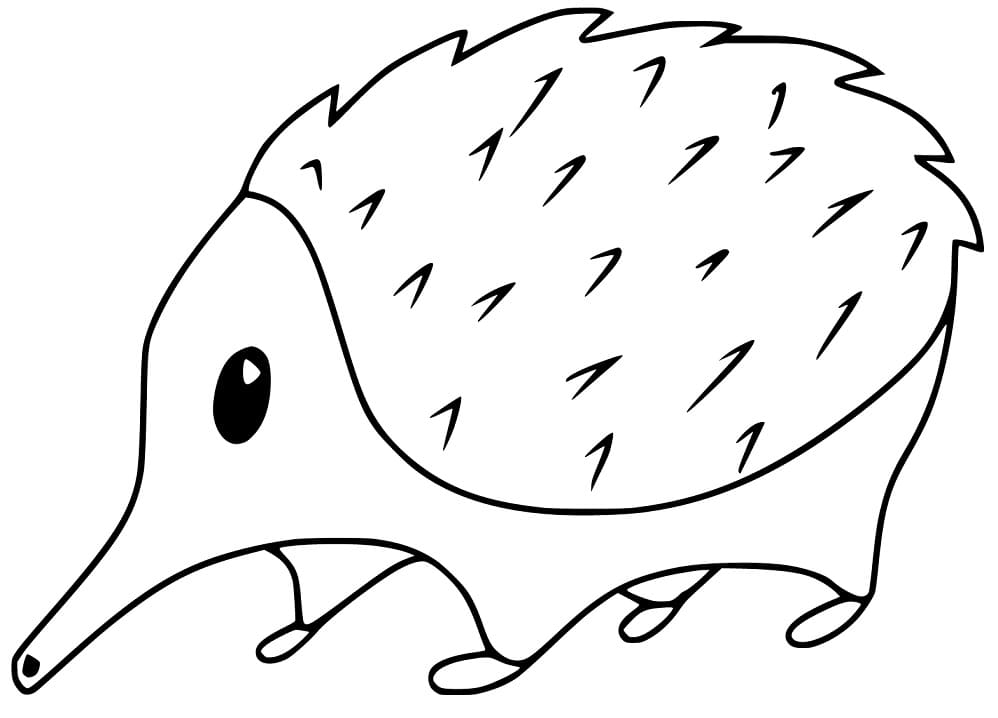
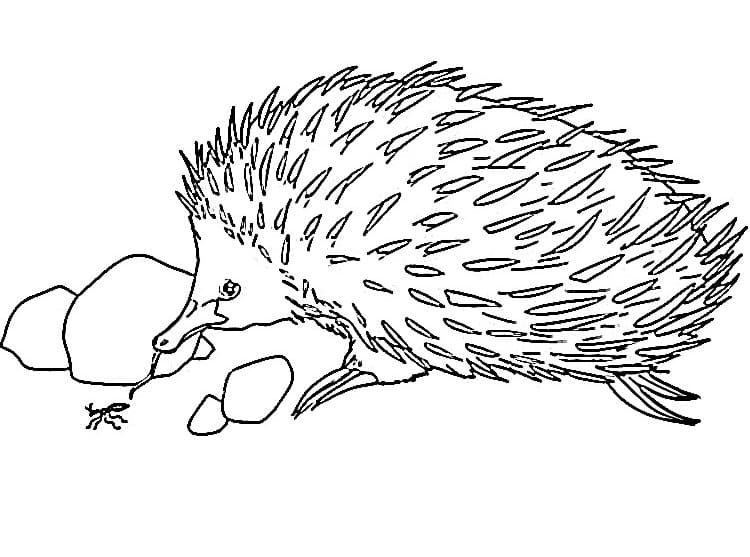
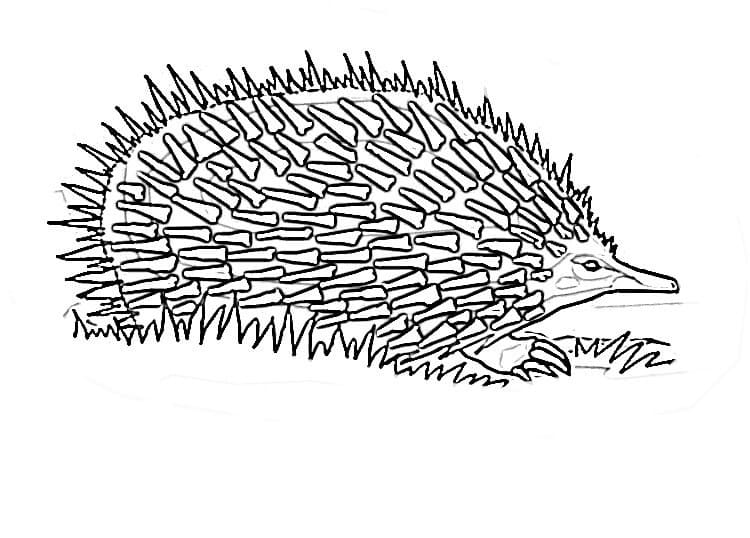
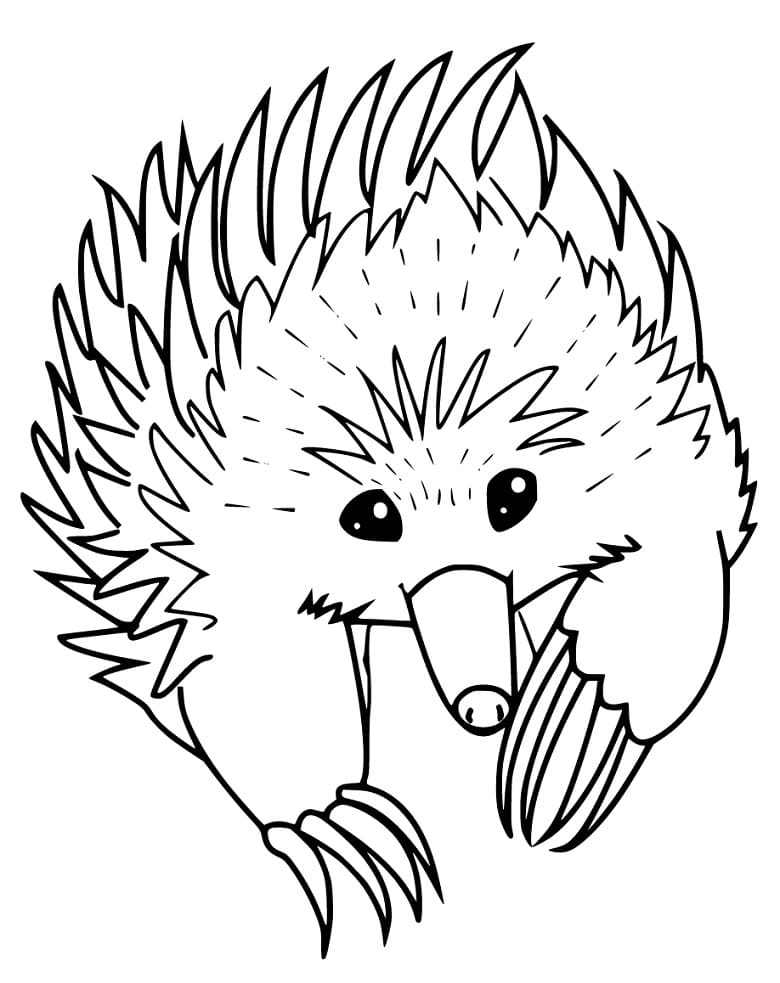
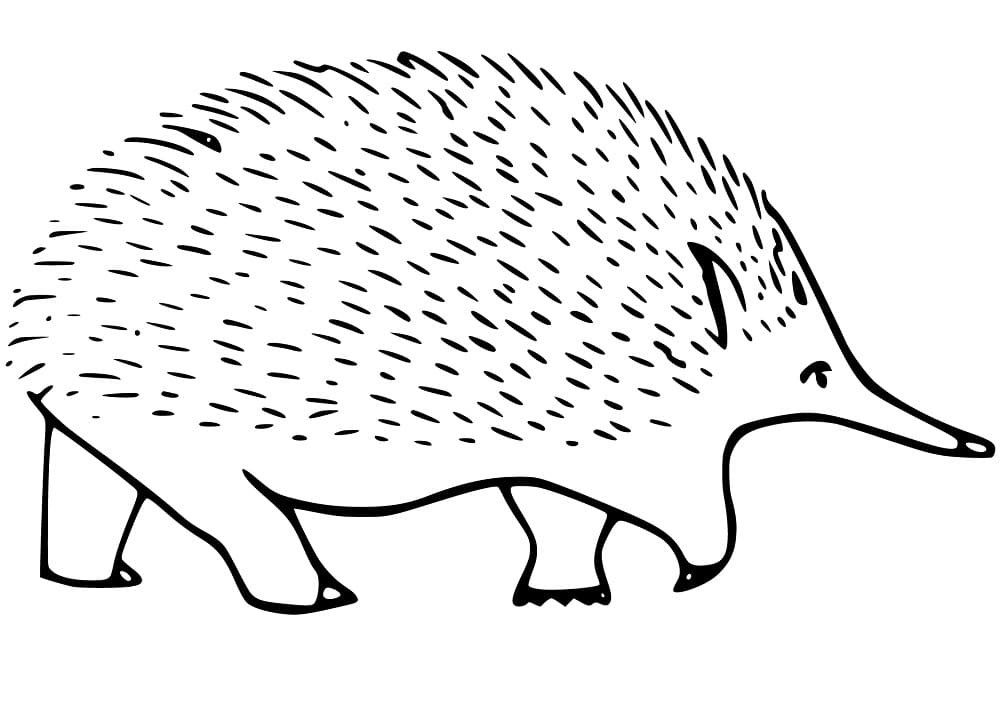
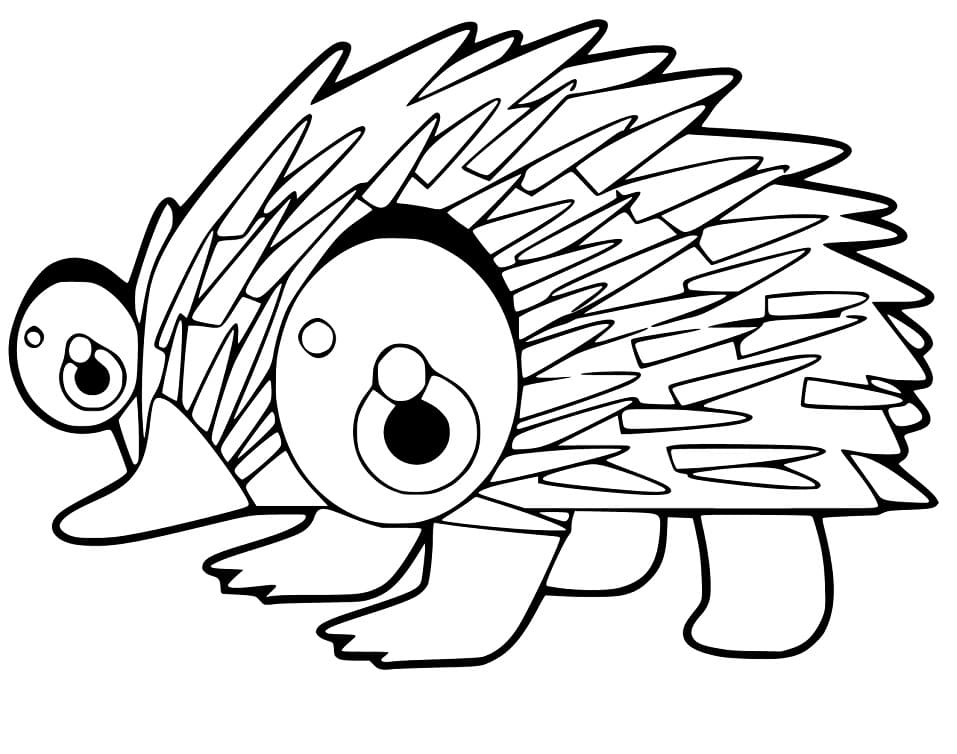
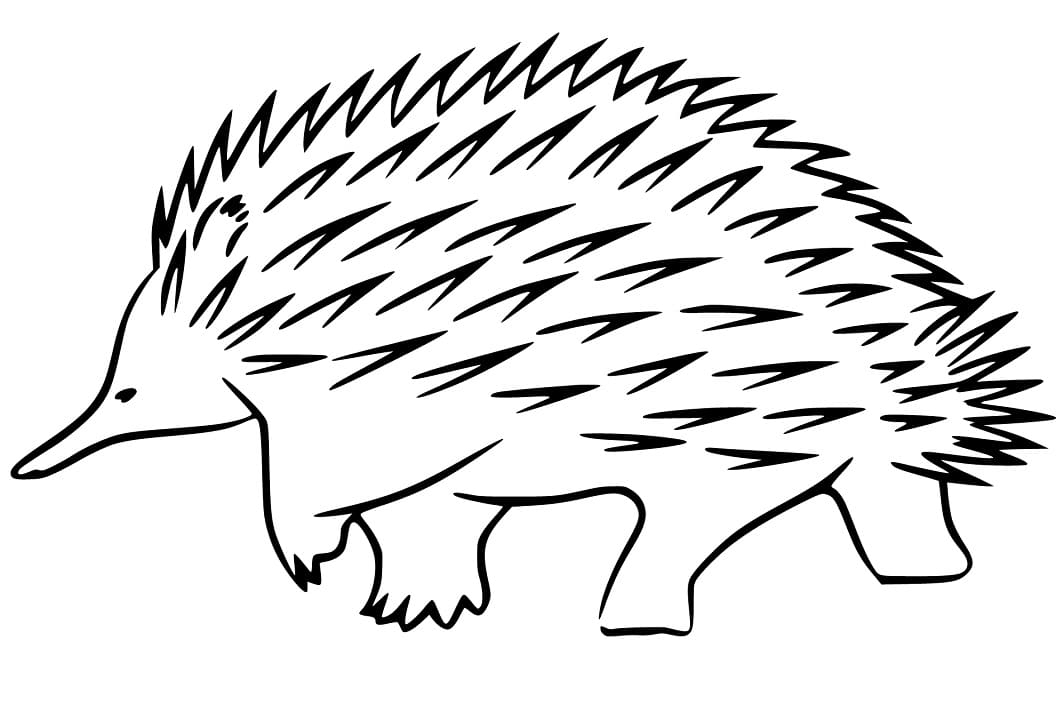
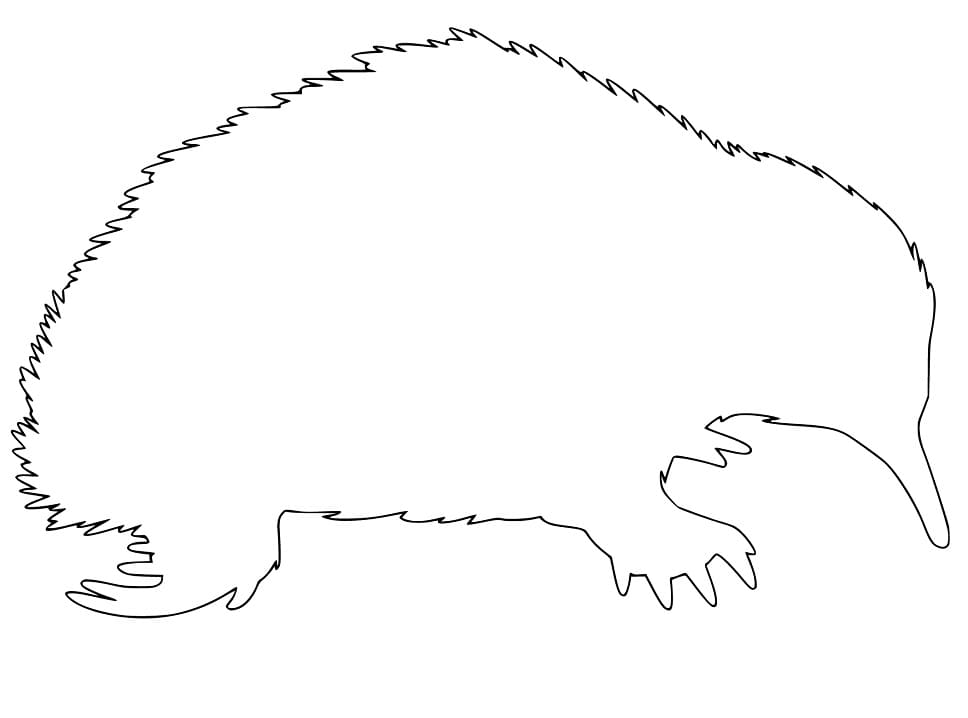
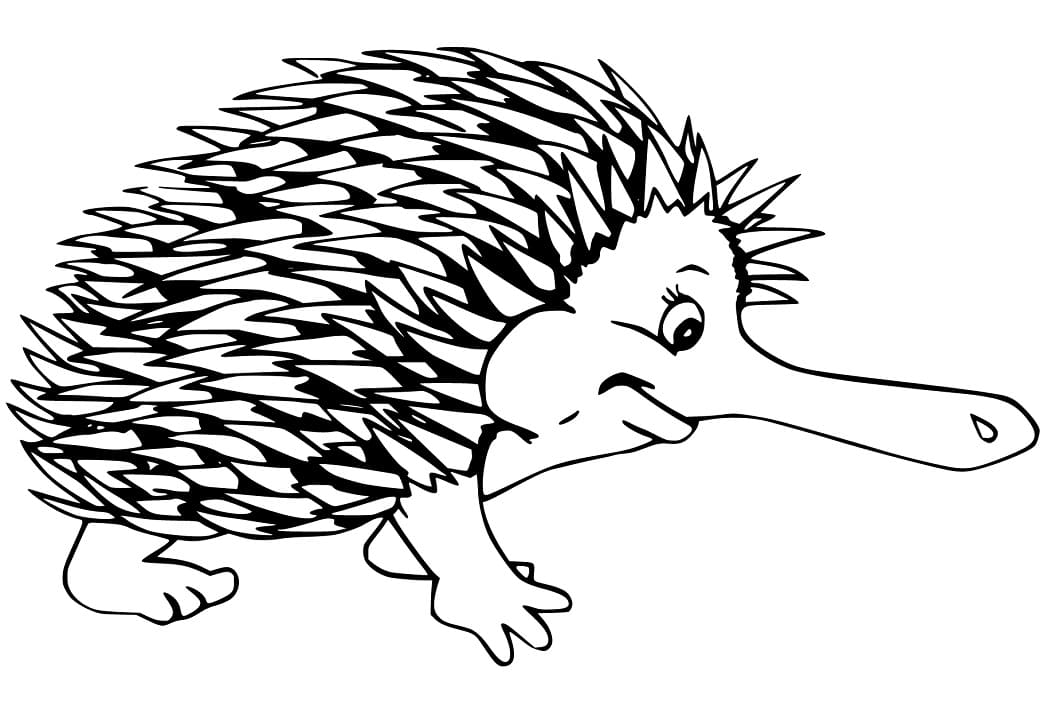
Simply follow this easy how-to draw an Echidna step-by-step tutorial and you will have your Echidna drawing finished in no time, great for you and your kids. Our illustration following represents how your finished drawing is going to look and the steps involved. In learning to draw an Echidna, you get an opportunity to understand this creature. Make sure you also check out any of our hundreds of drawing tutorials grouped by category. Along with the tutorial, we have also included a couple of free Echidna coloring pages that you can print off and give to your kids to color! You can follow us and our images to create anything you like, and today, you enjoy learning to draw Echidna. If you are a parent, you can give this instruction to your kids because it is very useful for them. More they can avoid using smart devices as television, tablet, and phone. They are not good for their eyes and their evolution!
How To Draw An Echidna – Let’s Get Started!

You will follow our instructions to create a complete Echidna with your skill. This is not difficult and requires your patience and your skill. It would help if you prepared a pencil, eraser, colored pencils, and drawing paper before drawing; our device is to use a pencil to draw on paper because you can erase your mistakes easily. Please don’t be afraid to draw, you can draw in your comfortable way. You get fun and have a great time in the course of drawing. You must be patient and concentrate on finishing your task as soon as possible. we give easy to difficult tutorials to help you draw Echidna easily. Whether you are a beginner or you are an expert, you can finish this task easily. You draw from easy details to difficult details until you complete the picture. You will get a complete Echidna with your drawing and coloring skills. You can show your painting skill as well. Now, let get start drawing an Echidna in the nine steps with us!
Step 1 – Draw Echidna’s Eye

Since we are drawing Echidona sideways, we only see 1 eye, so you need to draw an eye for Echidna. You draw a dot for the eye, and then you use black to the color eye to make the real eye interesting. You will stop working and continue your drawing at the second step.
Step 2 – Draw Echidna’s Head And Snout

You will draw ‘C’ shape for the head. Then you add a long point snout. This long snout is what helps the anteater find its favorite food – Echidna! On the snout, you draw a black dot for the nostrils. Your task in this step is not difficult, and you can finish it in minutes next to step 3.
Step 3 – Draw Echidna’s One Of Front Leg

You continue your drawing with one of the front legs for Echidna. You know that his front legs are short and little, and end in five ‘fingers’ with long sharp claws at the end. But, here you see only three “fingers”, so you draw three for him and draw some extra claws behind the first ones to make the other front leg. You can finish the task in this step and move to step 4.
Step 4 – Draw Echidna’s One Of Back Leg

From the front leg, you use a straight line then you continue drawing the back leg. Similar to the front foot, you will use two parallel lines down to the ground and end with the feet. You can continue drawing the claws. The claws on his back leg are longer than those on his front. That’s all there is to it for this step, so when you’re happy with the look of it, we shall continue adding to this Echidna in the fifth step.
Step 5 – Draw Echidna’s Body

This is the important part of the Echidna. The body will look like a sideways ‘U’ shape with jagged edges for the spines. There will be hairs around Echidona’s body, and you will use sharp lines to draw those feathers. In this step, you draw the feathers on Echidna’s back. You can stop this task here and move to step 6 now.
Step 6 – Add More Echidna’s Feathers

In this step, you draw more feathers on the head and shoulders of the Echidna. You use straight lines to draw feathers like stacked pointed triangles. Once adding more feathers on the head and shoulders of Echidna, you can stop work here and move to step 7.
Step 7 – Finish Echidna’s Feathers

Your task in this step is to finish Echidna’s feathers. You continue adding the Echidna’s feathers to his body until you finish them. So, you get the finishing work with Echidna’s feathers and now moving to the step for your drawing.
Step 8 – Draw The Rest Of Legs

In this step, you must draw the rest of the legs, which means that you must draw a front leg and a back leg for Feathers. Like the front and rear legs drawn in the steps above, you draw one more front leg and a more back leg. However, in this part, you only add a front leg part and one rear leg part for Echidona. So, you get a complete Echildna and have more of the last step for coloring.
Step 9 – Coloring Echidna

You will choose the suitable colors for your product, Echidna. Your mission in this step is very easy. You can take any color you like or choose colors that are similar to our colors. You choose brown for the body, back, snout, claws, and eyes. You get a complete Echidna for you. Now, you can practice your coloring skill on Echidna coloring pages, we update hundreds of images of Echidna. Withdrawing and coloring activities, you can forget the stress and worry and get a better life. Why not? It is free on our site and suitable for everyone from children to adults. We update tutorials every day, and be sure to keep checking our site to make sure you never miss out! I hope you get a great time here!