How To Draw A Goose – 6 Simple Steps To Create A Goose Drawing
Creating A Nice Goose Drawing In Six Easy Steps
Our today’s tutorial will show you how to make a goose drawing. You have six tasks equivalent to six steps that you need to pass. Drawing kaf is quite an exciting task and suitable for everyone; you can share this lesson with everyone from children to adults. In this tutorial, we will take you through all the necessary steps to create a realistic goose illustration. We started building our tutorial; as always, we also provide illustrations so you can easily complete this task. I also hope you will enjoy this tutorial and have fun as you participate in this activity. It takes you about 30 minutes to complete this drawing; if you can master it later, you can finish it faster.
How To Draw A Goose – Let’s Get Started!

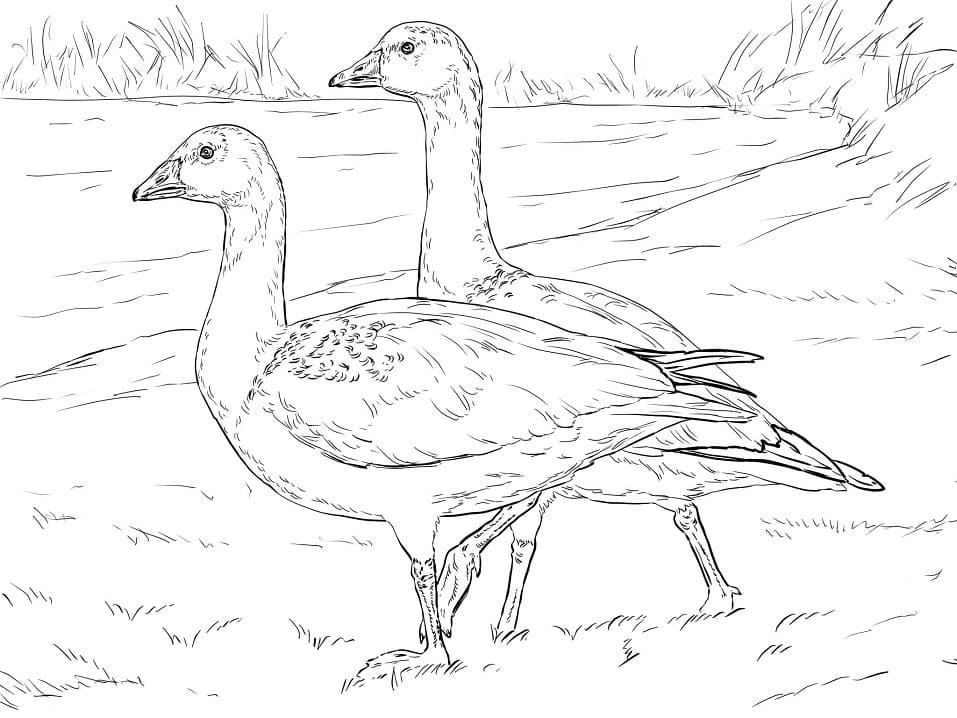
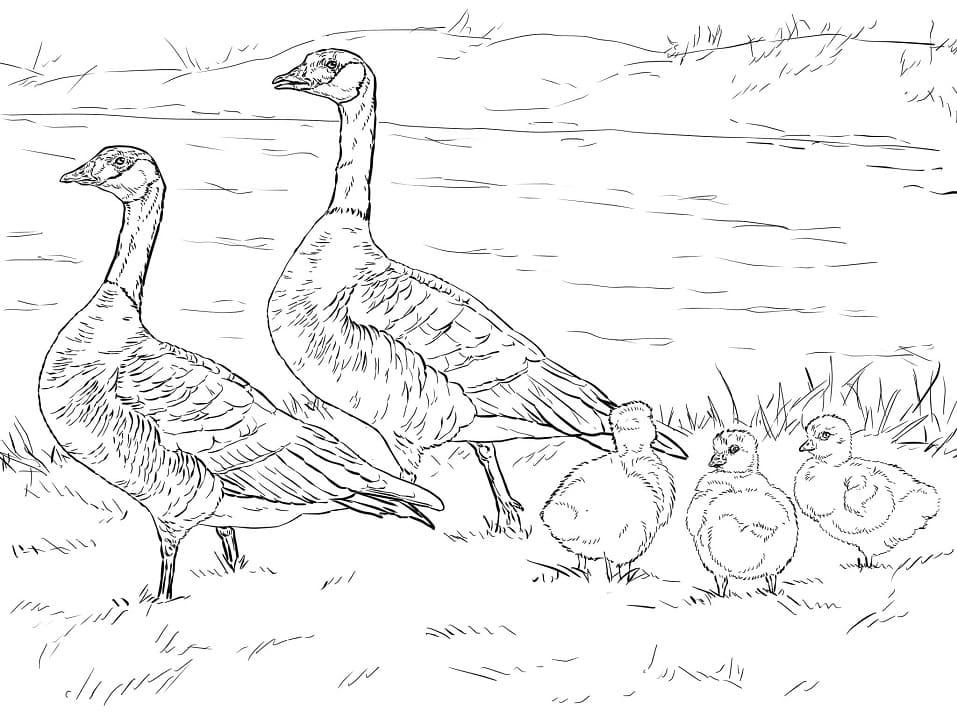
The goose is an interesting bird, so art people often use it to create many beautiful works. However, they are also ready to be aggressive and make noise if you obstruct their passage. Geese are beautiful birds with a body of about 5 to 7 kg, each with beautiful plumage, which is why many artists draw geese in their work. If you also love geese and want to draw geese, then with our tutorial, you will be on the right guide. Before drawing a goose, you must prepare some things such as paper, pencil, pen, and eraser,…You will draw the goose with pencil strokes; then, you check if the line is wrong to erase it and draw again. If you draw it right, highlight them until you complete the goose drawing; you will choose a suitable color for your product drawing. Drawing and coloring will help you feel more comfortable and work more efficiently; life will also improve. You can enjoy this activity after the hard-working hours with your kids; they will surely like it. Along with this goose drawing instruction, you can refer to goose coloring pages to practice your drawing and coloring on our website and have a fun time. Right now, let’s go to six steps and realize your task on how to draw a goose!
Step 1 – Draw Goose’s Head

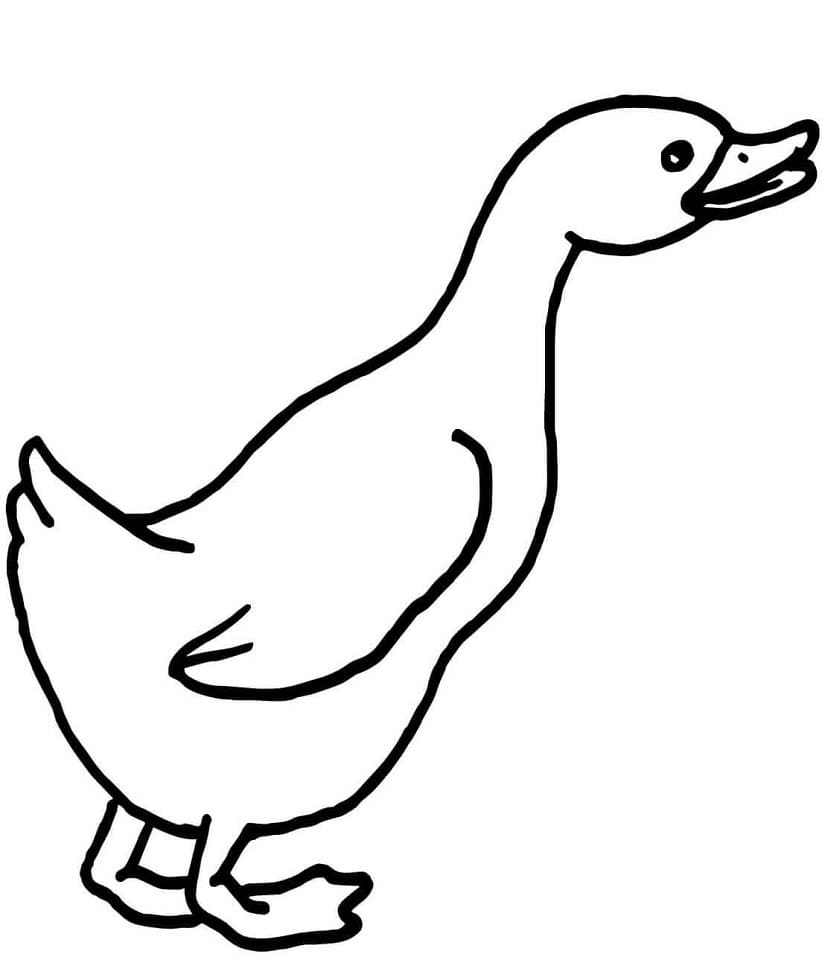
You will start with the head of the goose in this first step of our guide on how to draw a goose. You will use two almost parallel curves to create a beak for the goose, then use a circle to show its head. You will also extend a downward curve that will draw the neck for the goose in the next step.
Step 2 – Draw Goose’s Neck

It’s time to draw the goose’s neck with the head finished; right now, you have to finish off the neck. Draw another curved line down from the beak for the bottom of the neck—simple dedication to the work in this step. You will draw its neck following the existing curve, finish it quickly and move to the third step.
Step 3 – Draw Goose’s Body

Your task in this step of our guide on how to draw a goose you will draw its body. You will continue to use the curved line to realize your task here. A goose always has a chubby body, so you draw its body a little bit round to show a fat goose. You finish the job in this goose drawing mission and go to the next step right now.
Step 4 – Draw Goose’s Tail

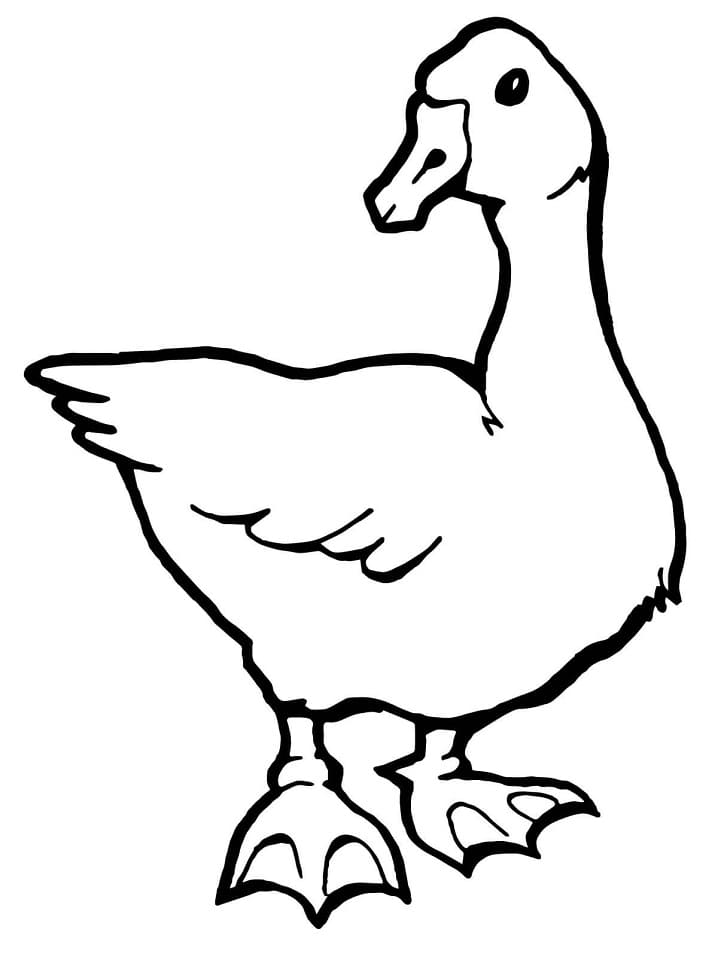
You must draw its tail in this fourth step of your goose drawing. Like drawing a chicken, the goose’s tail will be drawn with jagged tail feathers, which you will draw using short, curved lines to represent the task of this part. When your image is similar to our reference image, you can move to the fifth step and continue your drawing task.
Step 5 – Draw Legs, Eyes, And Wings For Goose

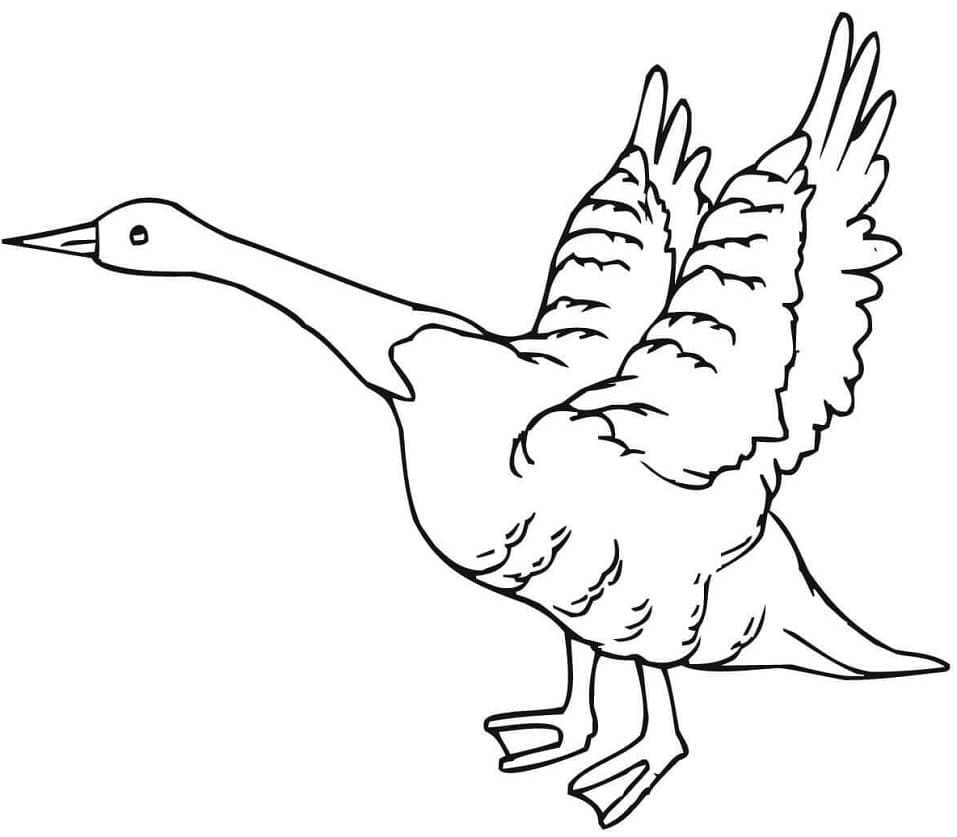
There are quite a few tasks for you in this step. First, from the body, you draw parallel lines representing the legs of the frog. Its feet will be webbed with toes. Next, you will use a long curved line on the body to describe the goose’s wings because we draw the geese standing sideways, we will draw a side that we can see, and finally, on the goose’s head, we will draw a small colored circle. Black represents its eyes. Once you have replicated the lines as they appear in our reference image, you’re ready to move to the last step of coloring!
Sep 6 – Coloring Your Goose

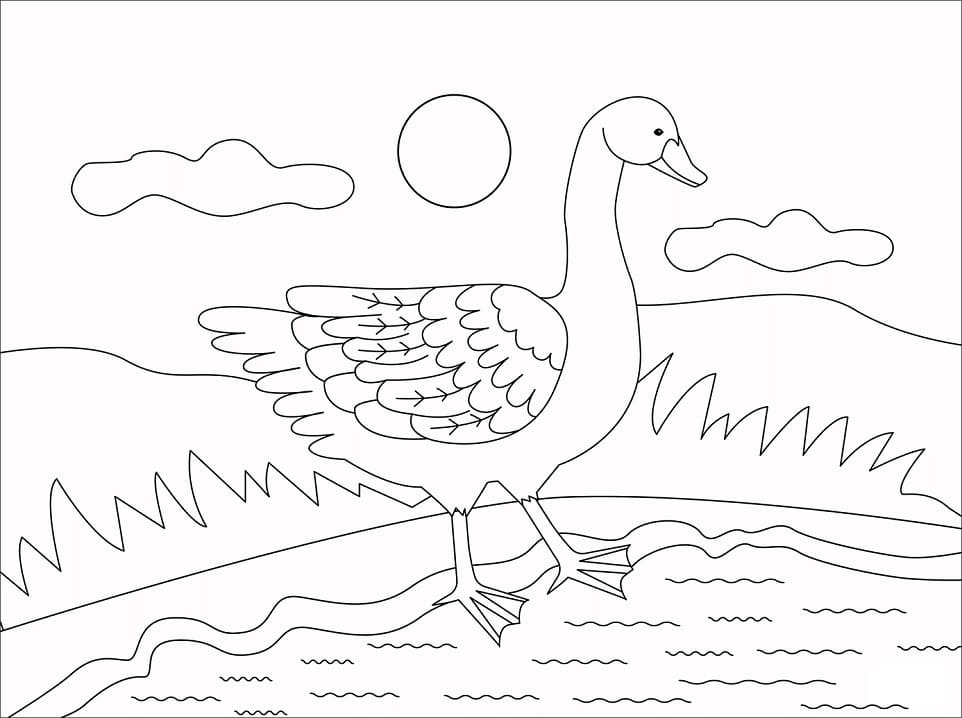
That brings you to the final step of this guide on how to draw a goose. You will choose the suitable colors for your goose coloring. It’s great because you can make any color you like for your product, goose drawing. We use white for the goose’s body and red for the beak and leg. Whatever color you want and make coloring for your goose, you can shear your product on Facebook and Pinterest for your friends to see.
Your Goose Drawing Is Complete!
You finish drawing and coloring on how to draw a goose through six steps. We recommend many drawing guides on our website Coloringcool.com that you can refer to hen drawing, rooster drawing or duckling drawing for free. We update our educational products for free, and you can come here daily. How do you feel? Did this guide help you? If you are a parent, you can join this activity with your kids. Drawing and coloring can help them to avoid some technical devices such as television and smartphones,…they are not good for their eyes and evolution. I hope you like this instruction and come back here to spend time with us! Have fun with goose drawing!