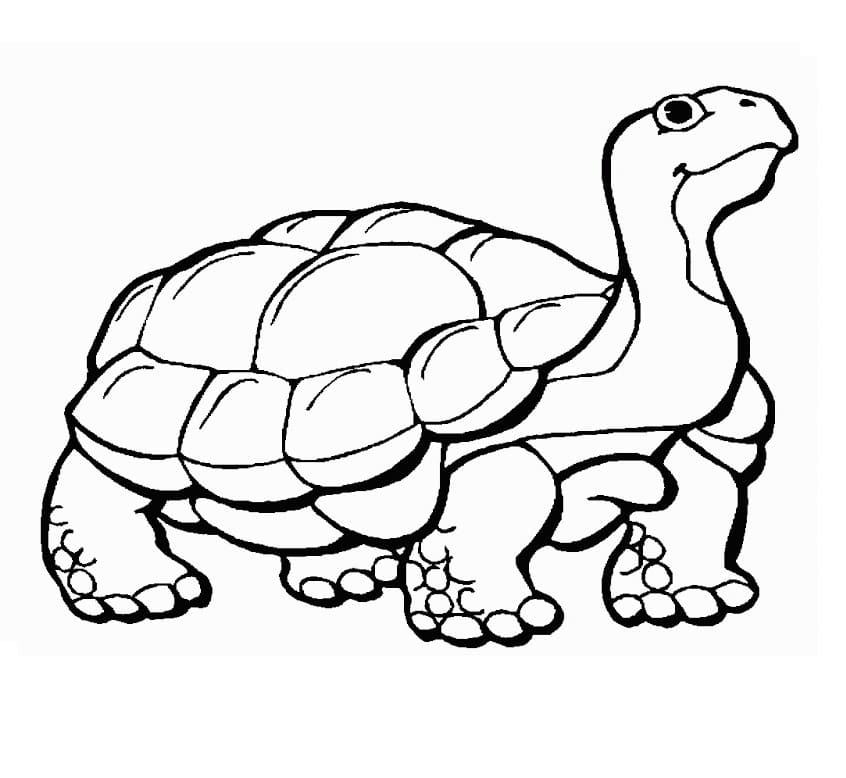
How To Draw A Turtle – The Details Instructions
Turtles are rare, endangered animals and need to be protected by us humans. Turtles have a sturdy shells to protect them from threats. When in danger, they will retract their necks and burrow their heads into the bodies on their backs, which is safe—fascinating, guys. And today, Preschool drawing lessons will guide children to draw a turtle. With just a pen, a piece of paper, and a box of crayons, you can draw a turtle and quickly. Today, you will follow our instructions and image to draw a cute turtle. Not too difficult to realize this task. You will have to be patient and follow our instructions to create the unique turtle.
How to Draw A Turtle — Let’s get started!

There are six steps to finish a turtle. You will go to step by step here. Learning to draw turtles is very interesting and rewarding. It is suitable for people of all ages. Being patient and understanding to draw will help you a lot in life. You will find life more comfortable while drawing. You will temporarily forget the stress and anxiety in life.
Step 1 – Draw Turtle Eye.

You will draw the turtle’s eye in this step. Very simple for you because you draw a small circle and color black for eyes and humans except for a small area that is not painted black to create visions for turtles. It’s easy. Let’s finish it quickly and go to step 2.
Step 2 – Add An Eye And Outline Face For Turtle.

You will draw more of an eye and outline for the turtle. You can observe our image and follow it. It’s not too hard for you. You draw a closed oval from the turtle’s head, face, and neck, then add half of the other eye, so in general, the turtle’s head and face are completed.
Step 3 – Draw The Body And Front Leg Of The Turtle.

You will continue to draw the body and front leg of the turtle. Within the outline of the shell we pulled in the previous step, draw another design following the shape of the surface. You will create a turtle body then you add a front leg of the turtle. It’s simple. Follow our instructions. You will get the results you want
Step 4- Draw an Outline Of The Shell.

Now, you will draw a tortoiseshell. This is a faulty oval on the turtle’s back; that’s what you create the turtle shell. You will continue to add the Vertebral Scute on the tortoiseshell. Structure the vertebral scutes on the body by drawing irregular and uneven circular shapes linked together in the center of the shell. You also don’t need to remove Vertebral Scute evenly and perfectly because they are not the same.
Step 5 – Finish off Your Drawing Task.

You must finish off your drawing task here. You will draw uneven geometric shapes similar to the previous step on the left side of the shell. The scutes should all be connected, as shown in the illustration. Please finish off your drawing as soon as possible.
Step 6- Color Turtle.

You will choose a color for the turtle. Here we choose light green for all bodies and pale yellow for the turtle’s belly. And what colors do you like for turtles? You can choose colors as our colors, or you will choose others as your favorite colors. It is simple in step, and I hope you have a great time here.
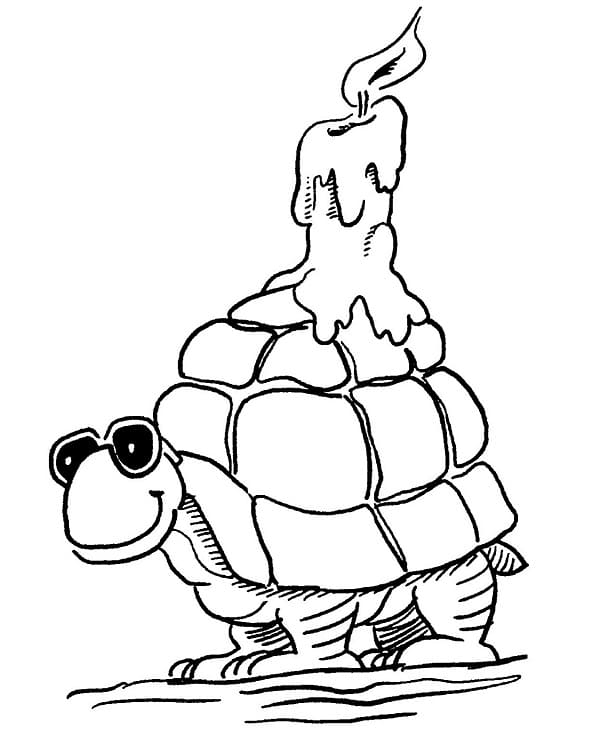
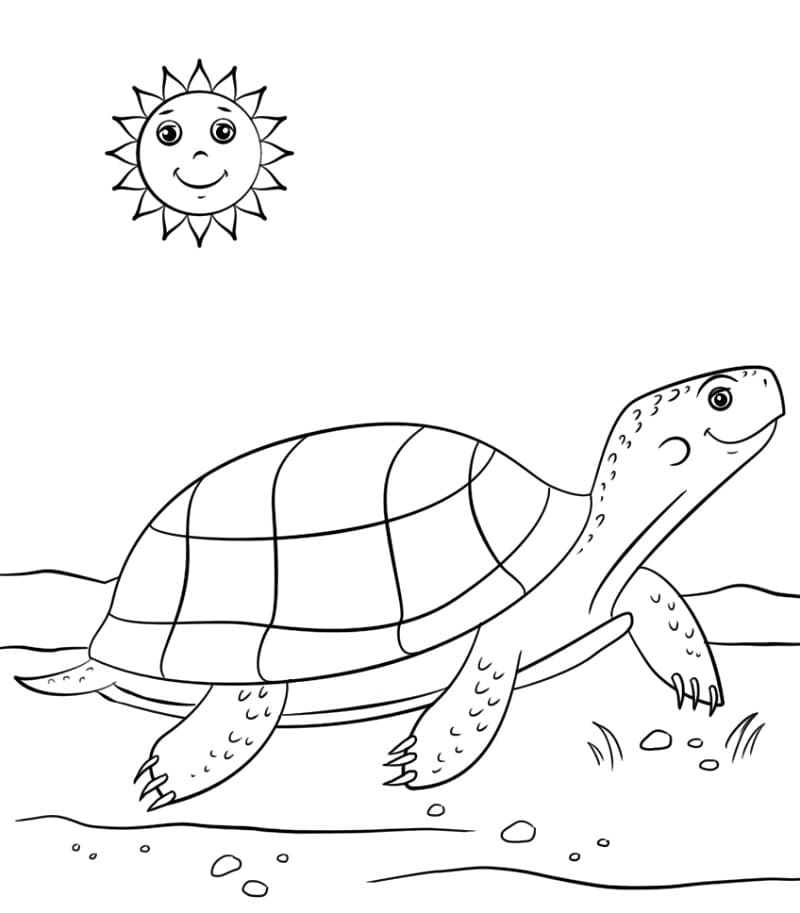
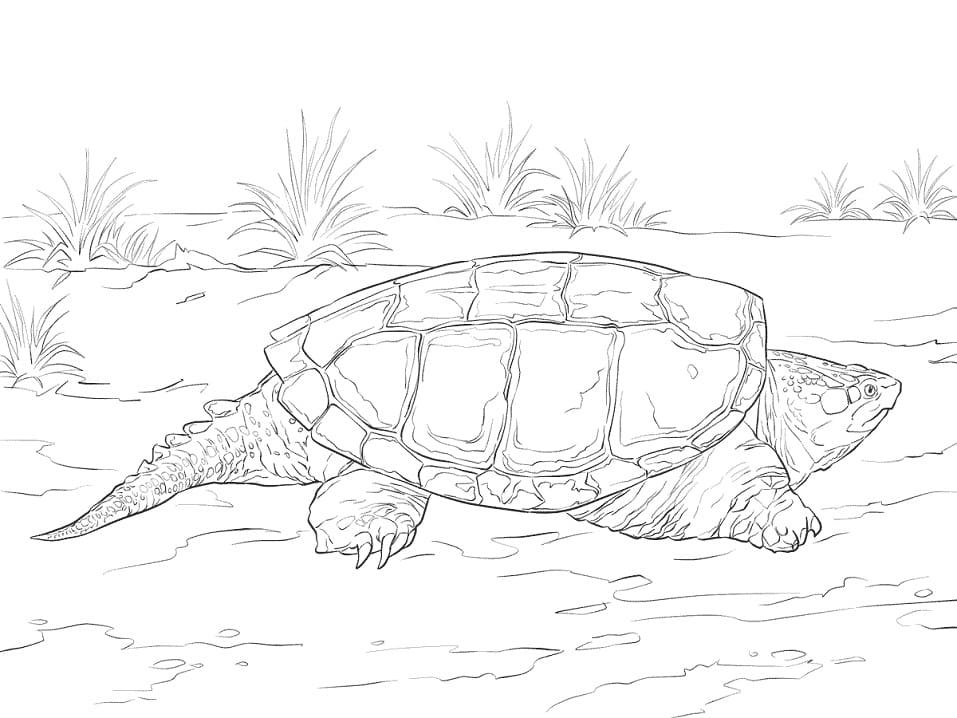
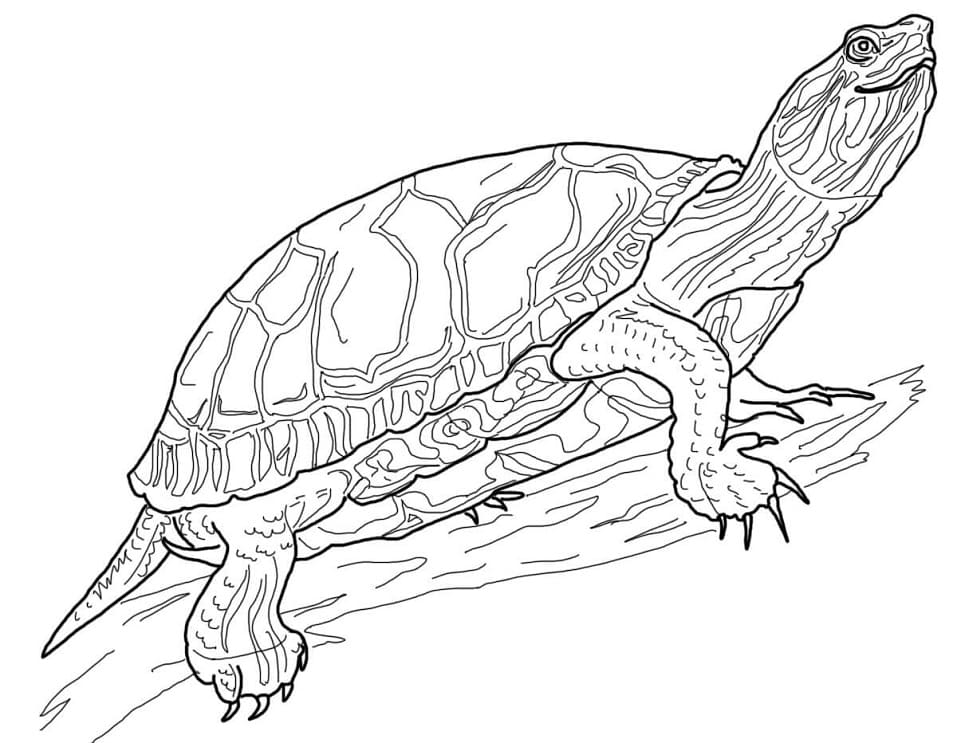
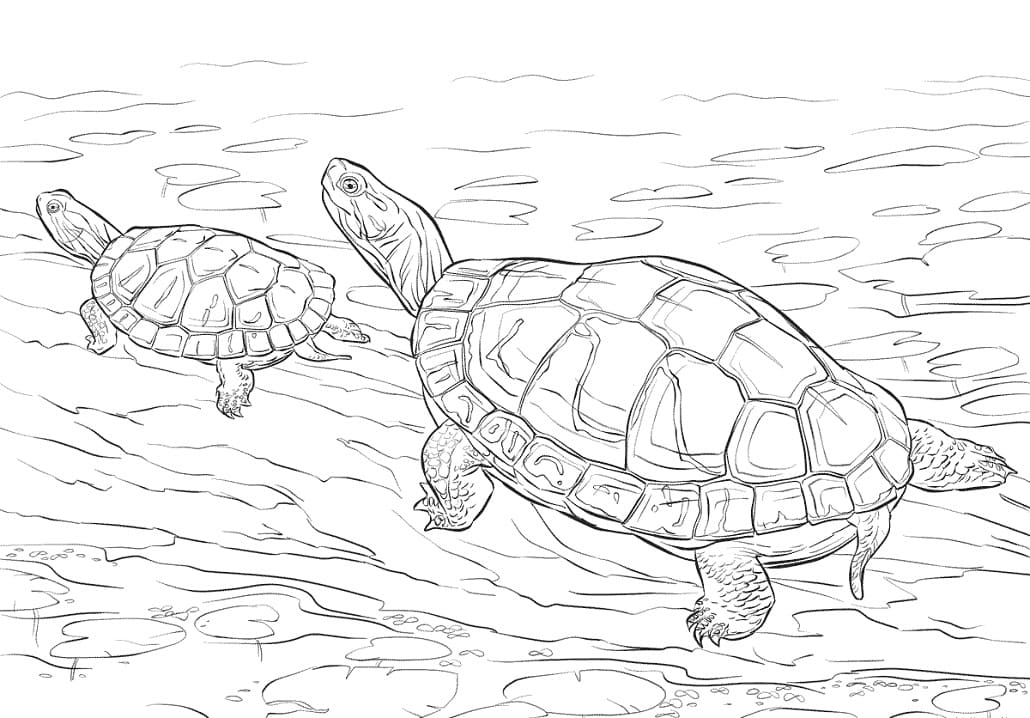
You can go to Turtle Coloring Pages on our site to practice drawing and coloring because we have many Turtle Coloring Pages for you.