Soldier Drawing Is Complete In 9 Easy Steps
Creating a complete Soldier drawing in just 9 Simple steps
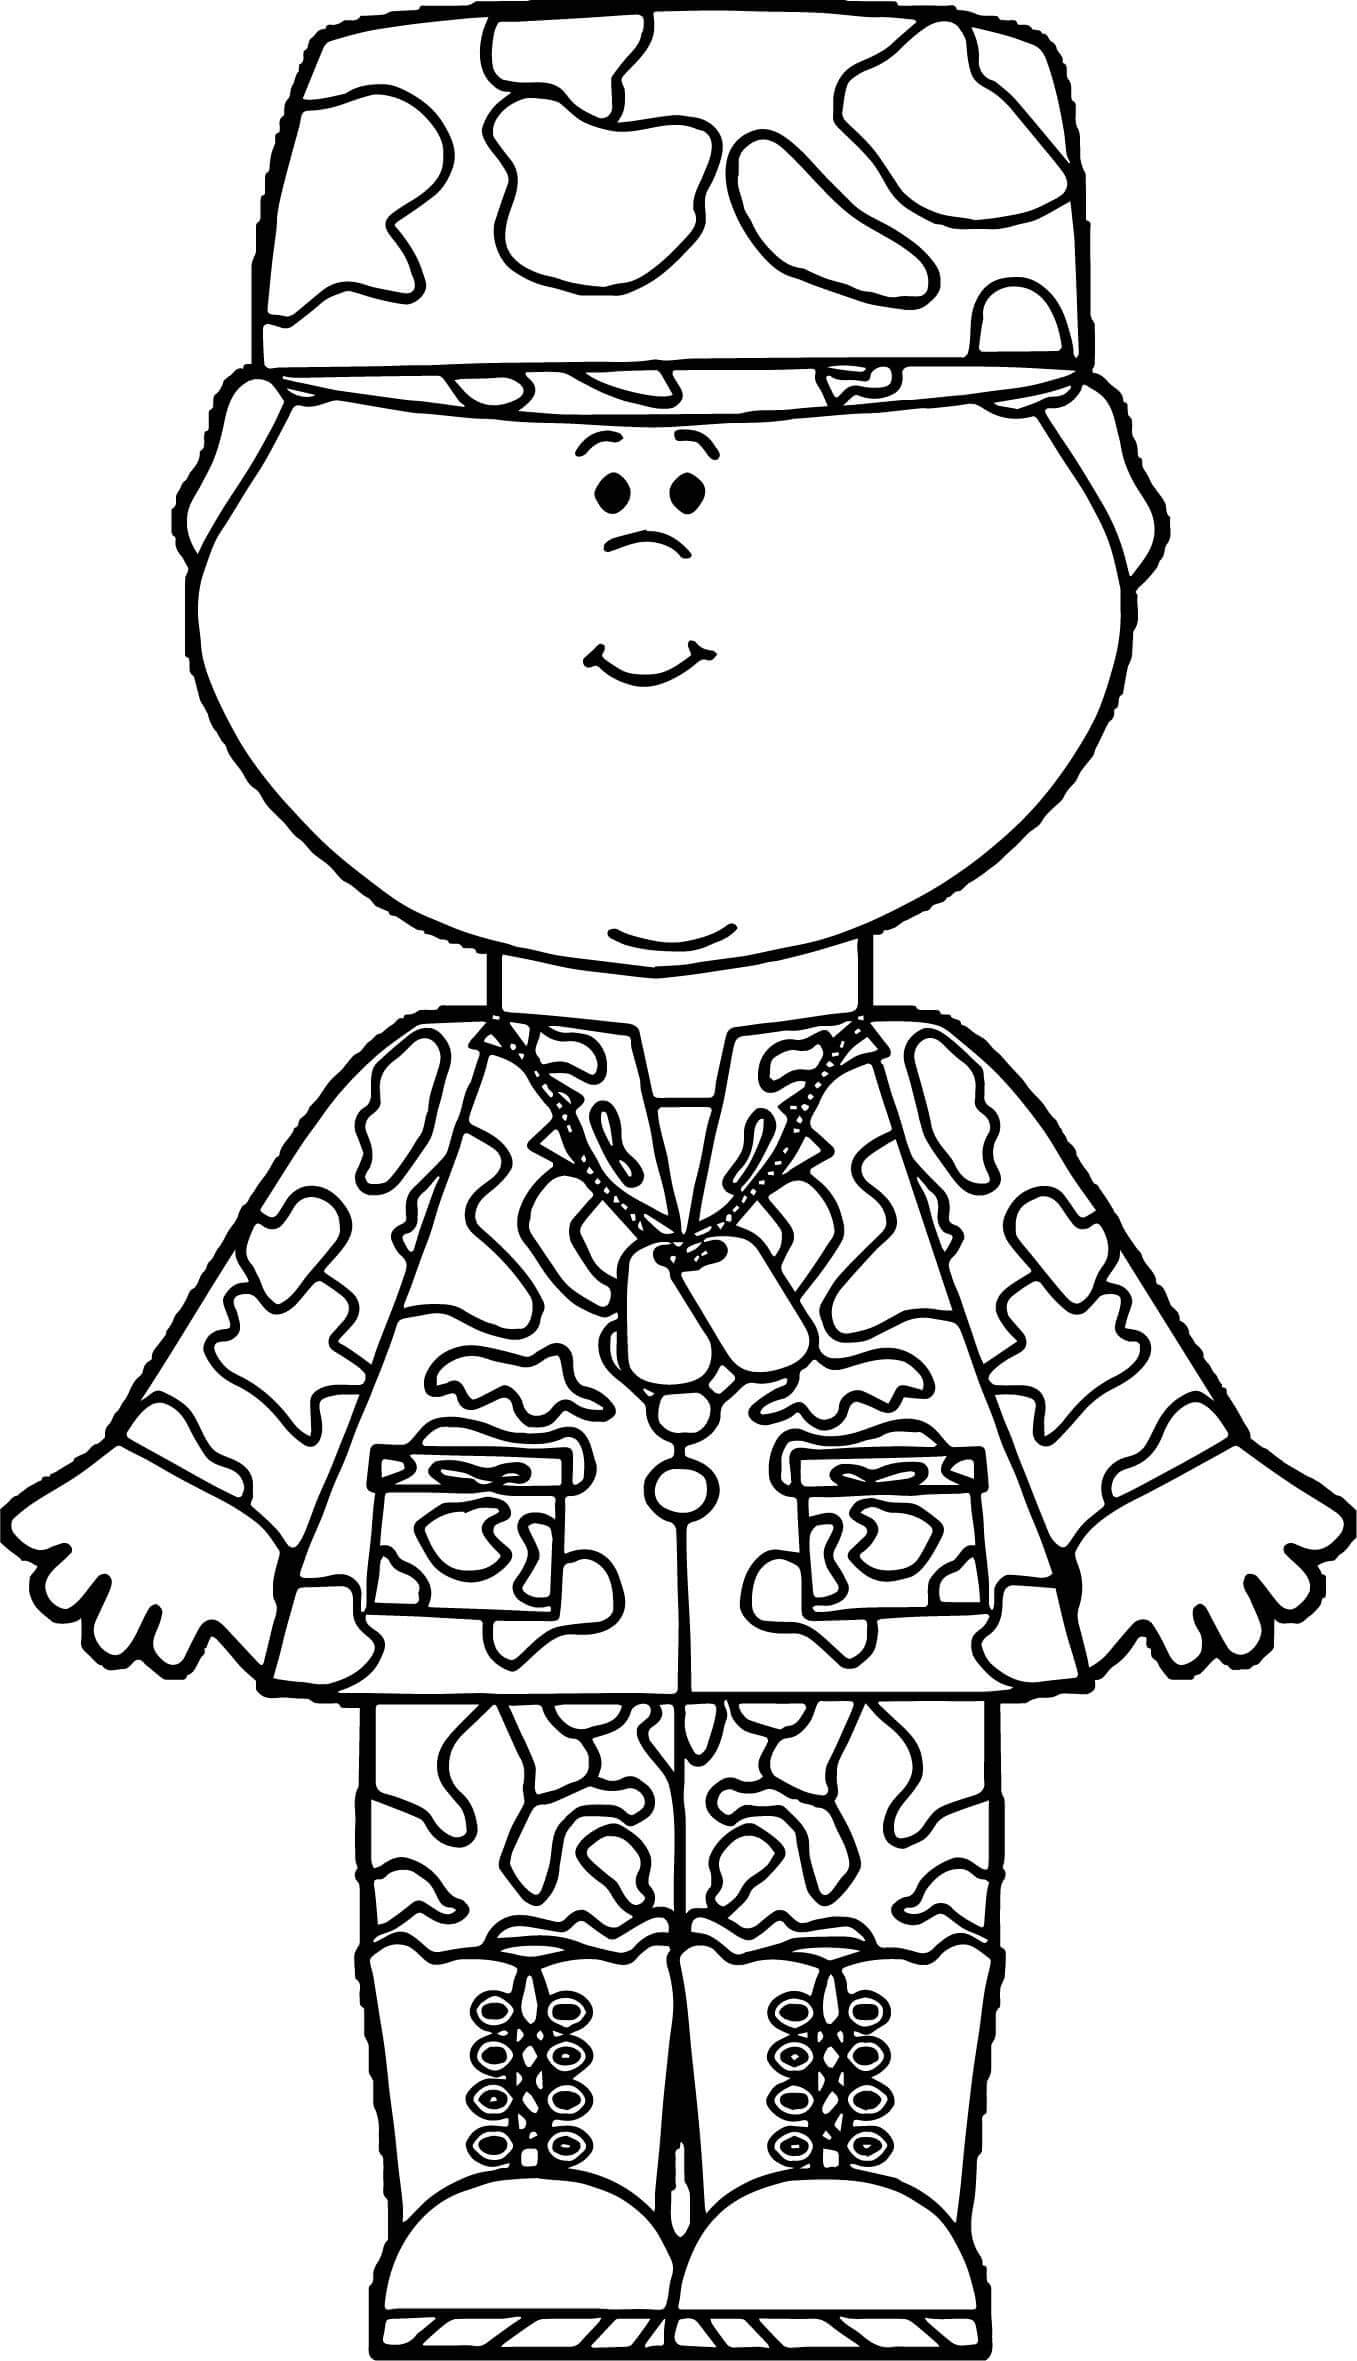
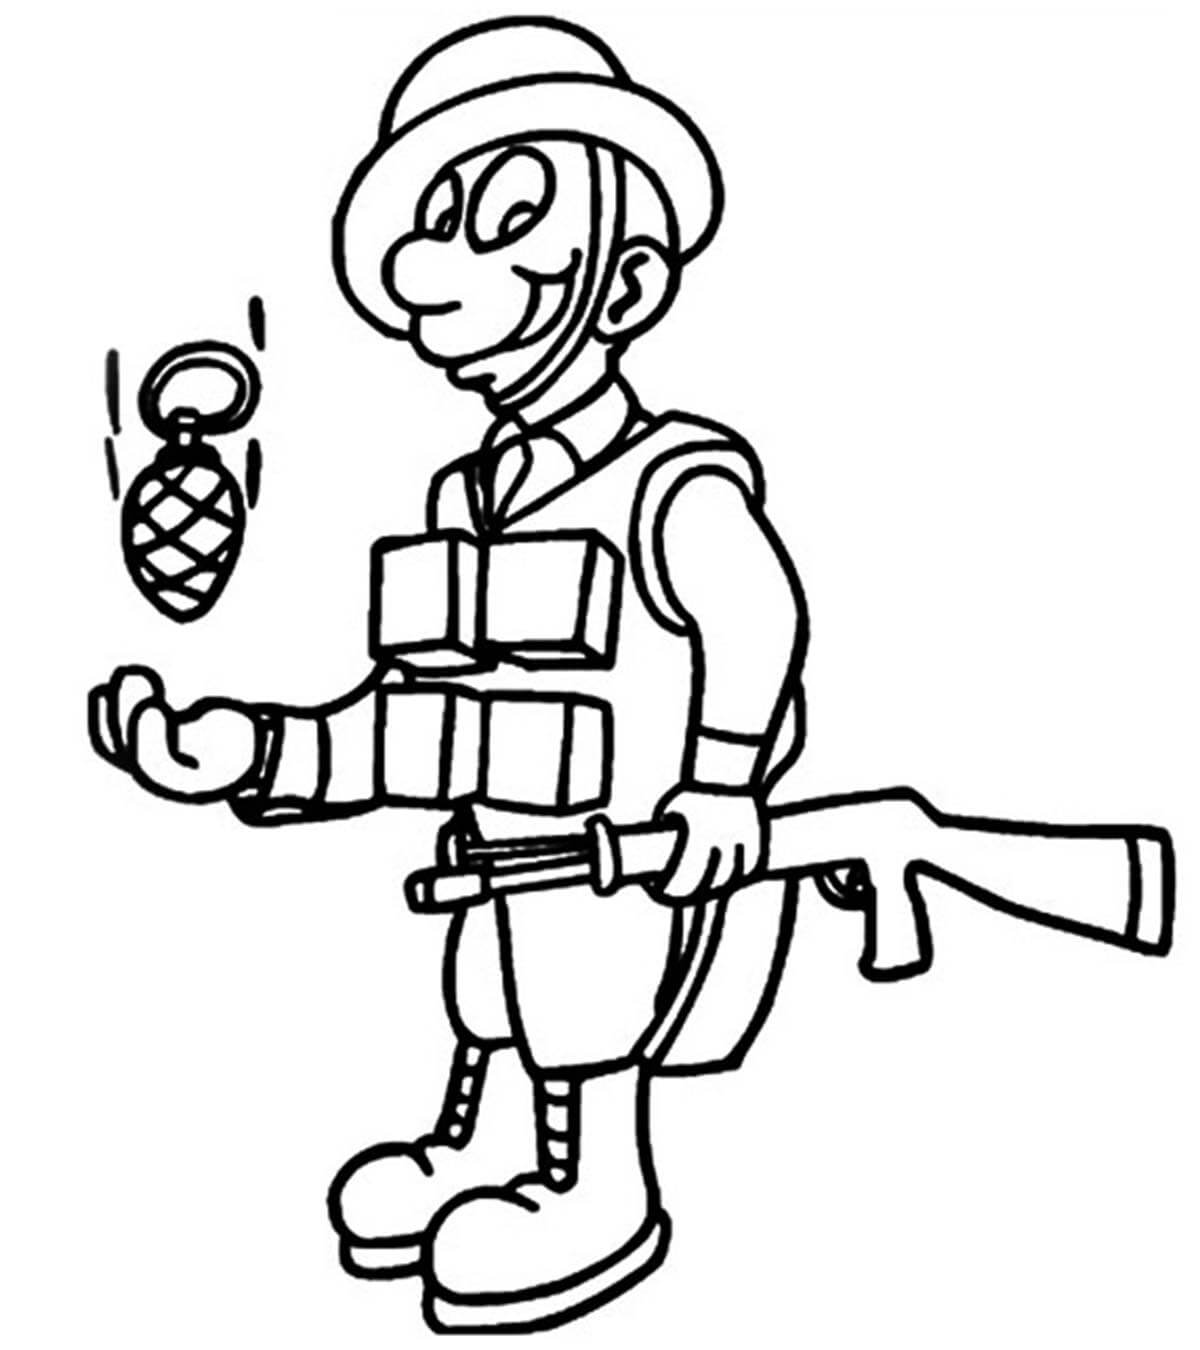
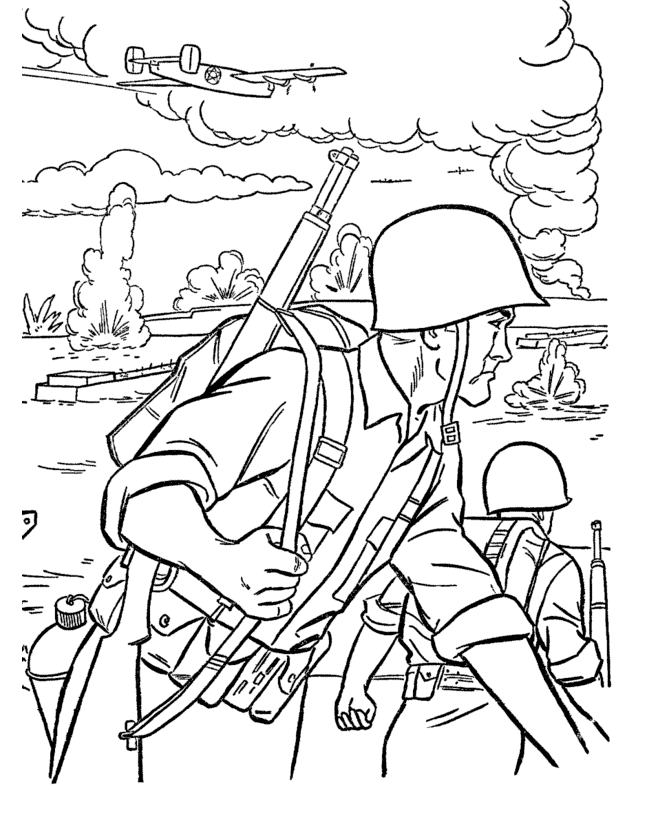
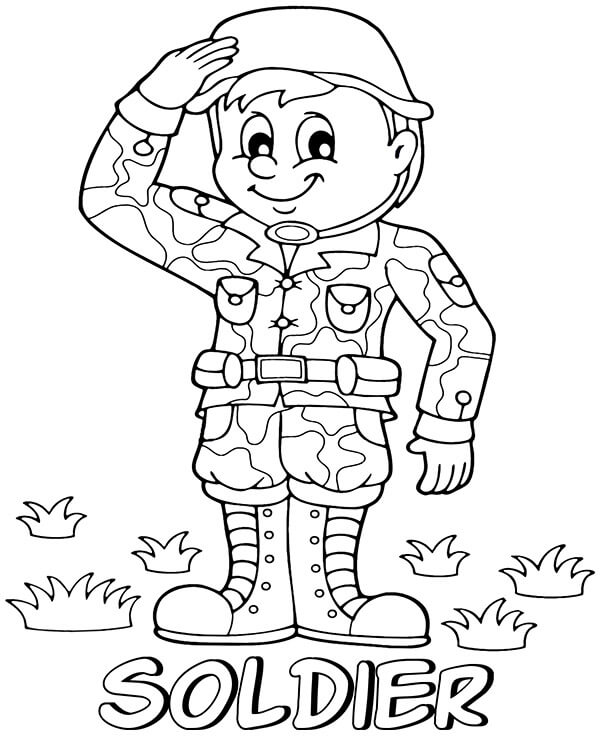
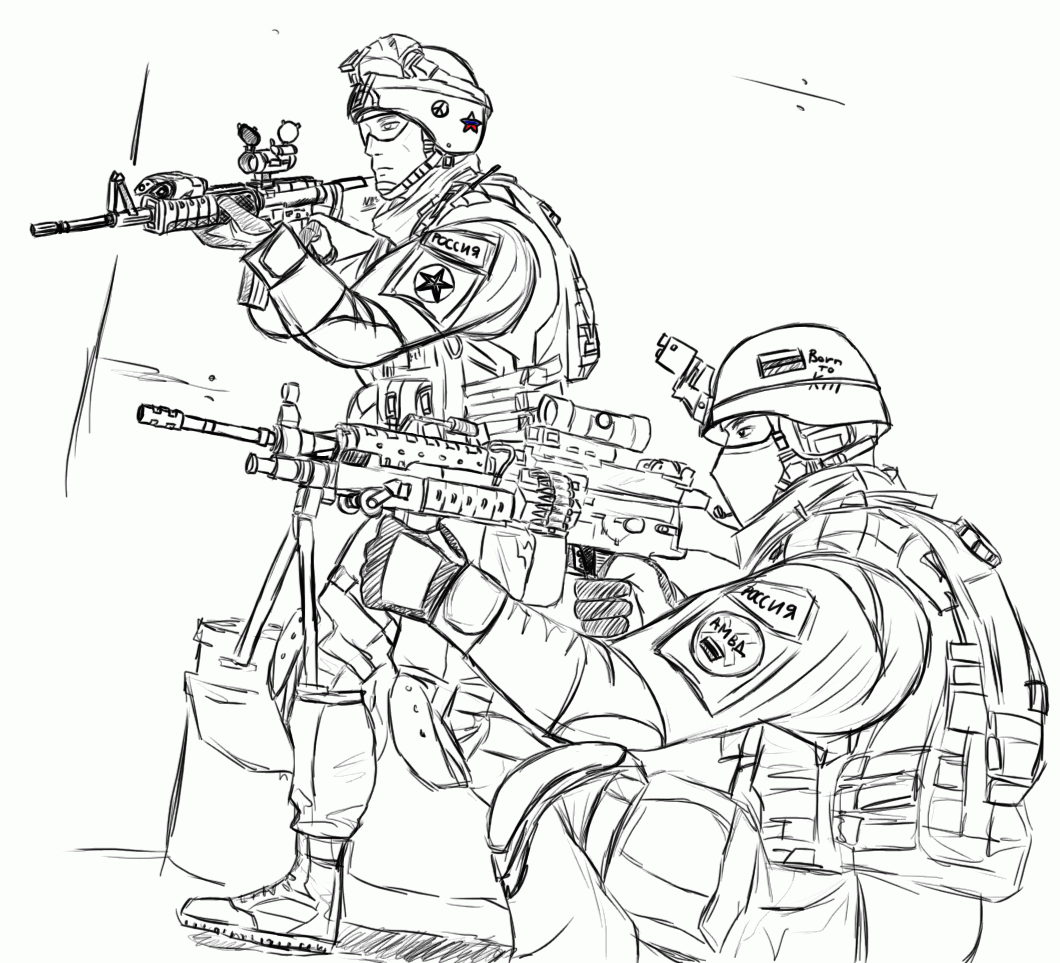
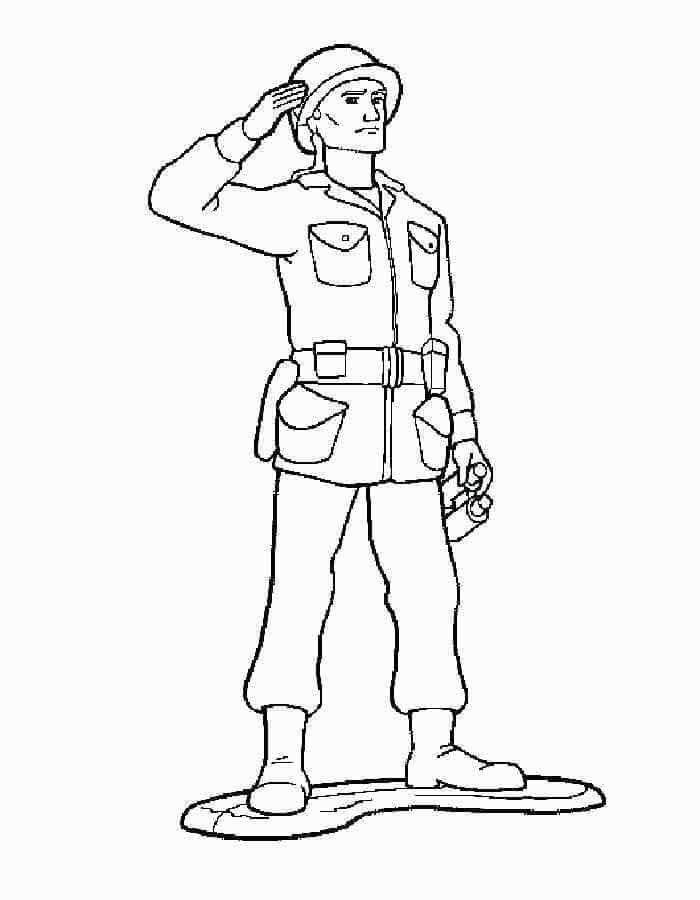
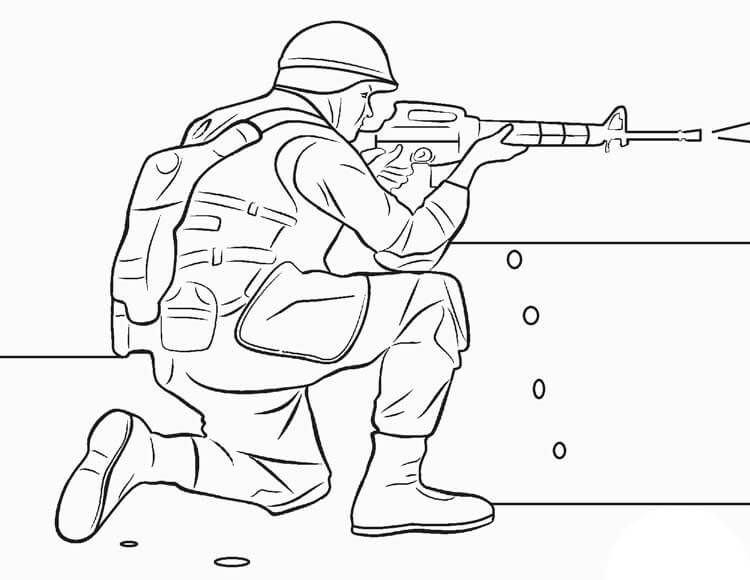
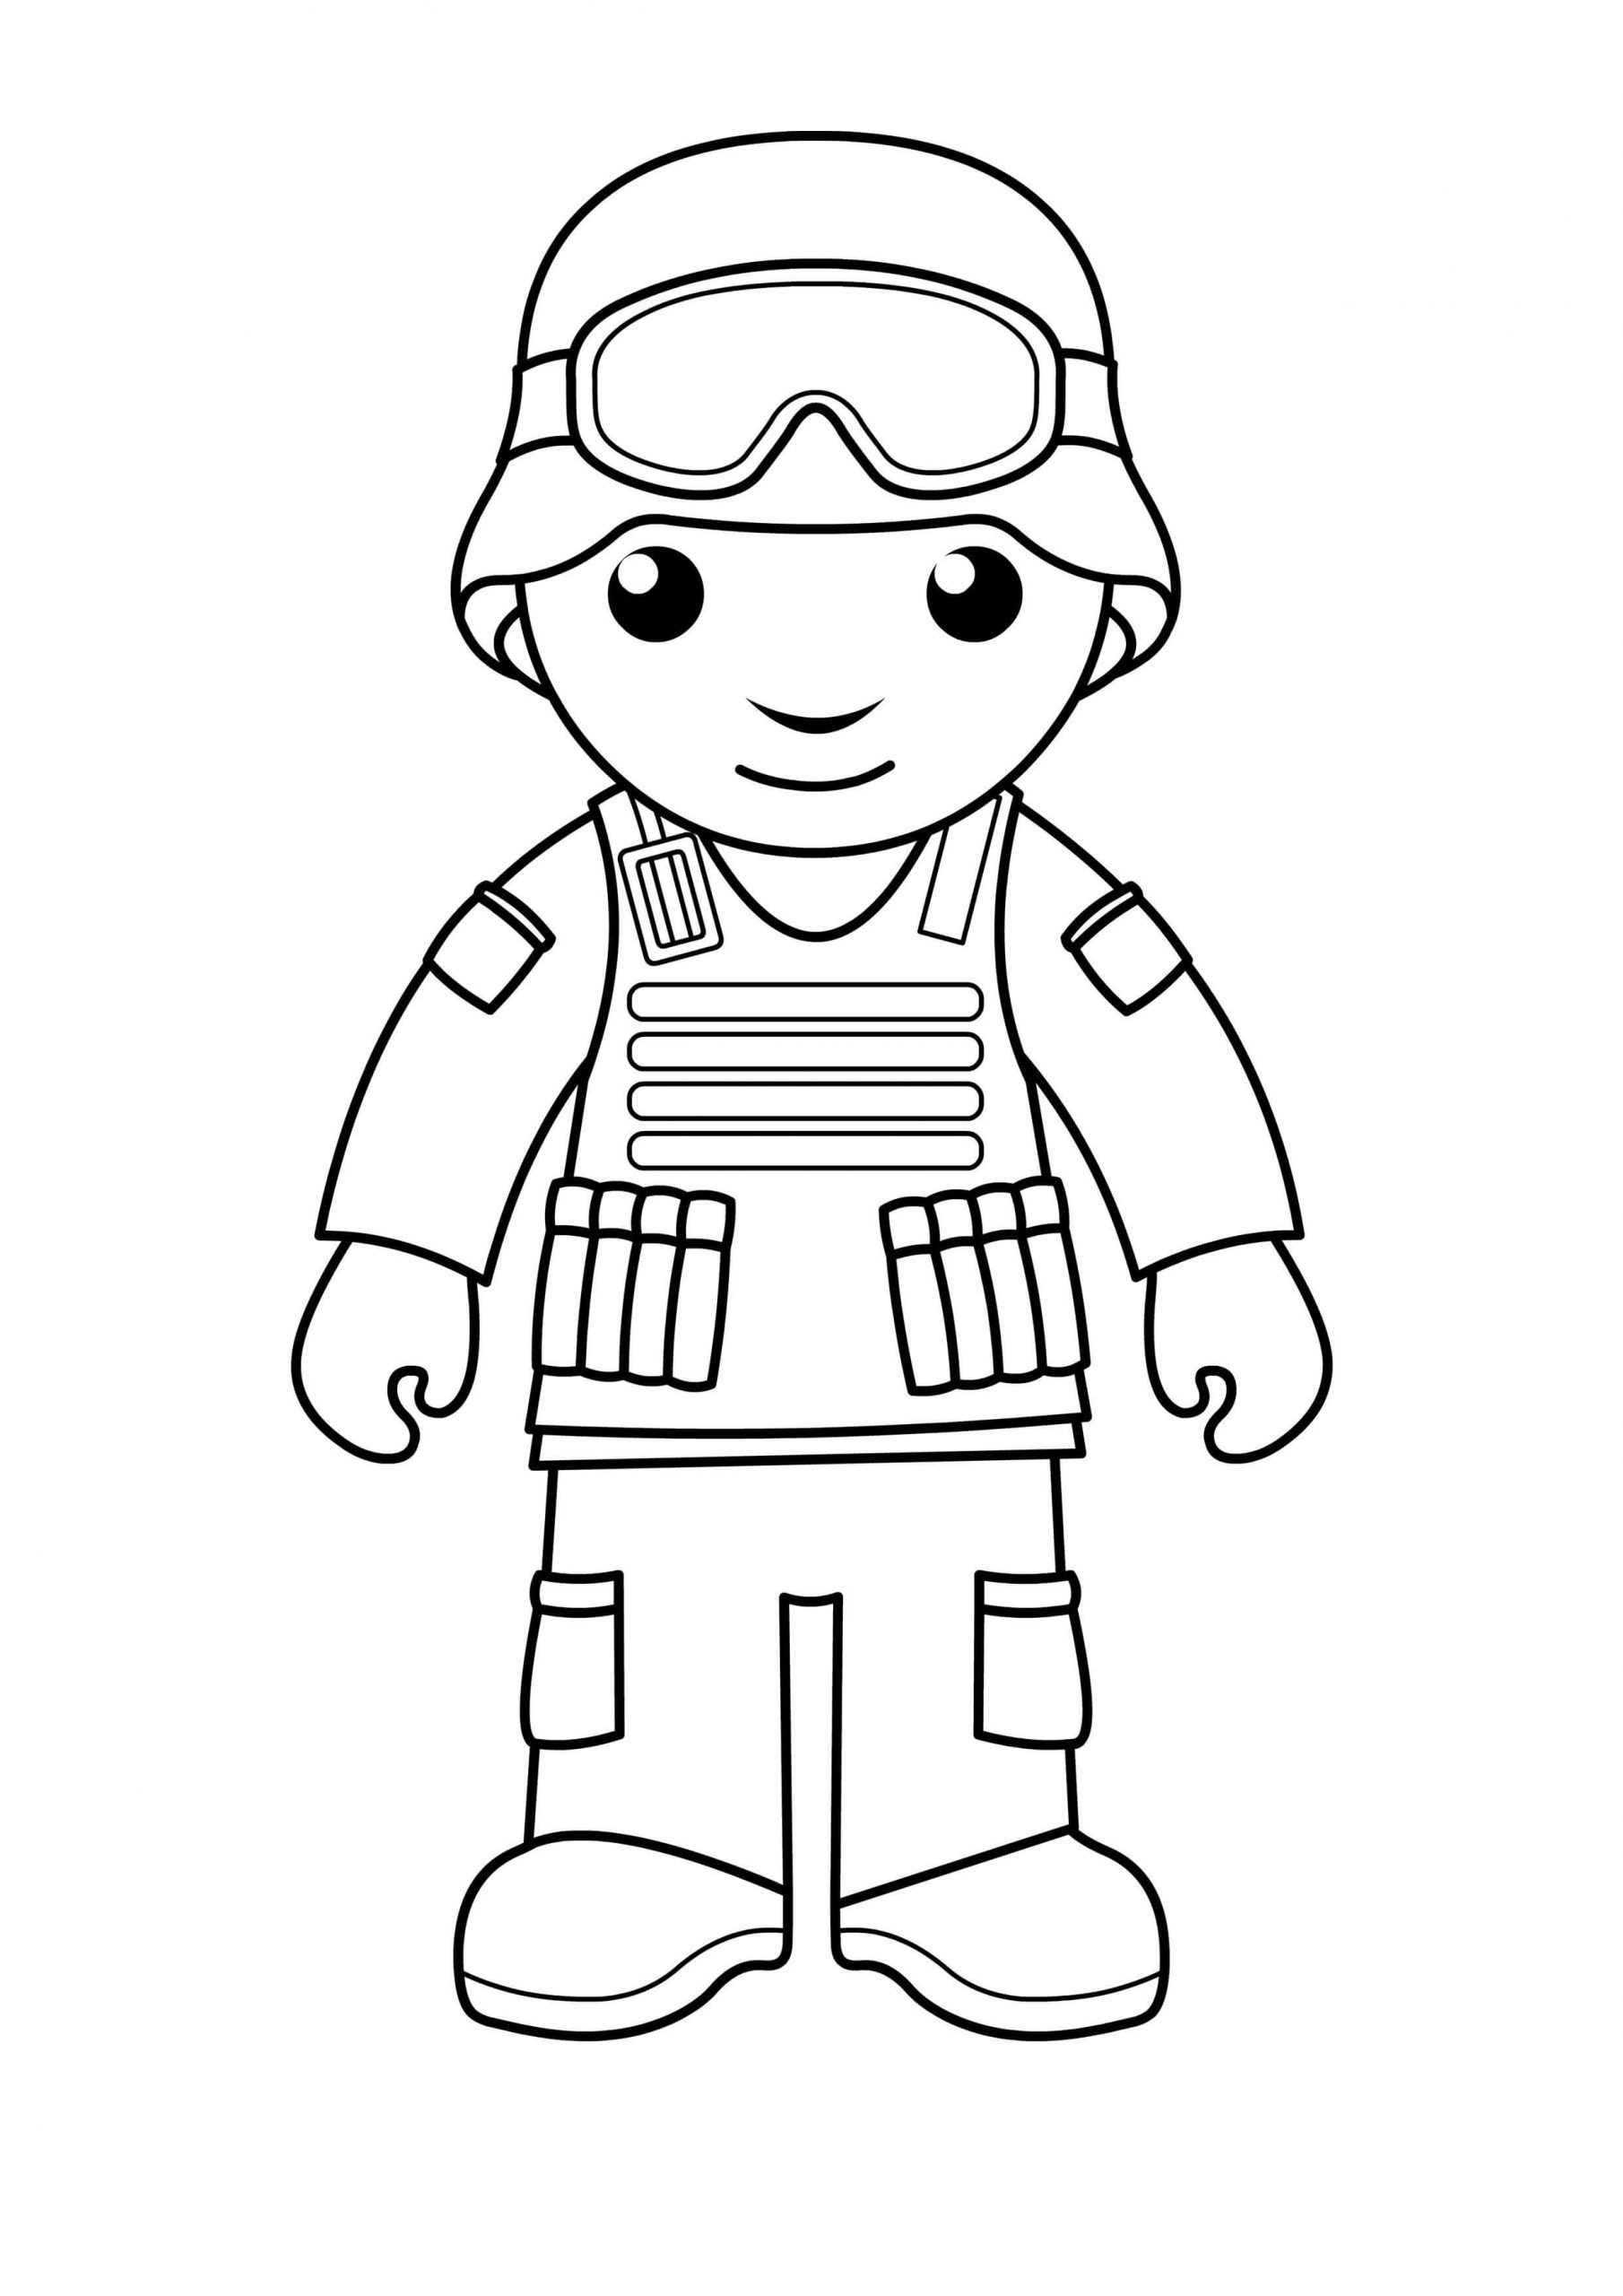
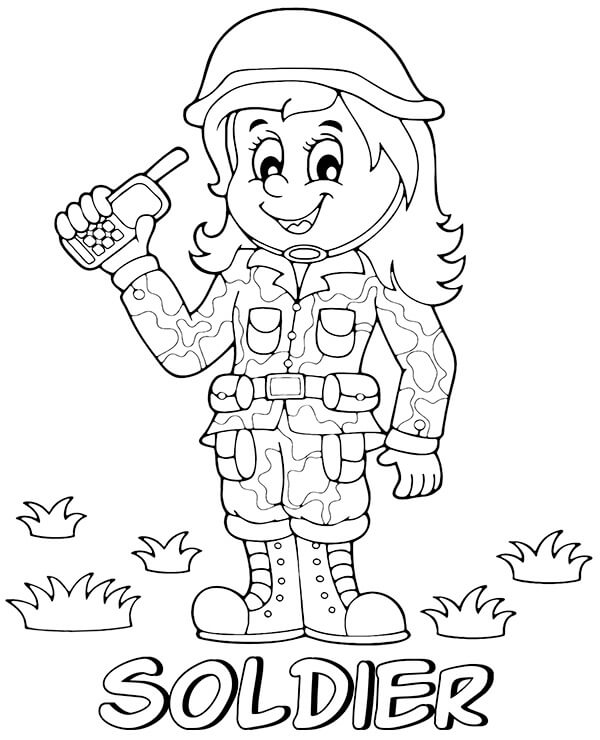
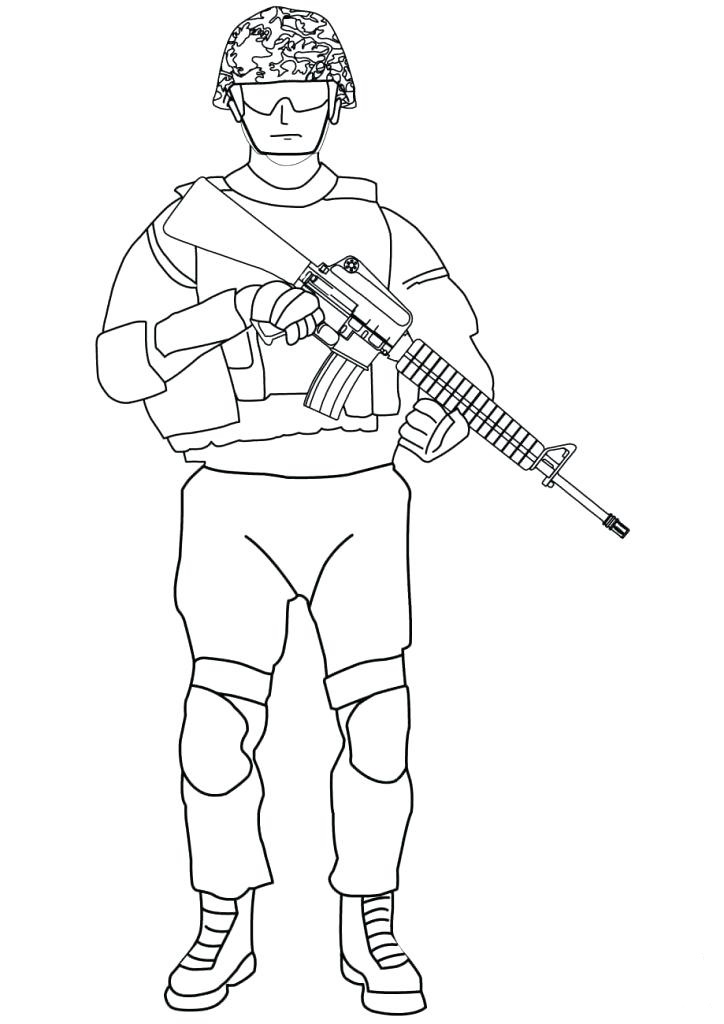
A soldier is a person engaged in military service and especially in the army. You learn how to draw a Soldier with this step by step Soldier drawing guide. Becoming a soldier is the dream of many children. Today, you will learn to draw a soldier with us. If you are a parent, you can give this instruction to your kids, and they will surely like it. Soldiers are not only men, but women can still become soldiers today. Depending on the conditions and characteristics, soldiers will have regional costumes, but their outfits are usually blue. Many people love Soldiers but can not draw a soldier. This guide you’re about to go through will show you how easy it can be! Along with the tutorial, we have also included a couple of free Soldier coloring pages that you can print off and give to your kids to color! We hope you get fun and have a great time with our instructions. You can refer to our instruction video at the end of this post.
How To Draw A Soldier – Let’s Get Started!
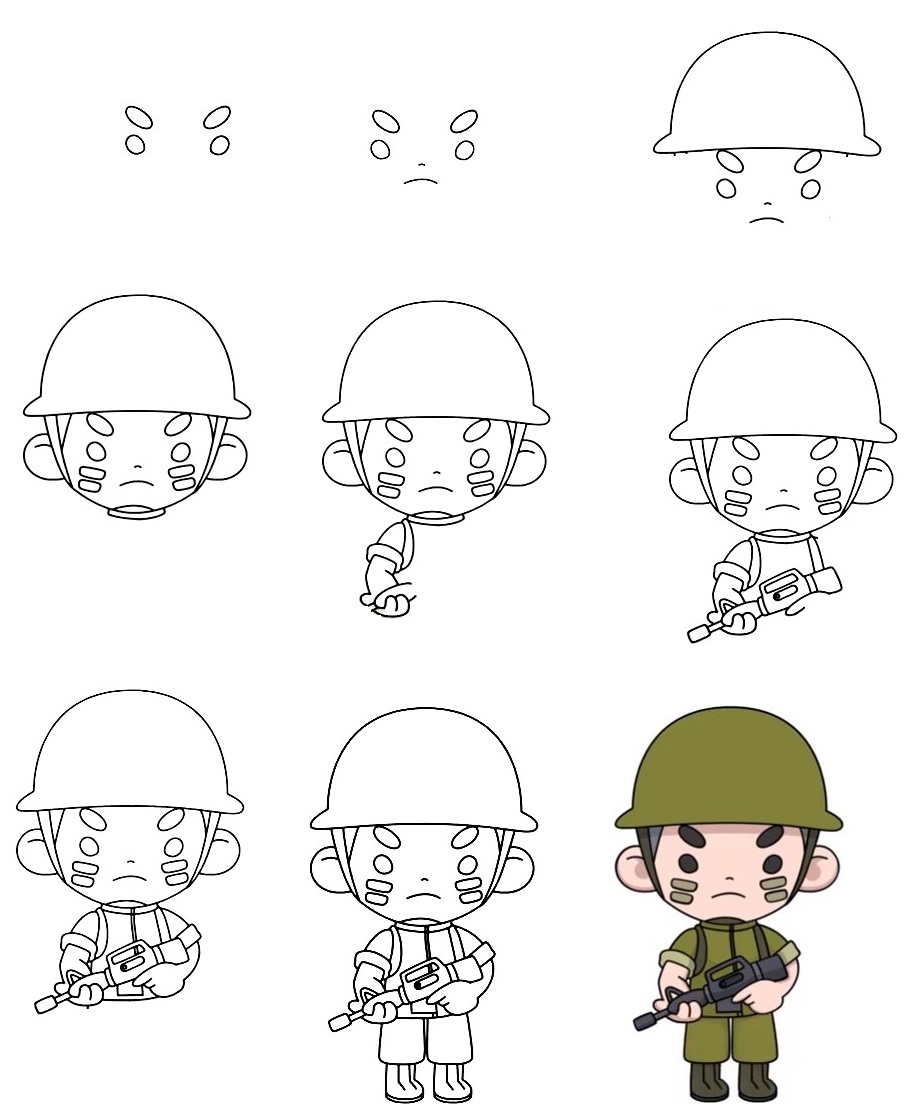
With this tutorial, we want to thank all soldiers who have served or are serving. Thanks all, we love them. It would help if you prepared pencil, eraser, colored pencils, drawing paper before drawing. You will start drawing Soldiers on paper. You will follow our instructions and our illustration because, in each step, we update the illustrated images to help you realize your task quickly. Why not? This activity is free, and you can enjoy it anytime and anywhere with your devices connected to the internet. You will come here and go to step by step through our tutorial. This is not a complex mission, but you need to concentrate your mind, passion, and time to create a complete Soldier. This drawing will help us relax and work more efficiently, and life is better. Now, let’s get started drawing a Soldier with us!
Step 1 – Draw Soldier’s Eyes Outline

For this step of our guide on how to draw a soldier, we will be starting with the eyes and some decorations for the face of the soldier. You draw two slightly slanted ovals for the Soldier’s eyes. After that, you draw two circles for the dots of decoration for the face. You can finish the task in this step and move to step 2.
Step 2 – Draw Mouth And Nose Soldier

You will start to draw Soldier’s face with a mouth and nose. Under the eyes, you draw a little line for the nose and a line for the mouth. It is simple in this step, and you will finish the task here and go to the third step 3.
Step 3 – Draw Soldier’s Hat
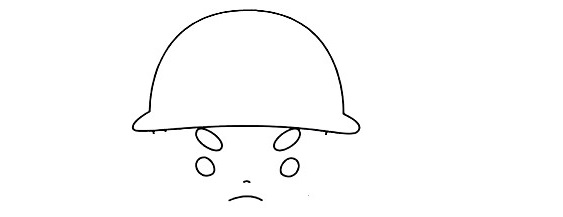
A soldier cannot do without a hat on his head. Here you use a curved line on the top and a curved line to close the hat below the face. You also can use some lines underneath the beginning for the scarf that the soldier is wearing.
Step 4 – Draw Soldier’s Face Outline And Ears
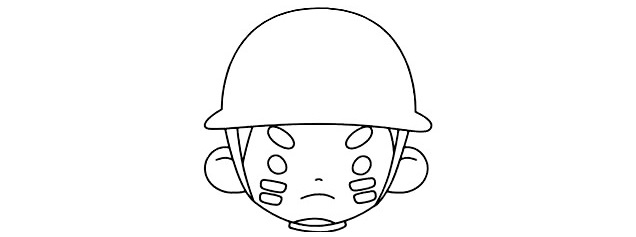
You will draw face outlines and ears for Soldiers in this step. From the head, you use the curved line to make ears for Soldiers. You use two curved lines for two ears and finish your task in this step. Once you’re happy with how it looks then you’re ready for step 5.
Step 5 – Draw Soldier’s Left Arms
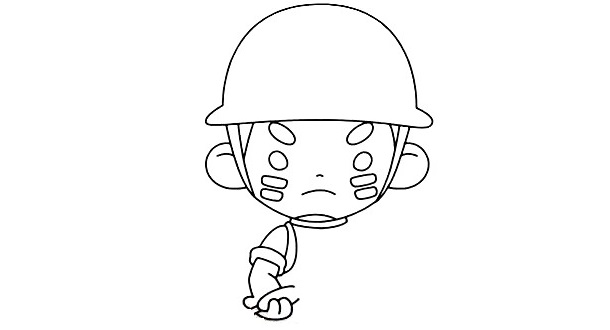
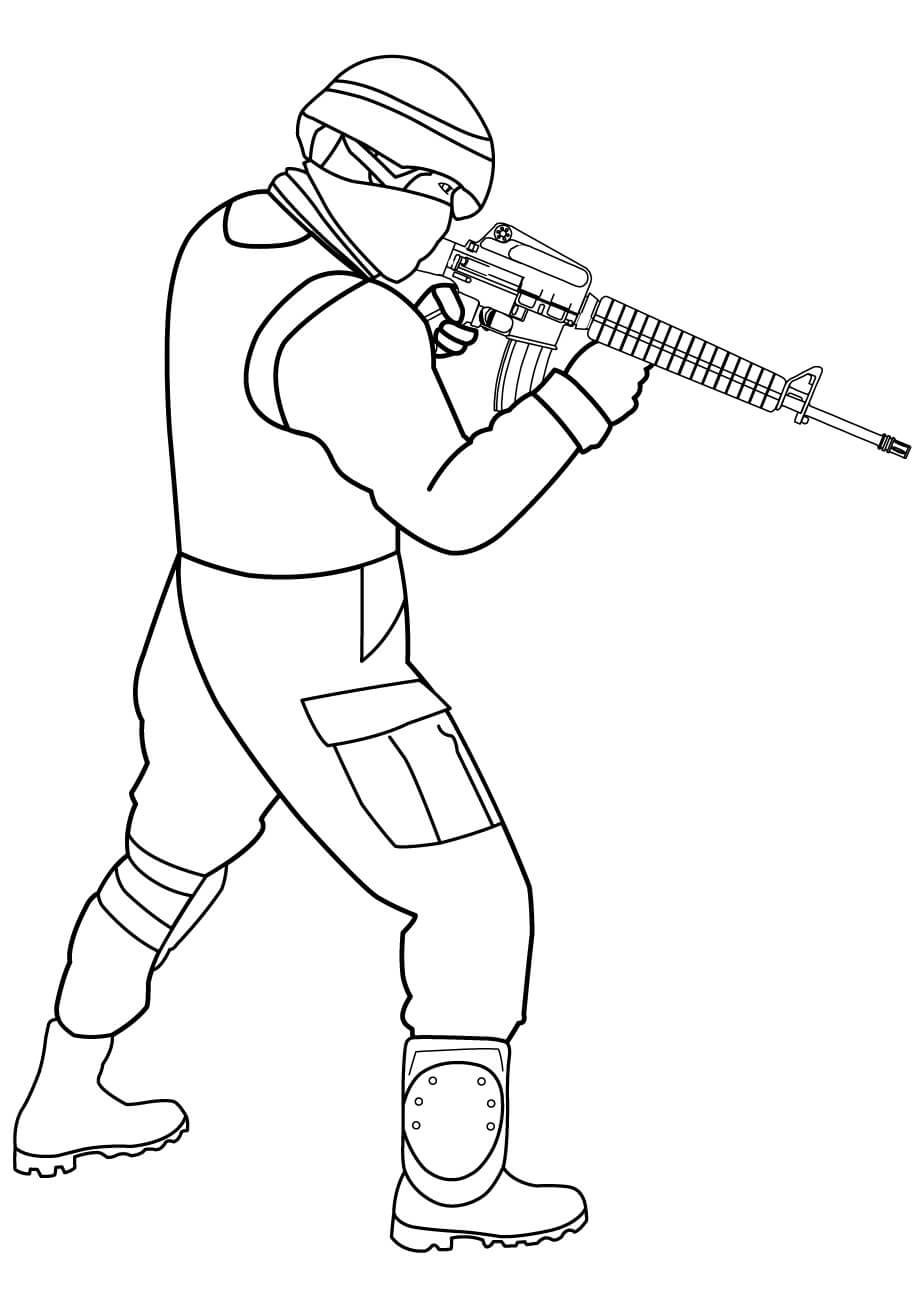
Right now, you can add the arm on the left holding his assault rifle. You will use bump lines from the shoulders to make his arm and hand. Then, you can add some padded portions to his elbow area, as shown in the reference image. There’s a bit of complexity here, and you must use various curves and lines to draw the soldier’s arm, shoulder, and gun parts. That’s all there is to it for this step, so when you’re happy with the look of it, we shall continue adding to this duck in the fourth step.
Step 6 – Draw Soldier’s Chest And Gun
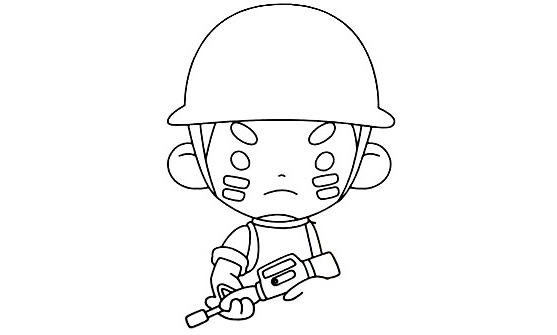
The Soldier is strong, and you must show it in his chest. You will add some gears for the shoulder and chest for Soldiers. You continue to use curved lines and straight to describe his chest. Then. You use straight lines to make the gun longer and add a few details to make it more complete. You can stop your work in this step and move to step 7.
Step 7 – Draw Soldier’s Right Arm
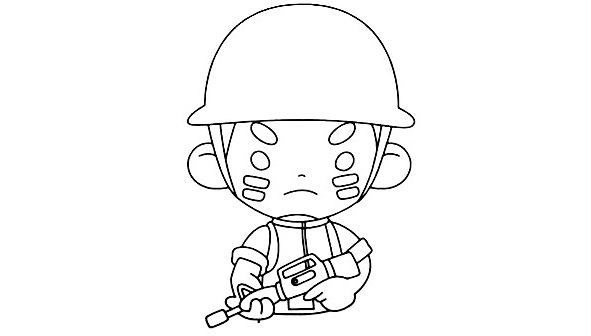
the soldier’s right arm will hold the gun and pull the trigger, so there are some intricate details for you. From the shoulder, you use curved lines to show the arm. After that, you will draw details for the right arm and hands with the fingers. You finish this task in minutes and move to step 8 to continue.
Step 8 – Finish Your Drawing Mission
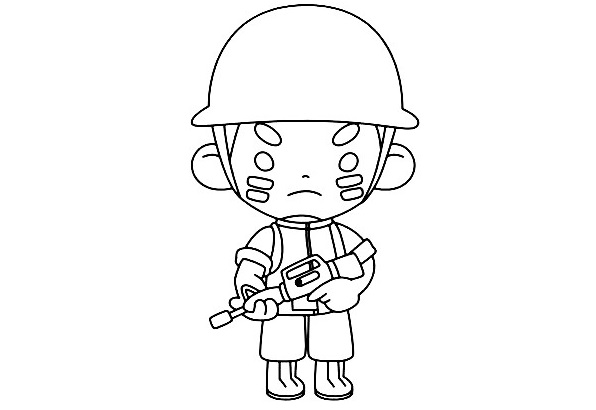
In this complete drawing mission, you must draw legs and some details for Soldiers. This leg will be drawn with some bumpier lines to represent the fabric of his uniform. You can finish off this leg by adding a kneepad and boot. You continue to draw the second leg that is similar to this leg and finish with a pair of boots. Now, you get a complete Soldier with full parts and have the last step for coloring.
Step 9 – Color Your Soldier
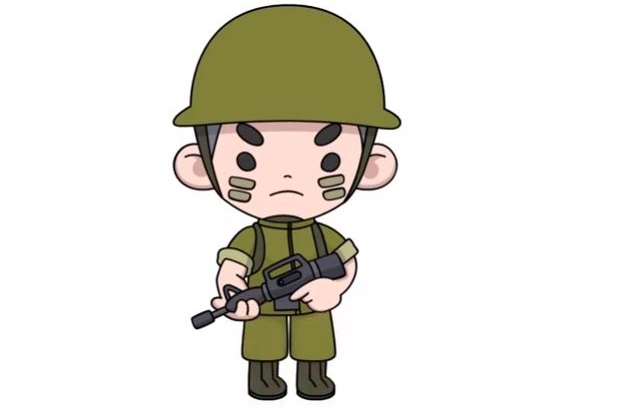
You can use our illustration as an example to choose suitable colors for Soldiers. A soldier’s uniform can come in many different color combinations depending on the terrain they will be in. Usually, they wear a green uniform, and we choose light green for clothes and hats for Soldiers. We take black for the gun, eyes, hair, the boot of the Soldier, and peach for his skin. So, you get a complete Soldier with our instructions. We update the tutorials every day, be sure to keep checking our site to make sure you never miss out! You can move to Soldier coloring pages to enjoy the images related to Soldier. We update many coloring pages for free. You can recommend your friends, and your children to come here and get a great time together.
Use the video and step-by-step drawing instructions below to learn how to draw soldiers. Thanks for visiting! Subscribe to the How To Draw YouTube Channel for a new tutorial.


