Pluto Drawing Is Created In 8 Easy Steps
Creating cute Pluto drawing in just 8 easy steps
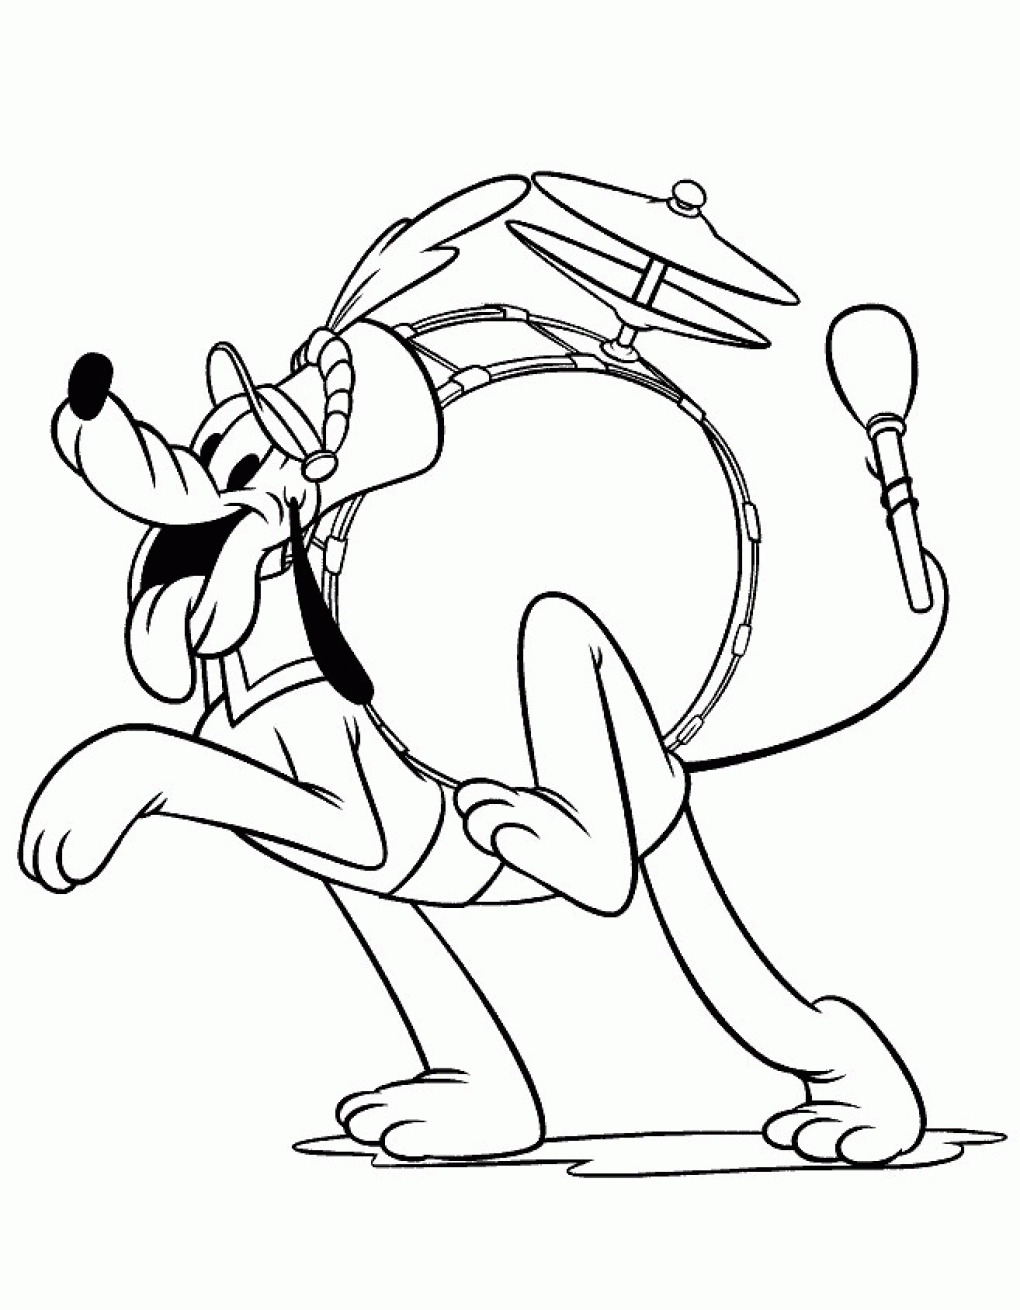
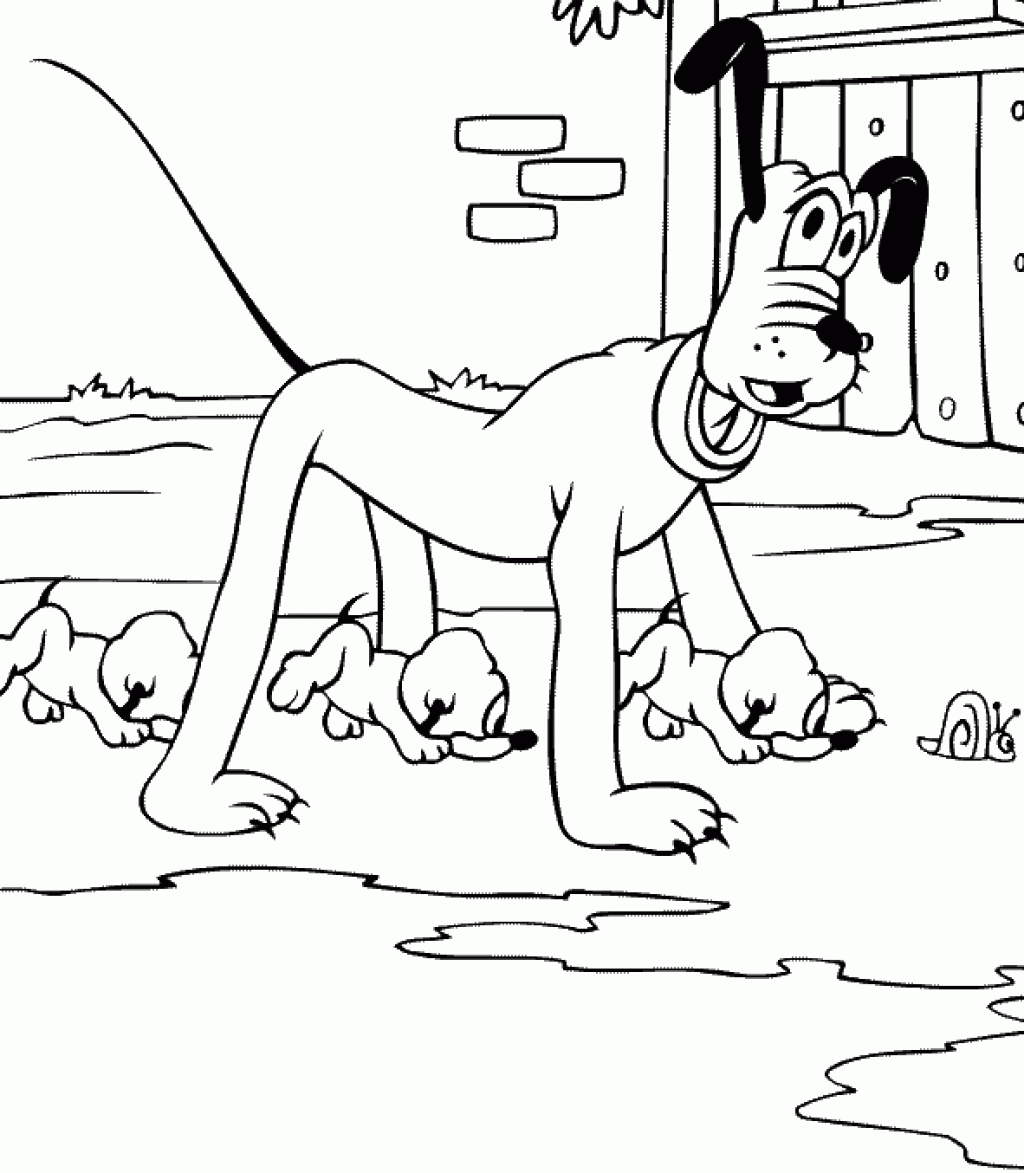
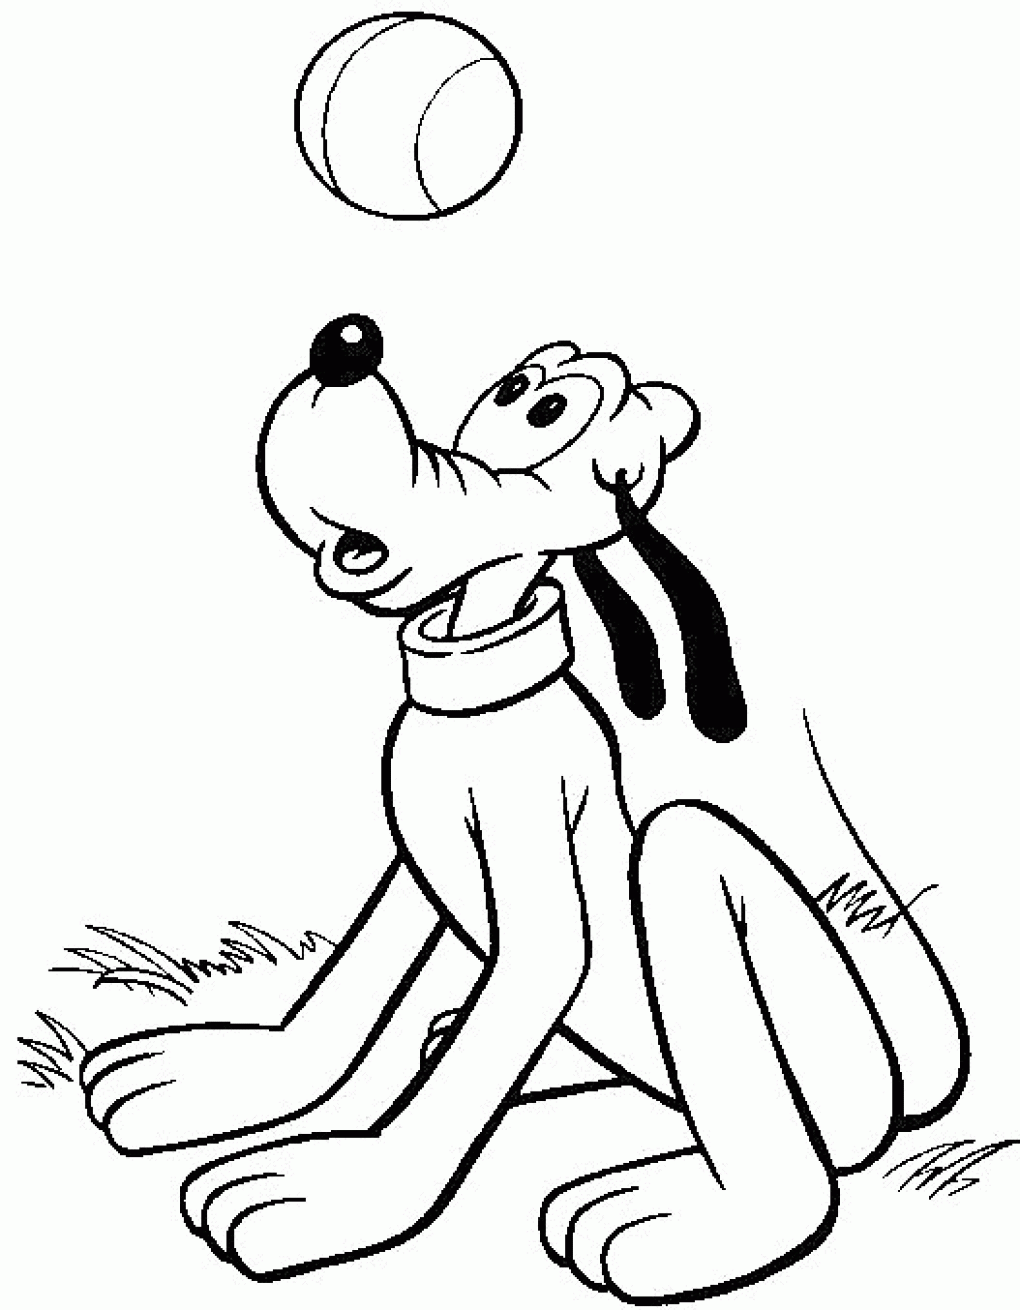
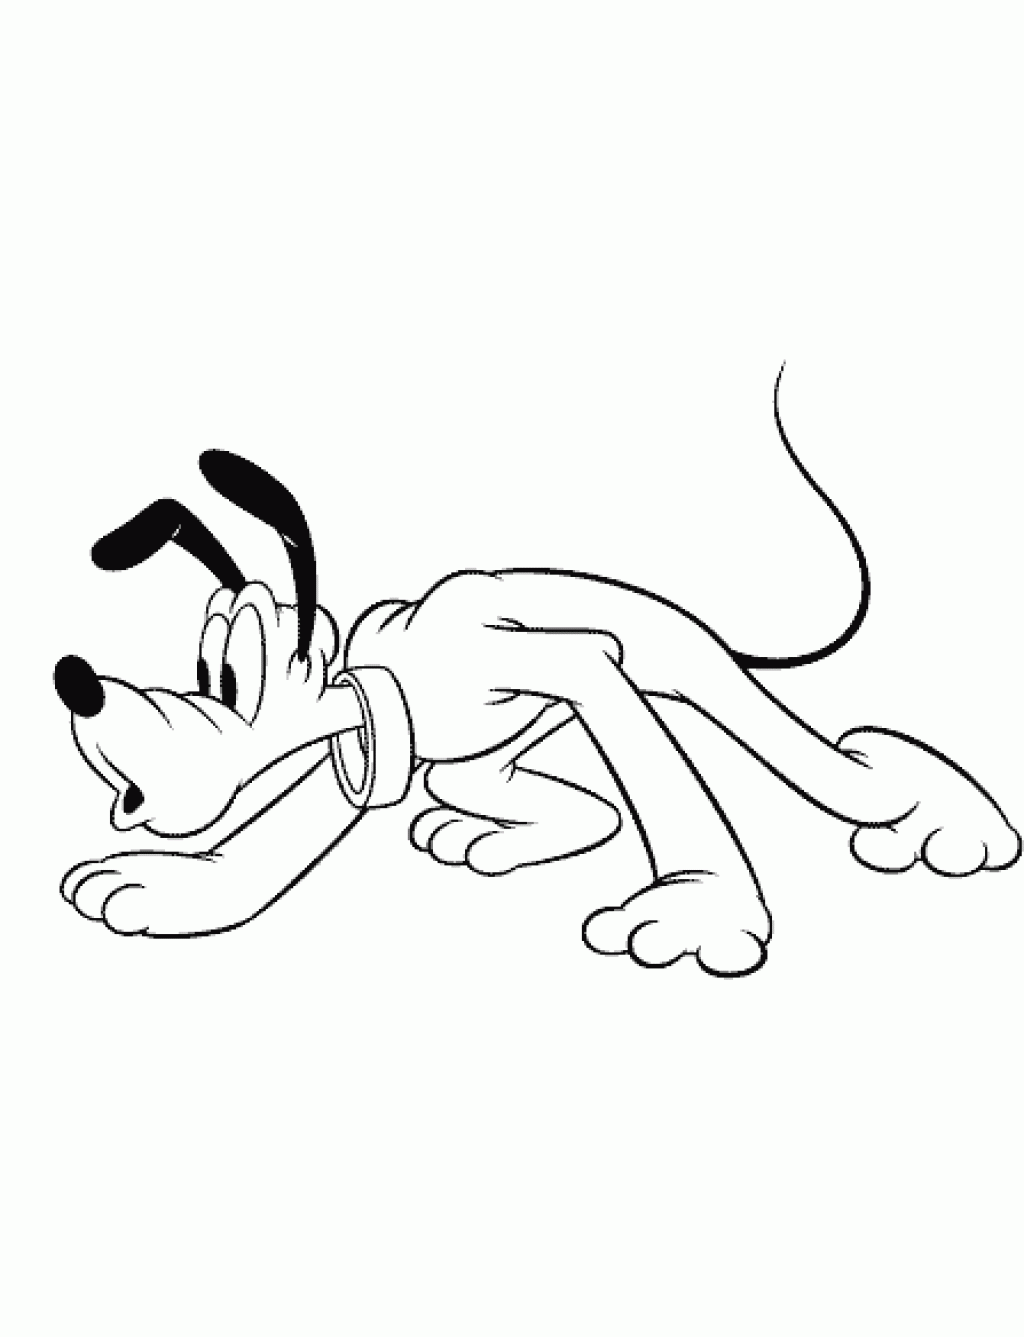
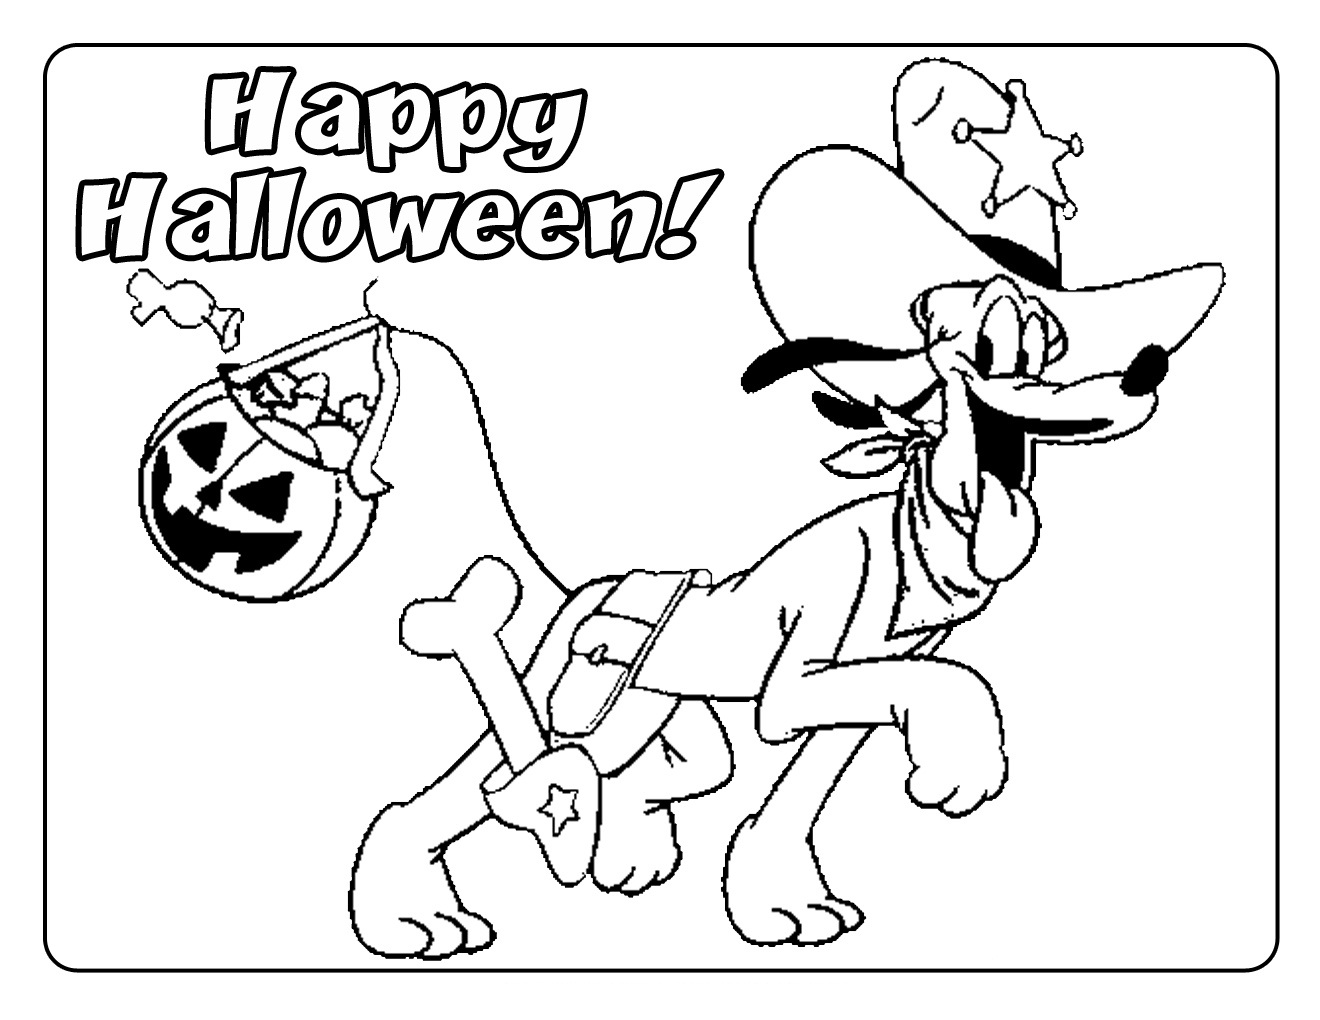
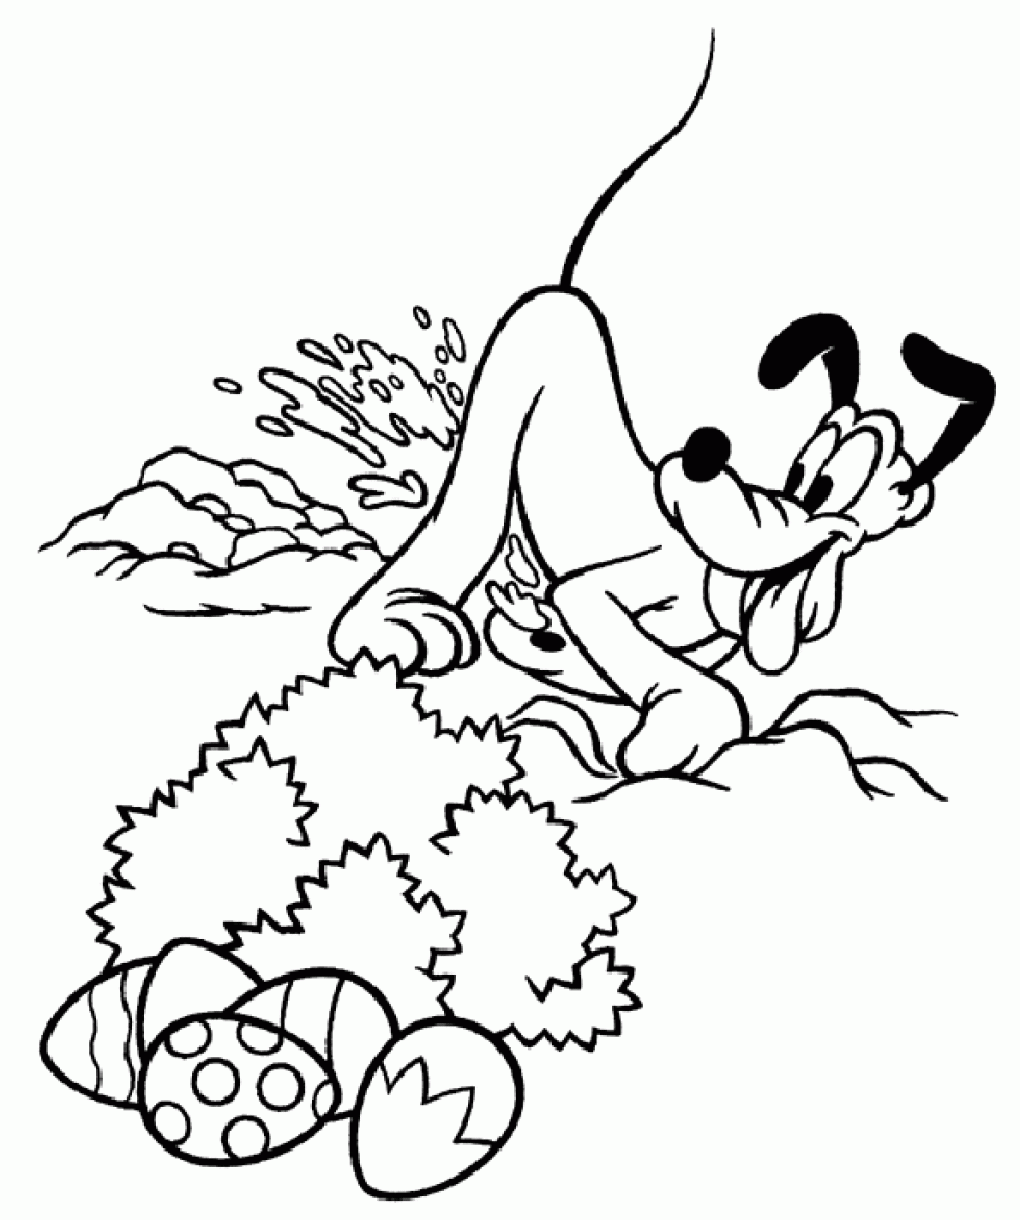
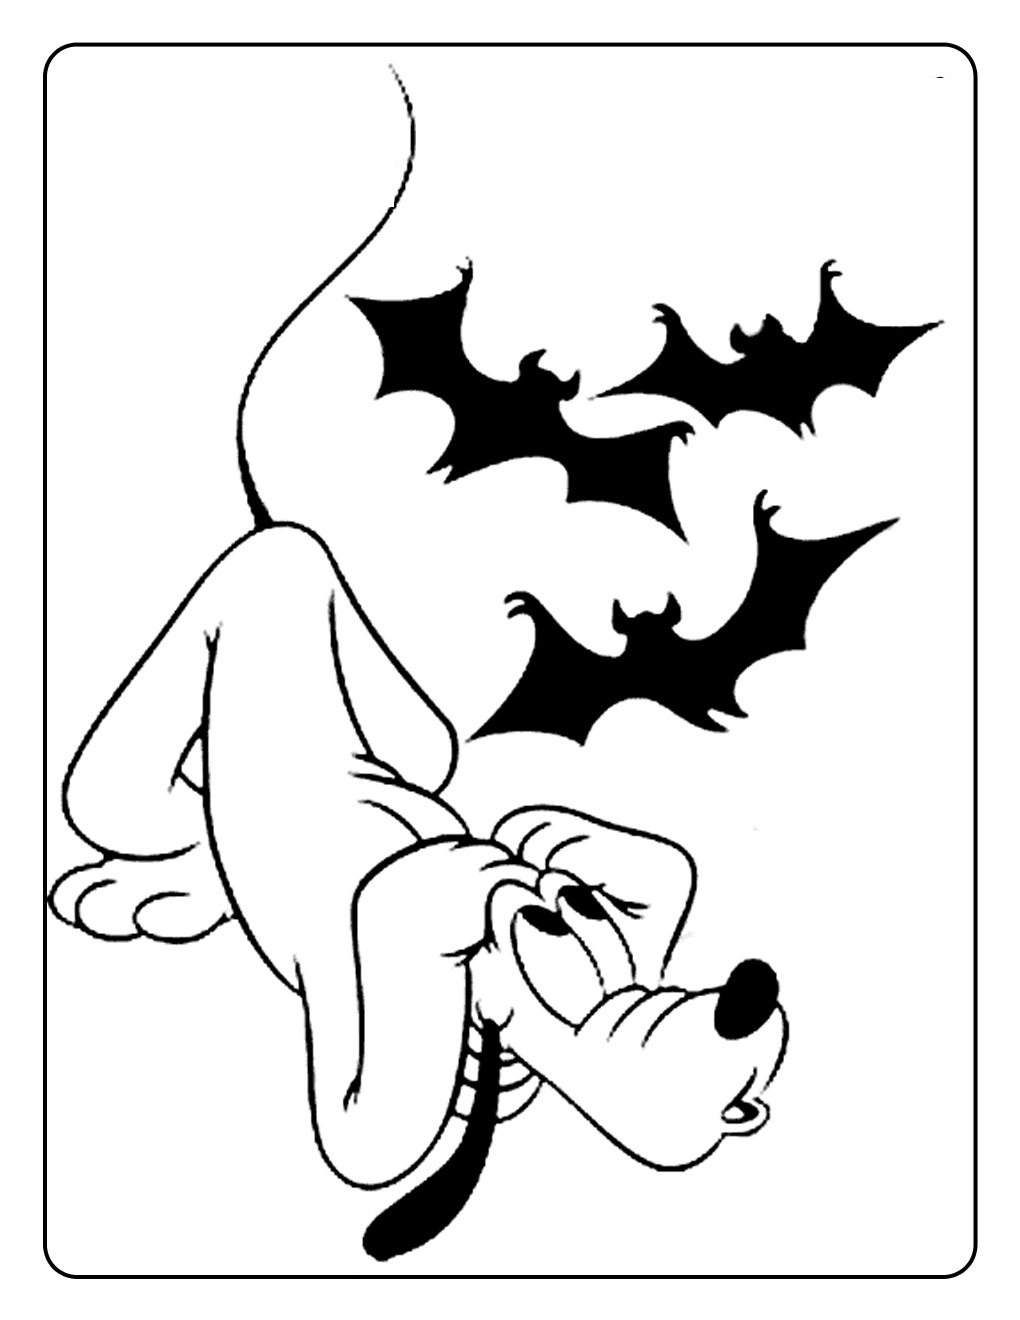
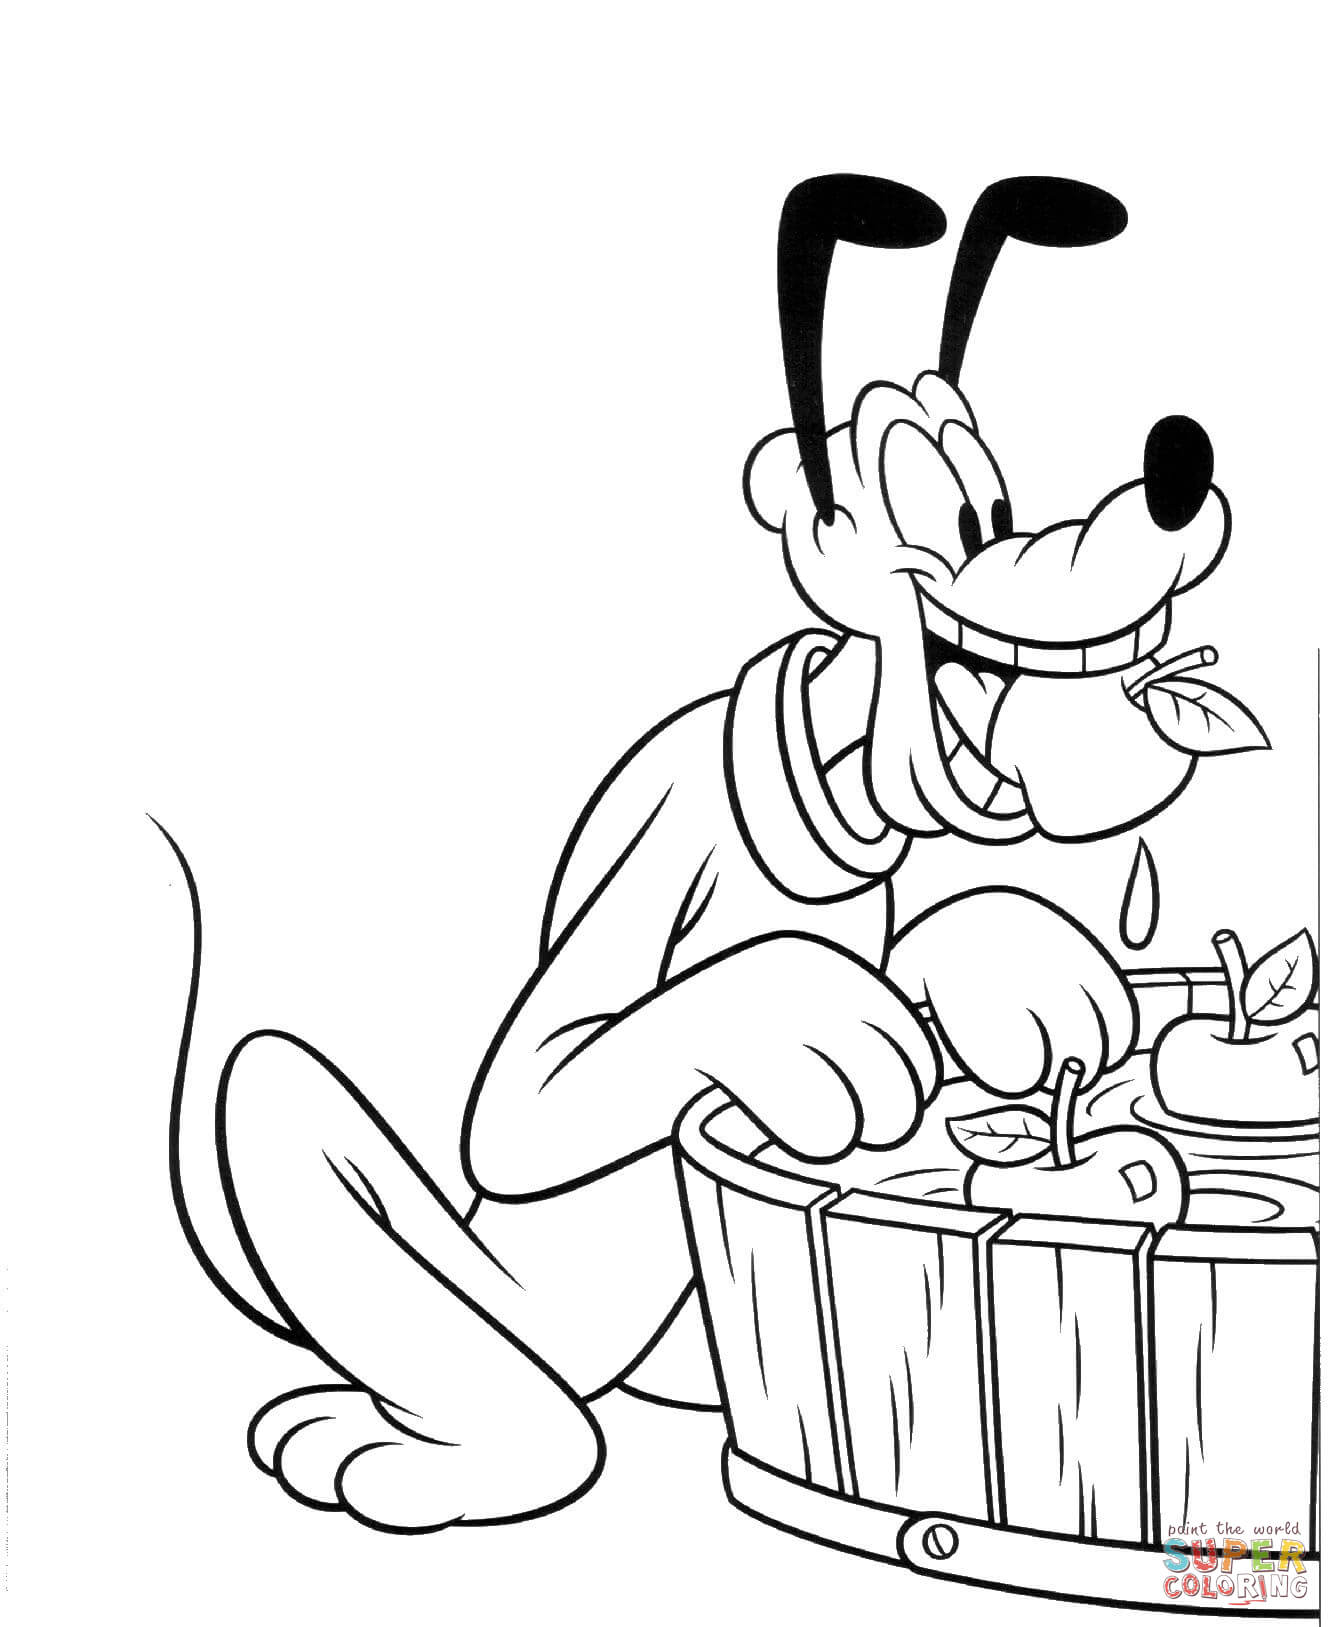
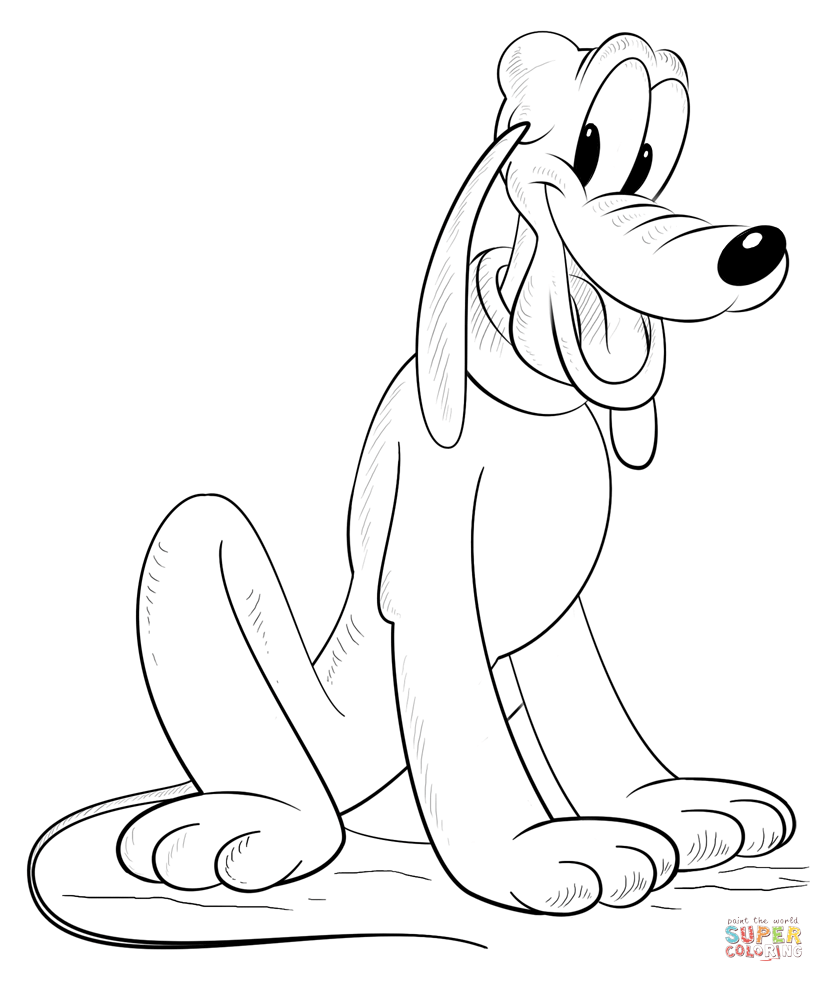
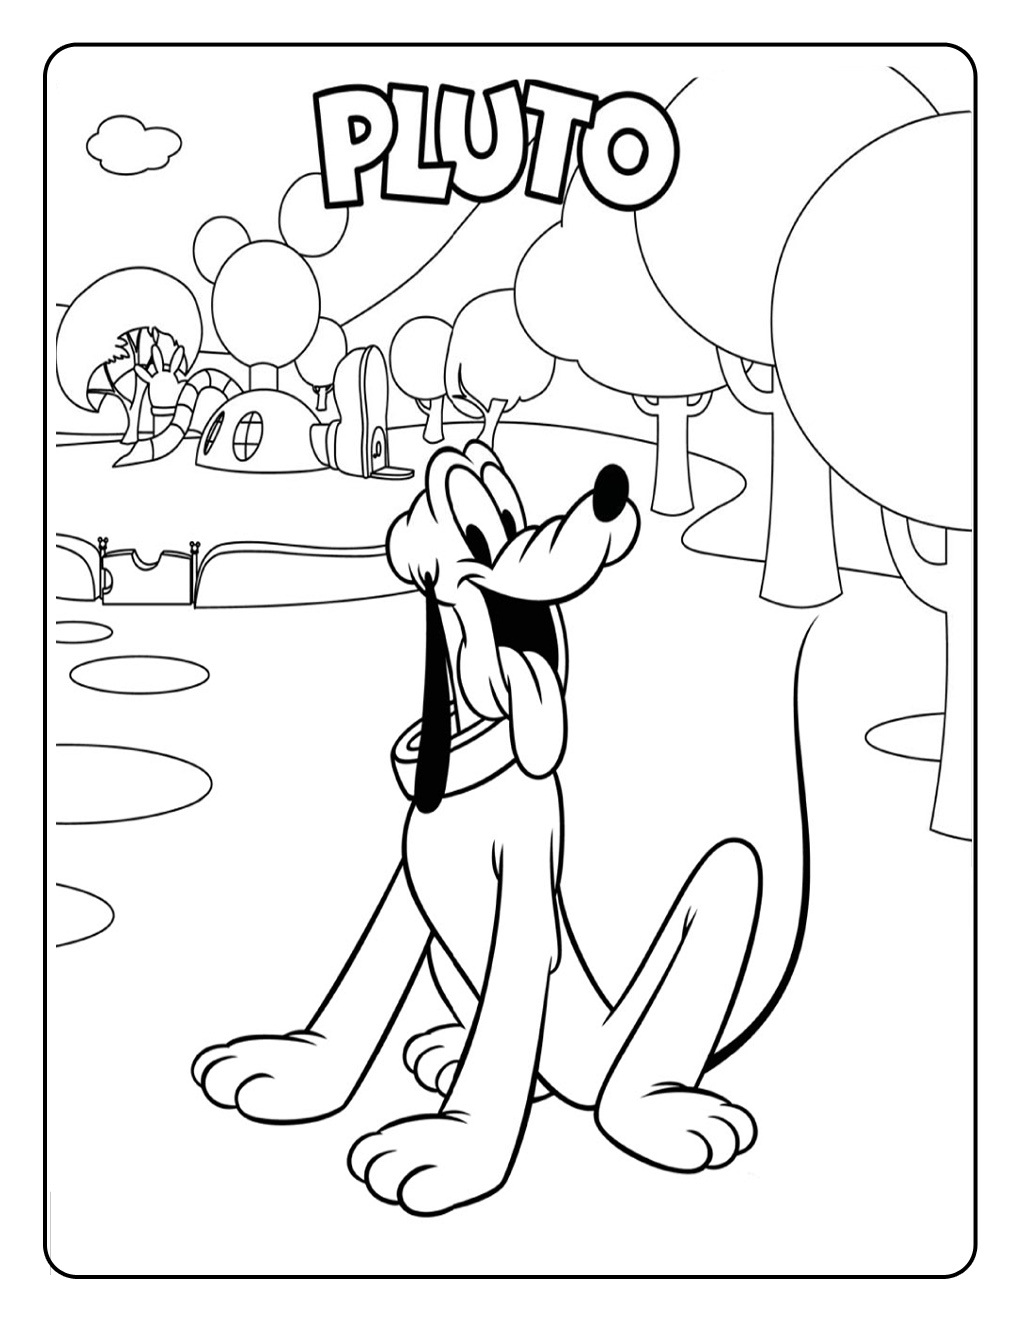
You will create a complete Pluto drawing character with our help. In this tutorial, I will show you how to draw Pluto step by step. If you carefully draw all the elements and use a few tips, you will have a great drawing and be proud of yourself. Consistently follow all the steps of drawing and be careful. With our instruction, there are illustrations to help you draw the character easily. You will follow us and get the Pluto character as your favorite character in Disney World. Why not? It is free on our site, and this drawing activity is suitable for everyone. We give detailed instructions, so whether you are a novice or an expert in drawing, you can follow these steps effortlessly. If you are a parent, you can join in this drawing with your kids. They will surely like it; this is a learning and playing activity that helps children develop comprehensively. You and your kids can become real artists and avoid using technical devices such as television, smartphones, and tablets,…they are not good for the eyes and health. Along with the tutorial, we have also included a couple of free Pluto coloring pages that you can print off and give to your kids to color!
How To Draw Pluto – Let’s Get Started!
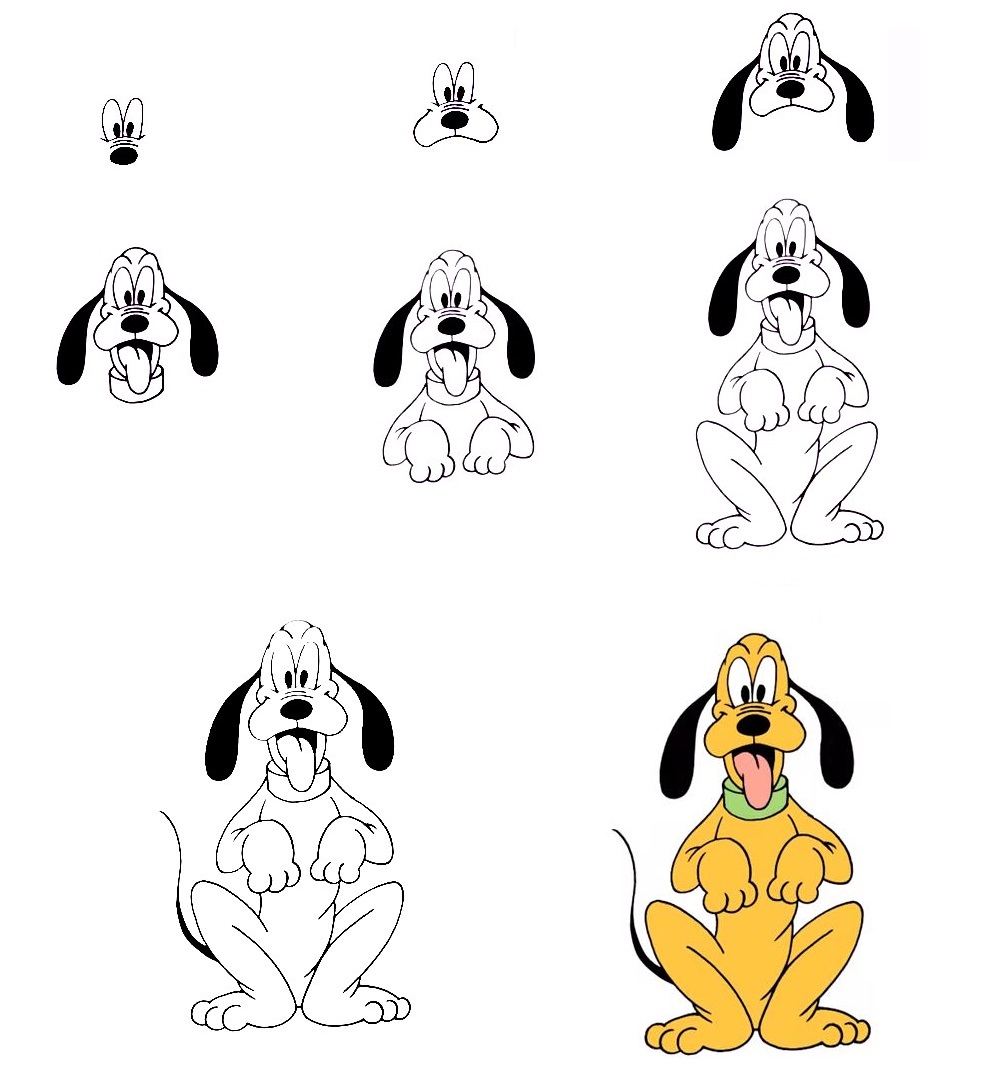
As you know, Pluto is a famous cartoon and comic book character. This funny character appeared some years ago, everyone liked Pluto, and right now, the image of Pluto appears on many products and sold very well. Pluto is loved by many people, and today you are lucky to learn to draw pluto with us. You will prepare some things such as paper, pencil, and colors before drawing then you use your pencil to draw on paper so that you can erase your mistakes easily. So, please don’t be afraid to draw; you can draw in your comfortable mood and relax. You have eight missions equivalent to eight steps that you must come over. You will finish them one by one. This is an interesting entertainment channel, and you can come here every day when you are free. With our guide, you spend about 30 minutes to finish, it won’t take too much of your time, and you’ll draw from easy to difficult; we’ve put this tutorial for you. Now, let’s get started drawing Pluto with us!
Step 1 – Draw Eyes And Nose For Pluto

Start drawing Pluto with a pencil sketch. In the beginning, stages, don’t press down too hard. Use light, smooth strokes for sketching because some steps will require you to erase lines drawn in previous steps. You draw eyes and a nose for your character, Pluto. Pluto’s eyes are then made of two ovals with a dot inside each one. You can use black to color the dots. Under the eyes, you draw a small oval to make Pluto’s nose and also use black to the color nose. Once you finish your task here, you can move to the second step.
Step 2 – Finish Off Nose For Pluto

In this second step on how to draw nice Pluto, you use the curved lines to make the lines around Pluto’s nose. Very simple for you; you just spend some minutes next to the third step to continue your drawing.
Step 3 – Draw Head And Ears For Pluto

You begin to draw Pluto. head with a curved line. Draw around the eyes and nose to make the head outline, and then you draw two long ears for Pluto. Once you finish ears for Pluto, you use black to color for your character, Pluto. So, you finish your task in this step and are ready to next to the fourth step.
Step 4 – Draw Mouth And Neck For Pluto

From Pluto’s head, you draw a wide mouth with a long tongue, as seen in our reference. Then you continue your draw by adding the neck with a collar for this character. You draw the wide collar below the head. It’s a bit complicated, isn’t it? Look at our reference picture; you will realize this job easier.
Step 5 – Add The Upper Body And The Front Paws

You continue to draw your task on how to draw Pluto with some lines to show the upper body of Pluto. Then you finish this task with smooth lines and draw big paws. The ends of the paws are turned in different directions. If you are happy with the task, you can move to the sixth step.
Step 6 – Draw The Hind Legs
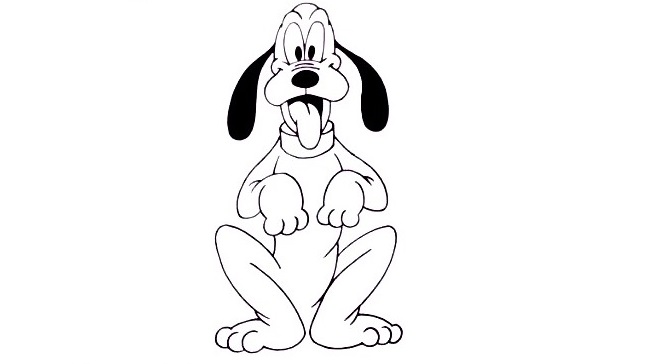
Right now, you must draw the hind legs for your Pluto character. On the sides of the torso, draw the hind legs that are bent. There is also a complication here, and our advice to you is that you stay calm and look at our pictures to follow; your work will be much simpler, and in the next step, we will finish off with some final details!
Step 7 – Draw The Tail For Pluto

If steps five and step 6 are very complicated, withdrawing the body, front legs, and hind legs, then in this step, your task is very simple, you just need to draw a moderate tail for the character, and you will complete your drawing here. You finish your drawing task and have the last step for the coloring of Pluto.
Step 8 – Color Your Pluto

It’s time to choose a color for your drawing. You can take any color for your product. Very simple for you in this step, but normally, Pluto is yellow with black eyes, a black tail, black ears, green color, and a pink tongue. But if you like, you can mix some colors, or you can choose your favorite color to create your own unique drawing. With our tutorial, you get your complete character Pluto on how to draw Pluto.
Your Pluto Drawing Is Completed!
You can refer to Pluto coloring pages on our site on the coloring part. We update drawing, coloring pages, and blogs daily to help you get a fun time here. If you like our products, you can recommend your friends; we thank you for that.


