Eagle Drawing Is Complete In 9 Easy Steps
Creating a perfect eagle drawing in just 9 easy steps
Now you learn how to draw an eagle with our super easy-to-follow step-by-step eagle drawing tutorial. Here, we explain in nine steps how to draw a lovely eagle flying in the sky! With this simple and fun method of learning to draw, you and your children will become real artists! You will follow our instructions and illustrate because, in each step, we provide images to help you realize your task easily. You have nice steps equivalent to nine missions that you must finish. You must keep calm and patient and then go to step by step in our article to create a complete eagle. Along with the tutorial, I have also included a couple of free eagle coloring pages that you can print off and give to your kids to color!
How To Draw An Eagle – Let’s Get Started!

This tutorial only takes about 25 to 30 minutes and has the illustration in the lesson you can easily print or download and use to follow. This pairs perfectly with crayons. It’s wonderful for young children needing extra guidance and simply looking to shade in an eagle. So, if you are a parent, please don’t hesitate to give this instruction to your kids. You get an opportunity to understand your kids and get methods to teach them better. Why not? It is free, and you can enjoy it anywhere and anytime on our website with your device connecting to the internet. We are here and ready to answer all your question about our services. Drawing and coloring are good activities for children and everyone. You can enjoy those activities after the hard-working hours, and you get a great time here. Now, let’s get started drawing an eagle.
Step 1 – Draw Head And Beak For Eagle

You will begin by drawing the outline of the eagle’s head. You use your pencil, and draw an inverted U-shape at the top of the paper for the head. Then add some zigzag lines below it. Then, you will draw a beak with curved lines and straight lines. Once you have these elements looking as they do in the reference image, you’re ready for step 2!
Step 2 – Draw Eagle’s Eye

Now, you draw an eye for an eagle. You draw a small triangle at the center of the eagle’s eye. The eagle’s head is tilted towards the left side, so draw the beak on the left. It will overlap with the first outline created. You can go to step 3 right now.
Step 3 – Finish Eagle’s Head

Now, you must finish all details for the head. You use the zigzag lines to finish the head and use black to color the eagle’s eye. It is simple, whether you are a beginner or you are an expectation for drawing, you can finish the task here easily. That’s all there is to it for this step, so when you’re happy with the look of it, we shall continue adding to this eagle in the fourth step.
Step 4 – Start Drawing Eagle’s Wings

You will use two straight lines to the sides to create wings for the eagle. You will change the direction slightly to make the wings more realistic. The mission in this step is very easy, and you finish it in some second and go to step 5.
Step 5 – Add more Details For Eagle’s Wings

If in step 4 you sketched the wings, in this step you will add details to the wings. You use straight lines and turn some places to make the real wings for the eagle. If you get difficulty in this step, you can look at our images and follow them.
Step 6 – Continue Drawing Eagle’s Wings

You continue drawing eagle’s wings here. You would draw horizontal curved lines and small vertical curved lines below for the feather. After that, we will draw the right wing in full detail. Do not be afraid to spread its wings, like our image.
Step 7 – Complete A Pair Of Wings And Draw a Body For the Eagle

Under Wings, you use the zigzag to complete a pair of wings for the eagle. And you start drawing the body for the eagle with two parallel lines, then meet at the tail of the eagle. You let the tail on the right side of the body and then the feet below. You also must use horizontal curved lines to make the tail.
Step 8 – Finish Your Drawing Mission

You must finish your drawing mission by drawing the legs of the eagle. It is simple in this step. You can follow our image. Then, you add some decoration details for the eagle to create a complete eagle with full parts details. You have more like the last step.
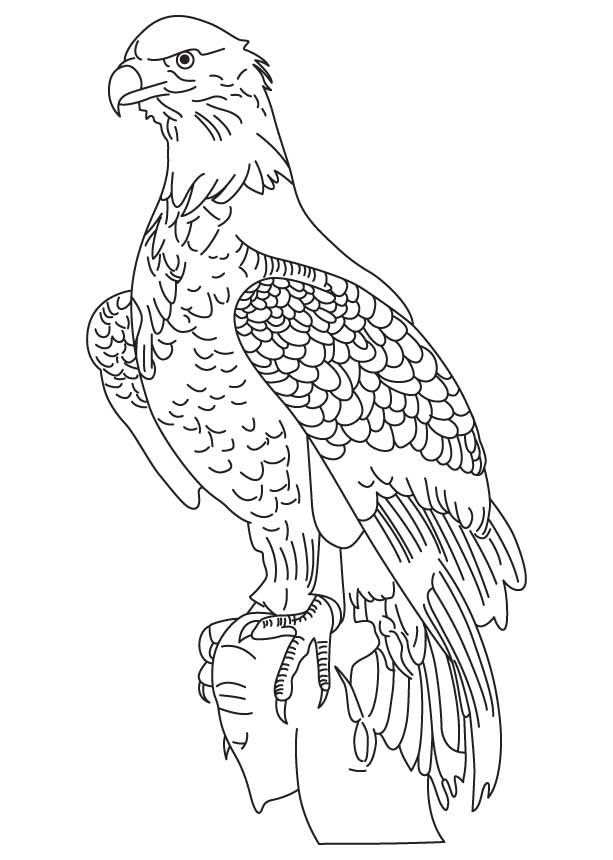
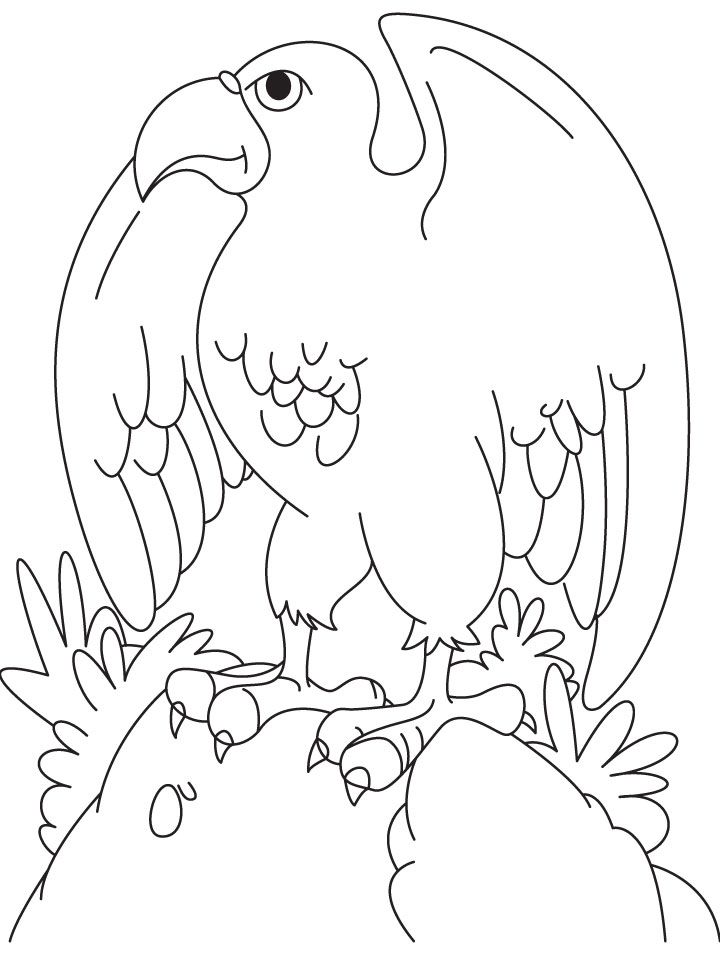
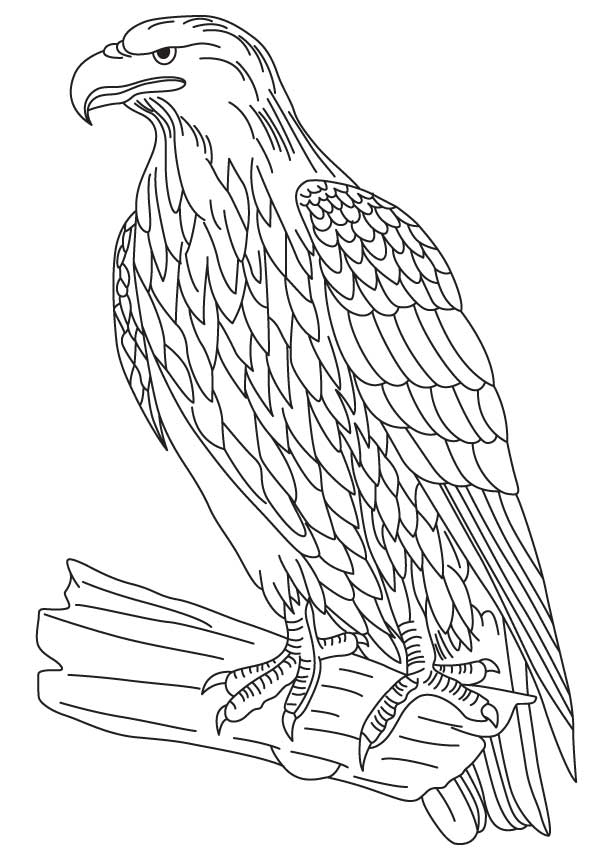
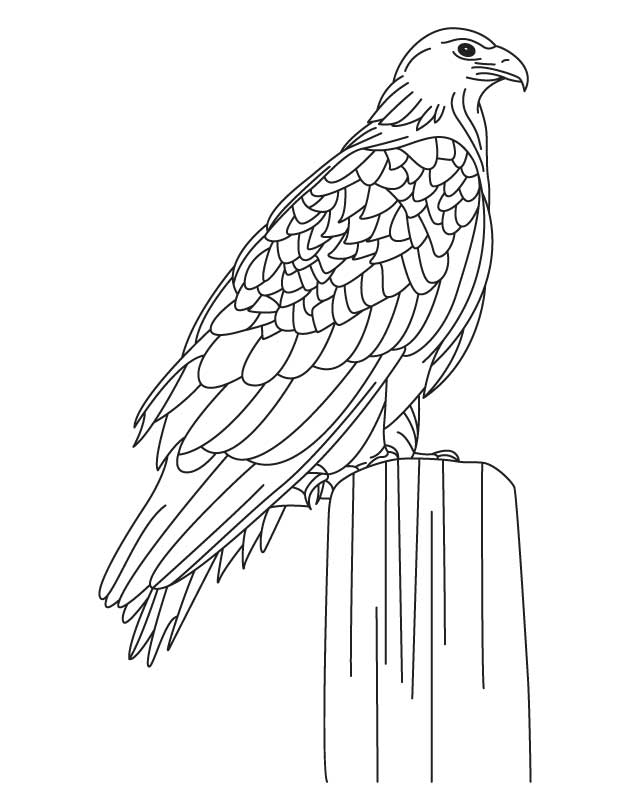
Step 9 – Color Eagle

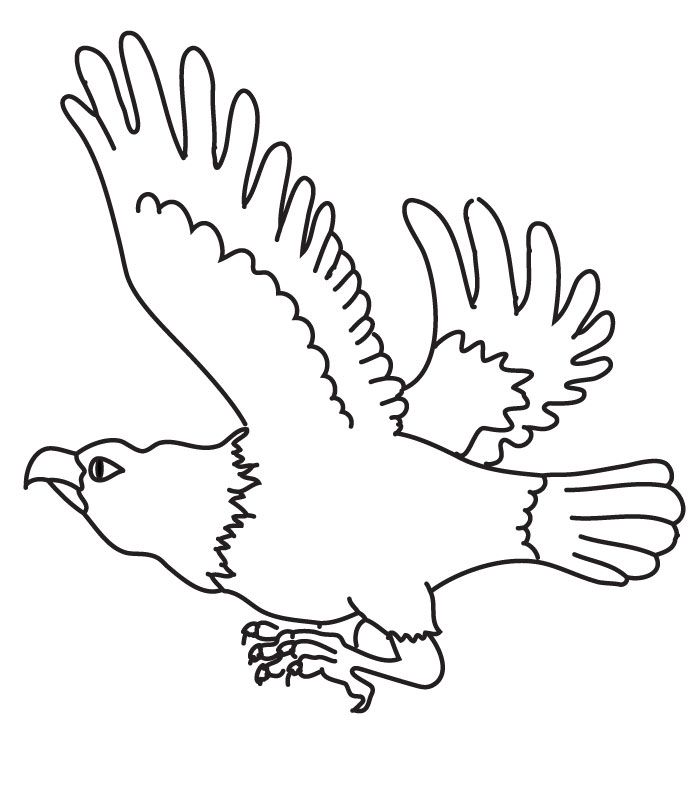
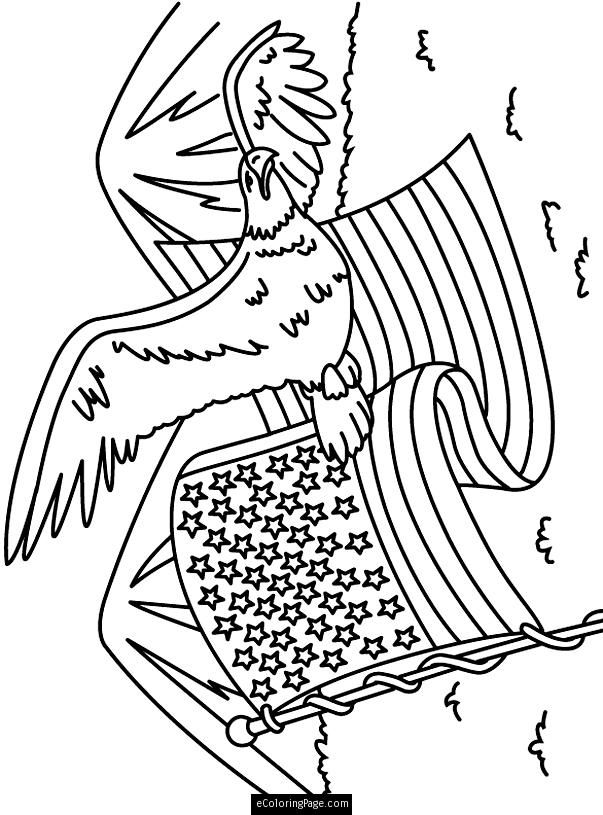
The eagle has a combination of brown, white, and orange colors. And you can choose those colors to make coloring. So, you finish your drawing and coloring mission in creating a complete eagle. you can use those activities to relax. They can help you reduce stress and worries to make your life better. You can enjoy eagle coloring pages. Why not come here daily to enjoy yourself? We update the instructions pages every day, be sure to keep checking our site to make sure you never miss out! If you like our site, please share our site on your Facebook to show your friends. Thank you for that.