How To Draw An Axolotl – 9 Easy Steps Creating An Axolotl Drawing
Creating wonderful Axolotl drawing in just 9 easy steps
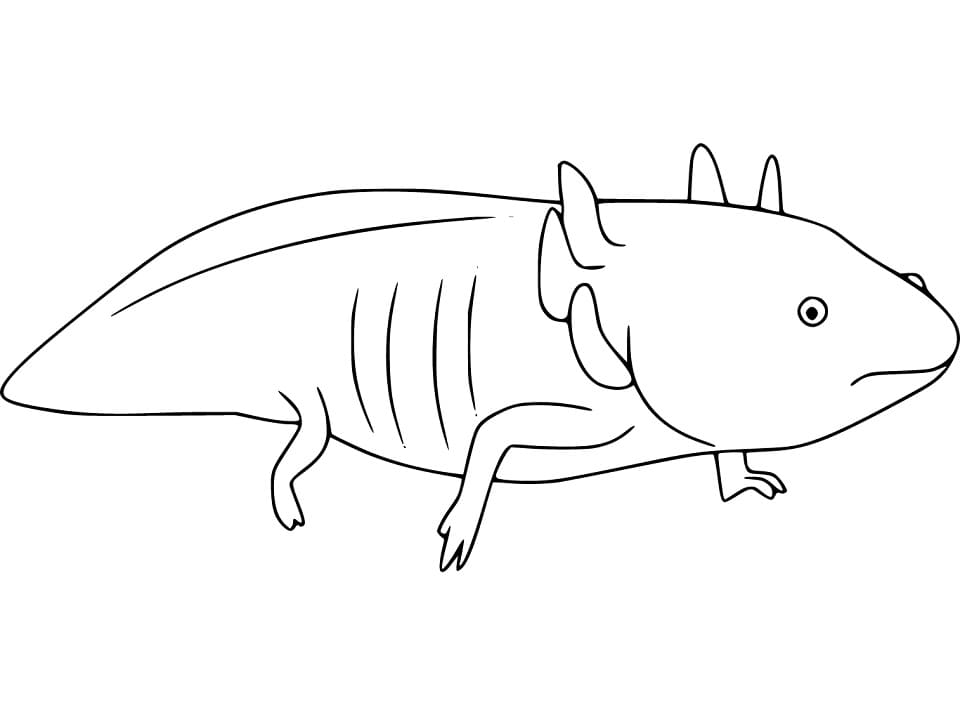
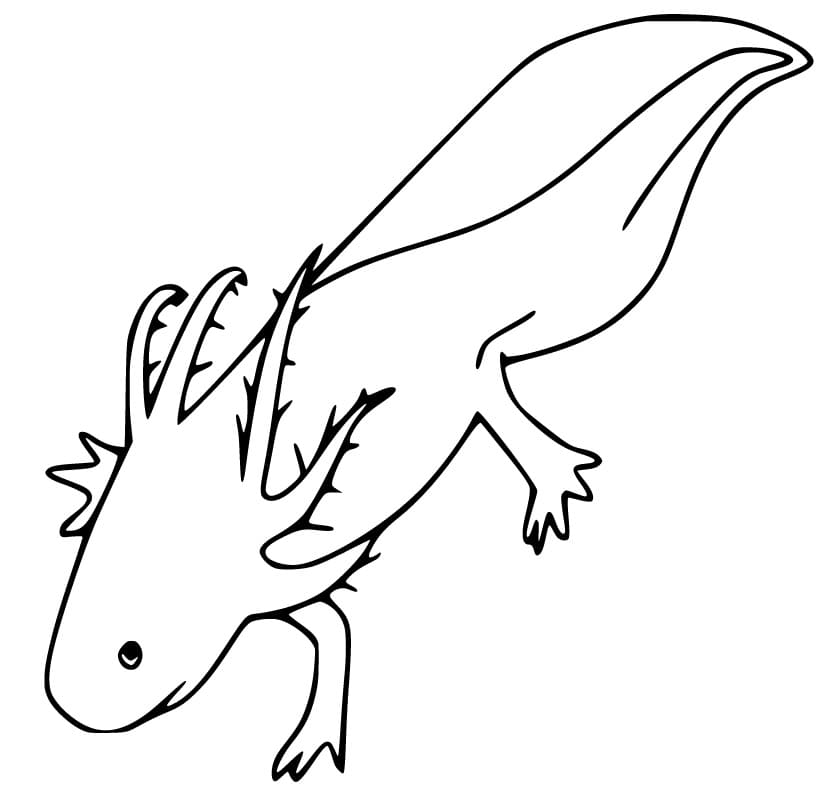
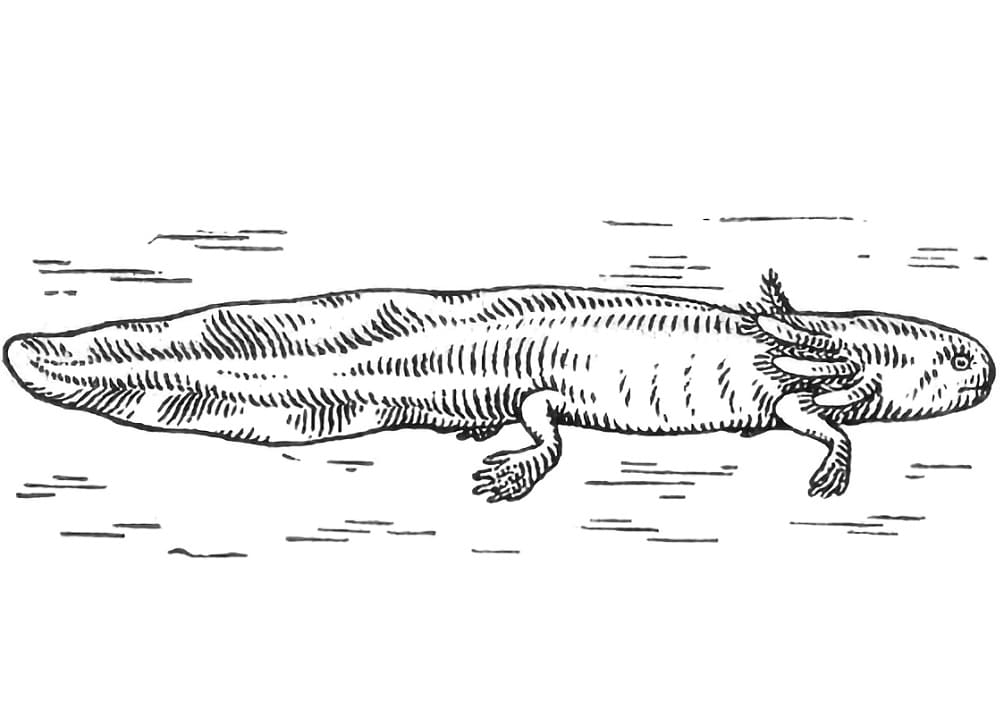
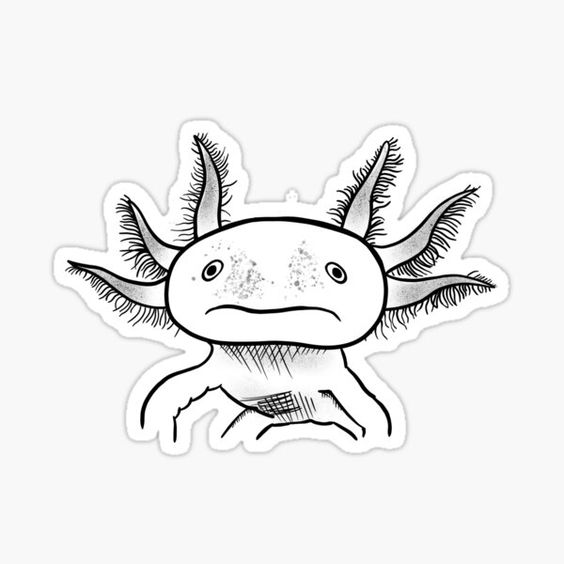
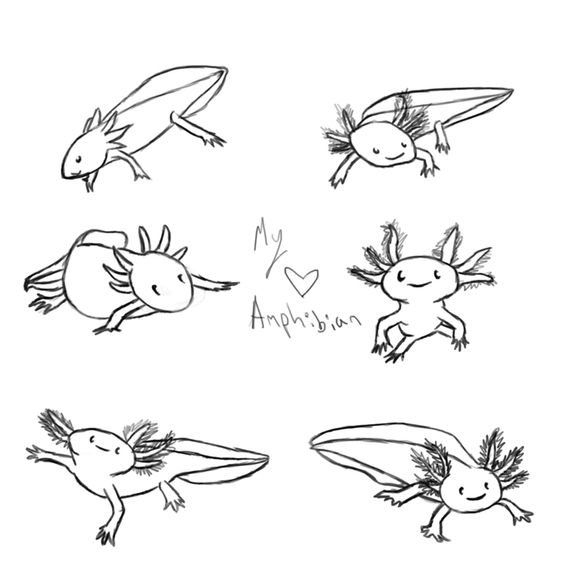
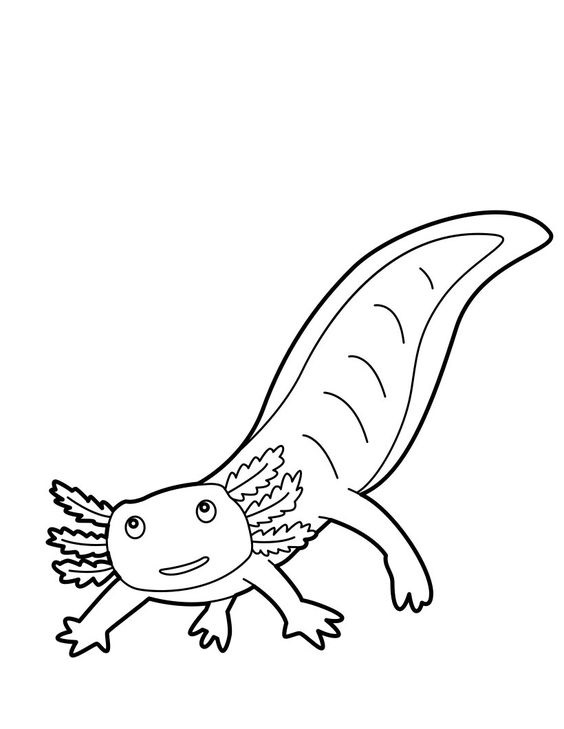
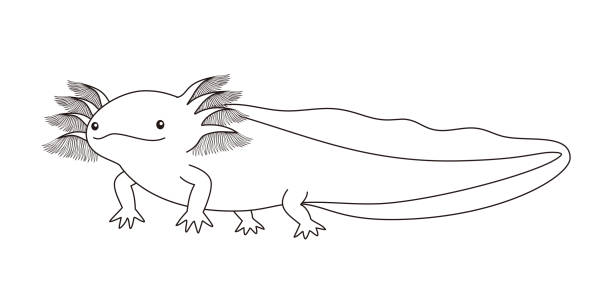
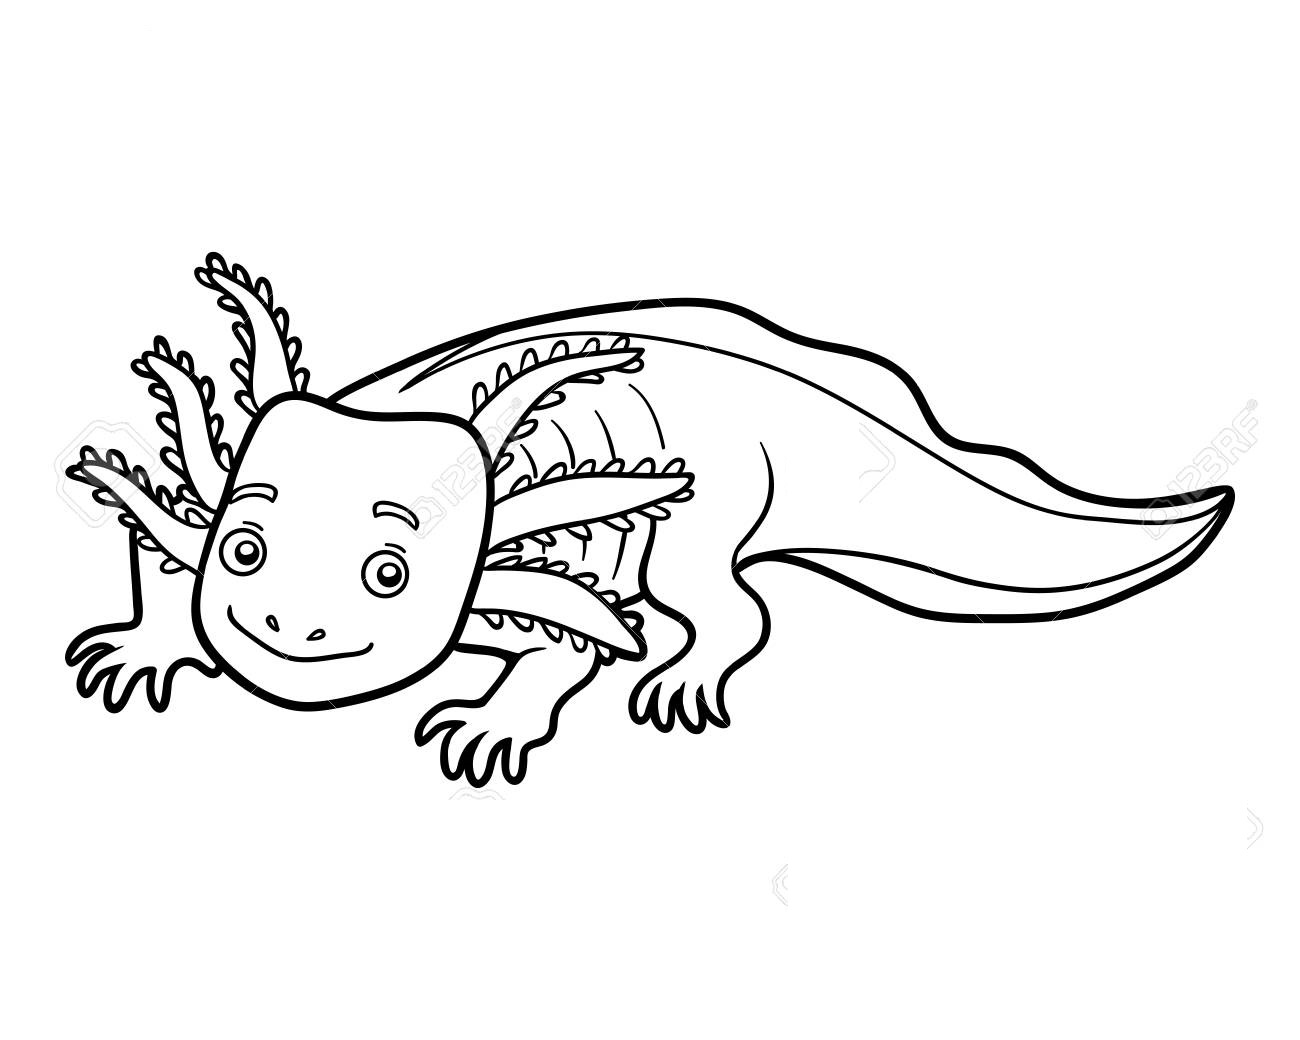
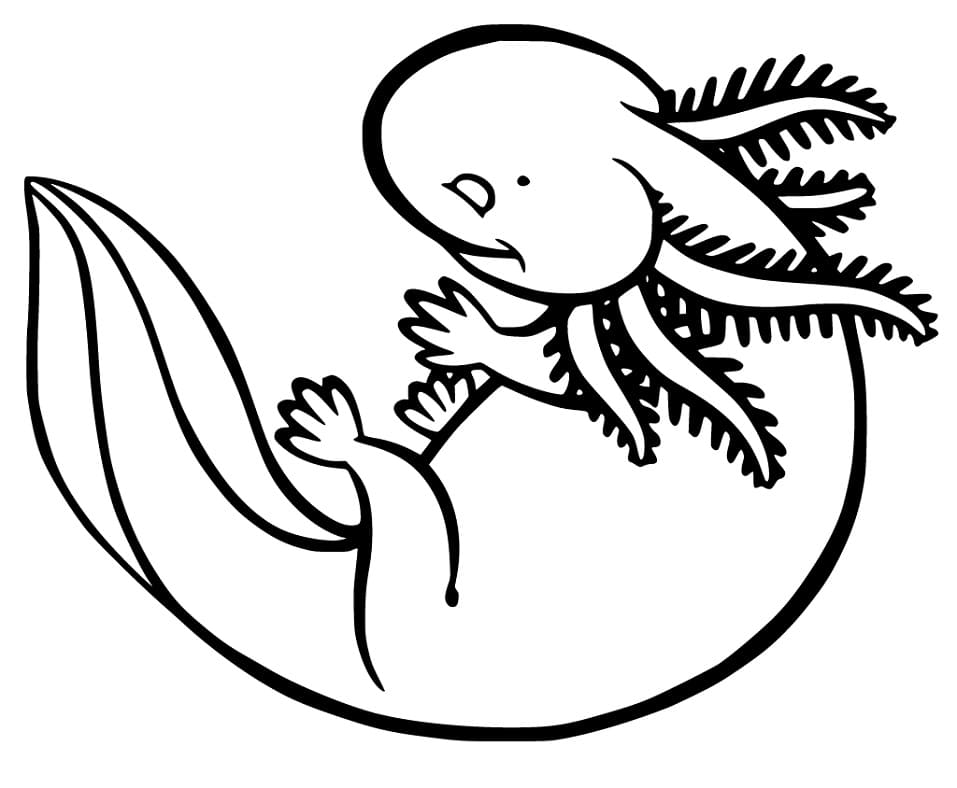
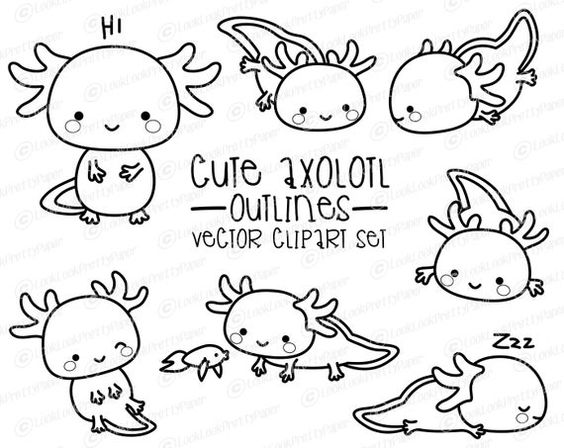
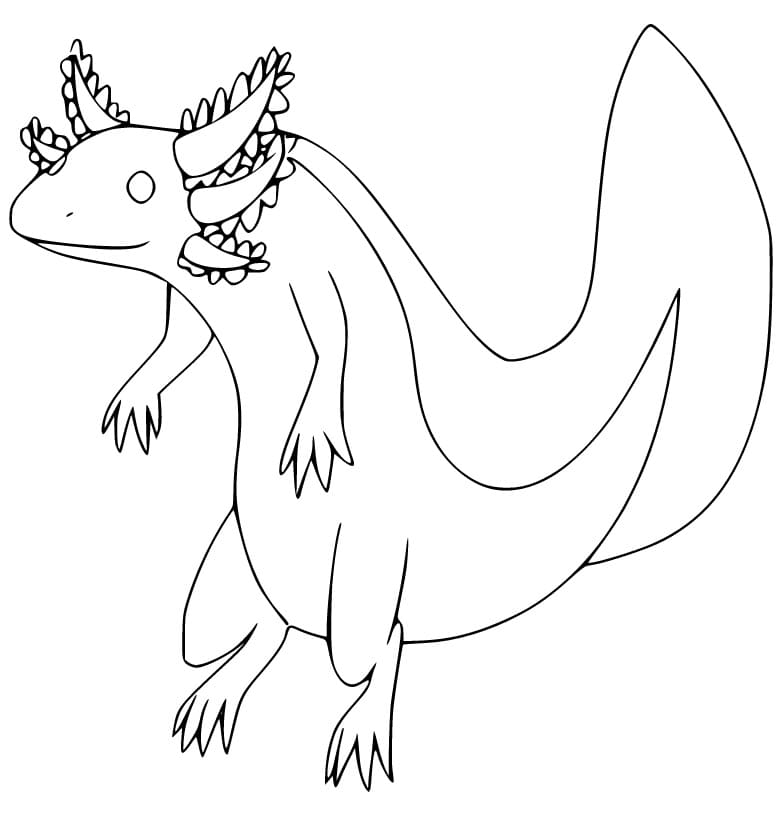
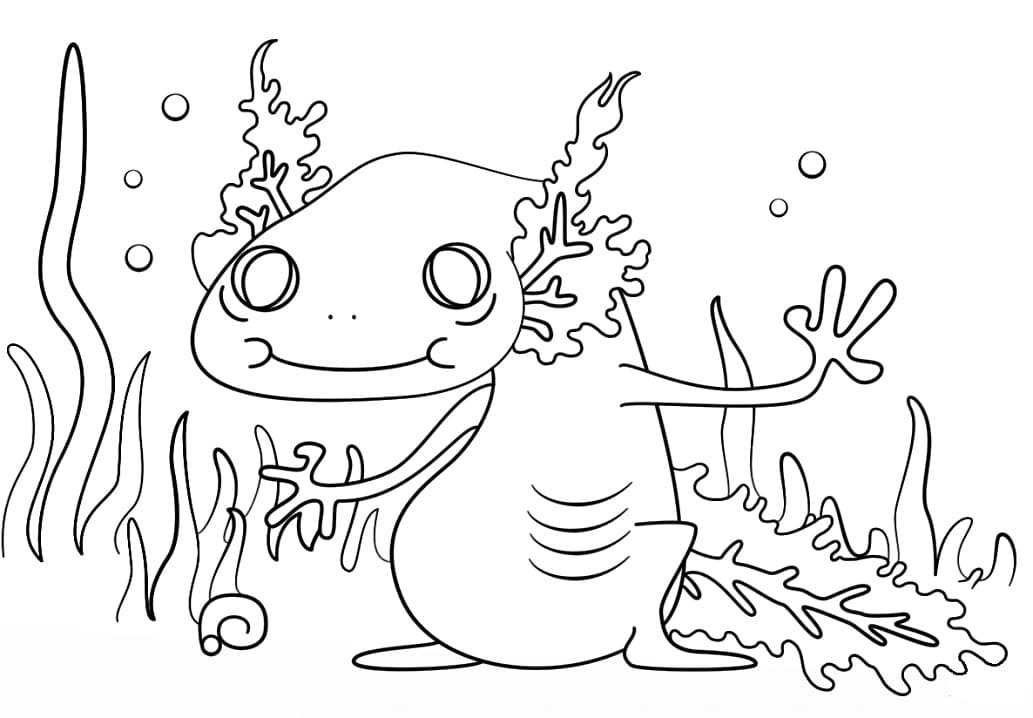
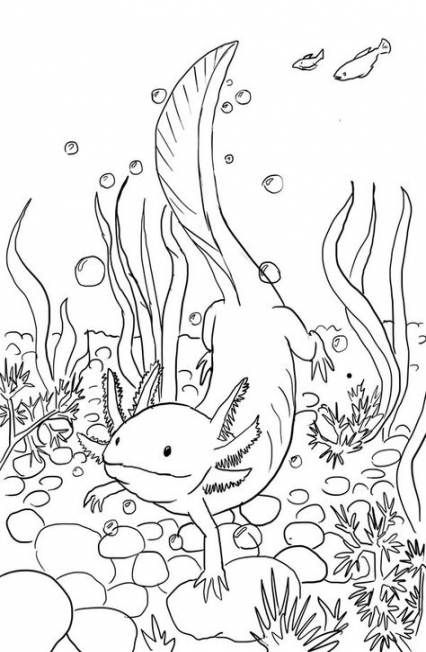
Right now learn how to draw an Axolotl with our super easy to follow step by step Axolotl drawing tutorial. You will follow the instruction step and create a complete Axolotls. Unlike other salamanders that undergo metamorphosis, Axolotl never out grow their larval, juvenile stage, a phenomenon called neoteny. It is a salamander native to lakes and ponds of Mexico. Despite their lizard-like appearance, Salamanders are amphibians, like frogs, with a similar egg-tadpole-adult lifecycle. Its name can be translated “water servant. Several features make axolotls unique. One is their brightly colored gills, which fringe their heads like a poison-spitting dinosaur from Jurassic Park. They remain in a “larval” stage throughout adulthood, retaining these external gills and characteristic tadpole tail. If they lose a limb, they can completely regrow it. And today, you get an opportunity to learn to draw an Axolotl with us. Along with the tutorial, we have also included a couple of free Axolotl coloring pages that you can print off and give to your kids to color!
How To Draw An Axolotl – Let’s Get Started!
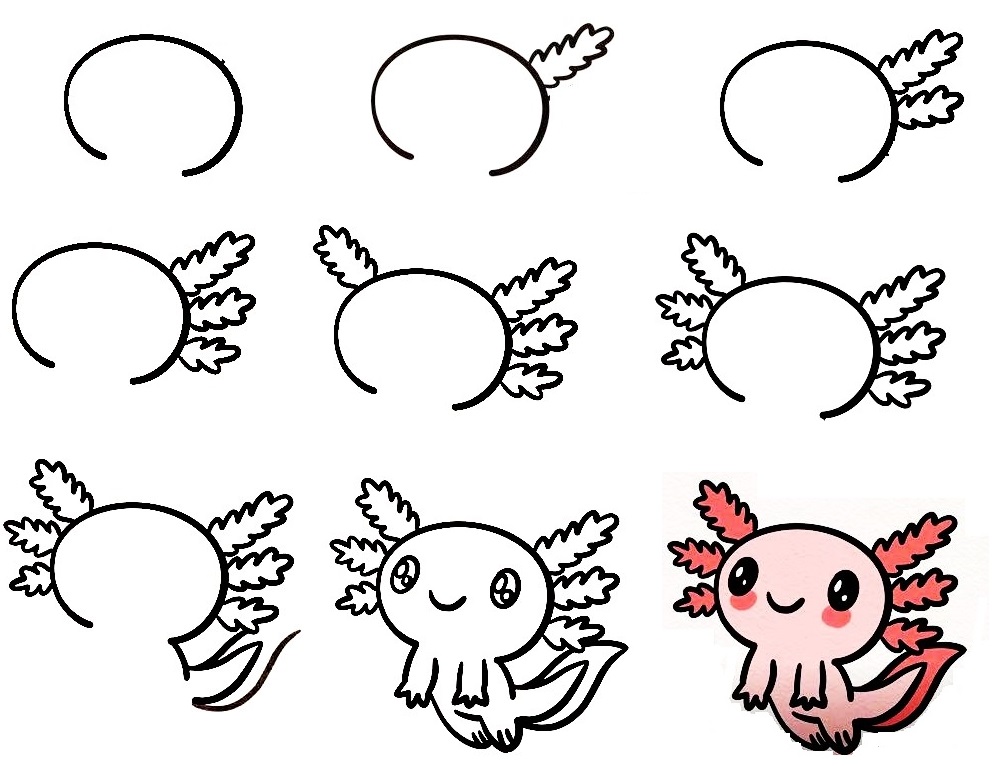
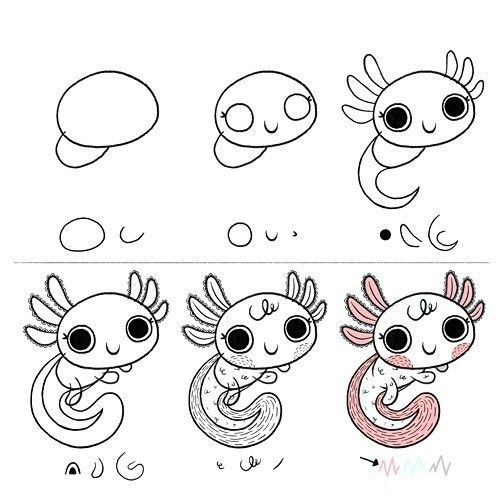
In this quick tutorial, you’ll learn how to draw an Axolotl in 9 easy steps, this is a great chance for you and kids who become real artists. The images above represent how your finished drawing is going to look and the steps involved. Because in each step, we provide the illustration to help you draw an Axolotls easily. In the drawing Axolotls, you can read some interesting facts about Axolotl. Whether you are a beginner or an expert in drawing, you can finish your task easily. You can enjoy drawing and coloring on our site after the hard-working hours. You get fun and have a great time with us. Besides instruction for Axolotl, we also have many other tutorials for everything. Make sure you also check out hundreds of drawing tutorials grouped by category. Now, let’s get started drawing Axolotls!
Step 1 – Draw The Axolotls’s Face

Start by Axolotl drawing the outline of the Axolotls’ face. Very simple in this step. you use a curved line to draw a slightly loose shape, and that gap you will draw the neck for Axolotl in the next step. You can finish task in this step and go to step 2.
Step 2 – Draw The First Tentacles

You draw the first tentacle on the head. You use the zigzag lines to make a tentacle as a tree branch. The task in this step is not simple, you can finish it in some minutes and go to the third step.
Step 3 – Draw The Second Tentacles

Similar to step 1, in this step, you also draw a more tentacle for Axolotls. Your task in this step is similar to your task in the first step. Then, add small lines throughout each stem. You are next to step 4 now.
Step 4 – Draw The Third Tentacles
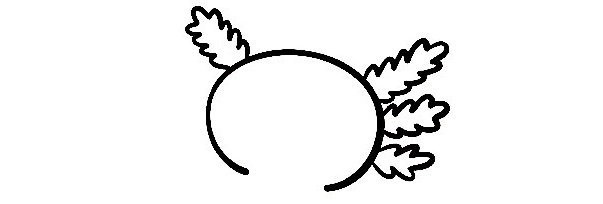
You continue to draw Axolotl by adding more tentacles. You will draw the third tentacle. Please look at our picture you see that this tentacle is shorter than the previous 2 tentacles. Since this task you have done in 2 steps above, you will do this task quickly and next to step 5 now.
Step 5 – Add More Tentacles

Now, you add a tentacle for Axolotl. It is not complex here, and you can realize your task like step 2,3,4. You can stop your mission in this step and move to step now and finish your drawing about the tentacle.
Step 6 – Finish Drawing Tentacles
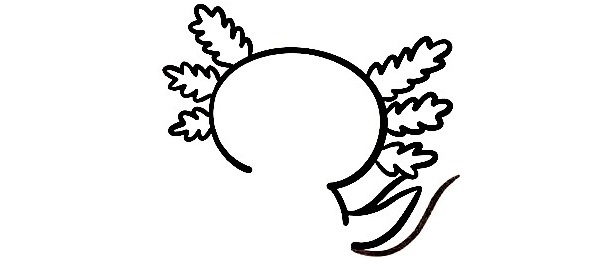
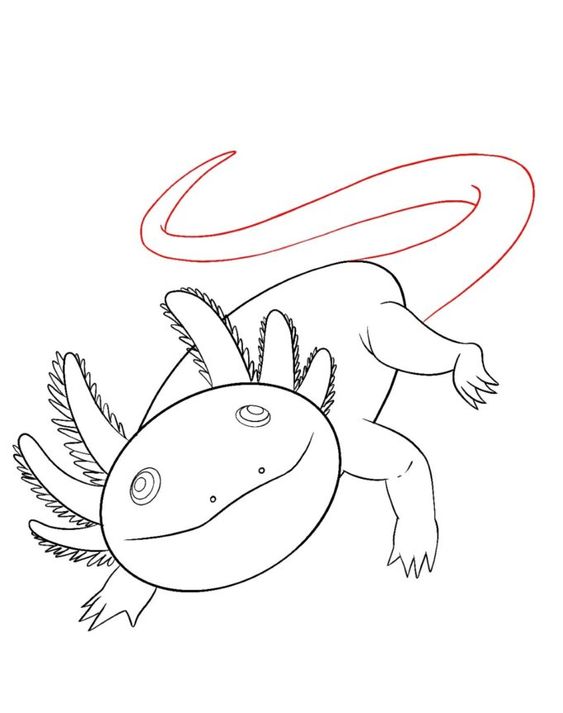
At this step, you finish your drawing for tentacles. Now, your Axolotl gets three Tentacles on each side. Draw the filaments of the remaining gills, using a wavy curved line for each. You get an Axolotl with the complete tentacles.
Step 7 – Draw Axolotl’s Tail

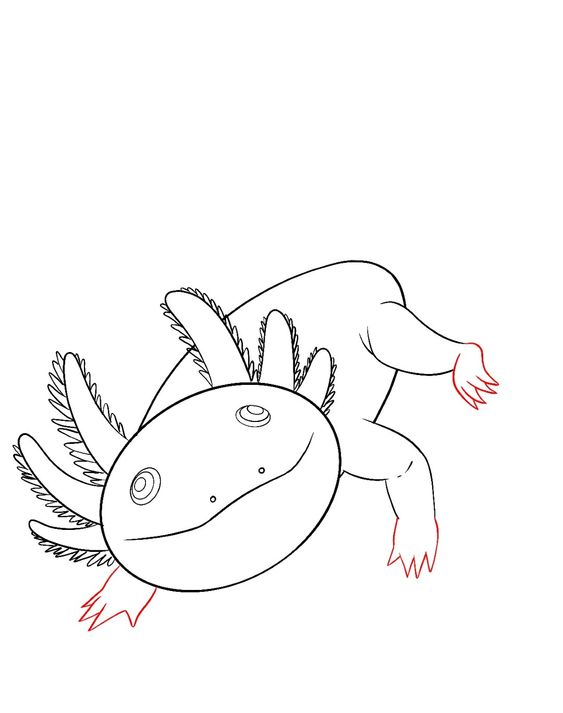
Now, you draw Axolotl’s Tail with curved lines. Butt before, you must draw the body. Extend a long curved line above and below the head. You know that the axolotl has a large, thick tail that it uses to propel itself through the water. We will be drawing this tail for this part of our guide on how to draw an axolotl and go to step 8 now.
Step 8 – Draw Boody And Legs For Axolotl
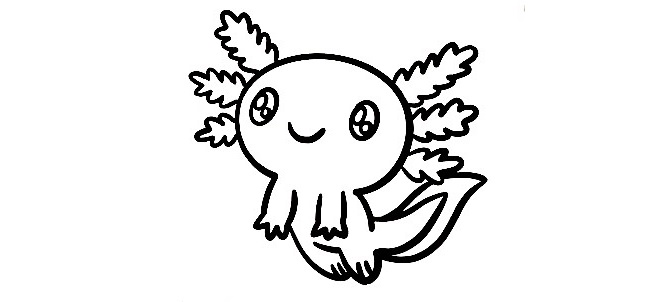
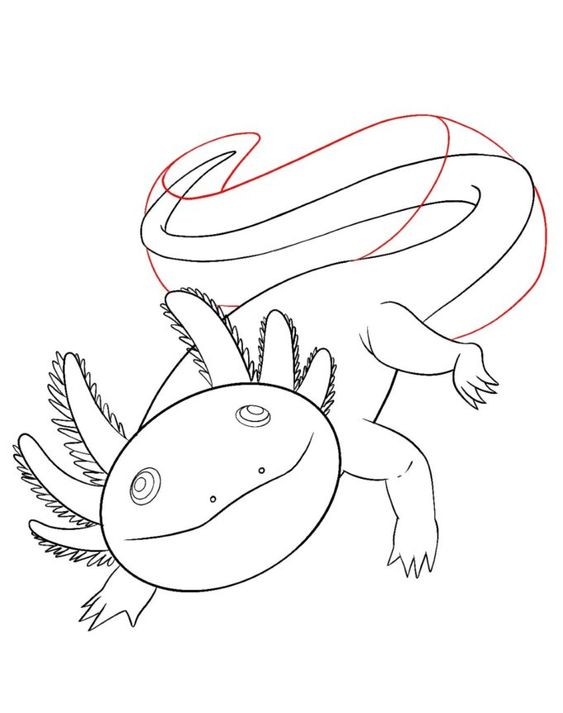
For this step of your axolotl drawing, we will be adding the front legs to the animal. The legs are pretty short with pointy, webbed toes. When you have drawn the legs as they appear in the reference picture, you can add a curved line for the gill on the side of the body. You continue to draw the body of Axolotl with a curved line. After that, you finish this task with two hind legs. You can draw another shorter back leg for the axolotl and then extend a curved line up from it for the back of the animal. Please add more curved lines with smaller shapes extending from it for the first fins on top of the head. Now, you get a complete Axolotl with full parts, and you get more of the last step in coloring.
Step 9 – Color Axolotl
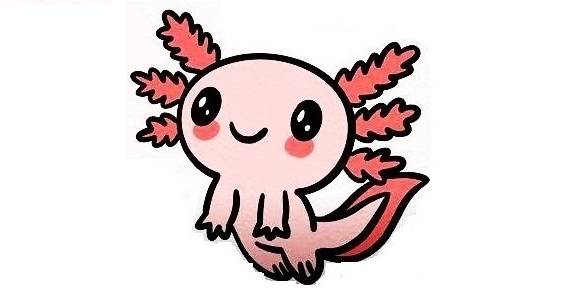
You must choose the suitable colors for Axolotl in this step. Because there is no rule in the selected color for drawing, you can make any color you like, or you can choose colors that are similar to our colors as well. We take the light pink for Axolotl. Axolotl is a lovely creature, and everyone like it. But what kind of creature would you like to draw next? Let us know, and we’ll do our best to deliver your requests.
Your Axolotl Drawing Is Complete
Once you’ve successfully drawn an Axolotl and colored it, don’t forget to exhibit your work of art by sharing it on our Facebook and Pinterest. Please don’t be afraid to show off your masterpiece! You’ve worked hard for it, so it is worth sharing! You can enjoy Axolotl coloring pages for free on our website, and if you like our tutorials, don’t forget to give us a thumb up and recommend them to your friends! Have a great time with Axolotl Drawing!


