Rubiks Cube Drawing Is Created In 6 Easy Steps
Creating a cute Rubik’s cube drawing in just 6 easy steps
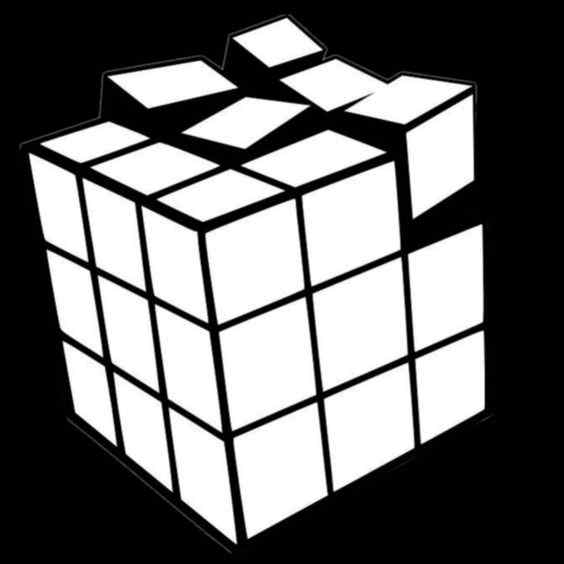
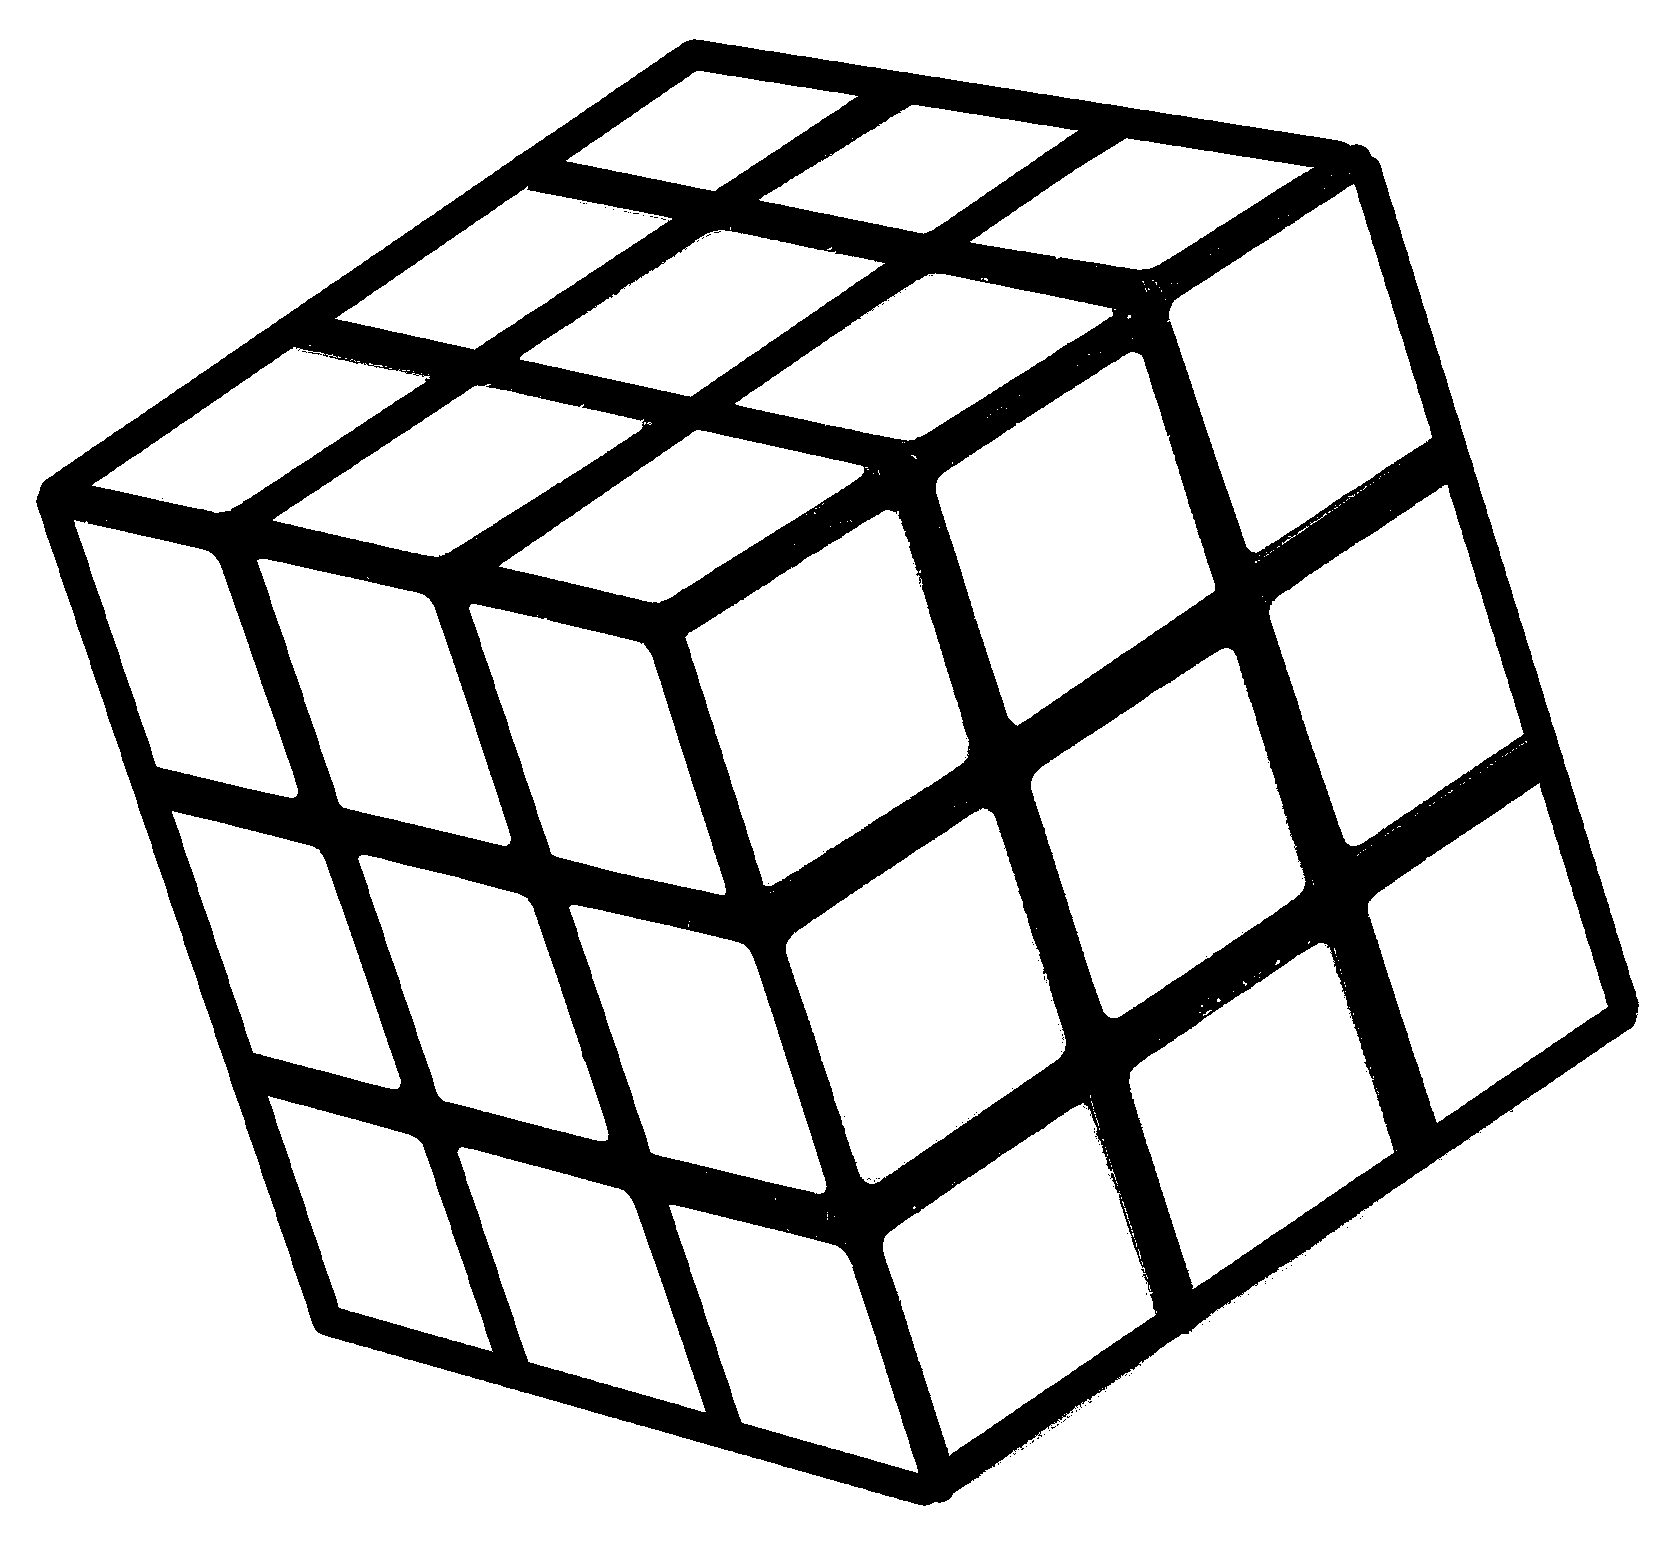
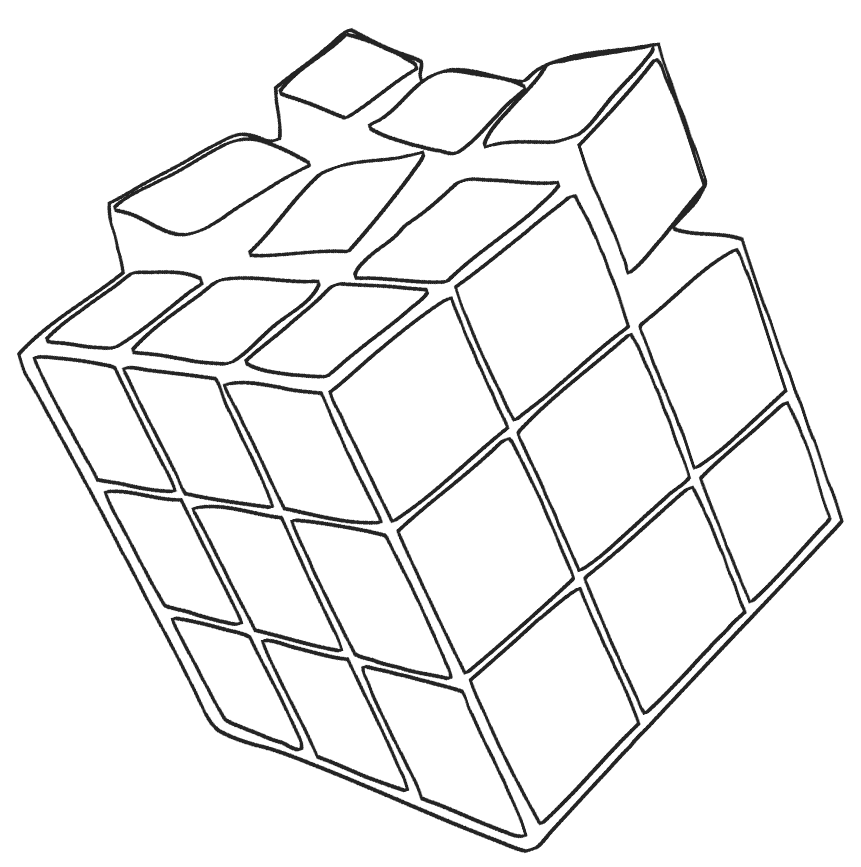
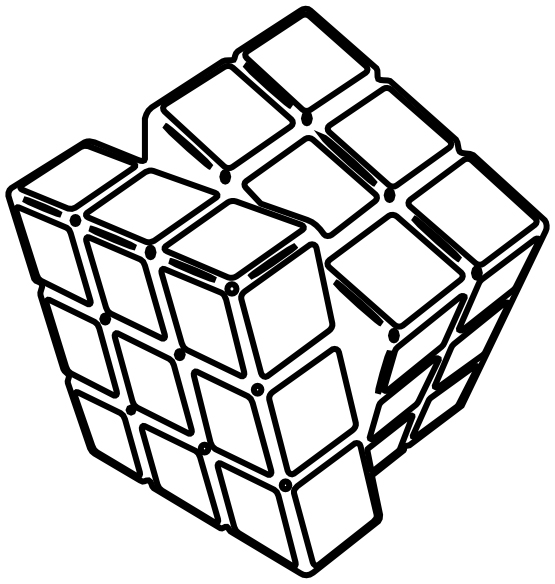
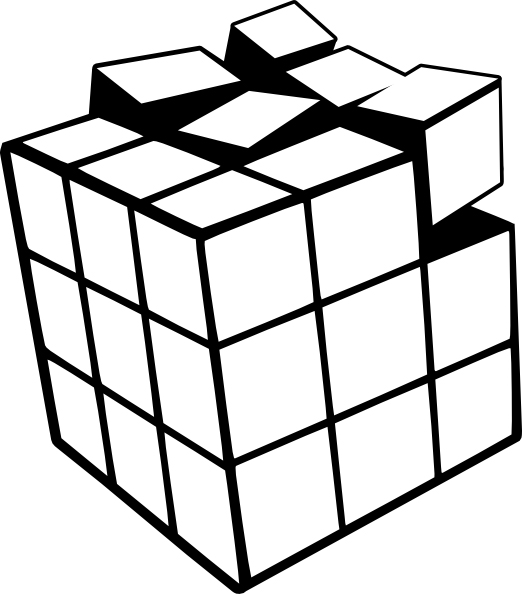
Create an excellent Rubiks cube drawing with easy, step-by-step instructions and reference images. Great for you and your kids, you can become real artists. You will follow six easy steps to create a complete Rubik’s cube with your fun time. This is not a simple task, but it is not too difficult; you need to concentrate on your passion here until finish your work. We give the tutorial detail, and it takes about 25 to 30 minutes. You don’t spend too much time on this entertainment. If you are a parent, you can enjoy this learning with your kids because it is a favorite toy of children. Your kids will surely like it and enjoy it in their free time after the hours in class. This entrainment activity will help your children to get them comfortable mood and they will work more efficiently after joining this activity. Along with this drawing tutorial, we also provide Rubik’s cube coloring pages for free on our website where you can download and color. You can learn more details on how to draw a Rubik’s cube below.
How To Draw A Rubik’s Cube – Let’s Get Started!
Rubik’s cube is a favorite toy not only for children but also for adults to play with. A lot of people want to draw it, including you, but not everyone can do it because this is not a simple mission… Fortunately, today you can learn to draw a Rubik’s cube with us. You have six works equivalent to six steps that you must come over. In addition to detailed instructions, we also have illustrations to help you perform the task in the most comfortable way. Whether you are a novice or an expert in drawing, we’re sure you can follow these steps effortlessly. It would help if you prepared a pencil, eraser, and colored pencils,…before drawing. You can take advantage of the available items without paying any fees. You use a pencil to draw on paper, and you can erase your mistakes easily. So, please don’t be afraid to draw, and you can draw in your comfortable mood. Some steps will require you to erase lines drawn in previous steps. So, you go to step by step until creating a complete Rubik’s cube. And now, let’s get started drawing a Rubik’s cube with us!
Step 1 – Draw A Face For Rubik’s Cube

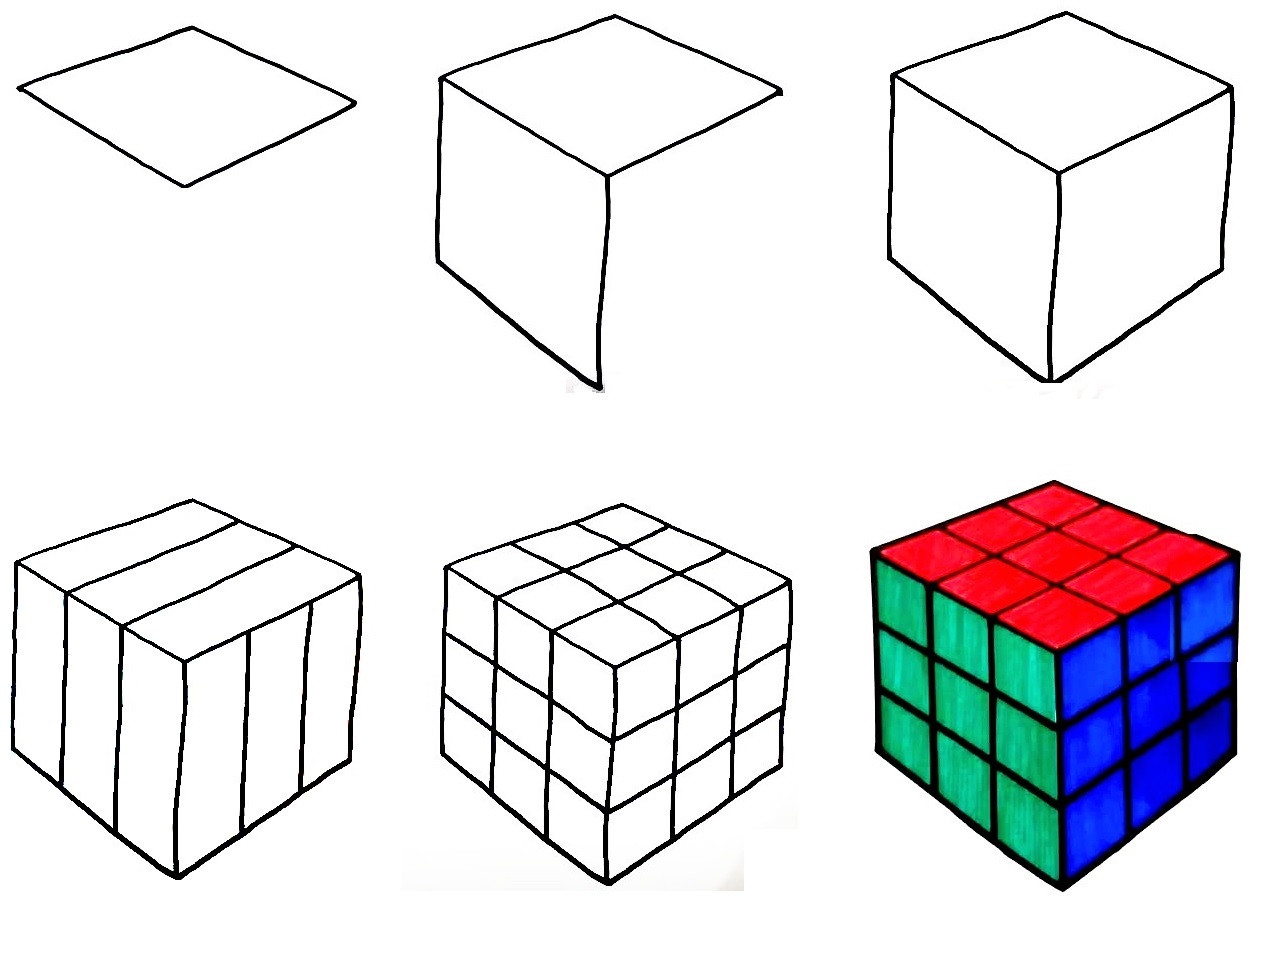
Starting middle of your paper, draw a rhombus shape to outline a face for Rubik’s Cube. In order to make sure that your Rubik’s Cube will be drawn proportionally, create reference lines by drawing intersecting horizontal and vertical lines across your paper. Once you feel happy with your drawing, you can move to the second step.
Step 2 – Add More A Face For Rubik’s Cube
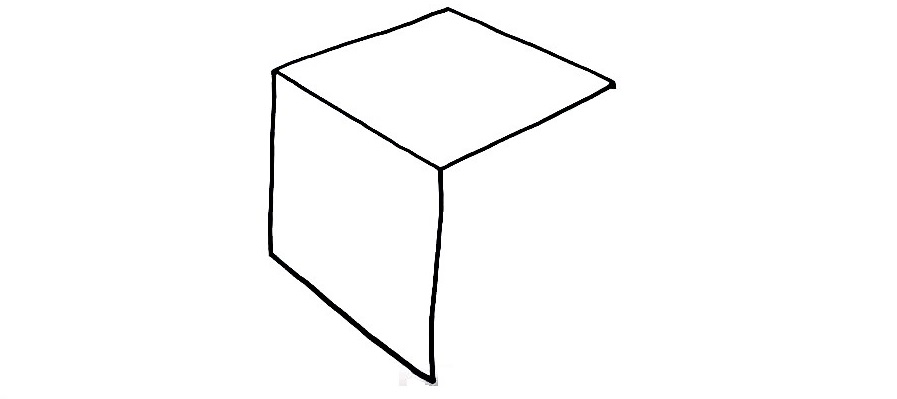
For the second Rubik’s cube drawing, you will concentrate on six faces, but when drawing, there will be 3 hidden faces and 3 visible faces, so your task will be to draw three faces for Rubik’s cube, and in this step, you add the second face for your product. Use three straight lines for this work, and you can draw with your hand or use a ruler to finish this task. It’s as easy as that for this part, and once you’re happy with it you can move on to the next step!
Step 3 – Finish Rubik’s Cube Face
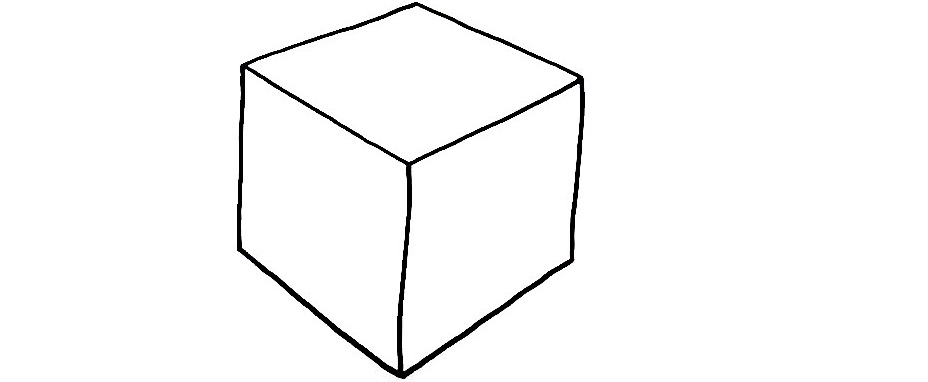
Similar to step 2 for your task of Rubik’s Cube Drawing, in this step, you will add a face to Rubik’s cube. So Rubik’s cube is complete with three faces; it’s also simple for you with only two straight l lines in this step. You will continue to realize your drawing in the fourth step.
Step 4 – Decorate Rubik’s Cube
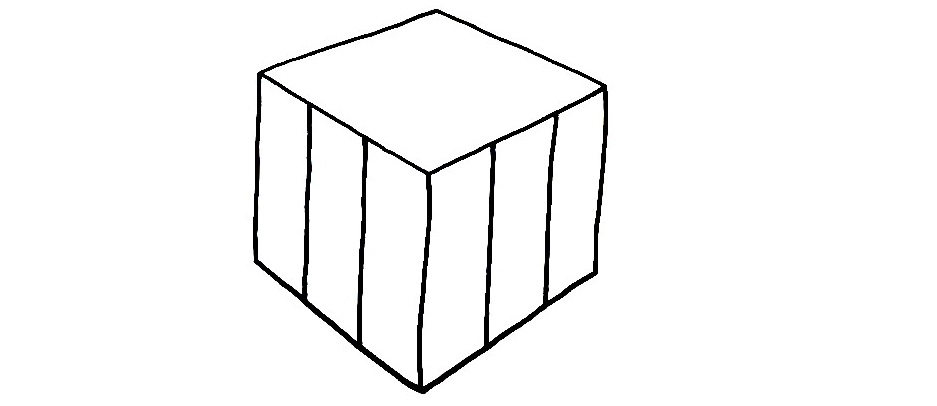
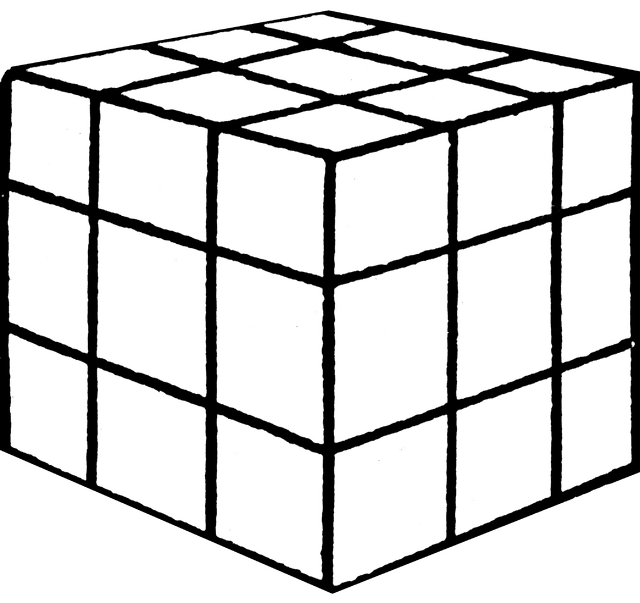
In this fourth step on how to draw a Rubik’s Cube, you will add detail to the decoration of a Rubik’s cube. You will use parallel lines to add three faces, as you see in our illustration. You also can use a ruler to draw the straight lines, your drawing will become perfect and in the next step, we will finish off with some final details!
Step 5 – Finish Your Drawing Task
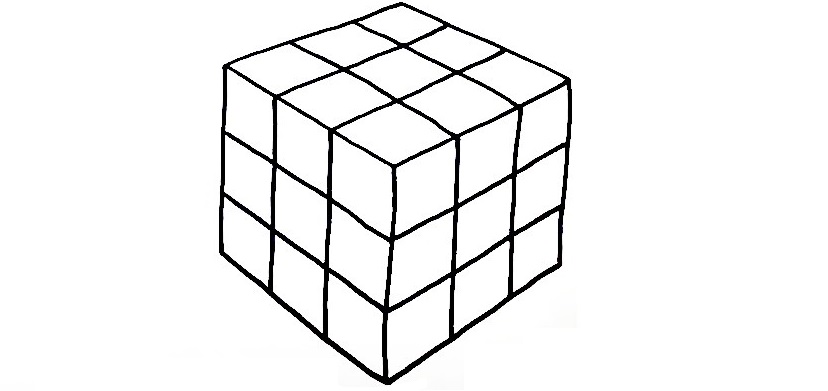
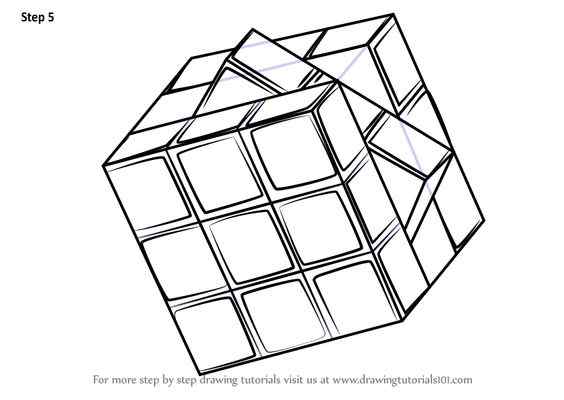
To finish your Rubik’s Cube drawing mission, you must draw a square shape to decorate your Rubik’s cube. So, you make a complete Rubik’s cube with us. Isn’t it fun to learn and play at the same time, you will practice many skills in this drawing class. Right now, you have the last step for coloring Rubik’s cube.
Step 6 – Color Your Rubik’s Cube
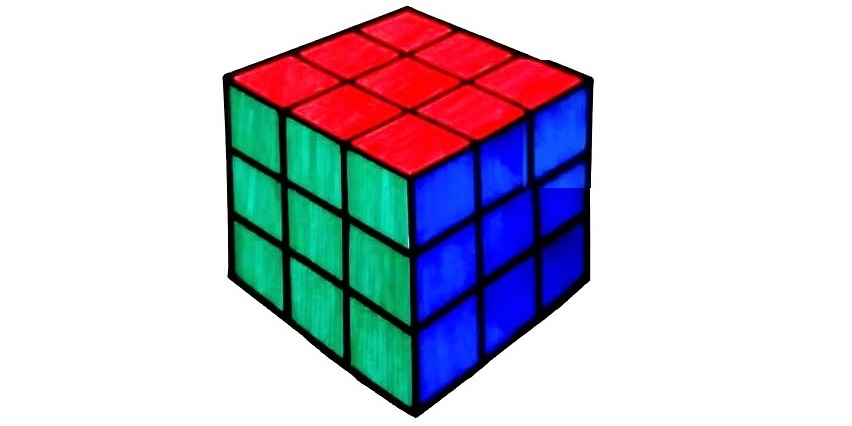
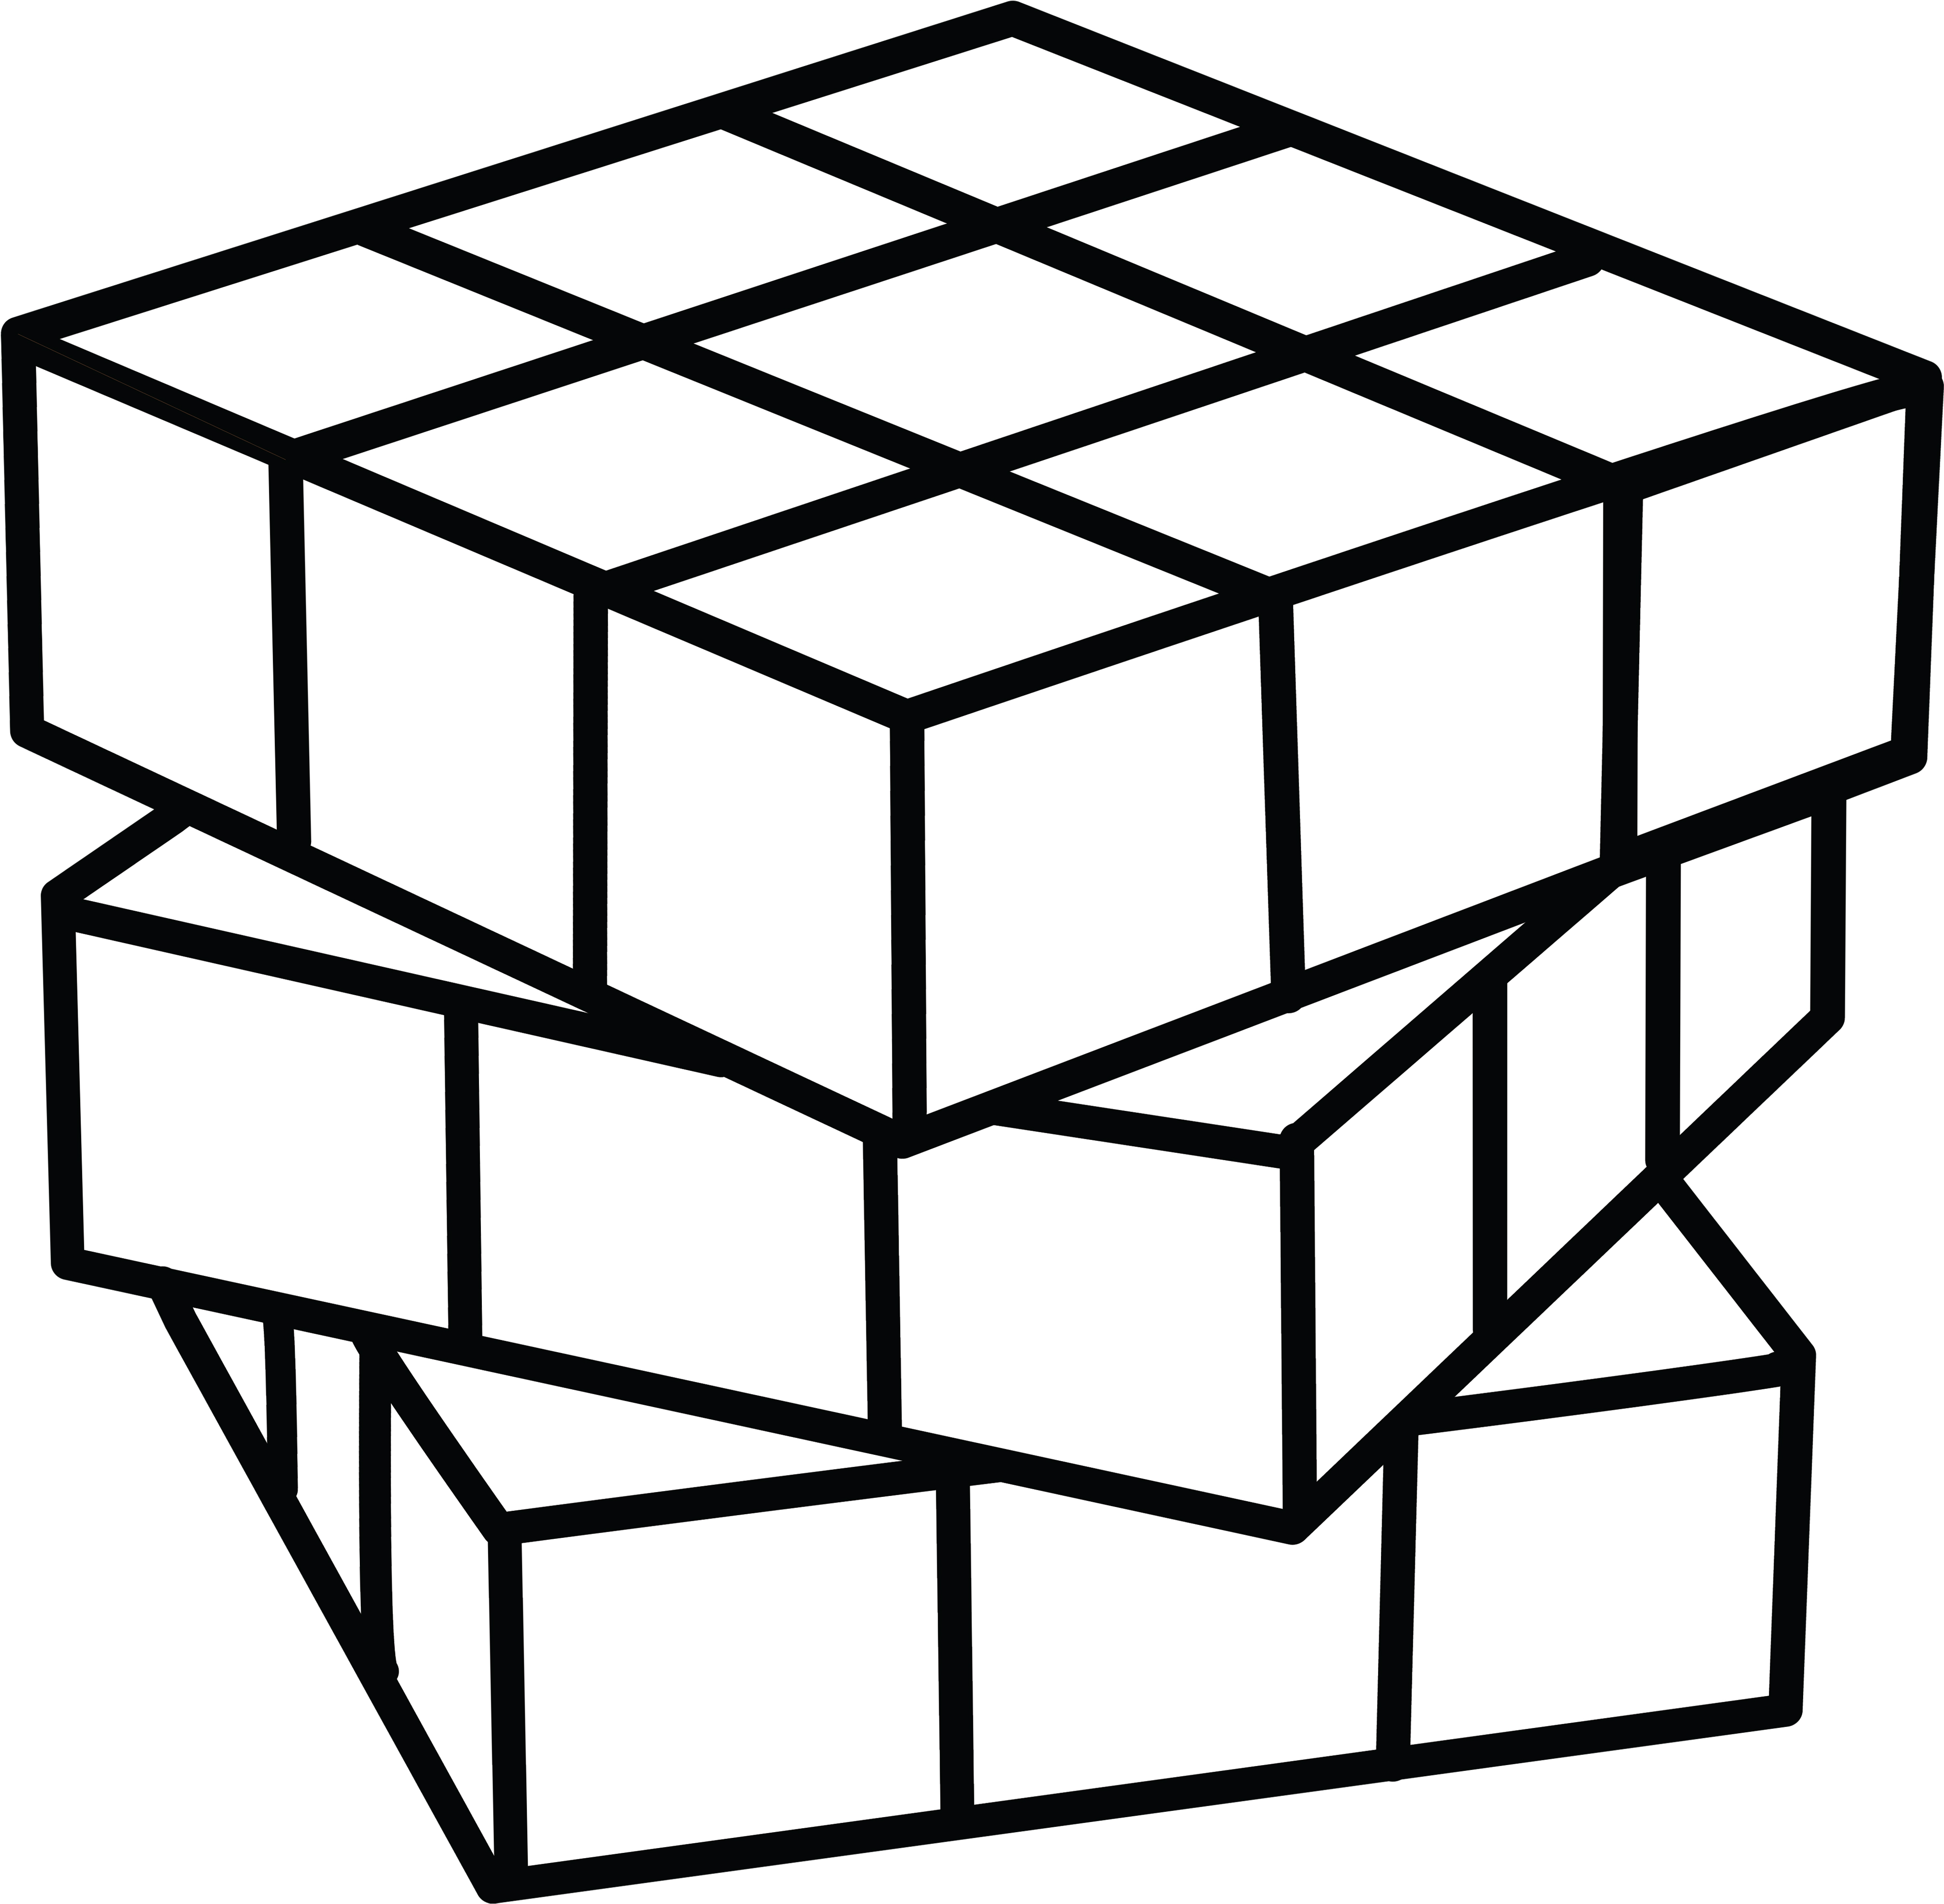
In the last step for Rubiks Cube Drawing, we’re now in the most fun and exciting part, which is choosing the colors and coloring your drawing! This is the part where you can show off your artistic skills and your ability to mix and match various colors. Please choose a fixed color for each face of the Rubik’s cube. You can take green, red, yellow, purple, or white, depending on your hobby about colors. We use green, blue, and red for the three faces drawn here. So, you finish your drawing and coloring mission on how to draw a Rubik’s cube..
Rubiks Cube Drawing Is Complete!
You can refer to Rubik’s cube coloring pages free on our site for free. You can practice your drawing and coloring skills with our pictures, and I hope you like our product and recommend your friends to come here. Have a great time!


