Nice Angel Drawing Is Complete In 7 Easy Steps
Creating a nice Angel drawing in just 7 easy steps
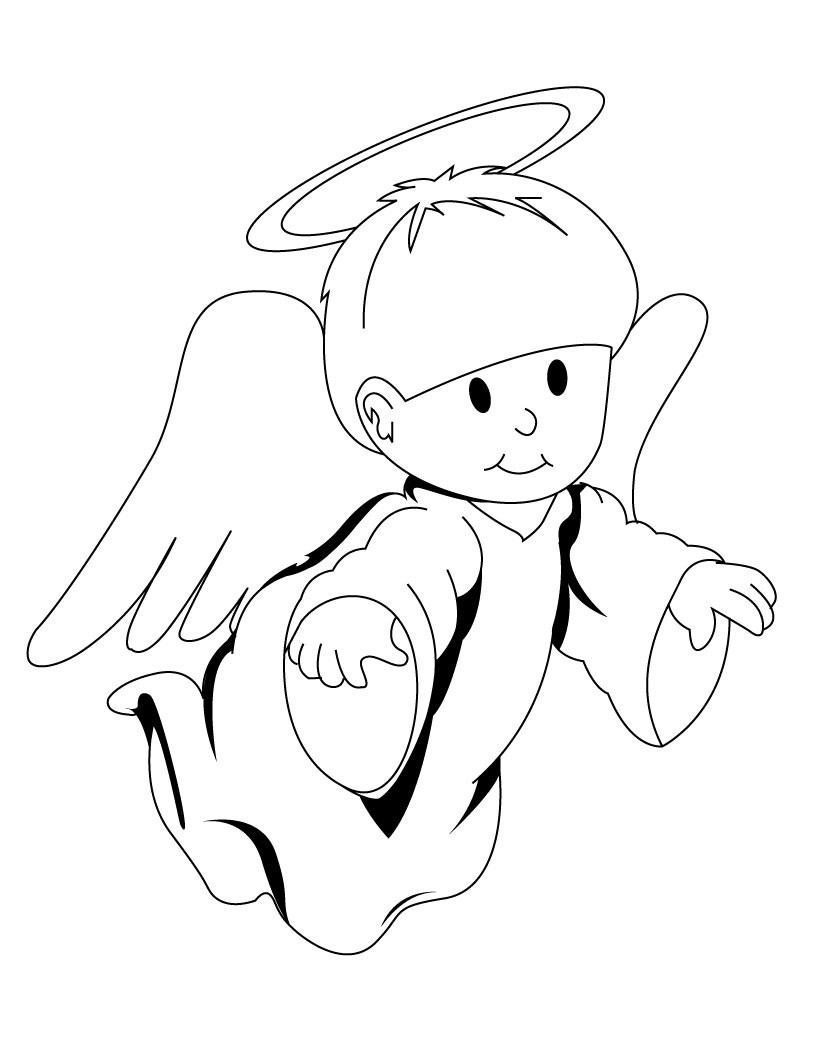
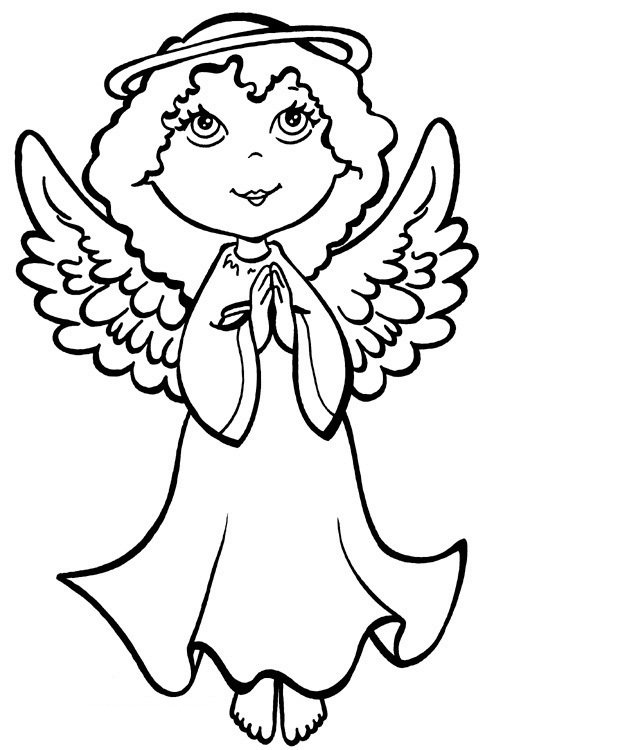
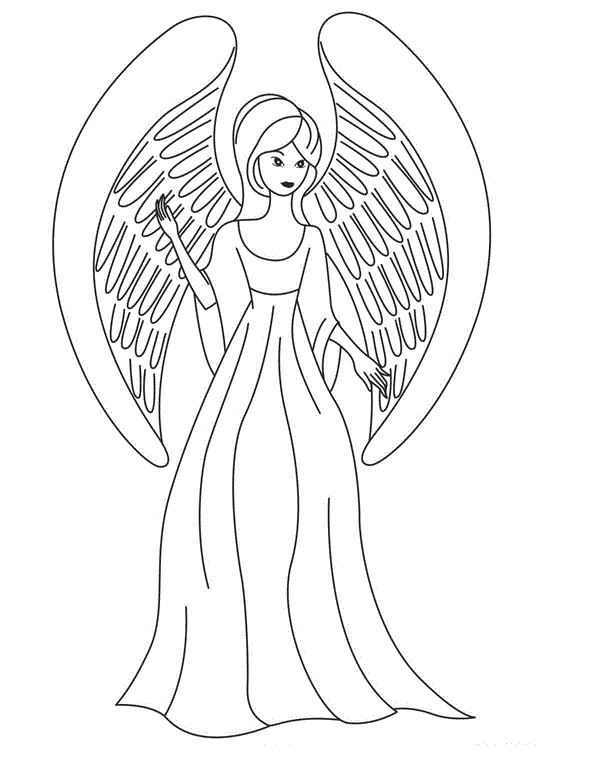
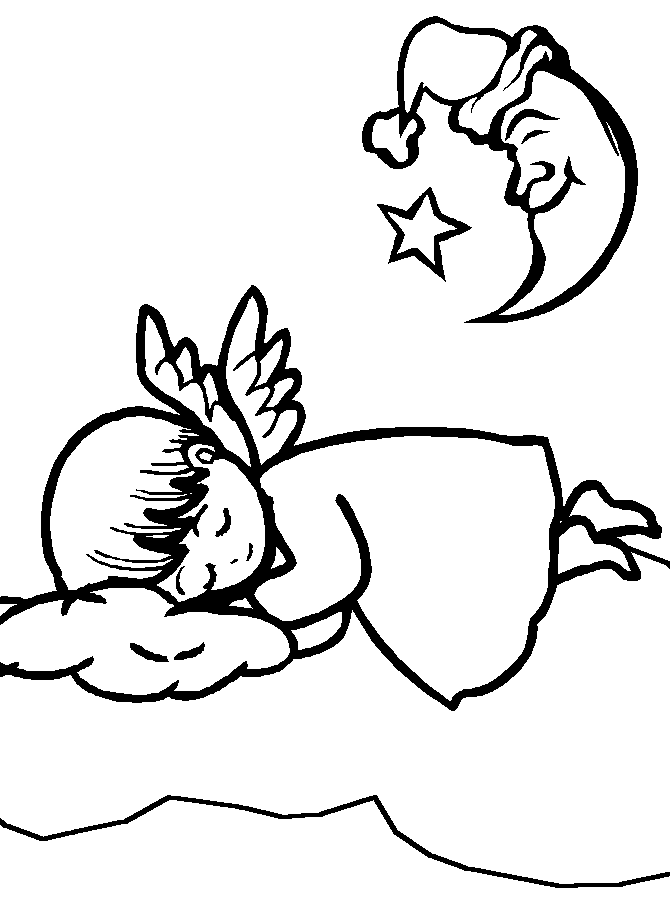
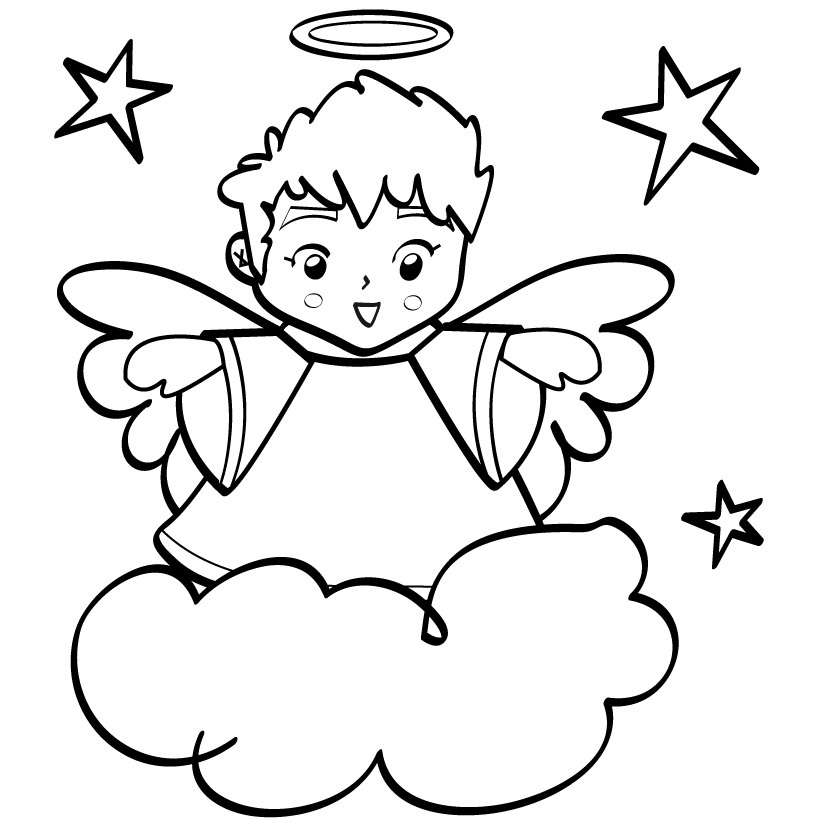
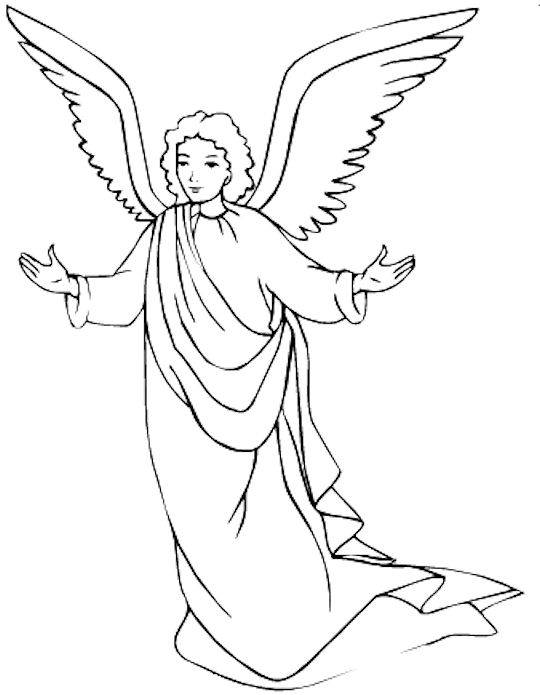
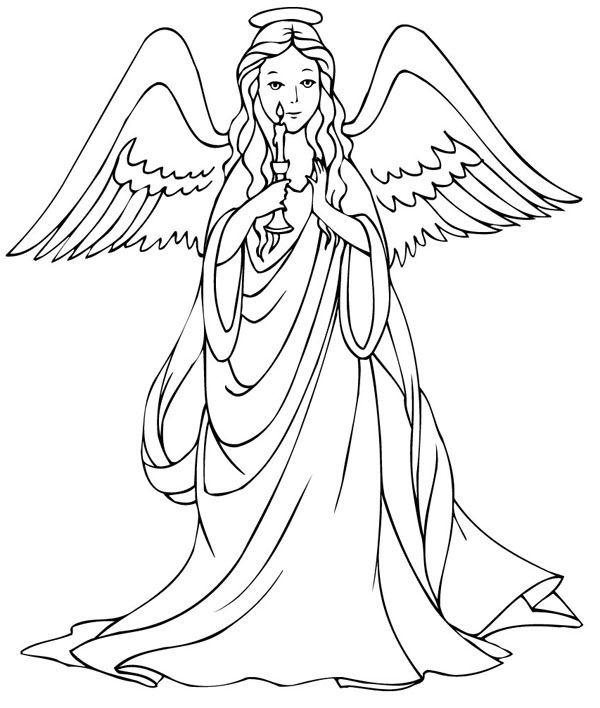
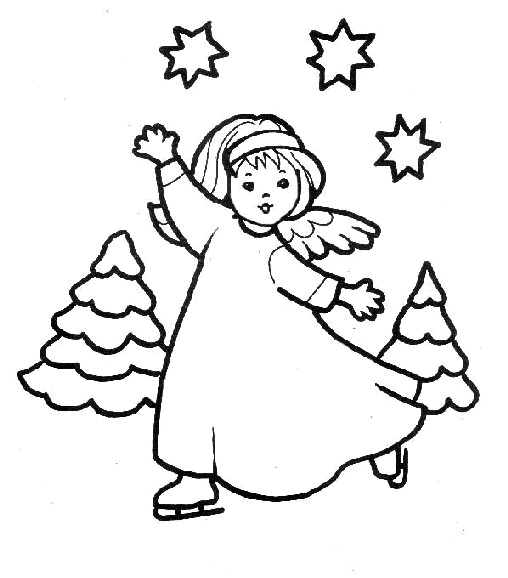
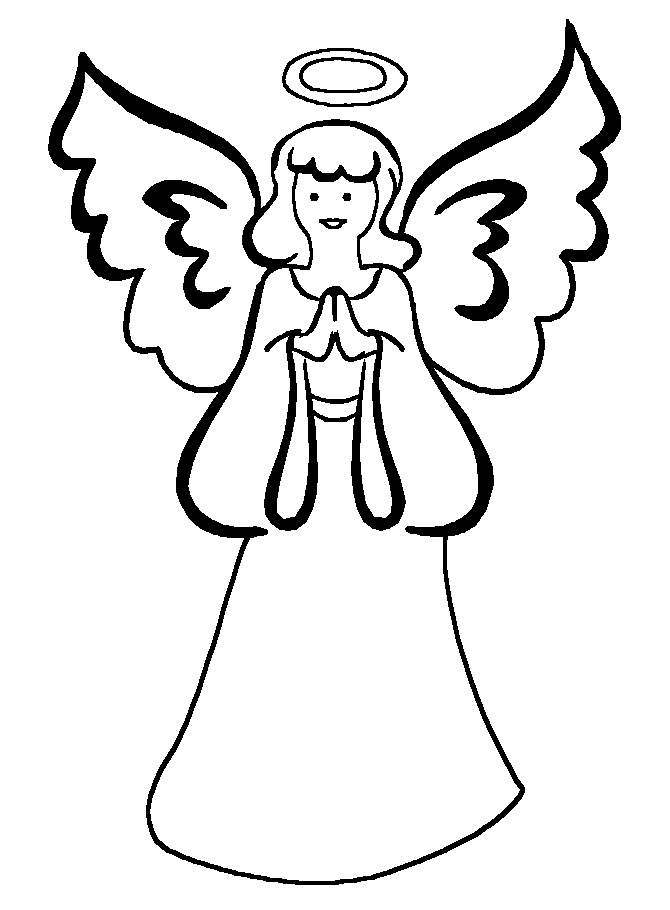
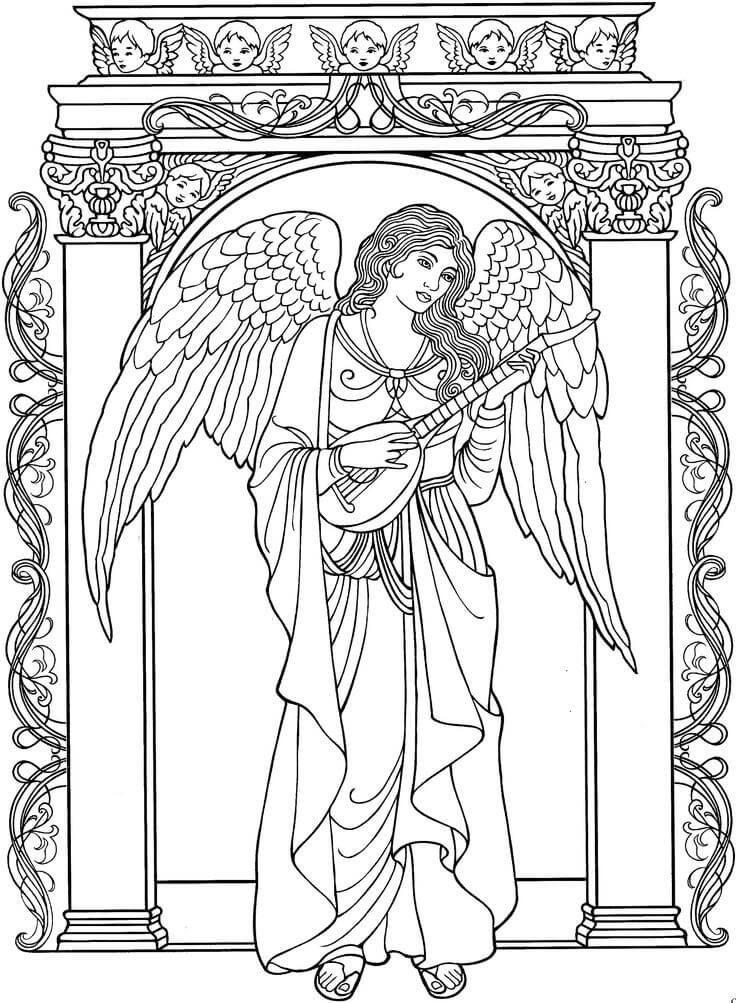
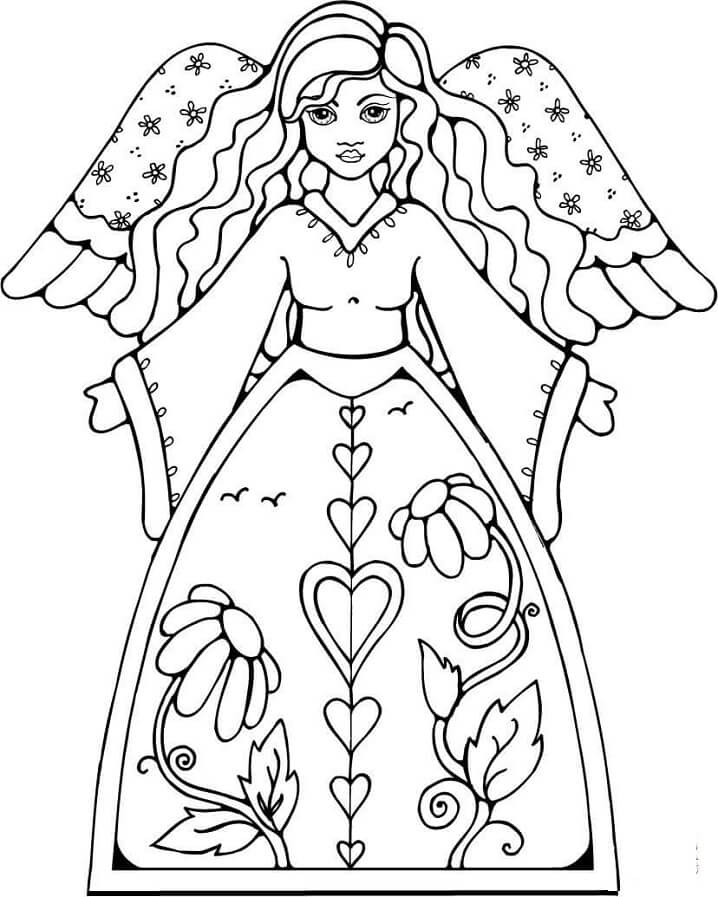
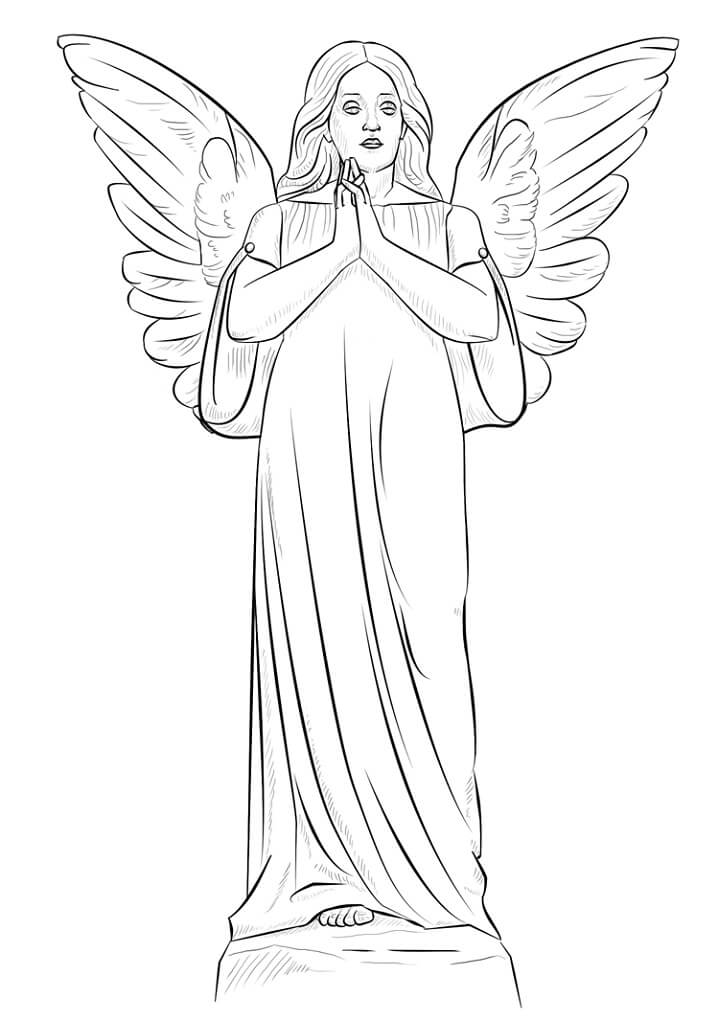
Right now, you learn how to draw an Angel with our super easy-to-follow step-by-step Nice Angel drawing tutorial. There are seven steps that are equivalent to seven tasks you must complete to create a perfect angel. You will go to step-by-step instructions to realize your mission. Why not? Whoever you are or what you do, you need leisure time to balance your life, so go to our site and enjoy drawing and coloring activities. They are free here, and you can come here anytime and anywhere. Come back and learn to draw an Angel. Many people love Angel much and want to draw Angel, but not everyone can complete the drawing of an angel. So you love angels and would like to learn how to draw one with an easy-to-follow step-by-step demonstration? Today, you get a chance to learn drawing with us in seven-step. You will go step by step to finish your mission and create a complete Angel. Along with the tutorial, we have also included a couple of free Angel coloring pages that you can print off and give to your kids to color! I hope you find these tutorials helpful. Please enjoy and happy drawing!
How To Draw An Angel – Let’s Get Started!
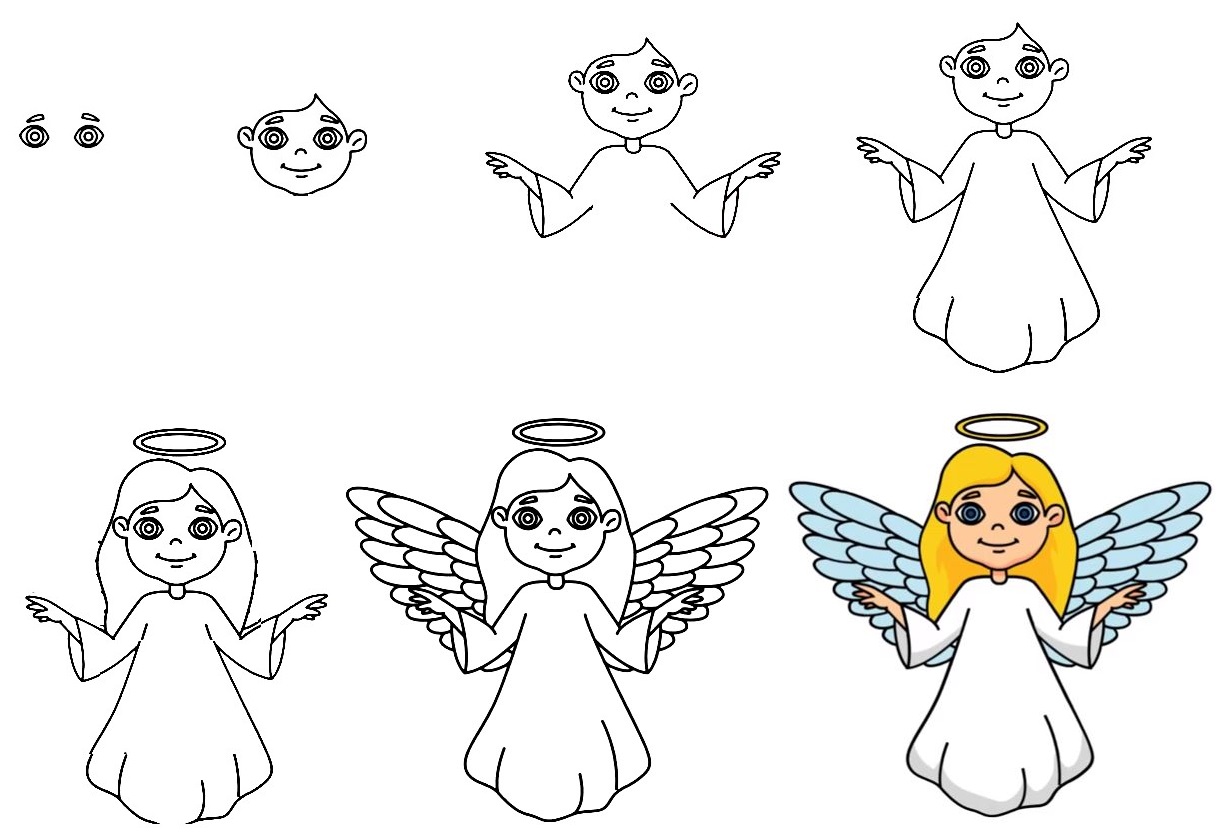
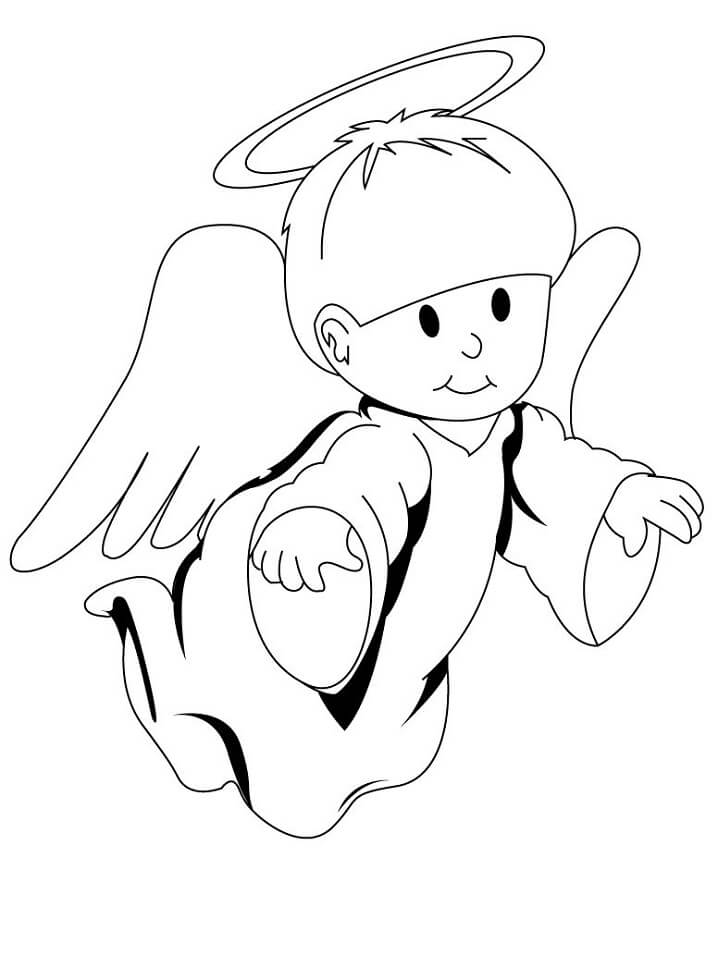
You will follow along to learn how to draw this cute angel step by step easily. This is a simple-style cartoon angel drawing tutorial lesson. Whether you are a beginner or you are expected the drawing, you can finish your task easily. This step-by-step guide on how to draw an angel will have you creating your beautiful angels in no time! It would help if you prepared a pencil, eraser, colored pencils, and drawing paper before drawing, like drawing everything. You will use the pencil to draw on paper, and you can erase the mistake, don’t be afraid to draw, and don’t be scared to erase. You will gain experience with errors. To make your drawing more complete, you need to practice many times to be fluent, so you won’t be confused the next time you draw. This leisure activity helps you get some good times in your life. This leisure activity gives you time to make your life better, and you work more productive… Now, let’s get started drawing an Angel with us!
Step 1 – Draw Angel’s Eyes And Eyebrows

For the first step of this guide on how to draw an angel, we shall be starting with the outline of the eyes and eyebrows of an angel. You will draw two dots for two eyes, and then you will use black to make coloring eyes. On the eyes, you will show her eyebrows with parallel curved lines. You go to the second step when you finish your eyes and eyebrows.
Step 2 – Draw Angel’s Face Outline

For this second step of the nice Angel drawing, you will draw a circle to outline the angel’s face, chin, and head in your Angel drawing task. You add a curved line similar to a backward letter C on the right at two sides of the head as a guide for Angel’s ears. Under the eyes, you will use a short line to make her nose. After that, you will draw a smiling mouth for the angel as well. Once you have these elements looking as they do in the reference image, you’re ready for step 3!
Step 3 – Draw Angel’s Shoulder And Arms
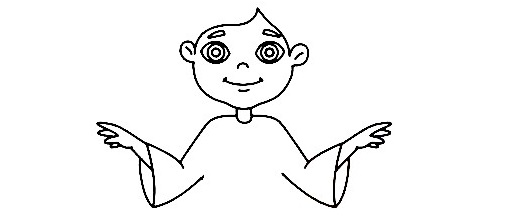
You continue to draw your angel with her body. Right underneath the face, draw two curved lines for the neck. Extend the lines to create the outline of the shoulder to the arms and hands. The components should be aligned and drawn evenly. You continue to draw two large shirts for the angel and finish the task of this step is to draw the hand and finger for the angel. You will go to the next fourth step.
Step 4 – Finish angel’s Dress
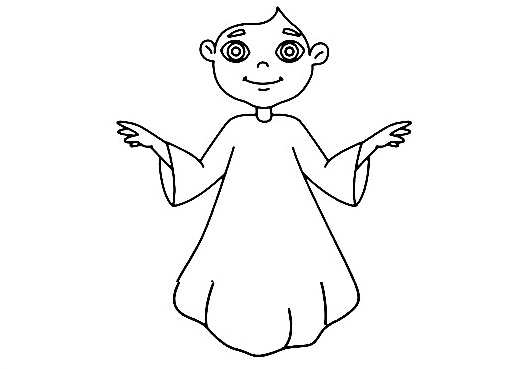
Now that we have drawn the sleeve of your nice Angel drawing, it’s time to draw the bottom of the dress to finalize the clothes of your angel drawing. In this case, you can draw the dress in any form you want to customize it. You can even add patterns and designs to it to make it more creative!
Step 5 – Draw Angel’s Hairs And Crown
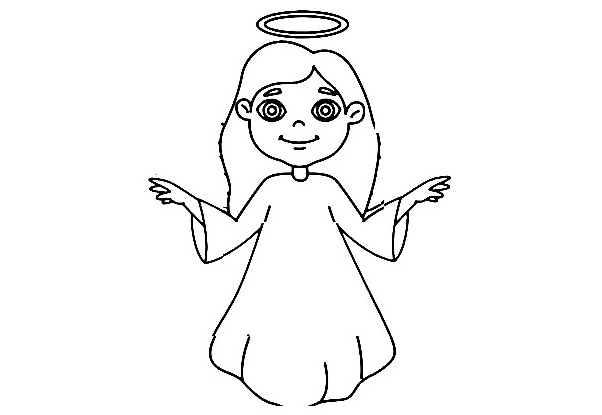
You will continue your drawing of the angel with her hair and crown. Going back to the head of the angel, draw a half-sphere on each side of her face. Then, draw a hairline just above her forehead and outline the hair. You can draw any hairstyle: straight, wavy, or curly. If you’re feeling more creative, you can put her hair in a ponytail or a bun.
Once you’ve finished Angel drawing with the hair, draw a crown right at the head of the angel with the circle. You can also make customizations and create your very own dream crown!
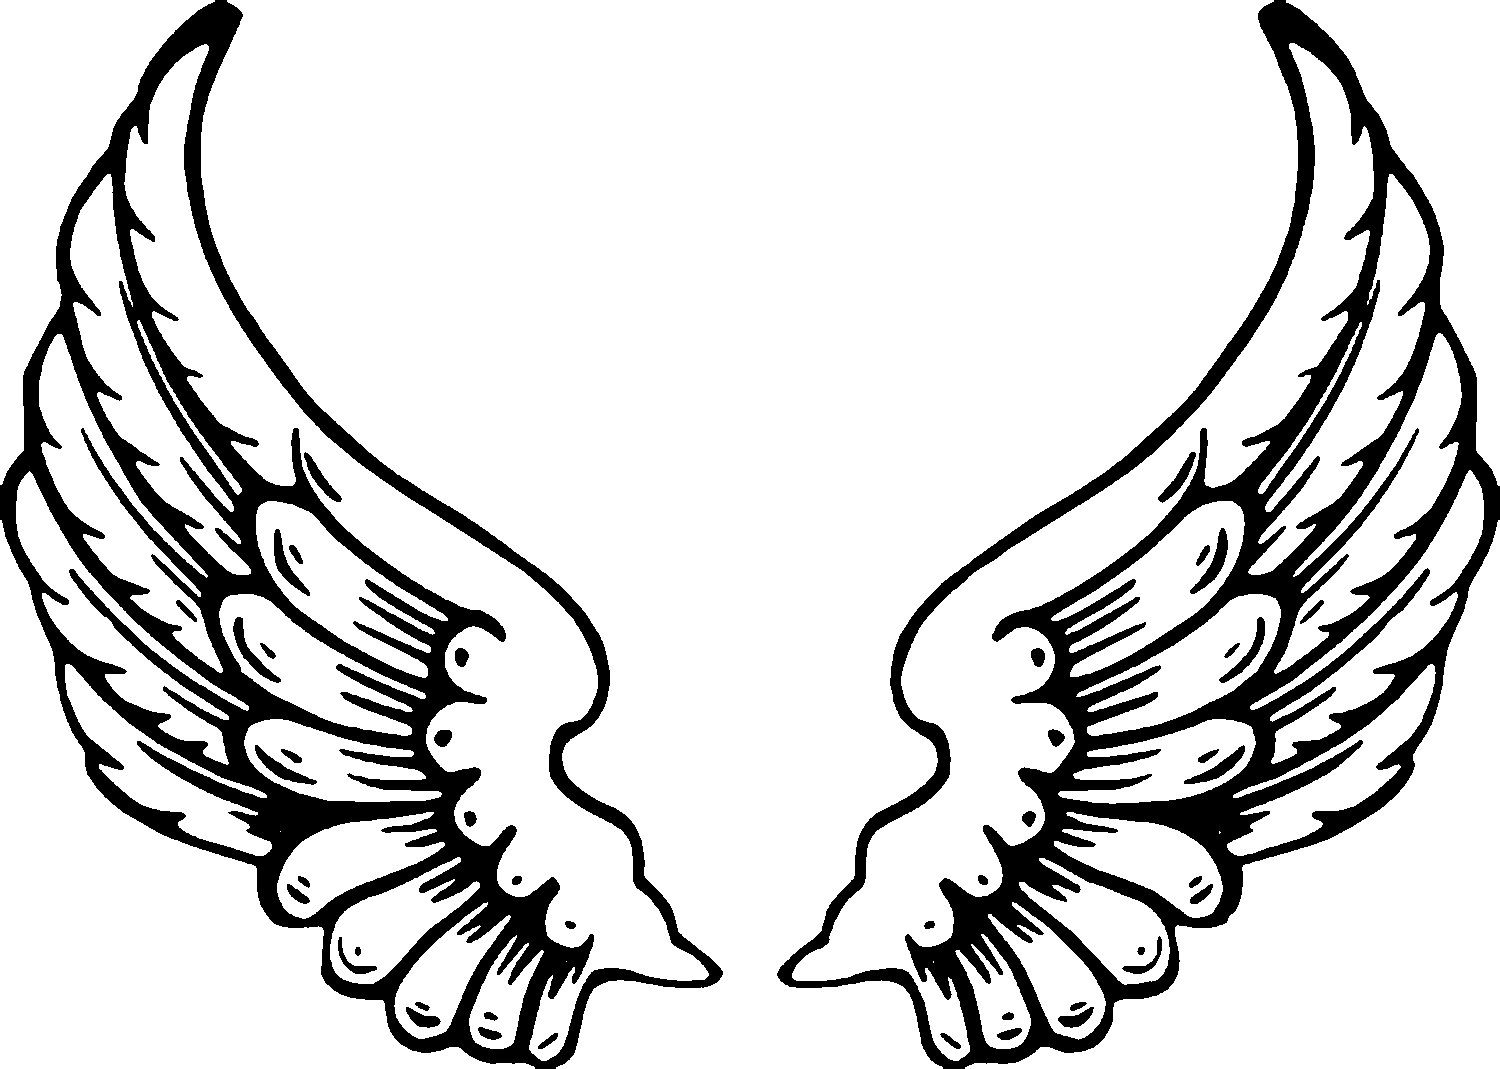
Step 6 – Draw Angel’s Wings
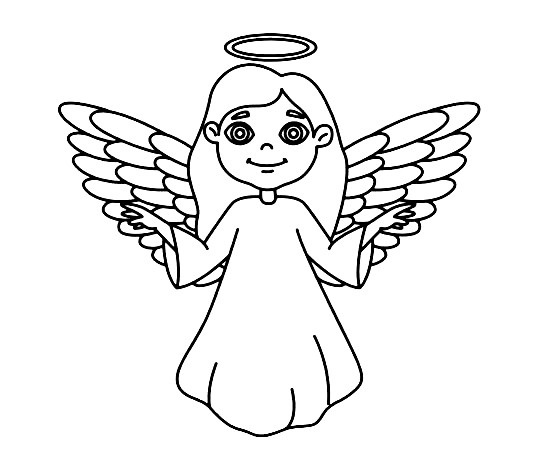
Now that we have finished drawing the outline of the wings, the next step is to design the wings to make them look even prettier! You can draw various shapes and patterns or any designs you like within the wings. Let your imagination and creativity take the lead when styling the wings! So, you finish your drawing mission for the angel, and now you have more, the last step for coloring.
Step 7 – Color Your Angel
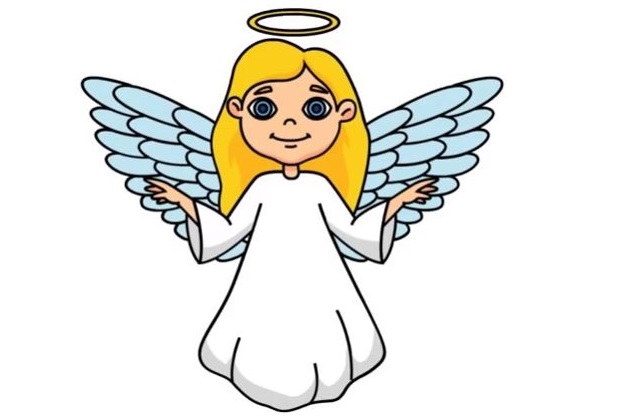
Finally, here is the most exciting part—filling in the colors for your awesome drawing! This is where you can show off your artistic skills and your ability to mix and match various colors. You can choose any color for your drawing products. We chose blue for the angel’s wings, light blue for the skirt, yellow for the hair, and peach for the skin. You can use your creativity in coloring for angels. Feel free to color your angel drawing however you like, and use any colors you prefer! And while you’re at it, why not try experimenting with different coloring materials as well?
Use the video and step-by-step drawing instructions below to learn how to draw a nice angel. Thanks for visiting! Subscribe to the How To Draw YouTube Channel for our new tutorial.
Your Angel Drawing Is Complete
You finish your tasks on how to draw an Angel right now.
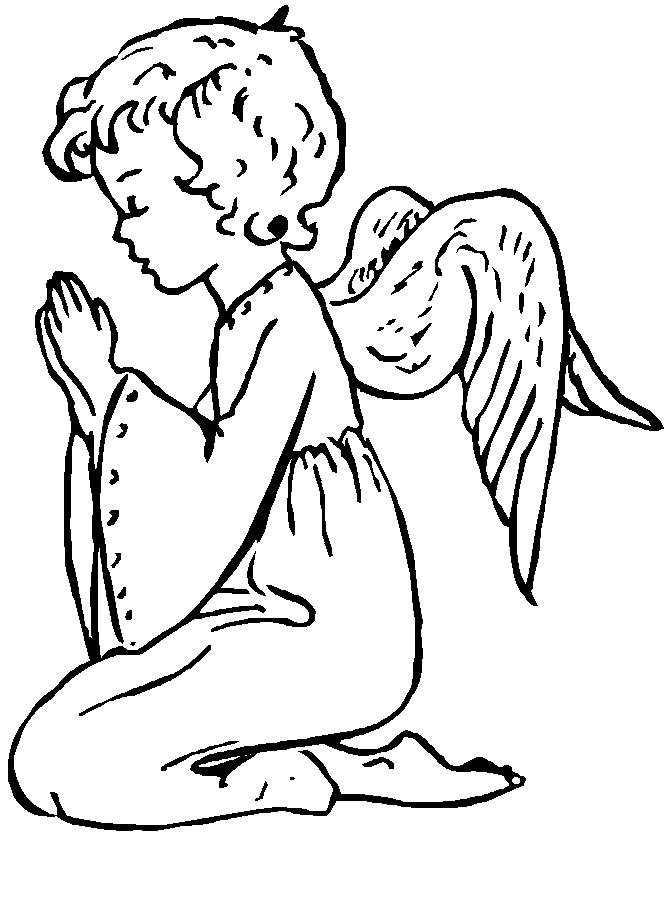
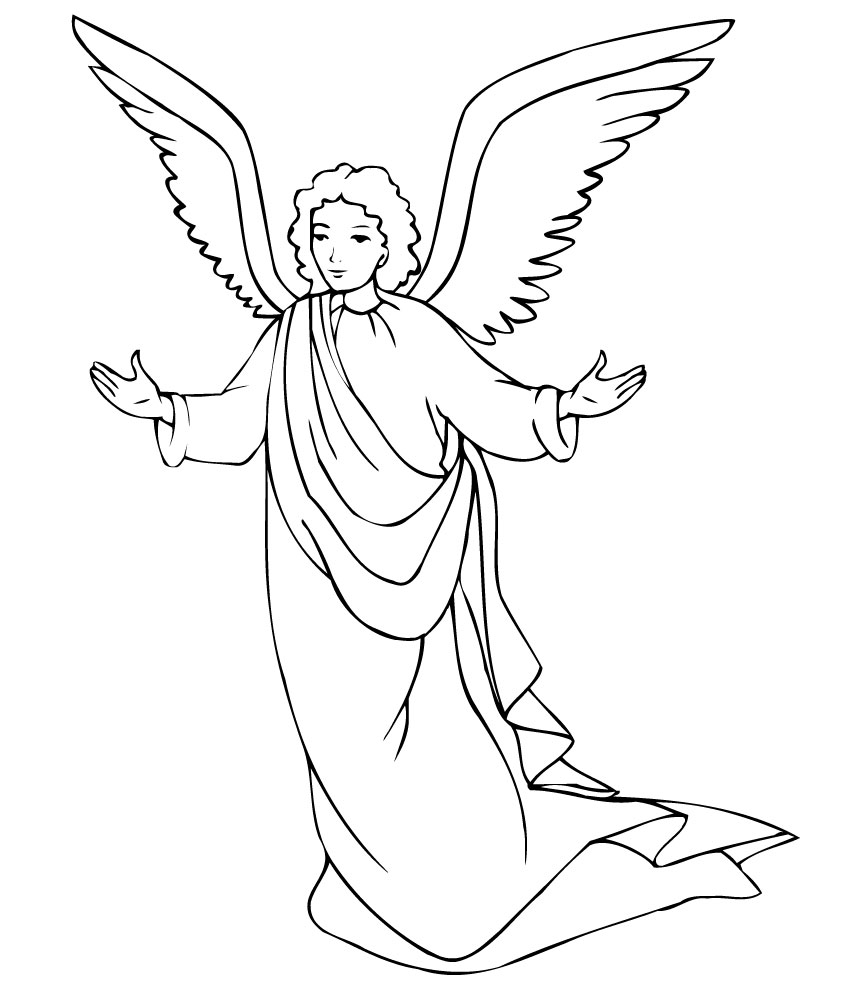
You can move to Angel coloring pages to enjoy the images related to angels for free on our site. I hope you like this post and practice your drawing easily. Have fun!


