Dumbo Drawing Is Complete In 8 Easy Steps
Creating a cute Dumbo drawing in just 8 easy steps
Learn how to draw a dumbo with our super easy to follow step by step Dumbo drawing tutorial. You will follow our instructions and our illustration to create a dumbo. As you know, Dumbo was the title character first of a children’s book and subsequently of the 1941 animated film. Dumbo was born Jumbo Junior but was given his moniker by other elephants making fun of his large ears. This easy, step-by-step Disney cartoon drawing tutorial is here to show you how. All you will need is a pencil, an eraser, and a sheet of paper. You may also wish to color your finished character. it’s fun with this activity, you can have a comfortable leisure time after stressful working hours, why not, completely free on our website? We give eight steps equivalent to 8 missions you must finish to make a Dumbo. Along with the tutorial, we have also included a couple of free Dumbo coloring pages that you can print off and give to your kids to color!
How To Draw Dumbo – Let’s Get Started!

Dumbo is an elephant who learns to use his big ears to his advantage in Disney’s Dumbo with the help of a cricket. He has big ears and a big heart to go with it. Now, you get an opportunity to draw a dumbo for free here. You learn to draw him with these easy steps. It would help if you prepared a pencil, eraser, colored pencils, and drawing paper before drawing; you will go to step by step to finish your mission. Whether you are a novice or an expert in drawing, we’re sure you can follow these steps effortlessly. This is a favorite animal of children, but not every kid can draw dumbo; if you are a parent, please don’t hesitate to give this instruction to your kids, so they can enjoy this activity after their hours at school. They can relax and work better. Now, let’s get started drawing a Dumbo in the eight steps with us!
Step 1- Draw Dumbo’s Eyes

Start drawing a Dumbo by sketching Dumbo’s eyes. You draw two dots for two eyes. It’s easy to do your task at your step; it only takes you a few minutes to complete the task. You move to step 2 now.
Step 2 – Draw Dumbo’s Trunk

You continue your drawing with dumbo’s Trunk. You will extend two long curved lines from the bottom of the face. Allow one line to wrap around and overlap the other. Draw curved lines across the tops of the long lines where the trunk meets the face, and across the middle of the trunk. Once you have these elements looking as they do in the reference image, you’re ready for step 3.
Step 3 – Draw Dumbo’s Face Outline And Dumbo’s Mouth
Use curved lines to draw a face outline by drawing around face details and under the trunk, you draw a mouth for Dumbo. Within the mouth, you draw a vertical line to make Dumbo’s tongue. On the eyes, you draw two curved lines for eyebrows. You continue your drawing in the fourth step.
Step 4 – Draw The Front Legs For Dumbo

From the face, you draw two front legs for the dumbo. You will draw the toes for Dumbo as well. You will use three small circles for three toes. So, you draw two front legs; you finish Dumbo’s body. At the shoulders, you use three zigzag curves to draw around the shoulders for Dumbo.
Step 5 – Draw The Back Legs For Dumbo

Once the two front legs are finished, you can add two back legs and some details and touches of your own before you move on! One cool idea would be to draw a background for this image. You also use curved lines and straight lines for two back legs.
Step 6 – Finish Dumbo’s Legs

Your task in this step is to complete the drawing for the unfinished dumbo steps 4 and 5. Very simple for you just need to use small curves to complete Dumbo’s leg and move to the next step
Step 7 – Draw Dumbo’s Ears And Hat

You draw a curved line across the top of the head, with short straight lines ascending from each side of it. Draw a curved line above it, and connect the two using overlapping curved lines. Then, use overlapping curved lines to enclose the bent triangular shape of the top of the hat. Once finish that task, you draw Dumbo’s ears. From the Dumbo’s head, you draw large ears using short curves and some straight lines. In this step, you must finish your drawing mission and have the last step for coloring.
Step 8 – Color Dumbo

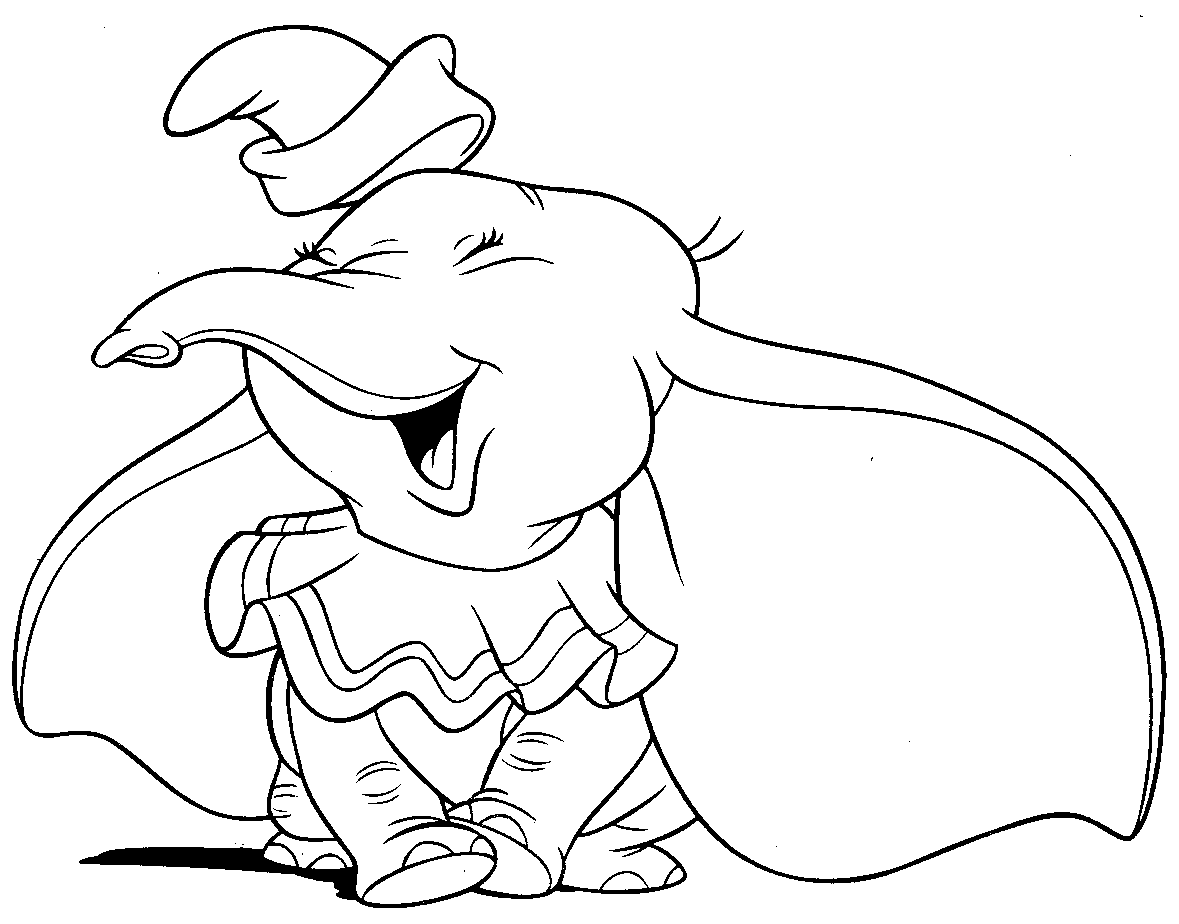
Here comes the simplest step for you. That means that you use color for the body and someplace for Dumbo; you can choose any color for your product, Dumbo. Or you can choose the same colors. We used greys for most of his body while incorporating some pink for his inner ears, yellow for his hat, and black for his eyes.
Your Dambu Drawing Is Complete!
You finish your drawing and coloring task for your drawing. Interesting, isn’t it? You finished your artwork. We update drawing often, and you can come here to enjoy it for free. Once you get a complete Dumbo, you can refer to the Dumbo coloring pages on our site. We updated the hundreds of images related to Dumbo. If you like our products, don’t forget to give us a thumb up and recommend them to your friends! Have a great time!